Washing your completed cross stitch can be nerve-wracking. You’ve spent hours, maybe weeks or months, creating your design. The last thing you want is for your work to be ruined during cleaning. Yet, washing is important. It removes dirt, oils, and marks that build up during stitching.
Proper cleaning also helps your project look crisp, fresh, and ready for framing or gifting.
But how do you wash a cross stitch safely? What materials can you use? How do you avoid damaging threads, beads, or fabric? This guide gives you practical, detailed advice for every step, from preparation to drying. You’ll also learn special care for advanced techniques, common mistakes, and how to handle accidents.
Let’s make sure your cross stitch stays beautiful for years.
Understanding Why Washing Cross Stitch Matters
Many stitchers wonder if washing is necessary. The answer: usually yes. While some projects stay clean, most cross stitch pieces collect dust, skin oils, and stains. Even if you have clean hands, natural oils can transfer to the fabric. Over time, these invisible stains may cause yellowing. Washing also removes water-soluble pens or pencil marks used for gridding. If you plan to frame your work, leftover dirt can show up even more.
Not washing may risk long-term damage. For example, skin oils can weaken fabric threads. Dust can attract insects. Plus, unwashed marks may bleed or become permanent after ironing. Proper cleaning preserves both the look and the longevity of your cross stitch.
Preparing Your Cross Stitch For Washing
Before you start, take time to prepare. This reduces the risk of bleeding colors or distortion. Here’s how to get ready:
1. Check Thread And Fabric Type
Most cross stitch uses cotton thread and Aida or linen. But sometimes you might use metallic, silk, or specialty threads. Check product labels or packaging for washing instructions. Some metallic or hand-dyed threads may not be colorfast.
2. Test For Colorfastness
This is a critical step. Cut a short piece of each thread color and soak them in cold water on a white paper towel. Wait 10–15 minutes. If you see color on the towel, the thread may bleed. If you see no color, you’re safe to wash.
If bleeding occurs, consider spot cleaning instead.
3. Remove Accessories
Take off any beads, charms, or embellishments if possible. Some decorations are glued or delicate and may be damaged by water. If you can’t remove them, protect the area with plastic wrap or gentle spot cleaning.
4. Secure The Edges
If your fabric edges are unfinished, secure them with masking tape, zigzag stitch, or serging. This prevents fraying during washing.
5. Tidy Up The Back
Clip any loose threads on the back. Secure thread ends so nothing unravels or knots.
6. Remove From Hoops Or Frames
Always take your cross stitch out of any hoop or frame before washing. Hoops can trap water and cause uneven drying or rust stains.
Supplies You’ll Need
Gather your washing supplies before you start:
- Mild, unscented liquid dish soap or specialty needlework detergent
- Clean, shallow basin or small tub (never wash in the kitchen or bathroom sink due to soap or residue buildup)
- White towels (colored towels may bleed or transfer lint)
- Soft sponge or clean cotton swab (for spot cleaning)
- Distilled or cool tap water (distilled is best if you have hard water)
- Flat surface for drying (like a large towel or drying rack)
For pieces with special threads or beads, you might also need:
- Plastic wrap or waterproof tape
- Soft brush (for delicate dusting)
Step-by-step Guide: How To Wash A Cross Stitch
Let’s walk through the washing process. These steps apply to most cotton-thread cross stitch on Aida or linen. If you have specialty threads or advanced techniques, see the later sections for adjustments.
1. Fill The Basin With Water
Choose a clean basin large enough for your project to lay flat. Fill it with lukewarm or cool water—never hot, as heat can set stains or cause shrinking. For delicate pieces, use distilled water if possible.
2. Add Soap
Mix in a small amount of mild liquid soap. Never use harsh detergents, bleach, or fabric softeners. A gentle, unscented dish soap (like Dawn or Ivory) works well. For especially delicate or valuable pieces, use a specialty cleaner made for needlework.
3. Submerge The Cross Stitch
Gently place your cross stitch face up in the water. Do not fold or scrunch the fabric. Let it soak for 10 to 15 minutes. This loosens dirt, dust, and marks.
4. Gently Agitate
After soaking, gently move the fabric in the water with your hands. Avoid scrubbing, twisting, or wringing. If you see a stain, dab lightly with a soft sponge or cotton swab.
5. Rinse Thoroughly
Drain the soapy water and refill the basin with fresh cool water. Rinse the cross stitch by swishing gently. Repeat until all soap is gone. Soap residue can attract dust or make fabric stiff.
6. Remove Excess Water
Lift the cross stitch from the water, supporting it fully to avoid stretching. Lay it flat on a white towel. Roll the towel gently to absorb water. Never twist or wring your piece.
7. Lay Flat To Dry
Spread the damp cross stitch on a dry, clean towel. Shape it gently to its original size. Let it air dry away from direct sunlight, which can fade colors. Do not hang it, as this can stretch the fabric.
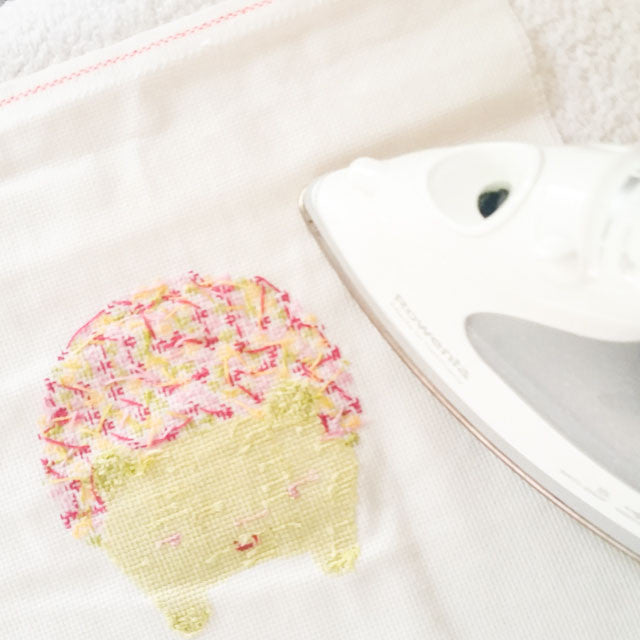
8. Iron If Needed
Once fully dry, you may want to iron your piece. Place it face down on a clean towel. Use a warm (not hot) iron and press gently. Never iron directly on the stitches—use a pressing cloth if needed.
Special Situations: Washing With Beads, Metallics, Or Specialty Threads
Many modern cross stitch patterns include beads, metallic threads, or even silk. These materials need extra care.
Beads
If your cross stitch has beads, check if they are washable. Most glass beads are fine, but some dyed or painted beads may lose color. If unsure, test a bead in water. If you must wash the piece, avoid scrubbing and use only gentle soaking.
Lay flat to dry, as beads add weight and can distort wet fabric.
Metallic Threads
Metallics can fray, tarnish, or lose shine if washed roughly. Always test for colorfastness first. Use the coolest water possible and avoid soaking for too long. Never scrub metallic areas. Dry flat and avoid ironing over metallic threads.
Silk Or Hand-dyed Threads
Silks and hand-dyed threads are often not colorfast. Always test before washing. If colors bleed, try spot cleaning instead. For important projects, consult the thread manufacturer’s care instructions.
Comparing Washing Methods
Different stitchers use different washing methods. Here’s a comparison of the main approaches:
| Method | Best For | Risks | Notes |
|---|---|---|---|
| Soaking in Basin | Most cotton threads, Aida/Linen | Possible color bleed if not tested | Safest for most projects |
| Running Water Rinse | Quick cleaning, small pieces | Can cause fraying or distortion | Hold fabric flat under water |
| Spot Cleaning | Specialty threads, beads | May not remove all dirt | Use for non-colorfast areas |
| Professional Cleaning | Valuable or antique work | Expensive, less control | Choose experienced cleaner |
For most hobbyists, soaking in a basin is the safest and most effective method.

Credit: stitchedmodern.com
Dealing With Common Cross Stitch Stains
Sometimes, you’ll notice stains that don’t wash out easily. Here are some common issues and solutions:
Pencil Or Water-soluble Pen Marks
- Soak and gently rub with a soft sponge.
- For stubborn marks, use a tiny amount of gentle soap directly on the spot.
Food Or Oil Stains
- Dab with a mix of dish soap and water.
- Do not use hot water, as it can set the stain.
Blood Or Red Wine
- Rinse immediately in cold water.
- For stubborn stains, try a drop of hydrogen peroxide on white fabric (test first).
Tape Or Glue Residue
- Gently peel off what you can.
- Dab with a cotton swab dipped in rubbing alcohol (test on a corner first).
Always test any cleaning method on a hidden area first. Some chemicals may damage or discolor threads.
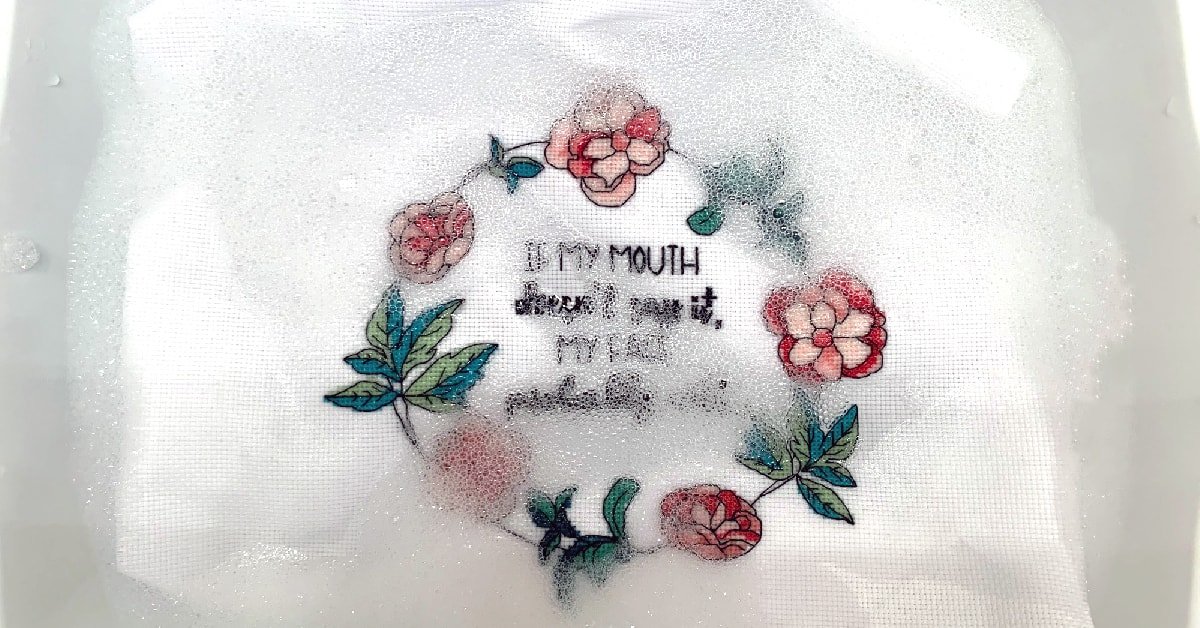
Drying And Blocking Your Finished Piece
Proper drying is as important as washing. If cross stitch dries unevenly, the fabric may warp or the stitches may look crooked.
- Always dry flat on a towel.
- Shape the fabric back to its original size and squareness. This is called blocking.
- You can use rust-proof pins to hold the edges in place on a padded board.
- Avoid dryers, direct heat, or hanging.
If you plan to frame your cross stitch, make sure it is completely dry and flat before starting.
Comparing Soap Types For Cross Stitch Washing
Choosing the right soap makes a difference in results. Here’s a quick comparison:
| Soap Type | Pros | Cons | Recommended For |
|---|---|---|---|
| Mild Liquid Dish Soap | Easy to find, gentle, unscented options | Some brands have additives or scents | Most cross stitch |
| Specialty Needlework Soap | Made for delicate work, no residue | More expensive, less available | Antique, valuable, or delicate pieces |
| Laundry Detergent | Strong cleaning power | Too harsh for threads, may cause fading | Not recommended |
| Baby Shampoo | Mild, gentle scent | Some contain oils or conditioners | Only if unscented, pure formula |
For most projects, unscented dish soap is the safest and easiest choice.
Advanced Tips For Expert Results
Even experienced stitchers make mistakes. Here are some advanced tips to take your finishing to the next level:
- Use distilled water if you live in an area with hard water. Minerals in hard water can leave stains or make fabric stiff.
- Block your piece after washing to restore perfect shape. Pin the damp work to a padded board, stretching gently to square edges. Let it dry completely before removing.
- Iron with steam from the back to avoid crushing stitches. Use a pressing cloth to protect the design.
- Wash before adding beads or metallics if possible. This way, you can clean more thoroughly without damaging special materials.
- Store clean work in acid-free tissue if you don’t frame it immediately. This prevents yellowing over time.
Credit: stitchedmodern.com
What To Avoid When Washing Cross Stitch
Mistakes can happen, but many are avoidable. Here are things you should never do:
- Never use bleach or strong cleaners. They will weaken fibers and fade colors.
- Don’t wring or twist your work. This stretches fabric and can ruin stitches.
- Don’t use hot water. It can shrink fabric, set stains, and cause colors to run.
- Avoid dryers, irons on high heat, or direct sunlight for drying.
- Don’t skip the colorfast test if you use new or unknown threads.
Handling Accidents: What If Threads Bleed?
Sometimes, even with testing, colors may bleed. If you see color in the wash water, don’t panic.
- Remove your cross stitch from the water immediately.
- Rinse quickly in several changes of cold water.
- Do not let the piece dry if there is still color bleeding—this can make stains permanent.
- Lay the piece flat and place a white paper towel under and over the affected area. Press gently to absorb as much dye as possible.
- For stubborn bleeding, some stitchers use a product called Synthrapol (a textile detergent) to pull out extra dye. Test first on a scrap.
Prevention is easier than cure. Always test threads and, if possible, wash before adding risky threads.
When Not To Wash A Cross Stitch
Not every cross stitch project should be washed. Here are exceptions:
- Antique or fragile pieces that may fall apart in water.
- Projects with non-washable embellishments (like glued-on elements).
- Some hand-dyed fabrics or threads that are not colorfast, even after testing.
- Heirloom pieces with weak or brittle fabric.
In these cases, consider gentle dusting, spot cleaning, or professional textile cleaning.
Real-world Example: Washing A Family Heirloom
Imagine you’ve finished a reproduction of a 19th-century sampler using silk threads and beads. You want to pass it down as a family treasure. Here’s how you’d approach washing:
- Test silk and bead colorfastness on scrap threads and beads.
- Remove as many beads as possible before washing.
- Use only cool distilled water and a drop of specialty needlework soap.
- Soak gently, watching for any bleeding.
- Support the fabric fully when lifting from water.
- Lay flat on towels to dry, blocking with rust-proof pins.
- Once dry, reattach beads and iron from the back with a pressing cloth.
This careful method preserves both beauty and value for the next generation.
Common Myths About Washing Cross Stitch
Many myths exist about washing cross stitch. Let’s clear up a few:
- “You don’t need to wash if your hands are clean.”
False. Oils and dust still collect, even with careful handling.
- “All threads are colorfast now.”
Not true. Many are, but some new or specialty threads can bleed.
- “Ironing is enough to clean.”
Wrong. Ironing does not remove dirt or marks and may set stains.
- “It’s okay to use regular laundry detergent.”
Regular detergents are too harsh and can damage fabric and thread.
Knowing the facts helps you avoid costly mistakes.
The Benefits Of Properly Washing Your Cross Stitch
Why go to all this trouble? Here’s what you gain:
- Cleaner, brighter appearance for your finished piece.
- Longer life—your work resists yellowing, dust, and insect damage.
- Professional finish—washed and blocked work looks better when framed or gifted.
- Peace of mind—knowing your hours of stitching are safe and preserved.
A Quick Reference: Washing Cross Stitch Do’s And Don’ts
For easy recall, here’s a summary:
- Do test all threads and fabric for colorfastness.
- Do use mild, unscented soap and cool water.
- Do support your work fully when wet.
- Do dry flat, shape, and block as needed.
- Don’t use hot water, bleach, or harsh cleaners.
- Don’t wring, twist, or hang to dry.
- Don’t skip washing unless you have a good reason.
Keep this checklist handy when you finish your next project.
When To Seek Professional Help
If your cross stitch is antique, extremely valuable, or has severe stains, professional textile conservators can help. They use advanced methods to clean and stabilize fabric. Look for conservators with experience in needlework preservation. This is especially important for museum-quality or family heirloom pieces.
For more on professional conservation, check out the advice from the Smithsonian Museum Conservation Institute.
Credit: littlelionstitchery.com
Frequently Asked Questions
What If My Cross Stitch Has Pet Hair Or Lint?
Use a lint roller or soft brush to gently remove hair and lint before washing. Always work gently to avoid pulling on stitches.
Can I Use Vinegar Or Baking Soda When Washing Cross Stitch?
It’s best to avoid vinegar or baking soda. They can react with dyes or fabric finishes, sometimes causing fading or residue. Stick to mild, unscented liquid soap.
How Do I Remove Stubborn Hoop Marks?
Soak the area in cool water and gently massage with your fingers. For deep marks, block the fabric while damp, pinning out the edges to restore shape.
Is It Safe To Wash Cross Stitch With Metallic Threads?
Most metallic threads can be washed if you use cool water, gentle handling, and avoid scrubbing. Always test for colorfastness first, as some metallics can bleed or tarnish.
Should I Wash My Cross Stitch Before Or After Framing?
Always wash and dry your cross stitch before framing. This removes oils, dust, and marks that could become permanent under glass or matting.
Washing your cross stitch may seem scary, but with the right approach, it’s simple and safe. Take your time, test materials, and follow each step carefully. Your finished work deserves the best care. With these tips, your cross stitch will stay beautiful and last for many years—ready to be displayed, gifted, or treasured as a family heirloom.