If you hear every footstep, voice, or television sound from your basement, you know how frustrating poor ceiling soundproofing can be. Whether your basement is a home theater, music studio, playroom, or simply a peaceful retreat, unwanted noise from above can ruin the experience. Many people try to fix this with simple solutions, but end up disappointed. The truth is, basement ceiling soundproofing requires careful planning and the right materials. This article gives you complete, practical guidance on how to make your basement ceiling soundproof, even if you have little DIY experience.
You’ll discover the science behind soundproofing, key materials to use, step-by-step methods, cost comparisons, and common mistakes to avoid. By the end, you’ll know exactly how to achieve a quieter, more comfortable basement, and avoid wasting money or effort on solutions that don’t work.
Understanding The Basics Of Soundproofing
Before starting any project, it’s important to know how sound travels and what makes it so hard to block. There are two main types of noise you’ll face in basements:
- Airborne noise: Voices, music, TV, or any sound traveling through the air.
- Impact noise: Footsteps, moving furniture, or dropped objects that create vibrations.
Sound moves easily through thin materials and gaps. Most basement ceilings are made of drywall, wood joists, and maybe some insulation. These materials do little to stop noise, especially impact sounds. True soundproofing means creating barriers that absorb, block, or break up the path of sound waves.
Two non-obvious things people miss:
- Sound leaks through even small holes or cracks—like around light fixtures, pipes, and air vents.
- Vibration travels through solid structures (like wood beams) and can bypass even thick insulation.
So, effective soundproofing for your basement ceiling involves a mix of materials, proper sealing, and sometimes even structural changes.
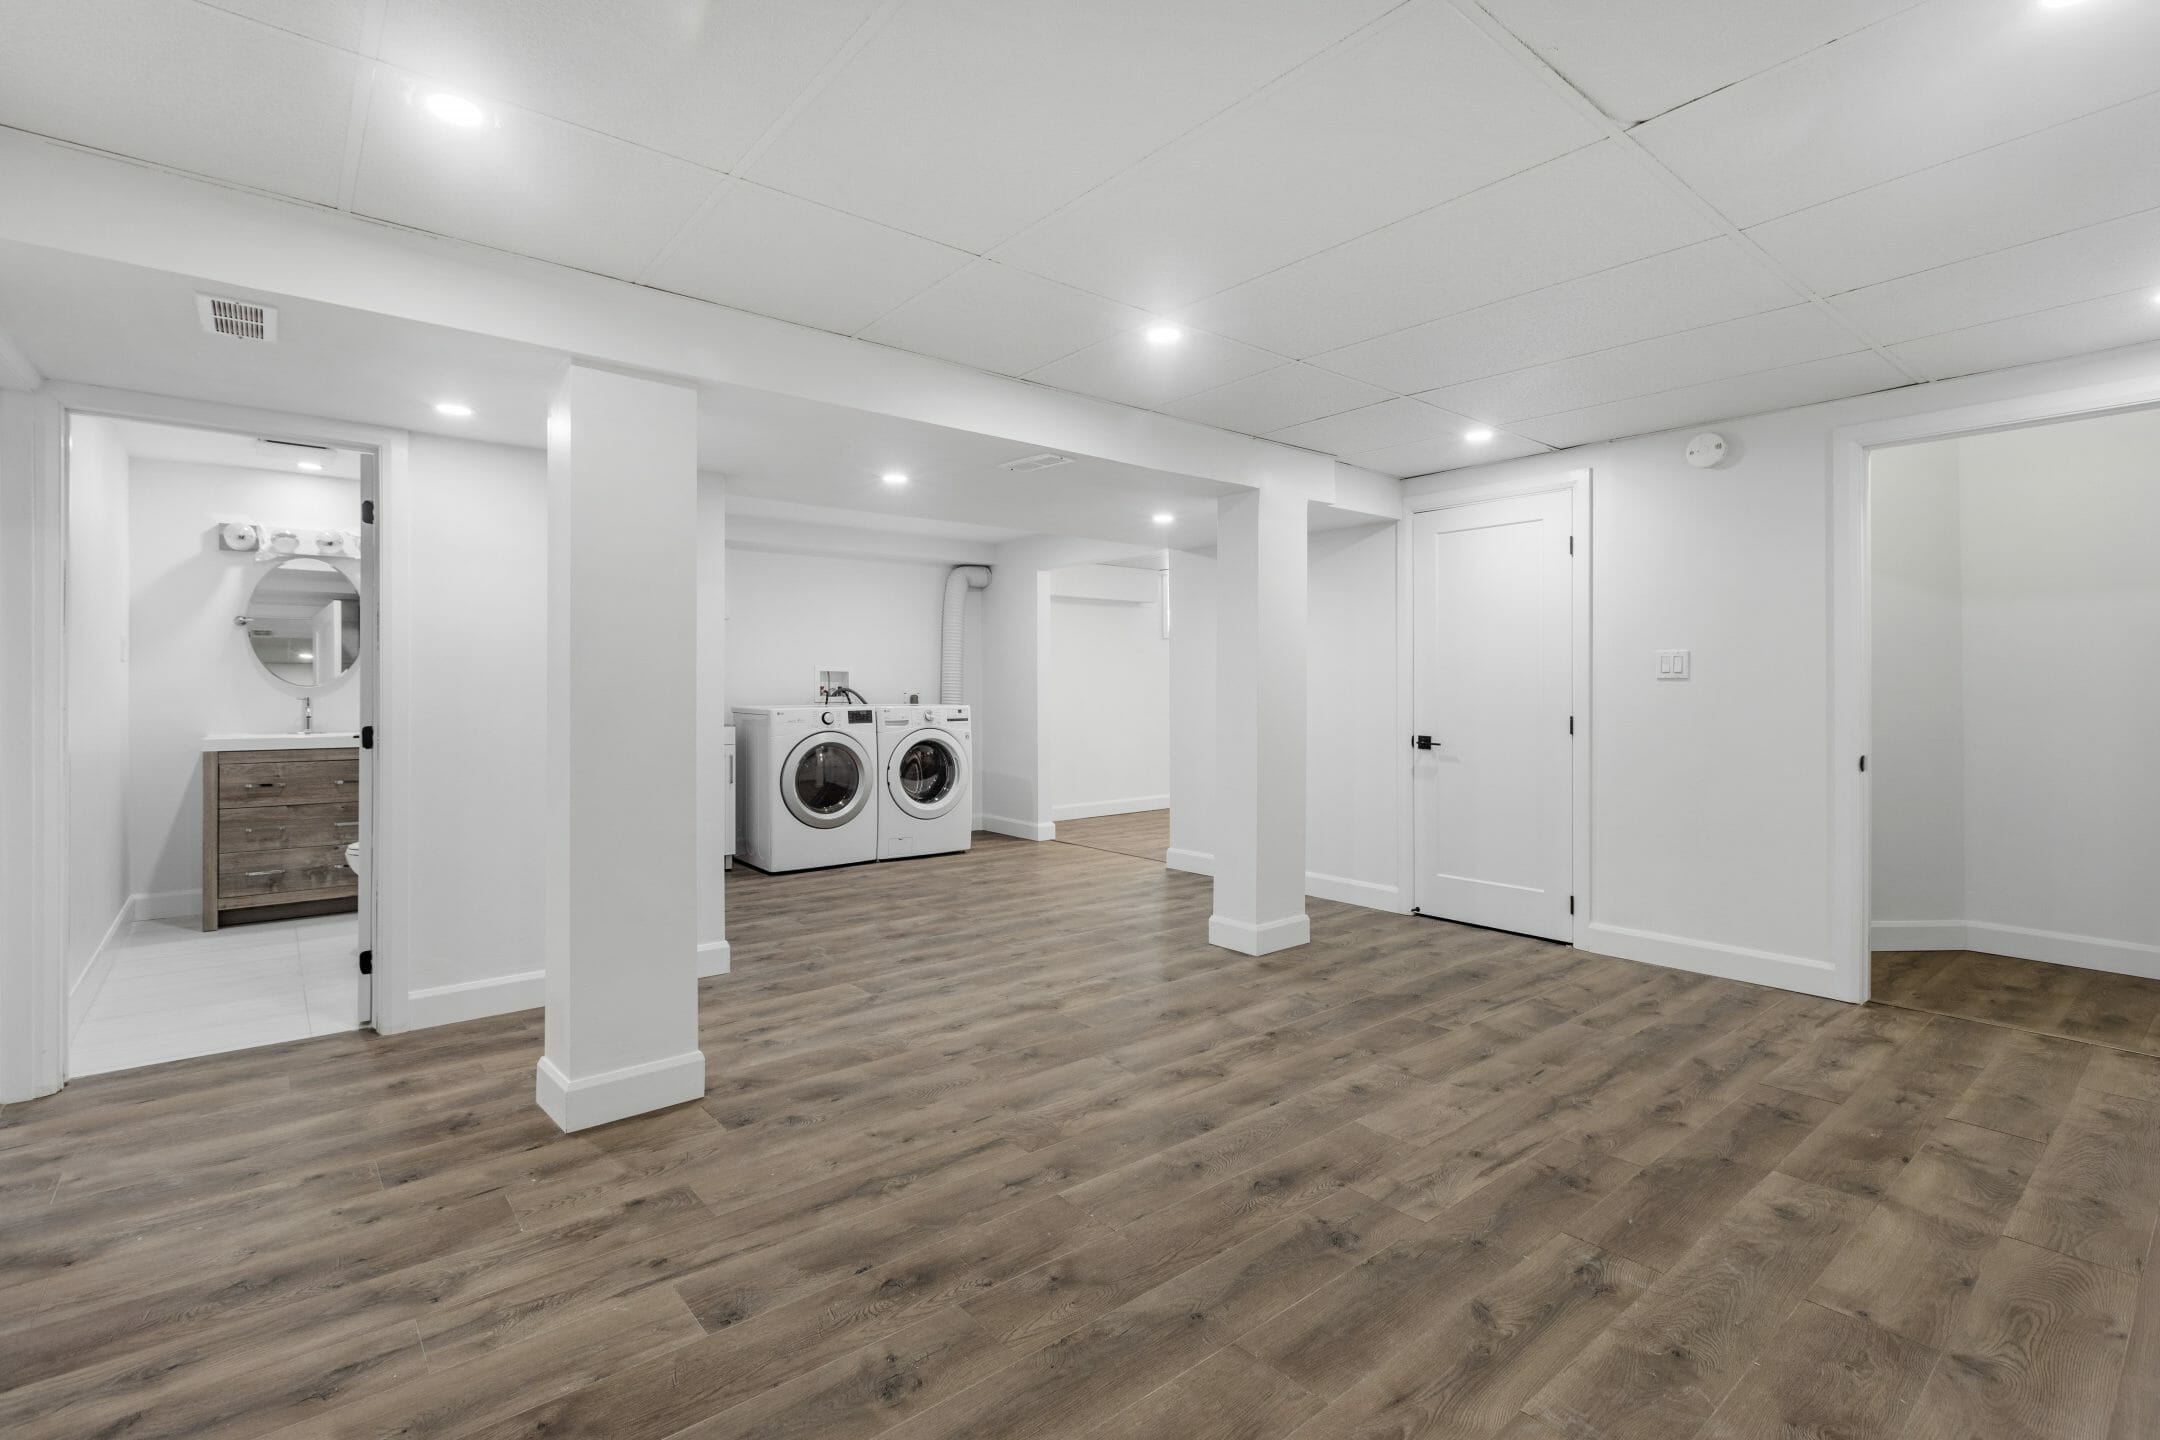
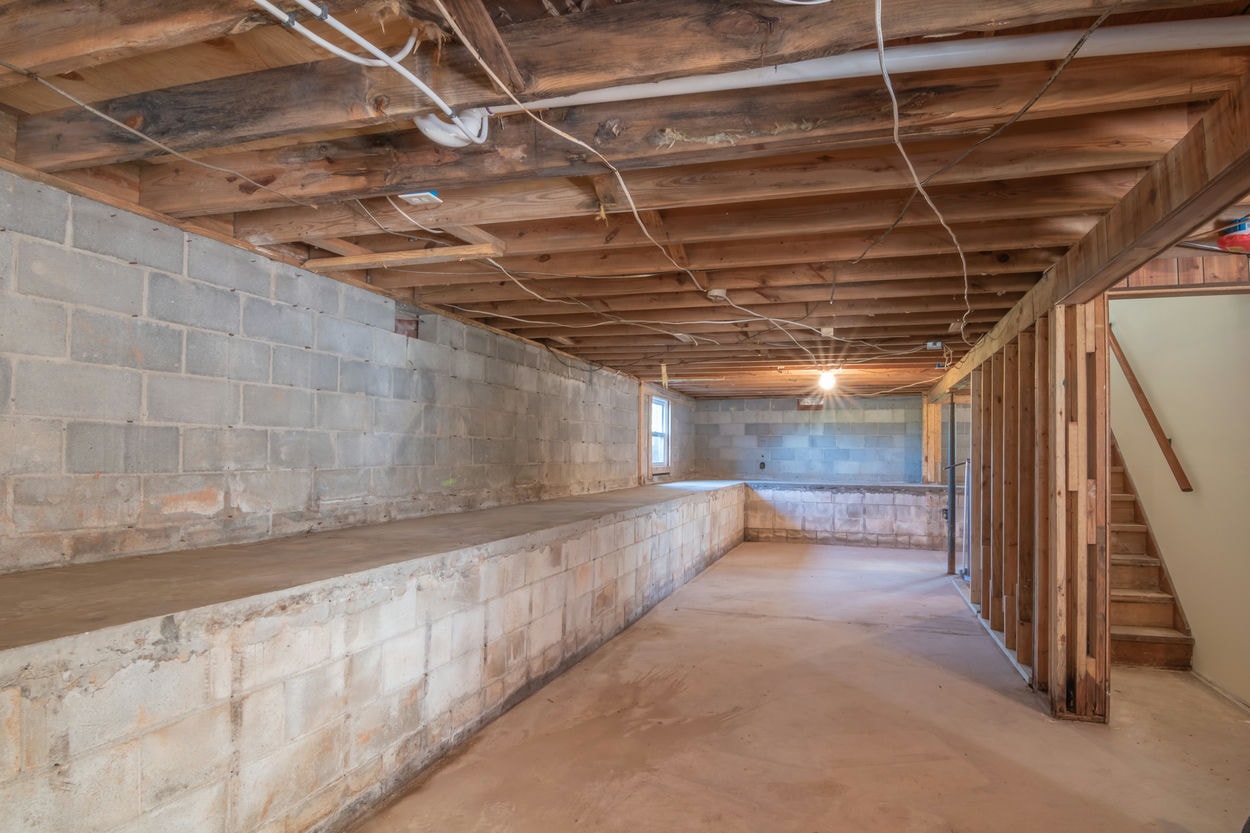
Assessing Your Basement Ceiling
Start by examining your current ceiling construction. This step helps you choose the right solutions and estimate your budget. Ask yourself:
- Is the ceiling finished (covered with drywall) or unfinished (open joists and visible pipes)?
- What is the main source of noise—voices, TV, or footsteps?
- Are there gaps, holes, or vents in the ceiling?
- Do you need to keep access to pipes and wires?
If you have an unfinished ceiling, you can easily add materials between the joists. With a finished ceiling, you may need to remove drywall or install new layers on top. Take pictures and measure the ceiling area so you buy the right amount of materials.
Credit: www.acousticalsurfaces.com
Key Materials For Basement Ceiling Soundproofing
There are many products for soundproofing, but not all work equally well for basements. Here are the most effective options:
1. Acoustic Insulation
This is a special type of fiberglass or mineral wool designed to absorb sound. Unlike regular insulation, acoustic insulation is denser and blocks more noise. It fits between ceiling joists and is a good first step.
- Popular brands: Rockwool Safe’n’Sound, Owens Corning QuietZone
- Cost: $0.80–$1.50 per square foot
2. Resilient Channels
These are thin metal strips that decouple the drywall from the joists. Resilient channels reduce the vibration that passes through the ceiling structure.
- Installed perpendicular to joists before adding drywall
- Can reduce noise by 15–20 decibels
3. Soundproof Drywall
Also called acoustic drywall or “quiet board,” this material is heavier and made with sound-dampening layers. It’s more expensive than regular drywall but blocks more noise.
- Brands: QuietRock, CertainTeed SilentFX
- Adds 2–3 pounds per square foot
4. Mass Loaded Vinyl (mlv)
MLV is a flexible, heavy sheet that adds mass to the ceiling. It blocks both airborne and impact noise.
- Thickness: 1/8″ to 1/4″
- Weight: 1–2 pounds per square foot
5. Green Glue
This is a damping compound used between layers of drywall. Green Glue converts sound energy into heat, which reduces noise transfer. It’s especially effective for home theaters or music rooms.
- Applied as a thick layer between drywall sheets
- Takes 30 days to reach full effectiveness
6. Acoustic Panels And Tiles
These are decorative panels that absorb sound and reduce echo. They’re not as effective for blocking noise from above, but help improve overall room acoustics.
7. Soundproof Caulk
Flexible acoustic sealant fills gaps and cracks. Soundproof caulk is essential for sealing around lights, vents, and pipes, stopping sound leaks.
8. Drop Ceiling With Acoustic Tiles
A drop ceiling uses a metal grid and sound-absorbing tiles. It’s easier to install in basements with low ceilings and gives you access to pipes and wiring.
Here’s a quick comparison of key soundproofing materials for basement ceilings:
| Material | Noise Reduction | Cost (per sq ft) | DIY Friendly? |
|---|---|---|---|
| Acoustic Insulation | Good | $1.00 | Yes |
| Resilient Channel | Excellent | $0.80 | Medium |
| Soundproof Drywall | Very Good | $2.50 | No |
| Mass Loaded Vinyl | Excellent | $2.00 | Medium |
| Green Glue | Excellent | $0.50 | Yes |
| Acoustic Panels | Fair | $2.00 | Yes |
| Soundproof Caulk | Good | $0.10 | Yes |
| Drop Ceiling | Good | $3.00 | Yes |
Step-by-step Guide: How To Soundproof Your Basement Ceiling
Every basement is a little different, but these steps work for most homes. If you’re remodeling or building new, follow all the steps. For a finished ceiling, you may use only the methods that fit your situation.
Step 1: Seal All Gaps And Cracks
Sound finds its way through even the smallest openings. Before adding insulation or drywall, use soundproof caulk to seal:
- Gaps around light fixtures
- Holes for pipes, wires, or vents
- Cracks between drywall sheets
- Spaces at the wall-ceiling joint
Don’t skip this step—it stops a lot of noise leaks.
Step 2: Add Acoustic Insulation Between Joists
If your ceiling is open or if you’re removing the drywall, install acoustic insulation between every joist. Press it in gently so it fits snug, but don’t compress it too much (it works best when fluffy).
- Use gloves and a mask—fiberglass or mineral wool can irritate skin and lungs.
- Cut pieces to fit around pipes and wires.
This absorbs airborne noise and reduces echo in the basement.
Step 3: Install Resilient Channels
Next, screw resilient channels perpendicular to the ceiling joists. These thin metal strips create a “floating” layer, so sound vibrations are not transferred directly from the floor above into your ceiling.
- Space them about 16–24 inches apart.
- Use screws designed for resilient channel (do not screw drywall into the joists directly, or you lose the benefit).
Resilient channels are one of the best ways to block impact noise from footsteps.
Step 4: Attach Mass Loaded Vinyl (mlv)
Staple or nail mass loaded vinyl over the resilient channels. Overlap the edges by 2 inches and seal all seams with acoustic tape or caulk. This adds weight and blocks both types of noise.
- MLV is heavy—get help if covering a large area.
- Cut holes for lights and vents, but seal the edges tightly.
MLV can make a big difference, especially if noise is very loud.
Step 5: Hang Soundproof Drywall
Install soundproof drywall over the MLV and resilient channels. If your ceiling is already drywalled, you can add a second layer on top (use longer screws and check ceiling height).
- Apply Green Glue between the two drywall layers for maximum noise reduction.
- Stagger the seams so they don’t line up with the first layer.
- Seal all edges with soundproof caulk.
This sandwich method blocks more sound than drywall alone.
Step 6: Finish And Paint
Tape and mud the seams, then paint the ceiling. Choose a flat or acoustic paint for a quieter finish.
If you need access to pipes or want a different look, consider installing a drop ceiling with acoustic tiles instead.
Step 7: Add Acoustic Panels (optional)
If you still notice echo or want to improve sound quality for music or movies, hang acoustic panels on the ceiling or upper walls. These absorb extra sound in the room, making voices and music clearer.
Example Project: Diy Soundproofing Cost Breakdown
For a 300 sq ft basement ceiling, using moderate quality materials:
- Acoustic insulation: $300
- Resilient channels: $240
- MLV: $600
- Soundproof drywall (2 layers): $1,500
- Green Glue: $150
- Soundproof caulk: $30
Total materials cost: $2,820 (not including tools or labor)
A professional contractor may charge $3,000–$5,000 for similar work, depending on complexity.

Credit: www.youtube.com
Comparing Soundproofing Methods
How do these methods compare for effectiveness, cost, and difficulty? See the summary below:
| Method | Effectiveness | Cost | DIY Level |
|---|---|---|---|
| Acoustic Insulation Only | Moderate | Low | Easy |
| Resilient Channels + Insulation | High | Medium | Medium |
| MLV + Insulation | Very High | High | Medium |
| Double Drywall + Green Glue | Excellent | High | Hard |
| Drop Ceiling | Moderate | Medium | Easy |
Common Mistakes To Avoid
Many homeowners waste time and money on soundproofing that doesn’t work well. Here are common mistakes—and how to avoid them:
- Skipping the sealing: Gaps and cracks are the biggest cause of sound leaks. Always use soundproof caulk first.
- Using only insulation: Regular insulation helps a little, but by itself, it doesn’t block much noise. Combine it with MLV or drywall for best results.
- Ignoring impact noise: Footsteps and vibrations travel through wood and concrete. Use resilient channels or floating ceilings to break the path.
- Not sealing around fixtures: Light fixtures, pipes, and vents are weak points. Seal them with acoustic materials or special backer boxes.
- Overloading the ceiling: Adding too much weight (like several drywall layers) can stress the ceiling structure. Check your joists can handle the extra load.
- Choosing the wrong materials: Not all products labeled “soundproof” are effective. Check for independent lab test results or real user reviews.
Extra Tips For Better Results
- If your basement has ductwork or shared HVAC, use acoustic duct liners to stop noise travel.
- For home theaters, add soundproofing to walls and doors, not just the ceiling.
- If cost is a concern, start with sealing and insulation, then add more layers later.
- Try a “test section” (like 4×4 feet) before soundproofing the whole ceiling to check results.
When To Hire A Professional
DIY soundproofing is possible for many homeowners, but consider hiring a pro if:
- You have a large area (over 500 sq ft) or complex ceiling shape.
- There’s a risk of damaging electrical, plumbing, or structural elements.
- You need maximum soundproofing for a music studio or high-end home theater.
- Local building codes require permits or inspections.
Professional installers can access higher-grade materials and ensure everything is done safely.
Credit: www.renoduck.com
Real-world Example: Basement Home Theater
Let’s see how these methods work for a real project. A family wanted to turn their 400 sq ft basement into a home theater. Their goals:
- Block TV/movie noise from reaching bedrooms above
- Stop footsteps and voices from upstairs
Here’s what they did:
- Removed the old drywall ceiling
- Installed mineral wool insulation between the joists
- Added resilient channels and covered them with MLV
- Hung two layers of QuietRock drywall with Green Glue in between
- Sealed all seams and fixtures with acoustic caulk
After completion, upstairs noise was reduced by over 60% (measured with a decibel meter). The room felt quieter, and movie sound did not disturb anyone above. They spent about $5,000 for materials and labor.
How To Choose The Right Solution For Your Basement
Not every basement needs all these layers. Here’s how to decide what’s best for you:
- If you only hear voices or TV, insulation + caulk may be enough.
- For heavy footsteps or music, add resilient channels + MLV + drywall.
- If you need easy access to pipes, consider a drop ceiling with acoustic tiles.
- For maximum quiet, combine all methods (seal, insulate, decouple, mass, dampen).
Think about your budget, DIY skill, and how much noise reduction you really need.
Maintenance And Longevity
Soundproofing materials last a long time but check them yearly:
- Look for gaps, cracks, or damage from leaks.
- Make sure panels and tiles are secure.
- If you make repairs or add new fixtures, reseal with soundproof caulk.
High-quality installations can work for 20–30 years with little maintenance.
Environmental And Health Factors
Some soundproofing materials (like mineral wool) can shed fibers. Always wear protective gear during installation. Choose products with low VOC (volatile organic compounds) for better indoor air quality. Many newer soundproofing products are made from recycled materials, making them safer for your family and the environment.
Where To Buy Soundproofing Materials
Most home improvement stores carry basic insulation and drywall. For specialty items like MLV, resilient channels, or Green Glue, check online retailers or dedicated acoustic supply shops. Compare brands and read reviews to make sure you get proven, effective products.
For detailed technical data about soundproofing materials, visit the Soundproofing Company.
Frequently Asked Questions
How Much Does It Cost To Soundproof A Basement Ceiling?
Costs depend on the size of the ceiling and materials used. A basic DIY job with insulation and caulk may cost $1–$2 per square foot. Full soundproofing with resilient channels, MLV, and double drywall can be $8–$12 per square foot. Professional installation is higher, but gives guaranteed results.
Can I Soundproof A Basement Ceiling Without Removing Drywall?
Yes, but results are limited. You can install acoustic panels or a drop ceiling below the existing drywall. For best results, add a second layer of drywall with Green Glue and seal all gaps with soundproof caulk.
Does Spray Foam Insulation Work For Soundproofing?
Spray foam is good for thermal insulation and air sealing, but it’s not as effective as acoustic insulation or mineral wool for blocking sound. Use it to fill hard-to-reach gaps, but combine it with other soundproofing methods for real noise reduction.
What Is The Best Way To Block Footsteps From Above?
The most effective method is using resilient channels with MLV and double drywall. This setup breaks the vibration path, adds mass, and absorbs sound. If you can, add a thick carpet with a dense pad on the floor above for even better results.
Will Soundproofing Lower My Basement Ceiling Height?
Yes, each layer adds thickness. Insulation and resilient channels add about 1.5–2 inches; MLV and double drywall can add another 1–2 inches. Plan for a total loss of 2–4 inches in ceiling height. Drop ceilings may lower it even more, depending on the grid and tile thickness.
Bringing It All Together
Soundproofing your basement ceiling is one of the best ways to create a peaceful, private space in your home. While no solution blocks 100% of noise, combining sealing, insulation, decoupling, and mass can reduce both airborne and impact sounds by 50–80%. Start with a careful assessment, use quality materials, and follow proven methods. Whether you do it yourself or hire a professional, a soundproofed basement ceiling will make your space more comfortable and valuable for years to come.