A sagging curtain rod can make any room look untidy and unfinished. Many homeowners experience this problem, especially with wide windows or heavy curtains. You might see the middle of your rod drooping, screws pulling out of the wall, or brackets bending under the weight.
The good news is that fixing a sagging curtain rod is not only possible but can also be a simple DIY task if you understand the causes and solutions. Whether your curtain rod is barely holding on or just starting to bend, you can restore both function and style to your window treatment with the right steps.
This guide will walk you through every aspect of how to fix a sagging curtain rod. From understanding why rods sag to practical fixes, prevention tips, and what to do if nothing seems to work, you’ll find everything you need here.
If you want your curtains to hang straight and your room to look its best, keep reading. Let’s get started.
Why Do Curtain Rods Sag?
Before you grab a drill or new brackets, it’s important to know what causes curtain rods to sag. Understanding the real reason helps you fix the problem for good, not just hide it for a few weeks.
Common Causes
1. Weak Wall Anchors
Many curtain rods are attached to drywall with basic plastic anchors. Over time, these can pull out, especially under heavy loads. This problem is even more common in older homes, where the drywall may already be weakened.
2. Overloaded Rod
Heavy curtains, double layers, or blackout drapes add extra weight. If the rod isn’t designed for this, it can bend or bow. Some people try to hang extra things like string lights or decorations, which add even more stress to the rod.
3. Long Span Without Support
If your window is wide and the rod has no center support, gravity will eventually pull the middle down. Even the strongest rods can sag over long distances without proper support.
4. Thin Or Low-quality Rods
Cheaper rods made from thin metal or plastic can’t handle much weight and will sag sooner. Often, these rods look fine when you first install them, but after a few months, you’ll notice the middle starting to droop.
5. Loose Brackets Or Screws
Sometimes, brackets become loose because screws weren’t tight enough or missed the wall studs. Screws can also work loose over time if the curtains are opened and closed frequently.
Non-obvious Insight
Many people overlook humidity and temperature changes. If your rod is in a bathroom or near a kitchen, moisture can weaken drywall and metal over time, causing sagging. Metal rods in humid areas can even develop rust inside the wall, making the hardware less secure. Walls exposed to moisture may also become soft, so anchors and screws can slip out with little warning.
Assessing The Damage: How Bad Is The Sag?
Not all sagging rods need the same fix. Check your rod carefully before you start.
Signs Of Serious Problems
- Rod visibly bent in the middle, with a curve that doesn’t return to straight when you remove the curtains.
- Screws pulling out of the wall, leaving larger holes or chunks of drywall missing.
- Brackets wobbly or moving when touched, even after tightening the screws.
- Curtains not sliding smoothly, catching at the sag or getting stuck in the middle.
Quick Assessment Steps
- Remove the curtains and touch the rod. Does it spring back if you lift it? If it stays bent, the rod is likely too weak.
- Check each bracket. Is it loose or coming off? Gently wiggle each bracket—if it moves, the wall anchor may be failing.
- Look at the wall. Are there cracks, or is plaster breaking away? Damaged drywall can’t hold any anchor securely.
If your rod is only slightly sagging, you might only need a center support. If the wall is damaged, you may need to repair the wall first. Take a picture of the damage before starting repairs—this helps if you need advice at a hardware store.
Tools And Materials Needed
Before you start, gather your supplies. Having everything ready will save time and reduce frustration.
Basic Tools
- Drill with drill bits (a variable-speed drill helps for different materials)
- Screwdriver (manual or electric, Phillips and flathead are most useful)
- Tape measure (check window and rod length)
- Level (even a small one works)
- Pencil (for marking bracket placement)
Materials
- Wall anchors (toggle bolts, molly bolts, or heavy-duty anchors depending on your wall type)
- Replacement screws (longer and thicker than original if possible; coated screws resist rust in humid areas)
- Center support bracket (if needed for long rods)
- New curtain rod (if old one is bent or weak)
- Spackle or wall repair kit (for damaged drywall)
- Sandpaper (medium to fine grit)
- Stud finder (optional, but recommended—studs offer the strongest mounting point)
Pro tip: Use a level, not your eyes, to check if the rod is straight. Walls and ceilings are rarely perfect, and even small errors are obvious once the curtains are hung.
How To Fix A Sagging Curtain Rod: Step-by-step
Let’s walk through the most effective ways to fix a sagging curtain rod, from the easiest to more advanced methods.
1. Tighten The Brackets And Screws
Sometimes, fixing a sagging rod is as simple as tightening what’s already there.
- Remove the curtains and rod.
- Use a screwdriver to tighten all screws in the brackets. Check for stripped screws—if the screw just spins, it’s not gripping the wall.
- If screws spin without tightening, the holes may be stripped. You’ll need to use wall anchors or bigger screws.
This step is often skipped, but sometimes it’s all that’s needed, especially if the rod was only recently installed.
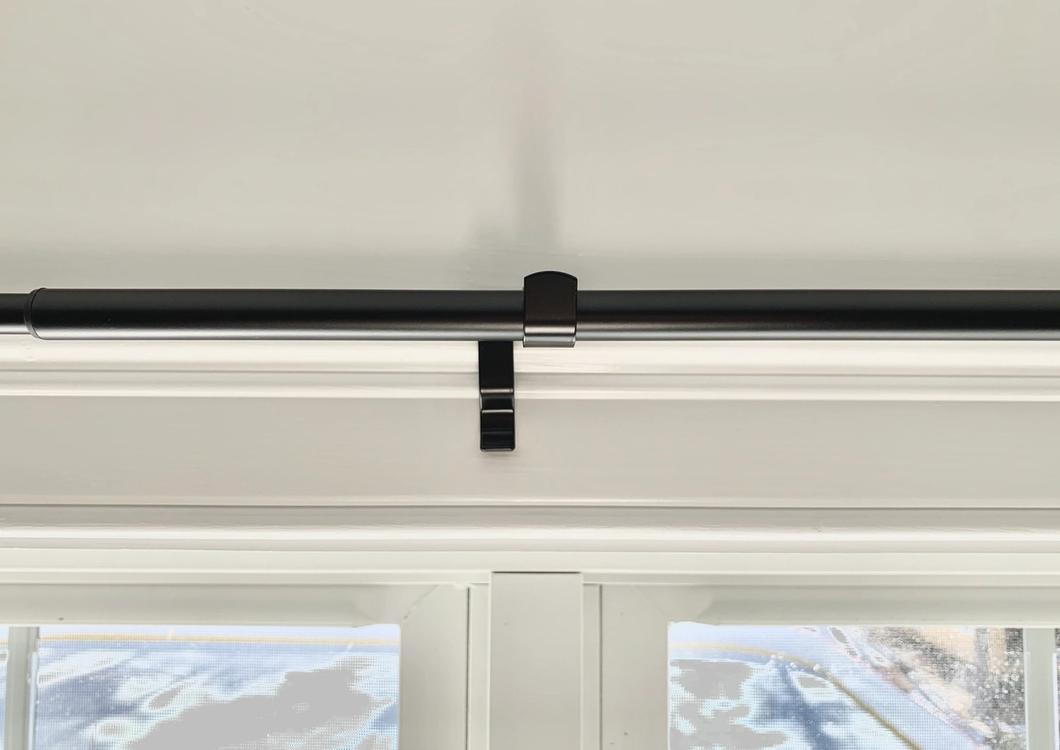
2. Add A Center Support Bracket
For rods longer than 6 feet (about 1. 8 meters), a center support is crucial.
- Buy a matching center support bracket.
- Measure the midpoint of your window and mark it.
- Use a level to make sure all brackets line up.
- Drill pilot holes, insert anchors if needed, and attach the center bracket.
- Reinstall the rod and curtains.
Extra insight: For telescoping rods (rods that slide into each other), the center is usually where they are weakest. Always support this joint. If your rod has a visible seam in the center, place the bracket directly under it for best results.
3. Upgrade Your Wall Anchors
Weak anchors often cause brackets to pull out.
- Remove the bracket and old anchors.
- Patch any damaged holes with spackle. Let dry, then sand smooth.
- Drill new holes slightly above or below the old ones. Moving the bracket just a little allows you to use fresh drywall.
- Insert heavy-duty anchors like toggle bolts or molly bolts.
- Reattach the brackets using long screws.
Tip: If possible, use a stud finder to locate wood studs and attach at least one bracket directly to a stud. This gives unmatched strength and rarely fails.
If your window is especially wide, consider using two center supports. Some professionals even custom-make longer rods with extra mounting points.
4. Replace The Curtain Rod
If your rod is visibly bent or too thin, a new, thicker rod is a smart investment.
- Choose a rod made from solid metal (like steel or wrought iron) for heavy curtains. Avoid hollow or thin aluminum for wide windows.
- Check the diameter: Rods 1 inch (2.5 cm) or thicker resist sagging better.
- Install using strong brackets and anchors. Double-check that the new rod fits your existing brackets or buy matching hardware.
Some curtain rods come with built-in center supports—choose these for windows wider than 8 feet.
5. Reinforce The Rod Internally
If you want to keep your rod but make it stronger, try reinforcing it.
- Measure the inside diameter of your rod.
- Buy a wooden dowel or metal pipe that fits snugly inside.
- Cut the reinforcement to the length of your rod.
- Slide it inside the rod, then reinstall.
This hidden fix can add surprising strength, especially for thin metal rods. It’s a good solution if you like your current rod’s style and don’t want to replace it.
6. Repair Damaged Drywall
Sometimes, the wall itself is the problem, especially if anchors have pulled out.
- Remove all hardware and loose plaster.
- Fill holes with spackle or a wall repair kit.
- Let dry, then sand smooth.
- Reinstall brackets with new anchors and screws.
For large holes, use a drywall patch kit. This ensures a solid base for the brackets. If you’re not sure how to patch drywall, many hardware stores offer simple patch kits with instructions.
7. Use Double Brackets
If you have double curtains (sheer and blackout), consider using double brackets.
- Double brackets spread the weight across a larger area, reducing stress on any one point.
- Install with heavy-duty anchors.
- Make sure both rods are strong enough for the curtains you use. Some double rods are only meant for lightweight sheers—check the packaging.
8. Upgrade To Ceiling-mounted Rods
If wall mounting isn’t strong enough, attach your rod to the ceiling.
- Ceiling joists are often stronger than drywall.
- Use ceiling-mount brackets and heavy-duty anchors.
- Measure carefully to ensure your curtains hang at the right height. Consider curtain length so the fabric just grazes the floor.
Ceiling mounting can also make windows look taller and rooms feel bigger.
9. Distribute Curtain Weight Evenly
Often, people push all the curtains to one side, adding extra weight to that bracket.
- Always spread curtains evenly when open.
- Avoid bunching heavy curtains on one end for long periods.
This simple habit can prevent future sagging. If your family often leaves curtains bunched, remind everyone to spread them out.
10. Consider Curtain Weight And Fabric
Some fabrics are much heavier than others.
- Velvet, blackout, and lined curtains are heavy. They need strong rods and brackets.
- Sheer and cotton curtains are lighter.
If your rod keeps sagging, switch to lighter curtains or get a rod designed for heavy drapes. For extra-wide windows, consider two sets of lighter curtains instead of one heavy pair.

Credit: www.reddit.com
Quick Comparison: Types Of Curtain Rods
Choosing the right rod is important. Here’s how common types compare for sagging resistance.
| Type | Material | Max Length Without Sag (approx.) | Best For |
|---|---|---|---|
| Plastic | PVC/Plastic | 4 ft (1.2 m) | Light sheers |
| Aluminum | Aluminum | 6 ft (1.8 m) | Light to medium curtains |
| Steel | Solid steel | 10 ft (3 m) | Heavy curtains, wide windows |
| Wood | Solid wood | 8 ft (2.4 m) | Decorative, medium weight |
Non-obvious insight: Solid steel rods cost more but outlast cheaper rods by years, especially in humid rooms. Some decorative wood rods have a steel core for extra strength—look for this if you want both style and durability.
Comparing Wall Anchors For Curtain Rods
The right wall anchor makes all the difference. Here’s a quick look at common options.
| Anchor Type | Strength | Best Use | Notes |
|---|---|---|---|
| Plastic expansion | Low | Light rods | Easy to install, can pull out |
| Molly bolt | Medium | Medium rods | Expands behind wall for better hold |
| Toggle bolt | High | Heavy rods | Spreads load over large area |
| Direct to stud | Very high | Any rod | Best option if possible |
If you’re unsure which anchor to use, bring a photo of your wall and rod to a hardware store. Staff can help match the right anchor to your situation.
Common Mistakes To Avoid
Fixing a sagging curtain rod isn’t hard, but many people make small mistakes that lead to bigger problems.
1. Ignoring Studs
Always check if you can mount at least one bracket into a wall stud. Studs give the strongest support and rarely fail.
2. Using The Same Holes
If holes are stripped, don’t reuse them. Move the bracket slightly and drill new holes. Reusing weak spots leads to repeat problems.
3. Skipping Center Support
Long rods always need a center bracket—even if the rod is “heavy duty. ” Don’t trust packaging alone—measure your window and add support as needed.
4. Choosing Cheap Rods
Saving money upfront often leads to more repairs later. Invest in a quality rod from the start to avoid future sagging.
5. Not Checking Level
Install brackets with a level, not just by eye. Even small tilts are very visible once curtains are hung.
6. Using The Wrong Anchors
Match anchor strength to your curtain weight and rod size. Don’t guess—ask for help at the hardware store if you’re unsure.
7. Not Testing Before Hanging Curtains
After installing brackets, gently pull on them before hanging the rod. If anything moves, fix it before adding the weight of curtains.
Prevention: How To Keep Curtain Rods From Sagging
Once your rod is fixed, take steps to prevent future sagging.
Upgrade Before You Hang Heavy Curtains
If you plan to switch to heavier curtains, upgrade your rod and anchors first. Don’t wait until you see sagging—plan ahead.
Spread Out The Load
Don’t let all the weight rest on one bracket. Open and close curtains evenly. For wide windows, encourage everyone in your home to use both sides when moving curtains.
Regularly Inspect Brackets
Every few months, check for wobbly brackets or loose screws. Fix problems early to prevent bigger repairs later. This only takes a minute but can save a lot of hassle.
Avoid Overloading
Don’t hang extra items (like string lights or decorations) from your curtain rod unless it’s designed for that weight. Even lightweight decorations add up over time.
Maintain Humidity Control
If your rod is in a humid area, use a dehumidifier or vent to protect both the wall and rod from moisture damage. In kitchens and bathrooms, wipe down rods occasionally to remove moisture or grease.
Extra insight: In older homes, regular inspection is even more important. Walls may be less sturdy, so catch problems early.
Credit: blog.kwikhang.com
When To Call A Professional
Most sagging curtain rods can be fixed by a confident DIYer. But some situations require expert help:
- The wall is badly damaged, and you see large cracks or holes.
- You’re unsure about drilling into walls with wiring or pipes behind.
- You want a custom window treatment with heavy hardware.
A professional handyman or contractor can ensure a safe, strong installation, especially for expensive or irreplaceable curtains. If you have plaster walls or historical details, professionals know how to protect these features while securing your hardware.
Real-life Example: Fixing A Sagging Rod In A Living Room
Let’s look at a typical scenario. Maria noticed her living room curtain rod sagging in the middle. The curtains were heavy velvet, and her window was 9 feet wide. The original rod was thin aluminum with only end brackets.
What Maria did:
- Removed the curtains and rod. She checked the wall and found one bracket was loose, with the anchor pulling out.
- Bought a solid steel rod (1.25-inch diameter) and heavy-duty brackets.
- Used a stud finder to place one bracket into a wall stud. For the other side, she used toggle bolts.
- Patched the old holes with spackle, waited for it to dry, then sanded it smooth.
- Added a center support bracket at the telescoping joint.
- Reinstalled the rod and curtains.
The result: No more sagging, even after a year of daily use. The curtains now open and close smoothly, and the rod looks straight and secure.
Lesson: The right rod, strong brackets, and a center support fixed the problem for good. Maria also learned to check for studs before starting any new project.

Credit: www.youtube.com
Frequently Asked Questions
How Do I Know If My Curtain Rod Is Too Weak For My Curtains?
If your rod bends under the weight of your curtains, or if it sags in the middle, it’s probably too weak. For heavy curtains, use a rod that’s at least 1 inch in diameter and made from strong material, like steel or solid wood. If you’re unsure, ask at the store—bring the curtain package or take a photo.
Can I Fix A Sagging Rod Without Drilling New Holes?
Sometimes. If the wall and anchors are still strong, tightening screws may work. But if holes are stripped or anchors are loose, you’ll need to drill new holes and use stronger anchors for a lasting fix. Never just add glue or tape—this is a short-term solution that won’t last.
What Type Of Wall Anchor Is Best For Heavy Curtains?
Toggle bolts are the strongest choice for drywall. They spread the load and hold heavy rods. If you can, always attach at least one bracket directly to a wall stud for maximum support. For brick or concrete walls, use masonry anchors.
Is It Better To Use Multiple Smaller Rods For Wide Windows?
For very wide windows, multiple smaller rods with overlapping curtains can reduce sagging risk. However, a single strong rod with center support is usually better for a clean look, unless your window is extra wide. Consider your style preference and the weight of your curtains.
Where Can I Learn More About Curtain Hardware And Installation?
For more details on curtain rods, brackets, and wall anchors, check out this helpful guide from Family Handyman.
Fixing a sagging curtain rod is a project most people can complete in an afternoon. With the right tools, stronger hardware, and a few smart upgrades, you can enjoy straight, stylish curtains for years to come. Don’t rush—take time to assess your situation and do the job right.
Your living space will look better, and your window treatments will last longer.