Building your own swivel chair is a satisfying project that combines woodworking, mechanical assembly, and a bit of upholstery. Whether you want to save money, customize your comfort, or just enjoy a hands-on challenge, creating a swivel chair from scratch gives you full control over materials, design, and function. Many people assume building a chair like this requires advanced skills or expensive tools, but with careful planning and patience, beginners can create a durable, attractive seat that spins smoothly. Along the way, you’ll learn how different chair parts work together, how to select and use hardware, and how to avoid common mistakes that can ruin both comfort and safety.
This step-by-step guide covers every part of the process, from choosing materials and tools to final assembly and finishing. You’ll discover options for different budgets and styles, plus practical tips for customizing your chair’s height, look, and stability. For those new to DIY furniture, we’ll highlight beginner pitfalls and share expert advice that isn’t obvious at first glance.
By the end, you’ll have the knowledge and confidence to build a swivel chair that fits your space and needs perfectly.
Understanding The Swivel Chair: How It Works
A swivel chair is designed to rotate smoothly on its base, allowing the user to turn in any direction without moving the chair itself. This is made possible by a swivel mechanism, usually a circular metal or plastic device containing ball bearings. Swivel chairs are popular in offices, workshops, and even homes because they make movement easier and more comfortable.
The basic parts include:
- Seat platform: The surface you sit on.
- Swivel mechanism: The hardware that allows rotation.
- Base: The supporting structure, often with legs or wheels.
- Backrest (optional): Provides additional support.
- Upholstery (optional): Adds comfort and style.
Understanding these parts helps you plan your build and spot quality issues. For example, the strength of the swivel mechanism decides how much weight the chair can hold and how smoothly it turns. Choosing the right base also affects stability and safety, especially if you want wheels for mobility.
Most store-bought swivel chairs use mass-produced parts, but a homemade chair can be designed to fit your exact needs, whether you want a rustic wooden look or a sleek modern seat.
Choosing The Right Materials
Selecting quality materials is key for a sturdy, comfortable, and long-lasting chair. Here’s what to consider for each main part:
Seat And Backrest
- Plywood: Common choice for the seat due to its strength and flexibility. ¾-inch thick is usually enough.
- Solid wood: Offers a classic look and strong support, but can be heavier.
- Upholstery foam: Adds comfort; 2–3 inches thick works well for most seats.
- Fabric or leather: For covering the foam. Durable options like canvas, vinyl, or upholstery-grade fabric last longer.
Swivel Mechanism
- Metal swivel plates: Most reliable and widely available. Look for ones rated for at least 250 lbs.
- Ball bearing vs. friction: Ball bearing designs rotate more smoothly and last longer.
- Adjustability: Some mechanisms allow you to set chair height or add tilt.
Base
- Wooden legs: Classic appearance, but may not roll.
- Metal bases: Stronger and suitable for wheeled chairs.
- Caster wheels: Add mobility, but make sure they lock if you want stability.
Fasteners And Hardware
- Bolts and screws: Use high-quality hardware to prevent wobbling.
- Washers and nuts: Secure the swivel plate and base.
- Wood glue: For extra strength in wooden joints.
Finishing Materials
- Wood stain or paint: Protects and colors the wood.
- Varnish or polyurethane: Adds a durable, smooth finish.
Using cheaper materials can lead to a wobbly or unsafe chair. Don’t skimp on the swivel plate; it’s the heart of your project.

Credit: ikeahackers.net
Tools You’ll Need
You don’t need a full workshop, but some basic tools make the job easier and safer. Here’s a practical list:
- Drill and drill bits: For making holes in wood and metal.
- Screwdriver set: For assembling parts.
- Saw: A circular saw or jigsaw works for cutting wood.
- Measuring tape and ruler: For accurate sizing.
- Clamps: Hold pieces together while you work.
- Sander or sandpaper: For smoothing surfaces.
- Staple gun or heavy-duty stapler: For attaching upholstery.
- Wrench or socket set: For tightening bolts.
- Pencil: For marking measurements.
- Safety gear: Gloves, safety glasses, and a dust mask.
Optional but helpful:
- Power sander: Speeds up finishing.
- Wood router: Makes rounded edges.
- Cordless drill: Adds mobility.
If you don’t own all these tools, many hardware stores rent them at low cost.
Planning Your Chair: Design And Measurements
Before cutting any wood, sketch your chair and decide on its size. Think about where you’ll use it and who will sit on it. A standard office chair seat is about 18–20 inches wide and 17–19 inches deep, but you can adjust these numbers for your comfort.
Key Measurements
- Seat height: For most adults, 18–20 inches from the floor is comfortable.
- Seat width and depth: 18–20 inches is standard.
- Backrest height: If you include a back, 14–20 inches above the seat works for most people.
- Base diameter: Should be wider than the seat for stability; 22–28 inches is typical.
Don’t forget to allow extra material for joints, foam, and fabric. If you want to add armrests, sketch them in now and measure accordingly.
Sketching And Prototyping
Draw your design from several angles—top, side, and front. This helps you spot problems and plan for assembly. Some people make a cardboard or scrap wood model first to check comfort and stability.
Pay special attention to the center of gravity. If your base is too narrow or light, the chair may tip when someone leans back or spins fast.
Credit: jenron-designs.com
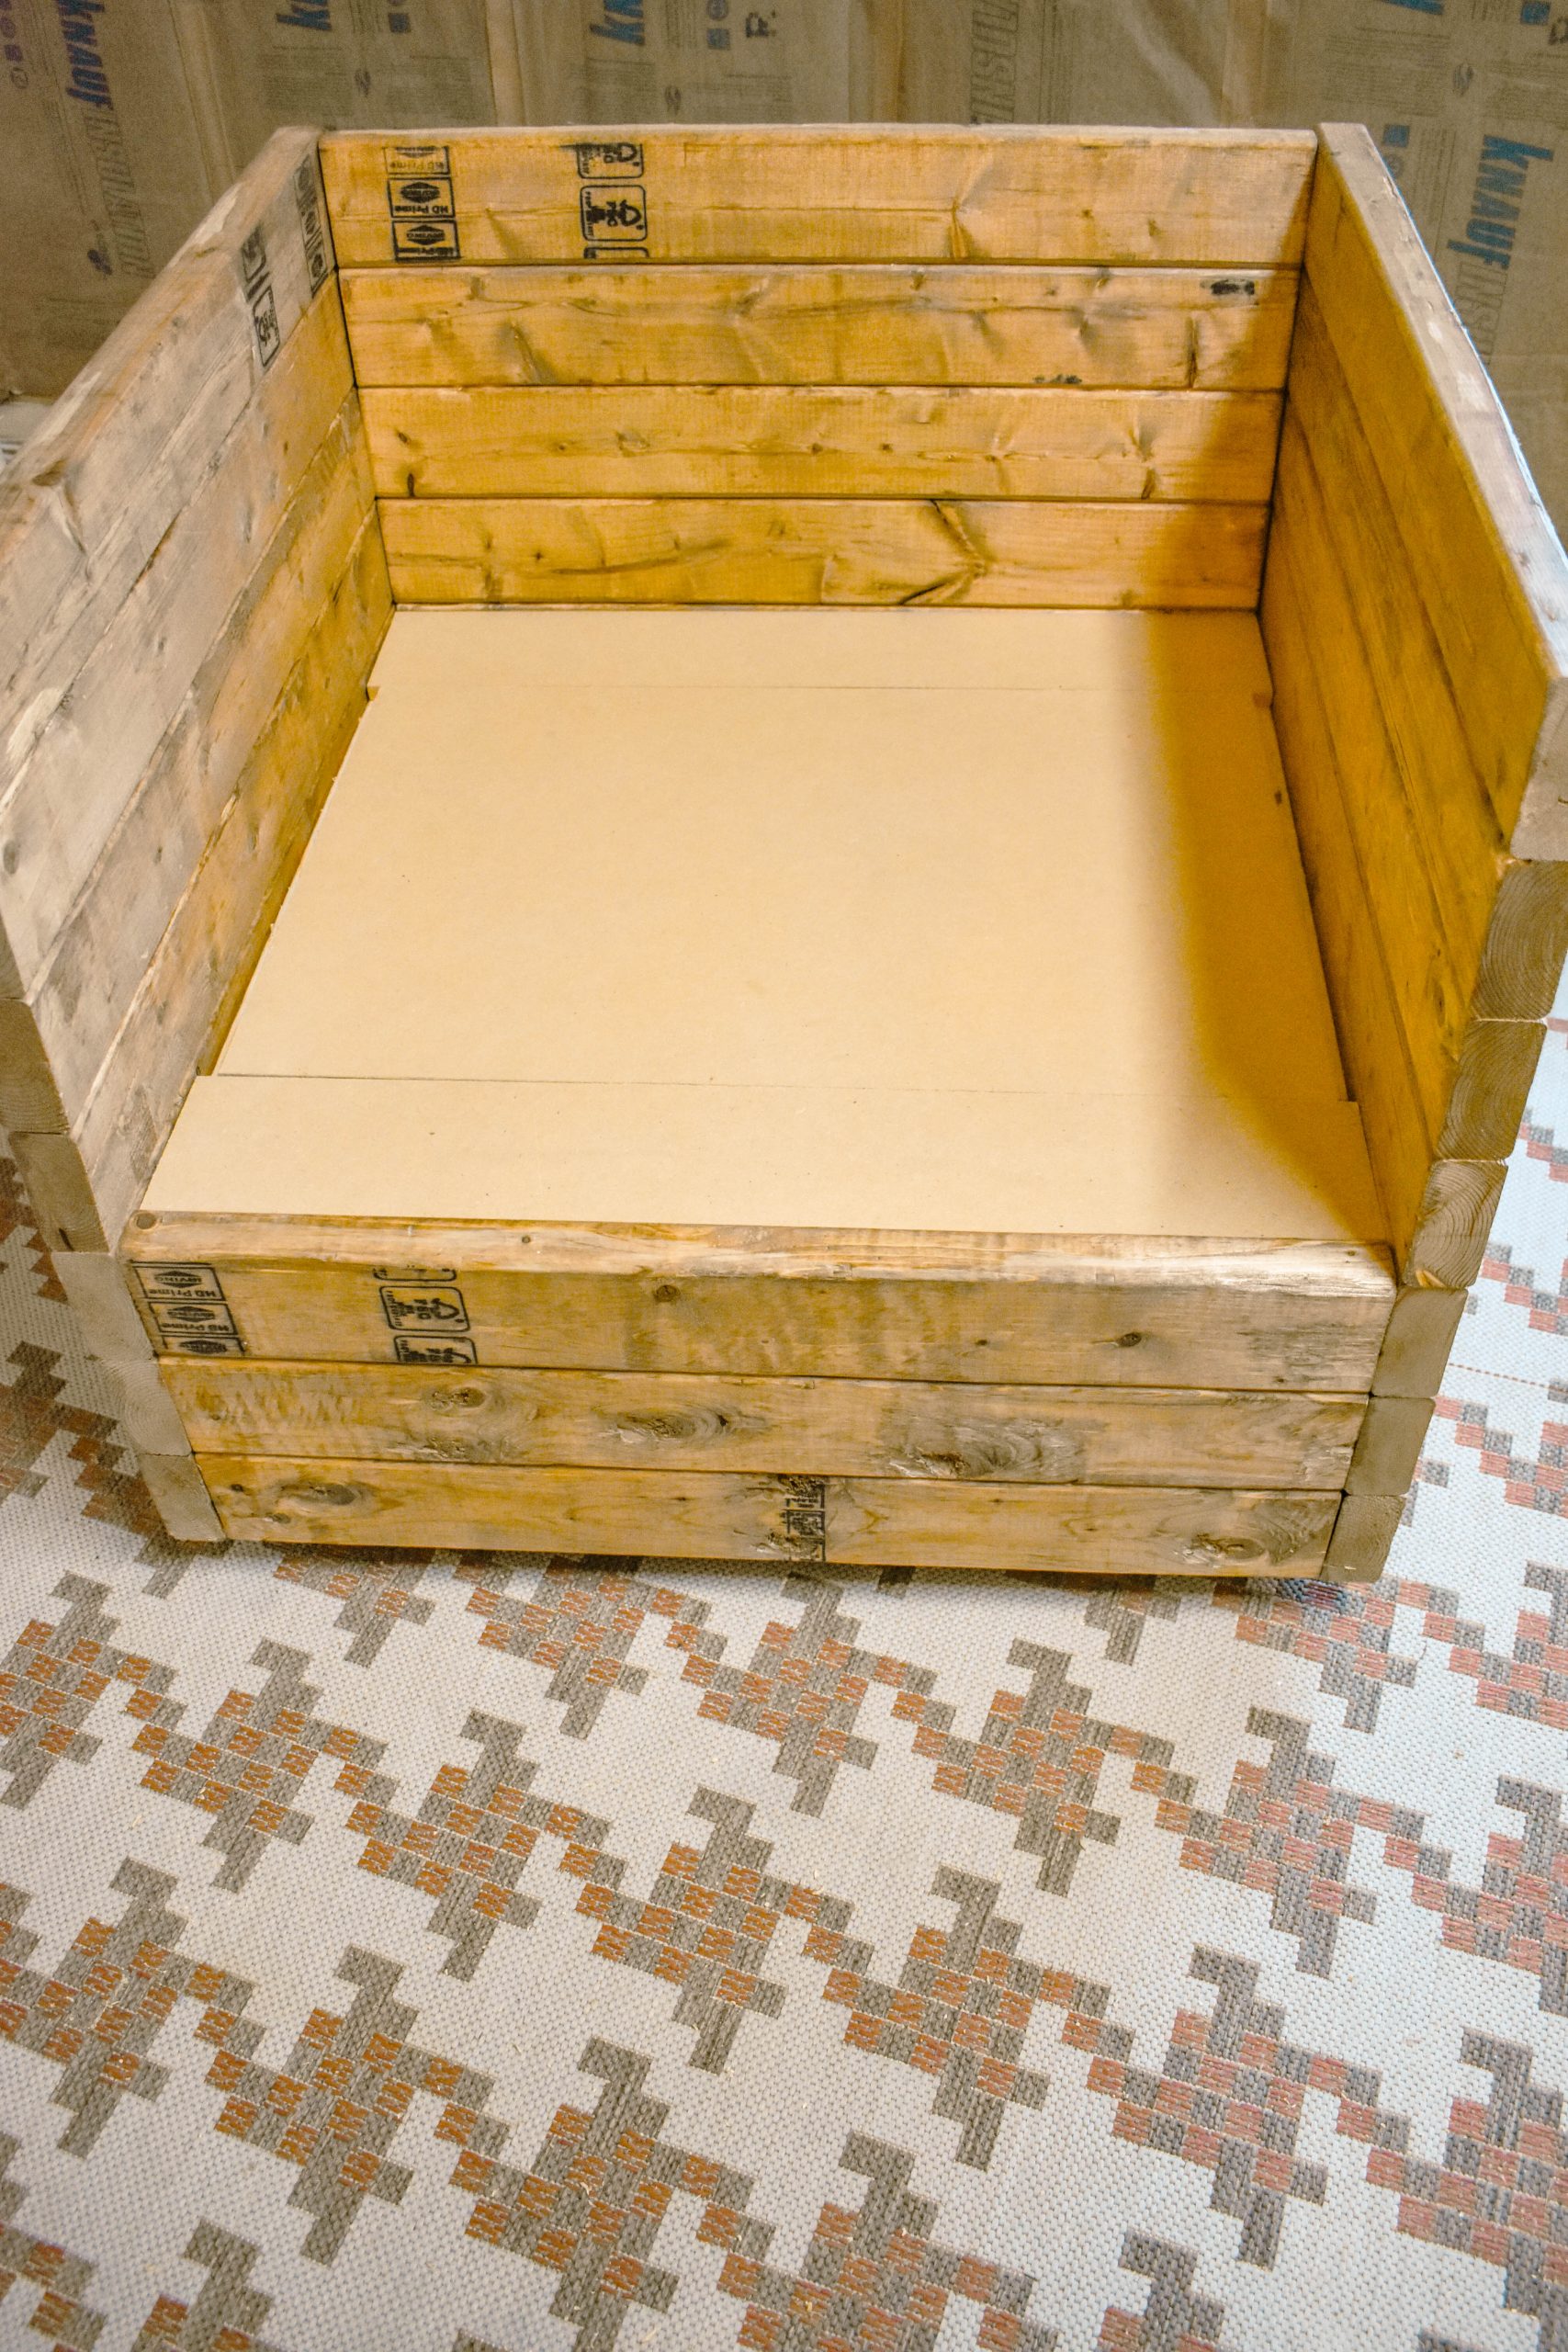
Step-by-step Build Guide: Making A Swivel Chair
This section walks you through the entire construction, from cutting the wood to finishing touches. Adjust steps as needed for your own design.
1. Cutting The Wood
- Mark your seat and backrest shapes on plywood or solid wood using a pencil and measuring tape.
- Use a saw to cut the seat, backrest, and any armrest pieces.
- Sand all edges smooth to prevent splinters.
Tip: Rounded corners look nicer and are safer, especially if kids will use the chair.
2. Preparing The Base
- Cut base legs or select a metal base.
- For a wooden base, arrange legs in an “X” or star pattern for balance.
- Drill holes for attaching the swivel plate and, if desired, caster wheels.
- Sand and finish each base piece.
Non-obvious insight: A wider base makes the chair much safer. Many DIYers make the base too small, causing tipping.
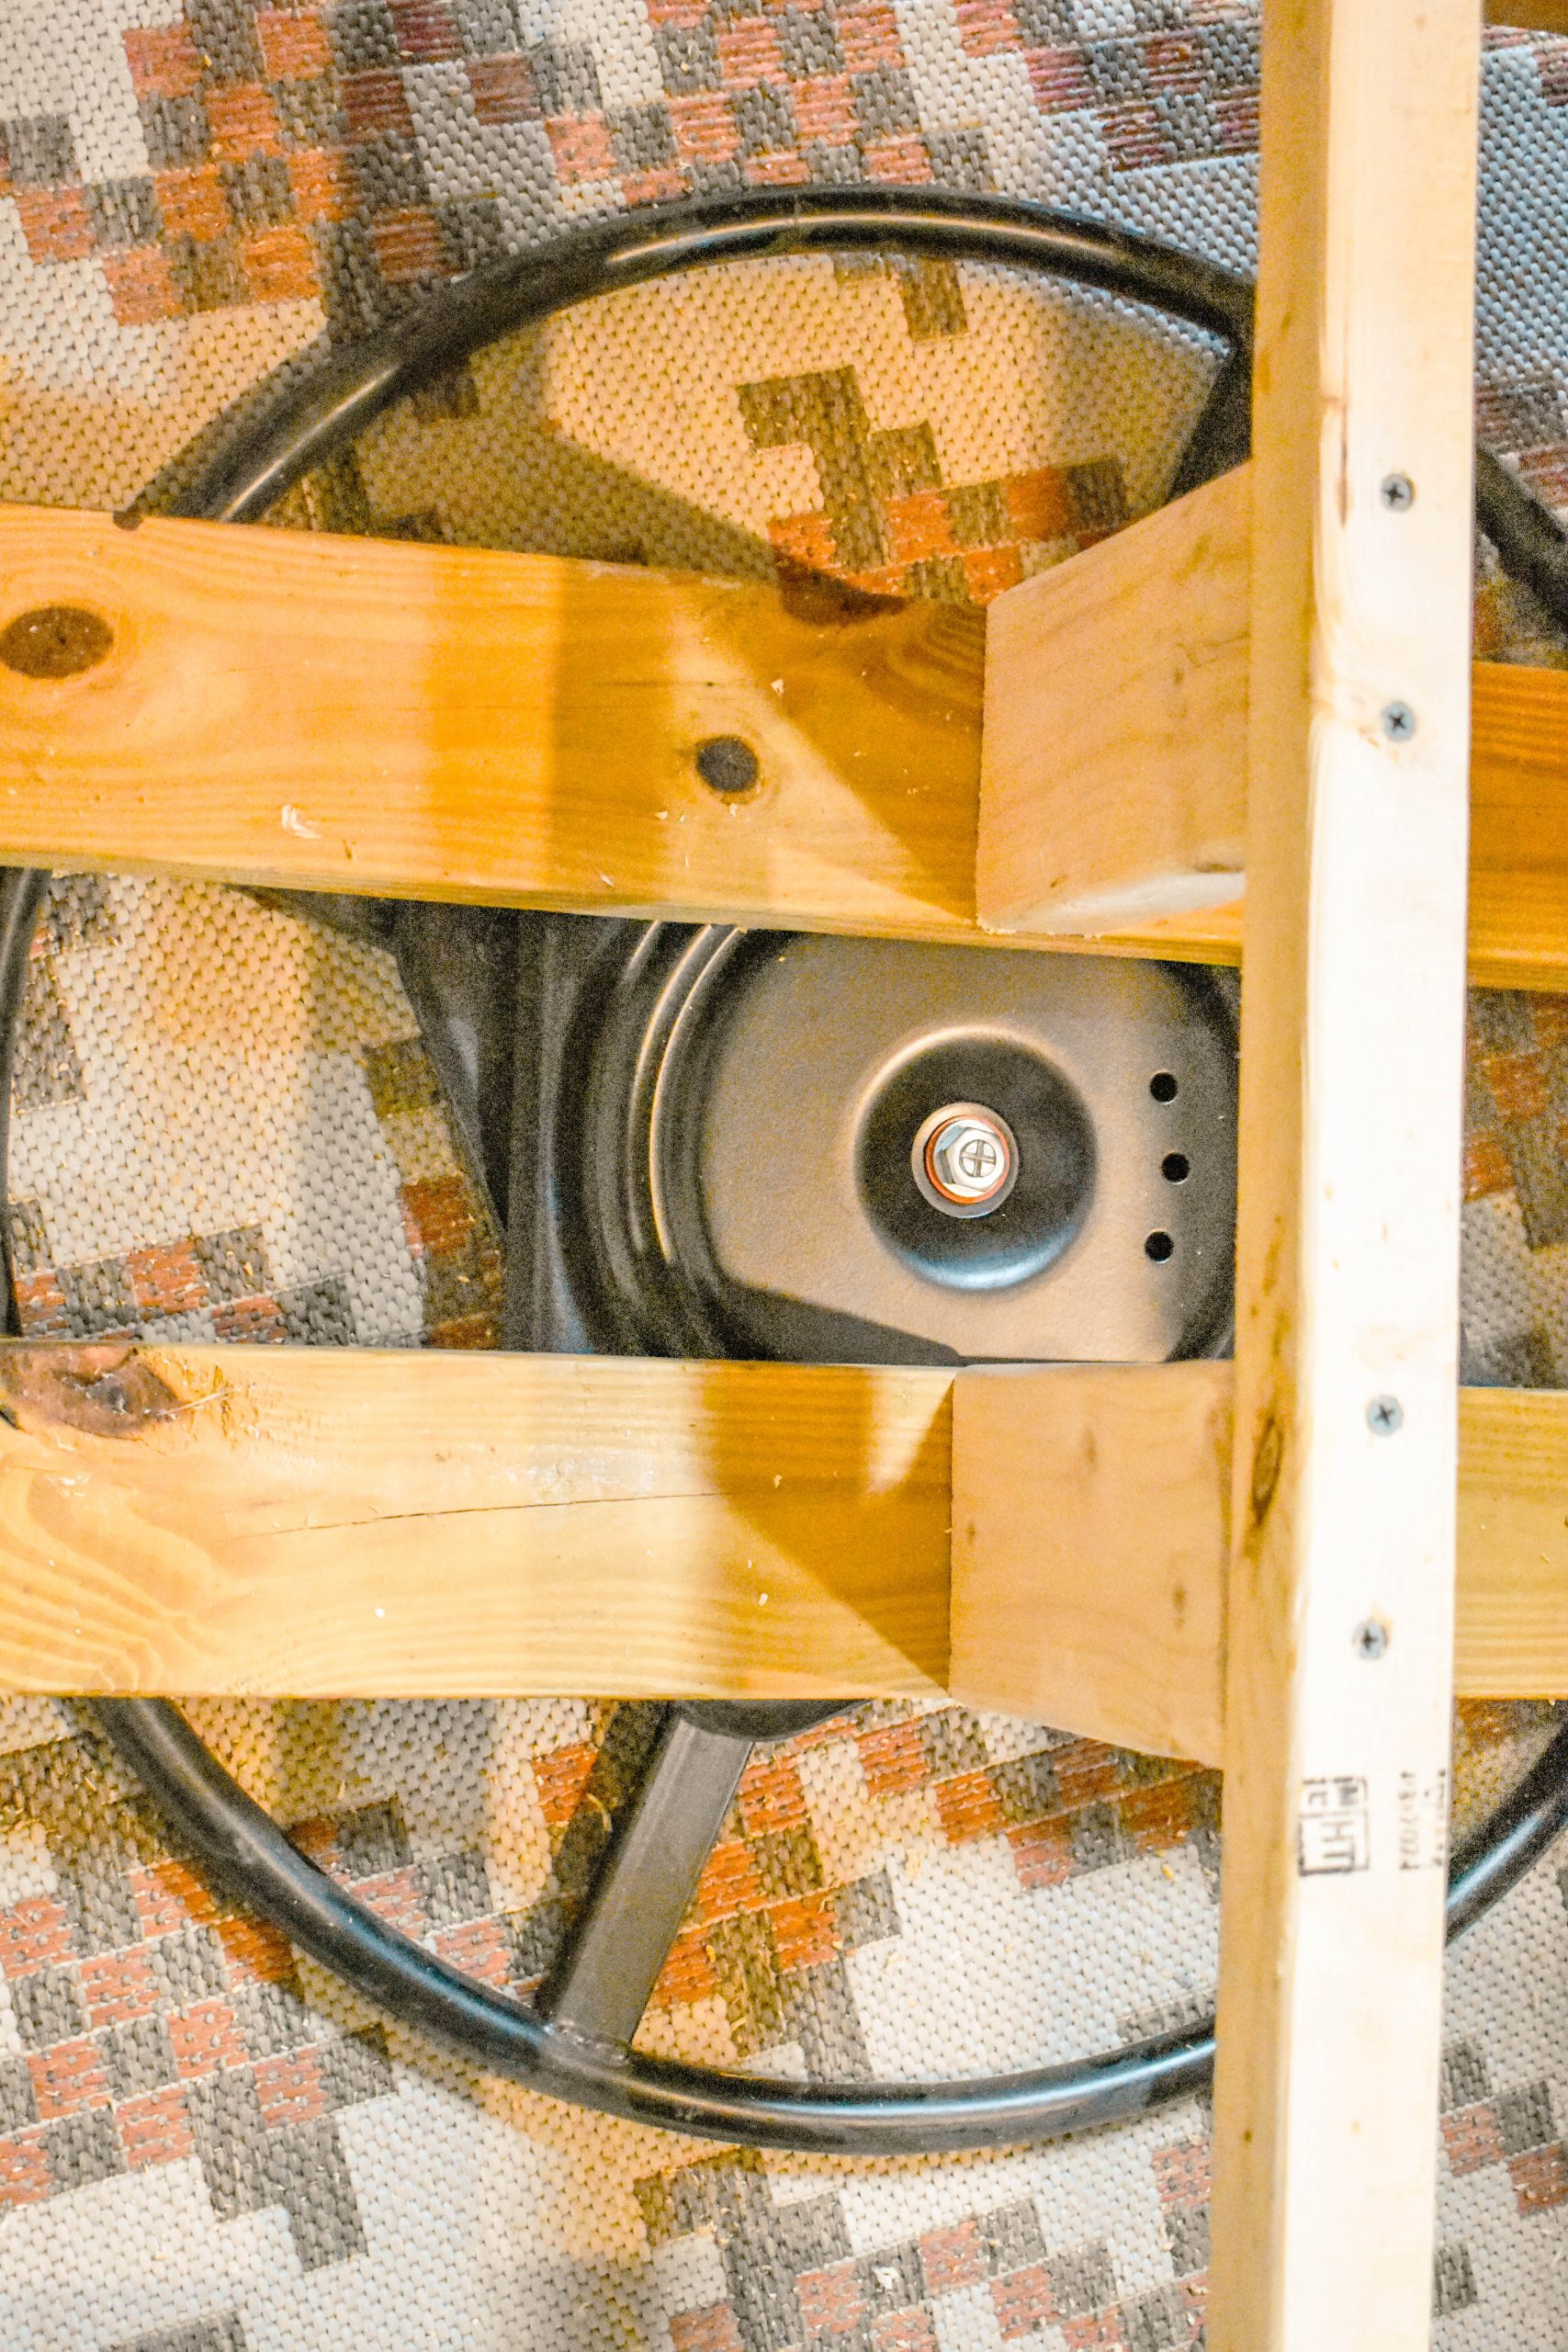
3. Assembling The Swivel Mechanism
- Place the swivel plate on the bottom center of the seat.
- Mark and drill pilot holes for bolts or screws.
- Attach the plate with bolts, using washers for extra strength.
- Attach the other side of the plate to the base, making sure the chair is centered.
Check that the seat spins freely before moving on. If it sticks or wobbles, double-check alignment and hardware tightness.
4. Adding Upholstery (optional)
If you want a padded seat or back:
- Cut foam to the shape of the seat and backrest.
- Spray adhesive on the wood, then press foam in place.
- Lay fabric (or leather) over the foam, pulling it tight.
- Use a staple gun to secure fabric underneath the seat and behind the backrest.
- Trim excess fabric for a neat finish.
Pro tip: Pull fabric evenly to avoid wrinkles. Start stapling at the center of each edge, then work toward the corners.
5. Attaching The Backrest And Armrests
- Position the backrest at your chosen angle.
- Drill pilot holes and use bolts or screws to secure it to the seat.
- For armrests, attach them to both the seat and backrest for extra strength.
If using wood glue, clamp pieces together and let dry fully before moving.
6. Final Assembly
- Attach the finished seat (with or without upholstery) to the base via the swivel plate.
- If using casters, insert or bolt them to the base now.
- Double-check all connections and tighten as needed.
- Sit in the chair and test for comfort, stability, and smooth spinning.
7. Finishing Touches
- Apply stain or paint for color and protection.
- Add a clear coat of varnish or polyurethane for durability.
- Let all finishes dry completely before use.
For a modern look, try a matte finish. For a classic style, use glossy varnish.
Comparing Swivel Chair Mechanisms
Choosing the right swivel mechanism is crucial. Here’s a quick comparison to help you decide:
| Mechanism Type | Pros | Cons |
|---|---|---|
| Ball Bearing Plate | Smooth rotation, durable, supports heavy weight | More expensive, may require precise alignment |
| Friction Plate | Cheaper, easy to install | Less smooth, wears out faster |
| Gas Lift Swivel | Adjustable height, often includes tilt | Complex installation, more costly, may need special base |
For most home DIY builds, a ball bearing swivel plate is the best balance of price and performance.
Safety Considerations
Never ignore safety when building or using your swivel chair. Here are important points:
- Weight capacity: Make sure your chair can support at least 250 lbs. Check the swivel plate’s rating.
- Stability: The base should be wider than the seat to prevent tipping.
- Secure fasteners: Use lock washers or thread-locking compound to prevent bolts from loosening over time.
- Smooth edges: Sand all wood to avoid injury.
- Test before use: Sit and gently rock or spin to check for weak spots.
Many injuries happen because people skip these checks, especially with homemade furniture.
Customizing Your Swivel Chair
One of the best parts of making your own chair is customization. Here are ideas:
- Adjustable height: Install a gas lift cylinder for height changes.
- Unique fabrics: Choose bold prints or colors to match your decor.
- Lumbar support: Add extra padding or a shaped backrest for better posture.
- Storage: Build a small shelf or drawer under the seat.
- Cup holder or tray: Attach accessories for home office use.
You can also add wheels for mobility or keep the base stationary for extra stability. If you’re feeling creative, mix different woods or add decorative carving.
Common Mistakes And How To Avoid Them
Even careful builders make mistakes. Here’s what to watch out for:
- Misaligned swivel plate: If not centered, the seat may wobble or spin unevenly.
- Base too small: Leads to tipping or instability.
- Poor quality hardware: Cheap screws can strip or break, causing the chair to fall apart.
- Weak joint connections: Always use bolts, not just screws, for load-bearing parts.
- Skipping sanding: Rough wood can tear fabric or cause splinters.
Non-obvious insight: Many beginners forget to check the floor type. Hard floors need soft casters, while carpet needs harder wheels.
Cost Breakdown: Diy Vs Store-bought
Building a swivel chair can save money, but how does it compare to buying one?
| Item | DIY Average Cost | Store-Bought Average |
|---|---|---|
| Materials & Parts | $60–$150 | — |
| Basic Office Swivel Chair | — | $80–$200 |
| Custom/Designer Swivel Chair | $120–$250 | $250–$800+ |
DIY costs vary by materials and tools, but you can often match or beat store prices, especially for higher-end styles. Also, a homemade chair can be repaired or updated as needed, saving more money over time.
Credit: jenron-designs.com
Maintenance Tips For Long-lasting Use
A well-made swivel chair can last for many years. Here’s how to keep it in top shape:
- Check bolts and screws every few months and tighten if needed.
- Lubricate the swivel plate with light machine oil to keep it spinning smoothly.
- Clean upholstery with a vacuum and mild soap as needed.
- Inspect for cracks in wood or metal, especially after moving the chair.
- Replace worn-out casters or pads to protect your floors.
If the chair starts to squeak or wobble, fix the problem quickly to avoid bigger repairs.
Real-world Example: Diy Swivel Chair Project
Let’s look at a real project for inspiration. Jane, a home office worker, wanted a comfortable, stylish swivel chair. She used:
- ¾-inch birch plywood for the seat and back
- 3-inch high-density foam, covered with blue canvas fabric
- A heavy-duty ball bearing swivel plate rated for 300 lbs
- A five-leg metal base with locking casters
- Stainless steel bolts and washers
She spent about 10 hours over two weekends and $130 on materials. The result was a chair that matched her desk and lasted several years without problems. Jane’s main tip: “Don’t rush the upholstery. Taking your time makes the chair look professional.”
Where To Find Quality Swivel Chair Parts
Good parts are available online or at local hardware stores. Search for “swivel plate,” “chair base,” or “caster wheels.” Popular brands include Shepherd and Alvin. For specialty upholstery foam and fabric, look for stores that cater to furniture or marine projects.
For more info on chair hardware and ergonomics, check the Wikipedia entry on chairs.
Frequently Asked Questions
How Hard Is It To Build A Swivel Chair For Beginners?
With basic tools and patience, most beginners can build a simple swivel chair. The hardest part is making sure the swivel plate is centered and the base is stable. Start with a basic design, follow each step closely, and don’t rush.
Watching online tutorials can help you visualize tricky parts.
What Kind Of Wood Is Best For A Swivel Chair Seat?
Plywood is a popular choice because it’s strong, stable, and affordable. Look for at least ¾-inch thickness. If you want a more decorative look, use solid hardwoods like oak or maple, but remember they’re heavier and harder to work with.
Can I Add A Swivel Mechanism To An Existing Chair?
Yes, if the seat is sturdy and there’s enough space under it for a swivel plate. Remove the current base, attach the swivel plate, then mount the seat onto a suitable new base. Make sure the added height and stability are safe for use.
How Do I Stop My Swivel Chair From Squeaking?
Most squeaks come from dry or dirty bearings in the swivel plate. Apply a small amount of machine oil or silicone spray to the mechanism. Tighten any loose bolts. Regular maintenance helps prevent squeaks from returning.
Is It Cheaper To Build A Swivel Chair Or Buy One?
If you already have some tools, building a basic swivel chair can be cheaper than buying a good store-bought one. You can also customize features and repair it easily. For premium or designer chairs, DIY almost always saves money.
Building your own swivel chair is more than just a project—it’s a chance to craft a piece that fits your style, comfort, and space perfectly. With the right materials, careful planning, and a bit of patience, you’ll end up with a chair you can truly be proud of. And when friends and family see you spinning smoothly in your handmade seat, you’ll know it was worth every step.