Vacuuming your hardwood floors sounds simple, but if you’re not careful, you could end up with scratches, dull spots, or even permanent damage. Many people think any vacuum will do the job, but the reality is more complex. Hardwood floors require special care to stay beautiful and last for decades.
In this article, you’ll learn the right way to vacuum hardwood floors without scratching. Whether your hardwood is brand new or has been in your home for years, you’ll find practical advice, expert tips, and little-known insights that can save you time, money, and stress.
Why Hardwood Floors Get Scratched During Vacuuming
Vacuuming should keep your floors clean, but sometimes it causes the very scratches you’re trying to avoid. Understanding the causes helps you prevent them.
Scratch causes include:
- Wrong vacuum attachments – Beater bars and stiff brushes can dig into hardwood.
- Wheels and casters – Hard plastic wheels often drag grit, creating fine lines.
- Loose debris – Grit or sand trapped under the vacuum gets dragged, acting like sandpaper.
- Poor technique – Rushing, using heavy pressure, or not checking the vacuum’s underside can lead to accidental damage.
It’s important to know that hardwood floors have a protective finish, but this layer is not invincible. Even micro-scratches caused by vacuuming can break down the finish over time, exposing the wood to moisture and stains. For example, if you have pets or live near a sandy area, tiny particles of grit are often present on your floors.
If your vacuum’s wheels or brush roll trap this grit, it acts like hundreds of tiny blades. You may not see the damage right away, but over months, the floor will lose its shine and become harder to clean.
Another cause that’s often missed is furniture movement during vacuuming. When you bump or move chairs and tables with the vacuum, the legs can drag across the floor, causing deep scratches. Always lift furniture instead of pushing it.
Non-obvious insight: Even vacuums marked “safe for hard floors” can scratch if their parts wear down. For example, a soft roller that becomes stiff with age or a wheel that collects sticky residue can suddenly turn into a hazard. Regularly check your vacuum, not just your floors.
Even high-end vacuums can harm hardwood if used incorrectly. Over time, tiny scratches build up and dull the shine. The key is to understand your floor’s needs and adjust your cleaning approach.
Choosing The Right Vacuum For Hardwood Floors
Not every vacuum is safe for hardwood. The best vacuum will clean efficiently without leaving marks or scratches.
Key Features To Look For
- Soft brush roll or no brush roll
- A soft roller picks up dust without scratching.
- Brushless vacuums are safest, but if there is a roller, it should be designed for hard floors. Look for models with removable brush rolls for easy cleaning.
- Some vacuums now come with silicone bristles, which are gentler on delicate surfaces than traditional nylon bristles.
- Rubberized wheels
- Soft rubber wheels reduce friction and avoid gouges.
- Avoid hard plastic wheels, which can trap grit.
- Larger wheels tend to roll more smoothly over hardwood and are less likely to get stuck on small debris, which helps prevent dragging particles across the surface.
- Adjustable suction
- High suction can lift lightweight debris but too much can drag dirt.
- Adjustable settings give you control.
- For delicate or older floors, start with the lowest suction and only increase if needed.
- Lightweight design
- Lighter vacuums are easier to maneuver and less likely to press dirt into the floor.
- They also reduce fatigue, which means you’re less likely to rush and make mistakes that could scratch your floor.
- Cordless models can be especially convenient, but make sure they have enough battery for your space.
- HEPA or fine filter
- Keeps fine dust from blowing back onto the floor.
- Important for homes with allergies, as well as for protecting the floor’s finish from airborne particles that settle back down.
Top Rated Vacuums For Hardwood Floors
Here’s a side-by-side comparison of popular vacuum types for hardwood floors:
| Model Type | Pros | Cons |
|---|---|---|
| Canister Vacuum | Powerful suction, soft brushes, easy to move | Can be bulky, hose may knock furniture |
| Stick Vacuum | Lightweight, easy to store, many offer soft rollers | Shorter battery life, smaller dust bin |
| Robot Vacuum | Automatic, gentle on floors, great for daily dust | Can miss corners, needs maintenance |
| Upright Vacuum (with hard floor setting) | Strong suction, larger capacity | Heavier, some models lack soft brushes |
When choosing a vacuum, consider your living space. For example, a robot vacuum is convenient for open-plan apartments but may struggle with lots of furniture or rugs. Stick vacuums are good for quick daily cleans, while canisters are better for deeper cleaning sessions.
Non-obvious insight: Even a good vacuum can scratch if the brush roll is not properly cleaned. Hair and debris can become abrasive. After every few uses, remove the brush roll and check for tangled hair or thread. These can harden over time and damage your floors.

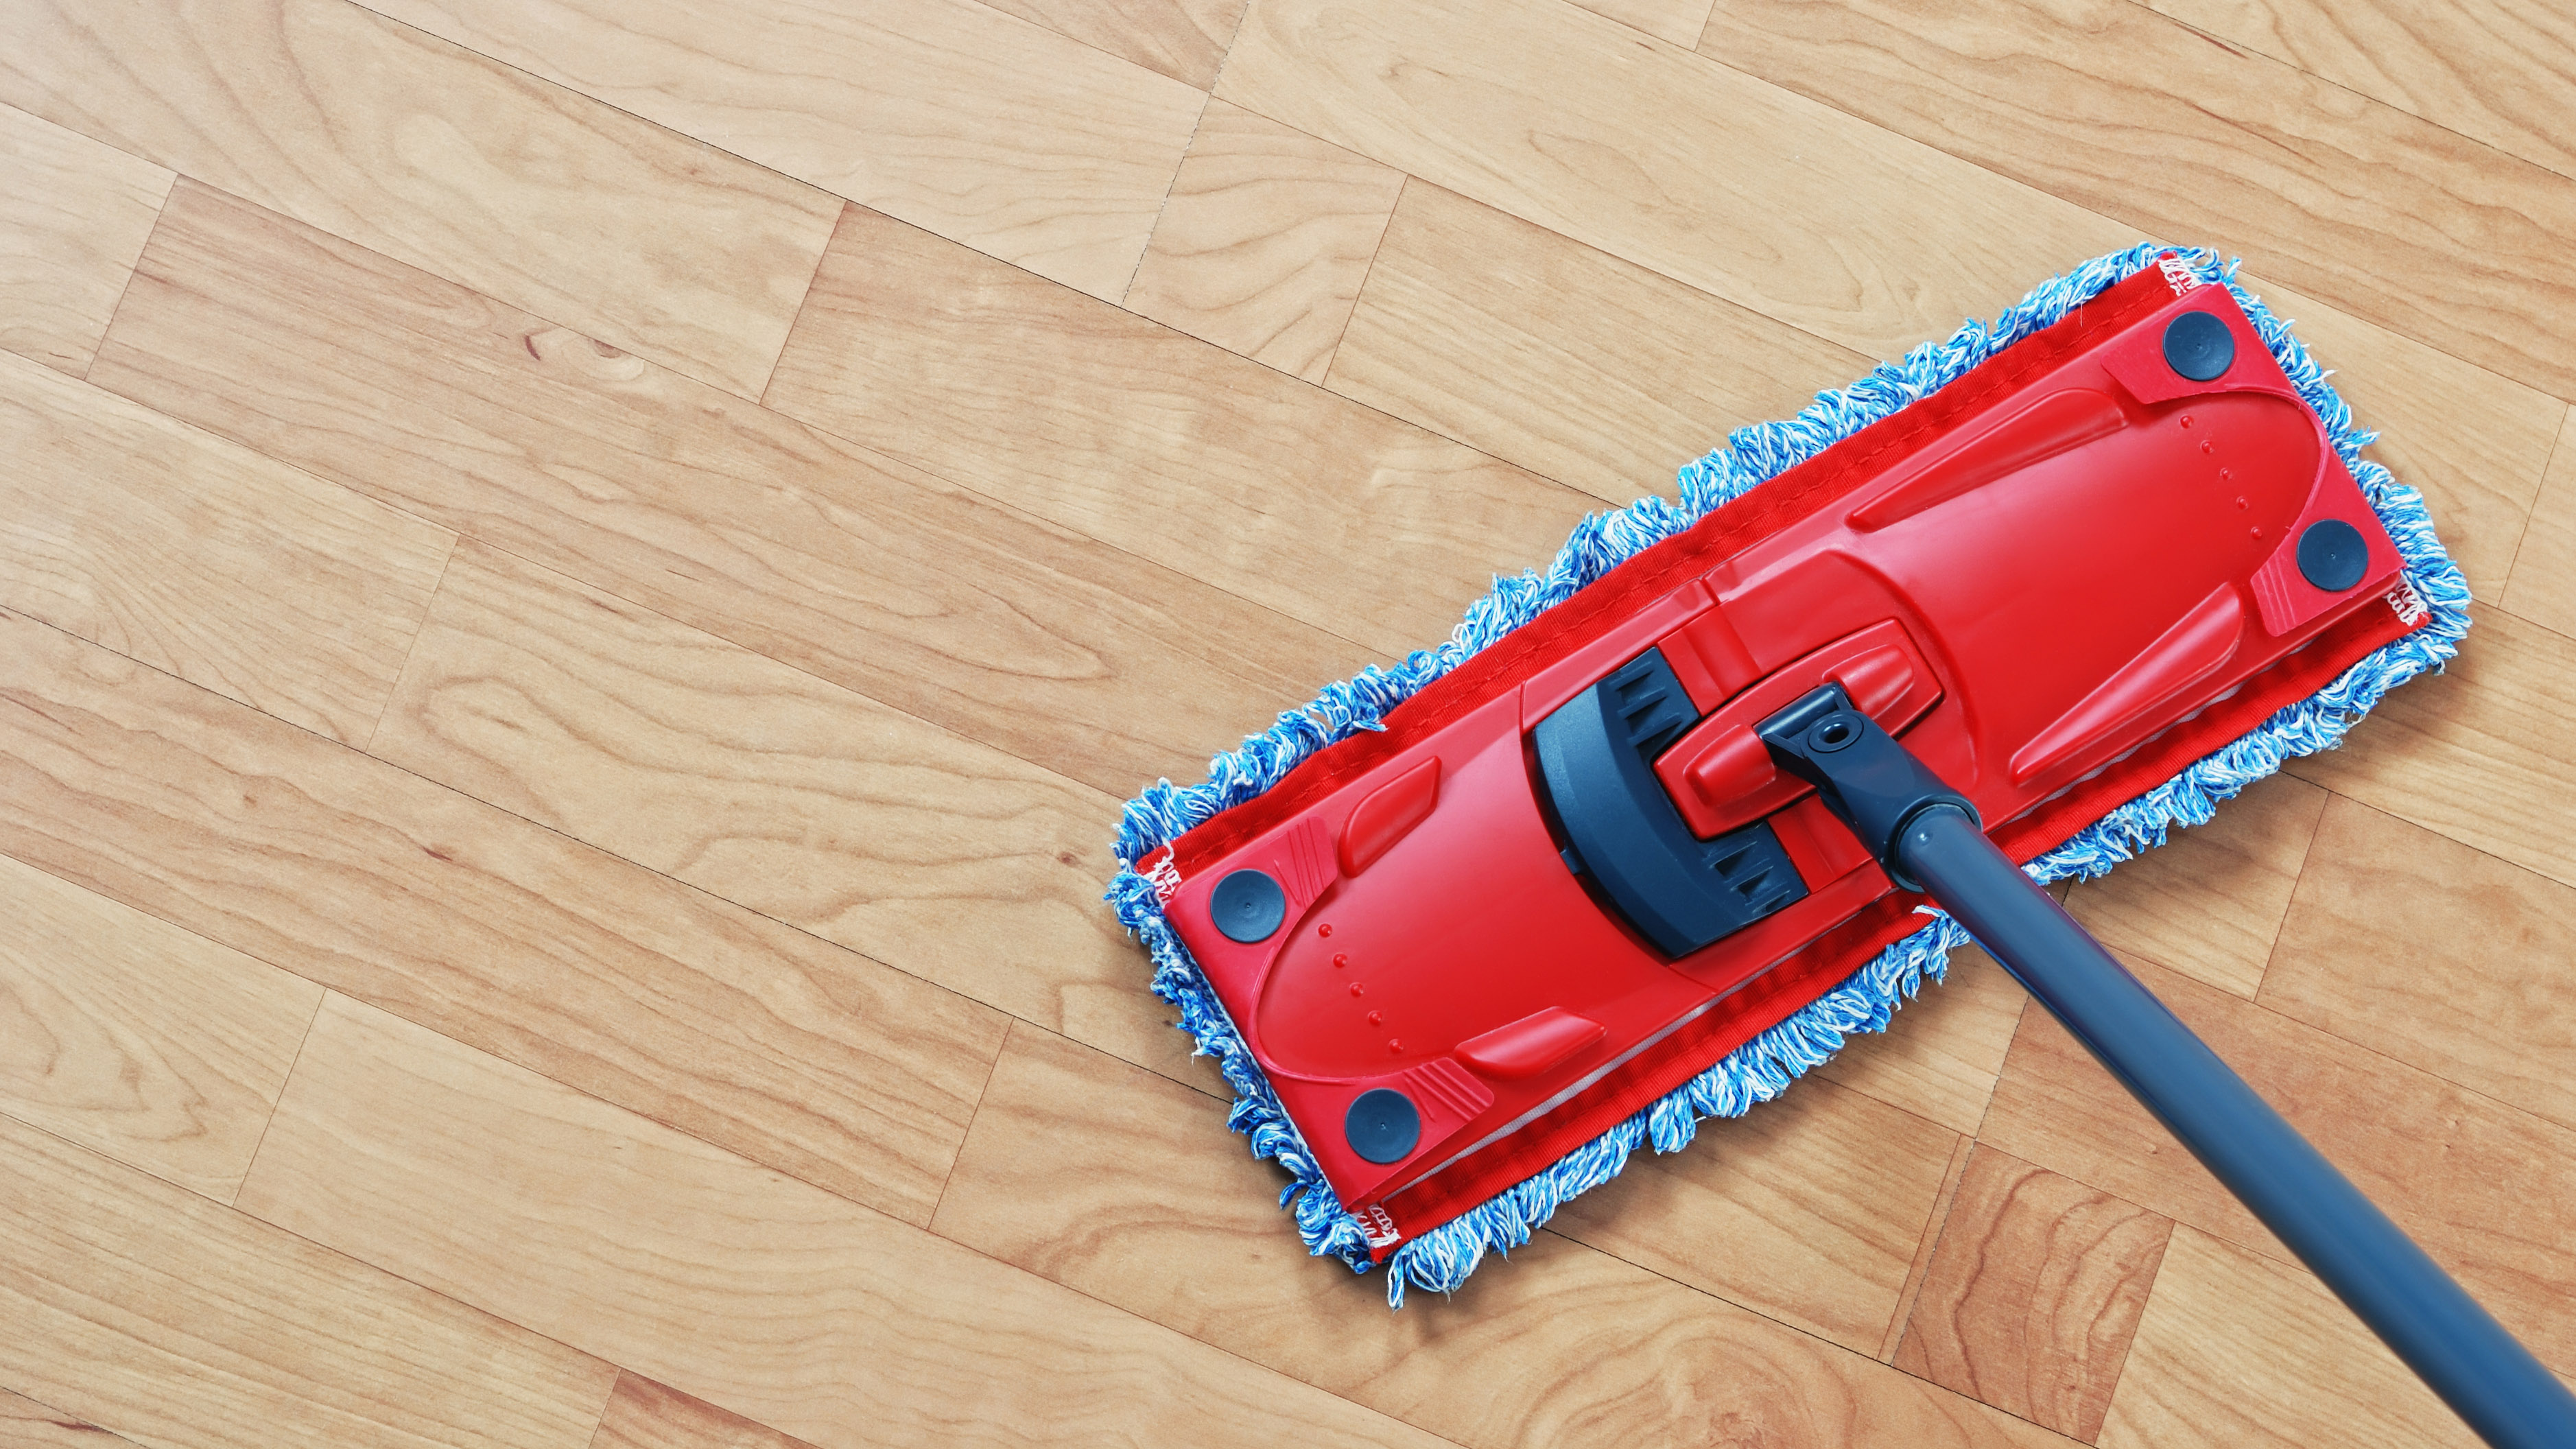
Credit: www.amazon.com
Preparing Your Hardwood Floor For Safe Vacuuming
Preparation is often overlooked, but it’s essential for preventing scratches.
Steps Before You Start
- Pick up large debris
- Remove coins, stones, or large crumbs by hand to avoid dragging them.
- Check near entrances and under tables, where such items often hide.
- Look for small kids’ toys, pet food, or craft supplies that can damage the floor or vacuum.
- Check the vacuum base
- Wipe the wheels and brush to remove grit that could get stuck.
- If you’ve just vacuumed a carpet, there may be threads or pet hair wound around the brush.
- A quick wipe with a damp cloth removes sticky residue that could scratch.
- Clear the floor
- Move chairs and small furniture to give yourself clear access.
- If you can’t move heavy items, use a soft brush attachment to clean around them.
- Pay attention to items with metal or rough bottoms, like plant pots or storage bins.
- Check for loose floorboards
- If a board is loose, it may catch the vacuum and splinter.
- Mark the spot with painter’s tape to remind yourself during vacuuming.
- Consider having loose boards repaired to prevent future problems.
Why Skipping Prep Can Be Risky
Even one grain of sand under a wheel can leave a long scratch. Preparation takes just a few minutes but can save hours of repair later.
For example, if you vacuum right after someone comes in from the yard, small rocks or grit can easily get trapped in the vacuum wheels. If not cleared first, these act like tiny chisels, especially as you move the vacuum back and forth.
Many people realize only after repeated cleaning that their floor’s dullness is due to such tiny, repeated scratches.
Practical tip: Get in the habit of doing a quick visual sweep before every vacuuming session, especially in high-traffic areas or near entrances.
Using The Correct Attachments And Settings
Attachments and settings matter as much as the vacuum itself. The wrong attachment can do more harm than good.
Safe Attachments For Hardwood Floors
- Bare floor tool: Flat and soft, designed for hard surfaces.
- Usually has a wide, flat head and sometimes felt strips underneath.
- Great for covering large areas quickly.
- Felt or microfiber pad: Gently lifts dust without scratching.
- Some vacuums come with these pads as add-ons.
- Especially good for picking up fine dust and allergens.
- Soft dusting brush: Great for corners and edges.
- The soft bristles get into grooves and around baseboards.
- Can also be used for cleaning floor vents and under radiators.
Attachments To Avoid
- Rotating brush bars: Often used for carpet, these can scratch wood.
- Even “gentle” rotating bars can become stiff if not cleaned.
- Stiff bristle brushes: Too harsh for delicate finishes.
- Reserve these for outdoor mats or garage floors, not hardwood.
Choosing The Right Settings
Most modern vacuums have adjustable suction and height. Use the lowest necessary suction and a high floor setting to avoid pressing into the wood.
- On most vacuums, “bare floor” mode lifts the brush roll and reduces suction.
- If your vacuum has a “carpet height” adjustment, set it to the highest level for hardwood.
Practical example: If you use a multi-surface vacuum, always switch to “hard floor mode” before cleaning hardwood. If you forget, you may not notice damage immediately, but repeated use will eventually dull or scratch the finish.
Non-obvious insight: Even with the right attachment, check for hard or sharp edges around the vacuum head. Over time, screws or plastic can become exposed if parts wear out, making them scratch-prone.
How To Vacuum Hardwood Floors Step By Step
A thoughtful vacuuming process can protect and even extend the life of your floors.
- Start at the farthest corner: Work toward the exit to avoid walking over cleaned areas.
- This method helps you avoid stepping on dust you’ve just removed and prevents footprints.
- Use gentle, even strokes: Move the vacuum slowly to allow dust pickup without pushing debris.
- Going too fast can scatter dust or miss spots entirely.
- Overlap each pass slightly: This ensures no dust is left behind.
- Similar to mowing a lawn, overlapping prevents “stripes” of missed dust.
- Vacuum edges with a soft brush: Corners often collect the most debris.
- Don’t neglect behind doors or under baseboard heaters.
- Use a crevice tool if your vacuum has one, but check for sharp edges first.
- Check and clean the vacuum base regularly: Pause to wipe wheels and check for caught debris.
- Stop after each room or every 10–15 minutes for large areas.
- Empty the dustbin before it’s full: Overfilled bins reduce suction, requiring repeated passes that can cause scratches.
- A full bin can also make the vacuum heavier, pressing it harder into the floor.
Non-obvious insight: Dragging a vacuum back and forth quickly does not improve cleaning and increases scratch risk. Slow, steady movements are best.
Extra tip: If you have high and low spots (such as near thresholds or doorways), change your vacuuming direction occasionally. This avoids pushing dirt into crevices and helps extend the life of the floor finish.
Cleaning Frequency And Best Practices
How often should you vacuum hardwood? It depends on your home’s activity level.
- High-traffic homes: 3-4 times per week
- Low-traffic homes: 1-2 times per week
- Homes with pets or children: Daily, as hair and grit accumulate quickly
Best Practices
- Use doormats at entrances to reduce grit.
- Choose mats with a rubber backing to avoid sliding.
- Wash or shake mats weekly to keep them effective.
- Remove shoes before entering to keep abrasive dirt away.
- Even soft-soled shoes can carry grit that scratches.
- Spot clean spills immediately to prevent sticky residue.
- Use a soft, damp cloth—never a rough sponge.
- Rotate cleaning patterns to avoid wear in one direction.
- Change the direction you vacuum every so often to reduce “traffic lane” marks.
Non-obvious insight: Establishing a routine helps you spot potential problems earlier, such as loose boards or areas where finish is wearing thin. The sooner you catch these, the cheaper and easier they are to fix.
Credit: www.tomsguide.com
Common Mistakes To Avoid
Many people make small errors that lead to big problems for their floors.
- Using the wrong vacuum: Not all vacuums are safe for hardwood.
- Double-check for hard plastic parts or worn rollers before each use.
- Skipping regular maintenance: Dirty filters and brush rolls can scratch.
- A clogged filter also reduces suction, meaning you need more passes to get clean.
- Not emptying the bin: A full bin blows dust back onto the floor.
- This can also cause the vacuum to overheat, which shortens its life.
- Vacuuming too quickly: Rushing increases missed dirt and scratch risk.
- Take your time, especially near edges and in high-traffic spots.
- Ignoring attachments: Using carpet tools on hardwood is a recipe for damage.
- If you’re not sure which attachment is safe, check your vacuum’s manual or the manufacturer’s website.
Extra tip: Never use a steam attachment or wet-vac mode on hardwood unless the floor is specifically rated for it. Moisture can penetrate cracks and cause swelling or warping.
Maintenance For Both Floors And Vacuum
Caring for your tools is as important as cleaning the floor itself.
Maintaining Your Hardwood Floors
- Polish every 2-3 months with a hardwood-safe product to restore shine.
- Always use products recommended by your floor’s manufacturer.
- Avoid products that leave a waxy or sticky residue, as these can attract more dirt.
- Check for scratches regularly and treat small marks right away.
- Use a flashlight at a low angle to spot hidden scratches.
- Use felt pads under furniture to prevent gouges when moving items.
- Replace these pads every few months, as grit can get embedded and turn them abrasive.
Non-obvious insight: If you have area rugs, lift and clean under them regularly. Grit can collect at the edges and cause damage every time the rug shifts.
Maintaining Your Vacuum
- Clean wheels and brushes weekly to remove grit.
- A toothbrush or small scrub brush can help reach tight spots.
- Replace filters as recommended by the manufacturer.
- HEPA filters are especially important for allergy sufferers.
- Store the vacuum indoors in a clean, dry spot to avoid wheel damage.
- Humidity can cause rust on metal parts, making the vacuum harder to push and more likely to scratch floors.
Extra tip: Keep a checklist of when you last cleaned or replaced each vacuum part. Regular maintenance extends the life of both your vacuum and your hardwood floors.

Credit: www.youtube.com
What To Do If You Notice A Scratch
Despite your best efforts, scratches can happen. How you respond makes a difference.
- Wipe the area clean: Remove dust so you can see the scratch clearly.
- Use a hardwood repair pen: These are available in different wood tones.
- Choose a color that matches your floor; test in an inconspicuous area first.
- For deeper scratches: Apply a wood filler, let it dry, and lightly polish.
- Sand lightly with very fine sandpaper if needed, but avoid sanding large areas without experience.
- If the scratch is large: Call a professional to avoid making it worse.
Expert tip: Minor scratches often look worse than they are. Sometimes, buffing with a microfiber cloth is enough to blend them in. For shallow scratches, a small amount of olive oil or a walnut rubbed gently into the area can help mask the mark until you can do a more permanent repair.
Non-obvious insight: For engineered hardwood, avoid using wax or oil-based repair products unless specified by the manufacturer. These can interfere with future refinishing or cause uneven shine.
Comparing Vacuuming To Other Cleaning Methods
Some people prefer sweeping or mopping, but vacuuming has key advantages and disadvantages.
| Method | Pros | Cons |
|---|---|---|
| Vacuuming | Removes fine dust, quicker, less effort | Wrong vacuum can scratch, noisy |
| Sweeping | Simple, no electricity needed | Can leave dust behind, bristle tips may scratch |
| Microfiber Mopping | Removes sticky residue, no scratches with proper pad | Excess water can damage wood, not ideal for all debris |
Vacuuming is best for removing dust, allergens, and debris from cracks between boards. Sweeping is quiet and convenient for quick cleanups but often misses fine particles. Microfiber mops are gentle and good for spills but should always be used damp, not wet.
Non-obvious insight: Microfiber mops are a good supplement to vacuuming, but vacuuming removes allergens and fine particles more effectively. In homes with allergies or respiratory issues, vacuuming with a HEPA filter is the safest option for air quality.
Choosing The Best Time And Method For Your Lifestyle
Every household is different, and the right cleaning strategy depends on your needs.
Busy Families
- Use a robot vacuum daily for dust.
- Set it to run while you’re out to avoid tripping over cords.
- Deep clean with a stick or canister vacuum weekly.
- Make it a habit to do this before the weekend for a fresh start.
Allergy Sufferers
- Choose a vacuum with a HEPA filter to capture allergens.
- Clean the filter at least once a month for best results.
- Avoid sweeping, which can stir up dust.
- Microfiber mops are a good alternative for spot cleaning.
Pet Owners
- Vacuum daily to catch hair and dander.
- Focus on entryways and places where pets sleep.
- Choose a vacuum with tangle-free rollers.
- Pet hair can jam brush rolls, so check and clean often.
Apartment Dwellers
- Lightweight stick vacuums are easy to store.
- Wall-mounted charging stations can save space.
- Clean when neighbors are least likely to be disturbed by noise.
- Early evenings or midday are usually best.
Non-obvious insight: If you live in a multi-story building, consider a vacuum with quieter operation to avoid disturbing neighbors below. Look for models specifically rated for low noise.
How To Prevent Scratches Between Cleanings
Vacuuming isn’t the only time your floors are at risk. Daily habits make a big difference.
- Use area rugs in high-traffic spots.
- Choose rugs with a non-slip, rubberized backing.
- Trim pet nails to reduce scratching.
- Schedule regular grooming or use pet nail caps if scratching is a problem.
- Avoid sliding heavy furniture.
- Always lift and set down; use furniture sliders for large items.
- Wipe up spills immediately to prevent water stains.
- Even a small spill can seep into cracks and cause swelling or discoloration.
Non-obvious insight: Place felt pads on the bottoms of decor items like vases, lamps, and speakers, not just furniture legs. These small items are often moved without thinking but can create scratches over time.
Eco-friendly And Safe Cleaning Products
Using the right cleaning products matters as much as the vacuum itself.
- Choose pH-neutral cleaners formulated for hardwood.
- These are gentle on finishes and won’t cause dulling or stickiness.
- Avoid vinegar or ammonia, which can strip finish.
- Even homemade solutions should be tested carefully, as natural does not always mean safe for wood.
- Test any new product in a small spot first.
- Wait a full day before using the cleaner on the rest of the floor.
Try to avoid “multi-surface” cleaners unless they are clearly labeled for hardwood. Even some “natural” products contain ingredients like citrus or alcohol that can damage the finish.
For more details about safe cleaning products, the National Wood Flooring Association provides helpful guidance: NWFA Care & Maintenance.
Non-obvious insight: Avoid using oil soaps or waxes unless your floor’s manufacturer specifically recommends them. These can build up and make the floor slippery or difficult to refinish later.
When To Call A Professional
Some problems are best left to the experts.
- Deep scratches or gouges that show bare wood.
- These may require sanding and refinishing to blend with the rest of the floor.
- Cupping or warping caused by water damage.
- Professionals can assess the extent of the damage and recommend drying or replacement if needed.
- Large areas of dullness that don’t improve with polishing.
- Refinishing may be necessary to restore shine and protect the wood.
A professional can refinish or repair the floor without causing further damage.
Non-obvious insight: If you notice boards that move or squeak more than usual, call a pro to check for subfloor issues. Early repairs can prevent more costly problems later.
Frequently Asked Questions
How Often Should I Vacuum Hardwood Floors?
The frequency depends on your home’s activity. For most homes, 2-3 times per week is enough. Homes with pets, children, or high foot traffic may need daily vacuuming to keep grit and dust from scratching the surface.
Can I Use A Regular Carpet Vacuum On Hardwood Floors?
Most carpet vacuums are not safe for hardwood unless they have a dedicated hard floor setting and soft brush or no brush roll. Always check the manufacturer’s recommendations and attachments before use.
What Is The Safest Way To Remove Pet Hair From Hardwood Floors?
A vacuum with a soft brush roller or rubberized wheels is best. Avoid sticky rollers, which can leave residue. Some robot vacuums are also effective, but check for models designed for hard floors.
Is It Safe To Mop After Vacuuming Hardwood Floors?
Yes, but only use a damp (not wet) microfiber mop. Excess water can damage wood. Mop immediately after vacuuming to remove any remaining dust or sticky spots.
What Should I Do If I See Scratches After Vacuuming?
Clean the area and assess the scratch. Minor scratches can be treated with a wood repair pen or buffed with a microfiber cloth. Deep scratches may need wood filler or professional repair.
Vacuuming hardwood floors the right way keeps them beautiful, smooth, and safe from harm. With the right tools, techniques, and habits, you can enjoy clean floors that last for decades—without the worry of unwanted scratches.