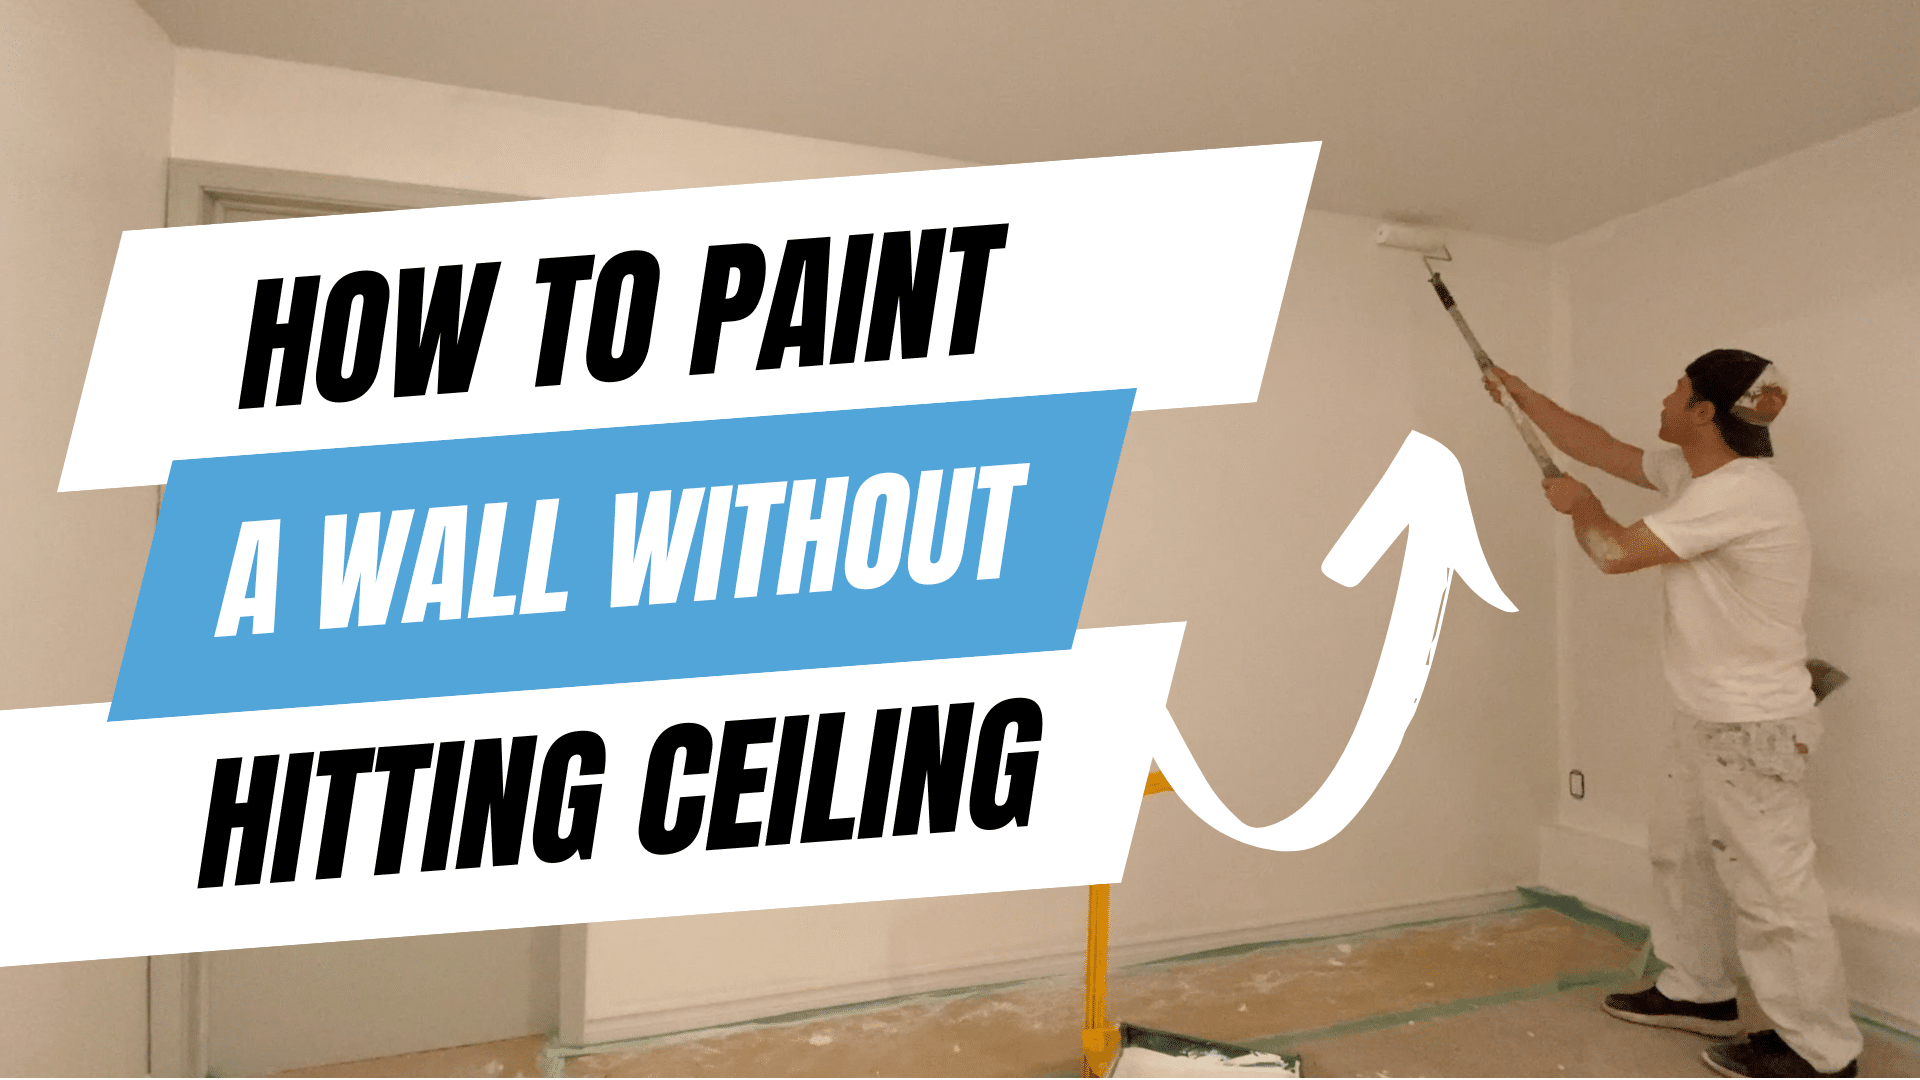
Spraying walls can give your room a smooth, professional look much faster than using a brush or roller. But one big challenge is keeping the spray paint or finish off your ceiling. Even skilled painters sometimes struggle to avoid overspray, drips, or fuzzy edges where the wall meets the ceiling.
If you’re looking for a way to spray your walls without hitting the ceiling, you’re not alone—and you’re smart for wanting to learn the right method before you start.
This guide explains everything you need to know, from preparing your space and choosing the right tools, to proven spraying techniques, troubleshooting, and cleaning up. Whether you’re a DIY beginner or have some painting experience, you’ll discover practical tips that can save you time, money, and frustration.
By the end, you’ll feel confident spraying your walls cleanly, with crisp lines and no ceiling mess.
Why Overspray Happens
Before you begin, it helps to understand overspray. This is when paint particles travel beyond your target area. Airless and HVLP sprayers shoot paint in a fan shape, and even if you aim carefully, tiny droplets can float upward or sideways. Gravity, air movement, and the angle of your spray all influence where the paint lands.
One common mistake is thinking that taping alone will stop all overspray. In reality, paint can sneak under poorly placed tape or even bounce off walls onto the ceiling. Using the right combination of preparation, technique, and equipment makes all the difference.
Tools And Materials You’ll Need
To spray walls without hitting the ceiling, you’ll need more than just a paint sprayer and paint. Here’s a list of essential and optional items to make your job smoother and neater:
- Paint sprayer (airless or HVLP, depending on your project size)
- Painter’s tape (high-quality, wide tape for sharp edges)
- Plastic sheeting or drop cloths (to cover floors and furniture)
- Shield or spray guard (special tool for blocking the spray at edges)
- Masking paper or film (for quick ceiling and trim protection)
- Ladder or step stool (for reaching the top of the walls safely)
- Respirator mask (protects you from inhaling paint mist)
- Safety goggles and gloves
- Extension pole (if your sprayer supports it, for high walls)
- Touch-up brush (for small fixes after spraying)
- Cleaning supplies (rags, water or solvent, depending on paint type)
Some professionals also use edge guards or paint shields—simple handheld tools that block spray and help create sharp lines.

Credit: trustedhousepainter.com
Preparing The Room: The Key To Clean Edges
If you skip good prep, even the best spraying skills won’t save your ceiling. Here’s how to set up your room for a crisp, clean job:
1. Clear And Cover
Remove as much furniture as possible. For items that must stay, move them to the center and cover with plastic sheeting. Lay drop cloths over the entire floor, especially near walls and under the spray area.
2. Tape The Ceiling
Apply painter’s tape where the wall meets the ceiling. Use a wide, high-quality tape—cheap brands can leak or peel off mid-job. Press the tape down firmly with your finger or a plastic tool, making sure there are no gaps or wrinkles.
Try to align the tape edge exactly with the wall/ceiling line for a sharp finish. If your ceiling isn’t perfectly straight, use a level or snap a chalk line for reference.
3. Protect The Ceiling Surface
For extra protection, stick masking paper or lightweight plastic sheeting to the ceiling, overlapping the tape. This guards against stray droplets and makes cleanup easier. If you’re spraying near vents, lights, or fans, cover them too.
4. Mask Windows, Doors, And Fixtures
Use tape and masking film on window trim, doors, electrical outlets, and baseboards. Sprayers can send paint farther than you expect, so be generous with your coverage.
5. Ventilation And Safety
Open windows if possible, but avoid direct drafts that could blow spray around. Wear a respirator mask and goggles, especially in small spaces.
Choosing The Right Sprayer And Settings
Not all sprayers are created equal. The type you use and how you set it up can make a big difference in controlling overspray.
Airless Sprayers Vs. Hvlp Sprayers
| Sprayer Type | Best For | Overspray Level | Typical Use |
|---|---|---|---|
| Airless | Large areas | High | Walls, exteriors |
| HVLP | Small/medium areas | Low | Trim, furniture, detailed work |
- Airless sprayers are fast and powerful, but they create more overspray. Use them for large rooms or whole-house projects.
- HVLP (High Volume Low Pressure) sprayers are slower but give you more control and less overspray. They’re ideal if you’re new to spraying or working near ceilings.
Nozzle Size And Fan Width
Choose a narrow fan tip (6 to 8 inches) for better control near edges. Wide fans cover more area but are hard to manage at corners. Read your sprayer’s manual and match the tip size to your paint type.
Lower the pressure setting as much as possible while still getting a smooth spray. Too much pressure increases bounce-back and drifting droplets.
Adjusting Your Spray Pattern
Most sprayers let you choose between vertical and horizontal patterns. For ceiling lines, a vertical fan (up and down) gives you a cleaner edge. Always test your pattern on cardboard or scrap before starting on the wall.
Spraying Techniques For Clean Ceiling Lines
Technique matters as much as prep. The following tips can help you spray walls without hitting the ceiling, even if you’re a beginner.
1. Hold The Sprayer At The Right Angle
Aim the sprayer straight at the wall—not upward toward the ceiling. If you angle the gun even slightly up, paint will drift onto the ceiling. Keep the nozzle about 12 inches from the wall surface.
2. Use A Paint Shield Or Edge Guard
A paint shield is a flat, metal or plastic tool that blocks the spray. Hold it against the wall/ceiling line and spray downward. Move the shield as you go, always keeping it snug against the edge.
This method takes practice—don’t rush. Wipe the shield clean every few passes to avoid drips or smears.
3. Start Spraying Away From Edges
Begin each spray pass a few inches below the ceiling and move upward, stopping just short of the tape or shield. This reduces the chance of paint building up at the edge and sneaking under the tape.
4. Use Light, Multiple Coats
Don’t try to cover the wall in one heavy pass. Apply two or three light coats, letting each dry as directed. Thin coats are less likely to run or overspray.
5. Overlap Your Strokes
Overlap each pass by about 50%. This gives you even coverage and helps hide any slight lines or missed spots near the ceiling.
6. Keep Moving
A common beginner’s mistake is pausing too long at the edge. This can cause drips or thick, uneven lines. Keep your hand moving smoothly, and never stop the spray right at the ceiling.
Masking Vs. Shielding: Which Is Better?
Both methods have pros and cons, and sometimes using both gives the best result. Here’s a quick comparison:
| Method | Pros | Cons | Best For |
|---|---|---|---|
| Masking (Tape & Film) | Hands-free, covers large areas | Time-consuming to apply/remove | Beginners, big projects |
| Shielding (Paint Shield) | Quick to move, reusable | Requires steady hand, needs cleaning | Experienced users, touch-ups |
If you’re new to spraying, start with careful masking. As you get more confident, a shield can speed up your work.
Step-by-step Guide: Spraying Walls Without Hitting The Ceiling
Let’s put all the tips together in a clear, step-by-step process:
Step 1: Prepare The Room
- Remove or cover all furniture and floors.
- Mask ceiling edges with tape and film.
- Protect windows, doors, and fixtures.
- Set up ladders and lights for good visibility.
Step 2: Set Up Your Sprayer
- Choose the correct tip and adjust the fan width.
- Thin your paint if needed (follow the sprayer’s guide).
- Fill the sprayer and do a test spray on cardboard.
Step 3: Mask Or Shield The Ceiling Edge
- Press painter’s tape firmly at the wall/ceiling line.
- Add masking film or prepare your paint shield.
- Double-check that all surfaces are covered.
Step 4: Start Spraying The Walls
- Begin a few inches below the ceiling.
- Move the sprayer slowly upward, stopping at the tape or shield.
- Use smooth, overlapping passes.
- If using a shield, keep it tight to the edge and move with each spray pass.
Step 5: Inspect And Touch Up
- Let the first coat dry. Check for missed spots or heavy edges.
- Apply a second (or third) light coat as needed.
- Carefully remove tape while the paint is still slightly wet for best lines.
- Touch up any small ceiling spots with a brush.
Step 6: Clean Up
- Clean your sprayer and tools as directed.
- Carefully remove all masking materials.
- Check for touch-ups after everything is dry.
Common Mistakes And How To Avoid Them
Even with good prep and technique, it’s easy to make a few mistakes. Here’s how to avoid the most common ones:
1. Not Pressing Tape Down Firmly
If tape is loose or wrinkled, paint will creep underneath. Always smooth the tape with your finger or a flat tool.
2. Using The Wrong Tape
Cheap or old painter’s tape can tear, stick poorly, or leave residue. Invest in a good brand, and check the label for how long it can stay on the surface.
3. Spraying At The Wrong Angle
Angling the sprayer up sends paint onto the ceiling. Keep your wrist straight and the nozzle parallel to the wall.
4. Spraying Too Close Or Too Far
Too close gives thick, drippy lines; too far causes a dusty, uneven coat. Aim for about 12 inches from the wall.
5. Rushing The Job
Trying to cover everything in one thick coat almost always leads to overspray and runs. Be patient and use multiple thin layers.
Advanced Tips For A Professional Finish
If you want a perfect result, here are a few pro tips that many DIYers miss:
- Backroll after spraying: While the paint is still wet, use a roller to lightly go over the sprayed area. This evens out the texture and blends any edges.
- Check humidity and temperature: Paint dries differently in hot, cold, or humid conditions. Aim for moderate temperatures and avoid painting on wet or windy days.
- Use a laser level: For super-straight masking lines, a laser level helps guide your tape placement, especially in older homes where ceilings may be wavy.
- Practice first: Before spraying a real wall, practice on scrap drywall or cardboard to adjust your distance, speed, and pattern.
What To Do If Paint Hits The Ceiling
Even with care, you might get a small spot on the ceiling. Here’s what to do:
- Wipe it immediately with a damp cloth if the paint is still wet.
- For dried spots, gently sand with fine paper, then touch up with ceiling paint using a small brush.
- For textured ceilings, dab the spot lightly with a sponge or the original texture material after touching up the paint.
If the ceiling is a different color or finish, always use the original paint for touch-ups. Keep a small jar of ceiling paint handy for this purpose.

Credit: trustedhousepainter.com
Cleaning And Maintaining Your Tools
Your results depend on well-maintained tools. Clean your sprayer right after use, following the manufacturer’s instructions. Dried paint inside can clog tips and ruin spray patterns. Clean brushes and shields with the right solvent (water for latex, mineral spirits for oil-based paint).
Store your equipment in a dry place. Before your next job, check that all parts are free of dried paint and ready to go.
Real-world Example: Success Story
Let’s look at a real example. Maria, a homeowner in Texas, wanted to spray her living room walls without repainting her white ceiling. She used an airless sprayer, but on her first try, she aimed too high and got paint fog on the ceiling. After reading up on technique, she tried again with these changes:
- Used a 1.5-inch wide, premium tape and pressed it down with a plastic putty knife.
- Added masking film over the tape for a double barrier.
- Switched to a narrower spray tip and lowered the pressure setting.
- Practiced with a paint shield to get comfortable before moving to the real wall.
Her second attempt was much cleaner, with only two tiny spots to touch up (easily fixed with a brush). The project took one day to spray and another for touch-ups and cleanup. She saved money over hiring a pro and was proud of the sharp, clean lines.
Credit: trustedhousepainter.com
Cost And Time Comparison: Spraying Vs. Rolling
Is spraying worth it compared to old-fashioned rolling? Here’s a quick look:
| Method | Time per 200 sq ft | Material Cost | Skill Needed | Edge Control |
|---|---|---|---|---|
| Spraying | 1 hour (plus prep/cleanup) | $50–$300 for sprayer rental or purchase | Medium to High | Tricky—needs prep |
| Rolling | 2–4 hours | $15–$50 for rollers/trays | Low | Easy—less overspray |
Spraying is faster and gives a smoother finish, but requires more prep and skill to avoid ceiling messes. Rolling is slower but easier for beginners, especially for small rooms or projects with lots of edges.
When To Call A Professional
If your ceiling has special finishes (like textured or popcorn), or you’re not confident masking off intricate details, consider hiring a pro. Professional painters have the tools, skills, and insurance to handle tricky jobs. For most flat ceilings and standard walls, though, DIY spraying works well if you follow the right steps.
Useful Resources
For more details on paint sprayers, tips, and safety, the Family Handyman’s guide is a trusted resource.
Frequently Asked Questions
How Do I Get A Sharp Line Between The Wall And Ceiling When Spraying?
Use high-quality painter’s tape, press it down firmly, and add a strip of masking film or plastic to catch any stray droplets. Remove the tape while the paint is still a bit wet for the cleanest edge.
What’s The Best Way To Fix Overspray On The Ceiling?
If the paint is wet, quickly wipe it with a damp rag. For dried spots, sand lightly and touch up with the original ceiling paint. For textured ceilings, restore the texture with a sponge after painting.
Can I Spray Walls Without Using Any Tape?
It’s risky. Even skilled pros usually use at least some tape or a paint shield. Without tape, you’ll almost always get some overspray, especially near the ceiling.
Should I Spray The Ceiling Or Walls First?
Most experts recommend spraying the ceiling first, then masking it off while spraying the walls. This way, any ceiling drips are covered by the wall paint, not the other way around.
What Are The Dangers Of Indoor Paint Spraying?
The main risks are inhaling paint mist (always wear a respirator), making a mess, or slipping on wet paint. Open windows for ventilation and keep pets and children out of the room until the paint is dry.
Spraying walls without hitting the ceiling is possible with careful prep, the right tools, and good technique. Take your time on setup, practice your spray pattern, and don’t rush the process. With patience and these tips, you’ll get crisp, professional results—and a room you’ll be proud to show off.