Pulling up old carpet to reveal the beauty of a hardwood floor underneath can feel like opening a hidden treasure. Many homeowners find themselves wondering if they can handle this project themselves. The good news is, with the right tools, a bit of patience, and careful planning, you can safely remove carpet from hardwood floors and bring back the shine of real wood.
This guide takes you step by step through the process, explaining not only how to remove carpet but also how to prepare, clean, and protect your hardwood floor for years to come.
Understanding The Basics: Why Remove Carpet From Hardwood Floors?
Many homes, especially older ones, have hardwood floors hidden under carpet. There are several reasons to remove carpet:
- Health: Carpet traps dust, allergens, and odors. Hardwood is easier to keep clean.
- Aesthetics: Hardwood adds value and beauty to your home.
- Maintenance: Carpet wears out faster and needs replacement more often.
- Resale Value: Homes with hardwood floors often sell faster and at higher prices.
But it’s not just about pulling up carpet. You need to protect the wood, avoid damaging it, and restore its look. Let’s break down each part of the process.
Preparing For Carpet Removal
Before you start, proper preparation saves time and prevents mistakes.
Assess The Floor And Carpet
Start by checking if you really have hardwood under your carpet. Look for a vent or corner where you can lift the carpet and see what’s underneath. If you see real wood planks, you’re set. But if you find plywood or particleboard, you may not have hardwood.
Also, check the carpet’s condition. Old carpets can be dirty or moldy. Wear gloves and a mask if needed.
Gather The Right Tools
Having the right equipment makes the job easier and safer. Here’s what you’ll need:
- Utility knife (with extra blades)
- Pry bar or flat-head screwdriver
- Pliers (needle-nose are best)
- Hammer
- Work gloves
- Safety glasses
- Dust mask
- Heavy-duty trash bags
- Floor scraper (for stuck residue)
- Shop vacuum or broom
Optional but useful:
- Knee pads
- Painter’s tape
- Drop cloths
Prepare The Room
Clear out all furniture and personal items. Roll up drapes and cover vents. If you have pets or children, keep them away from the work area. Open windows for ventilation, especially if the carpet is old or musty.
One insight: Many people forget to check for asbestos in old carpet glue or tiles. If your home was built before 1980, consult a professional before starting.
Step-by-step Guide: Removing The Carpet
Now you’re ready to begin.
1. Cut And Roll Up The Carpet
Start in a corner of the room. Use pliers to grip the carpet and pull it up. If it’s stuck, use the pry bar gently.
With the carpet loose, use a utility knife to cut it into strips about 3 feet wide. This makes it easier to roll and carry. Always cut from the back of the carpet (the rough side), not the fuzzy side, to avoid dulling your blade.
Roll up each strip tightly and use tape or twine to secure. Place the rolls in heavy-duty trash bags or take them outside right away.
Tip: Cut slowly to avoid cutting into the hardwood underneath.
2. Remove Carpet Padding
Under the carpet, you’ll find a layer of foam padding. This is usually stapled or glued. Pull up the padding, rolling it into strips as you go.
If the padding is glued, use a floor scraper to loosen it gently. Avoid using too much force—sharp tools can scratch wood.
Some staples will come out with the padding, but many stay in the floor. We’ll cover how to remove these next.
3. Take Out Tack Strips
Tack strips are thin wooden strips with sharp nails that hold the carpet edges. These run along the room’s perimeter.
Put on gloves and safety glasses. Use a pry bar and hammer to gently lift the tack strips. Work slowly to avoid gouging the hardwood.
If a strip is stubborn, insert the pry bar under the strip and tap with a hammer. Wiggle the strip up a few inches at a time.
Insight: Tack strips sometimes splinter. If you hit a nail or staple, don’t yank—lift it out carefully to avoid damaging the floor.
4. Remove Staples And Nails
After the padding is gone, you’ll see many tiny staples and possibly nails left in the hardwood. These must be removed.
Use needle-nose pliers to pull out each staple. For nails, a flat-head screwdriver or pry bar works best.
Check the floor closely—missing a staple can cause injury later or damage sanders if you plan to refinish the floor.
Non-obvious tip: Magnet sweepers, often used for picking up nails in garages, can help find hidden metal pieces in the floor.
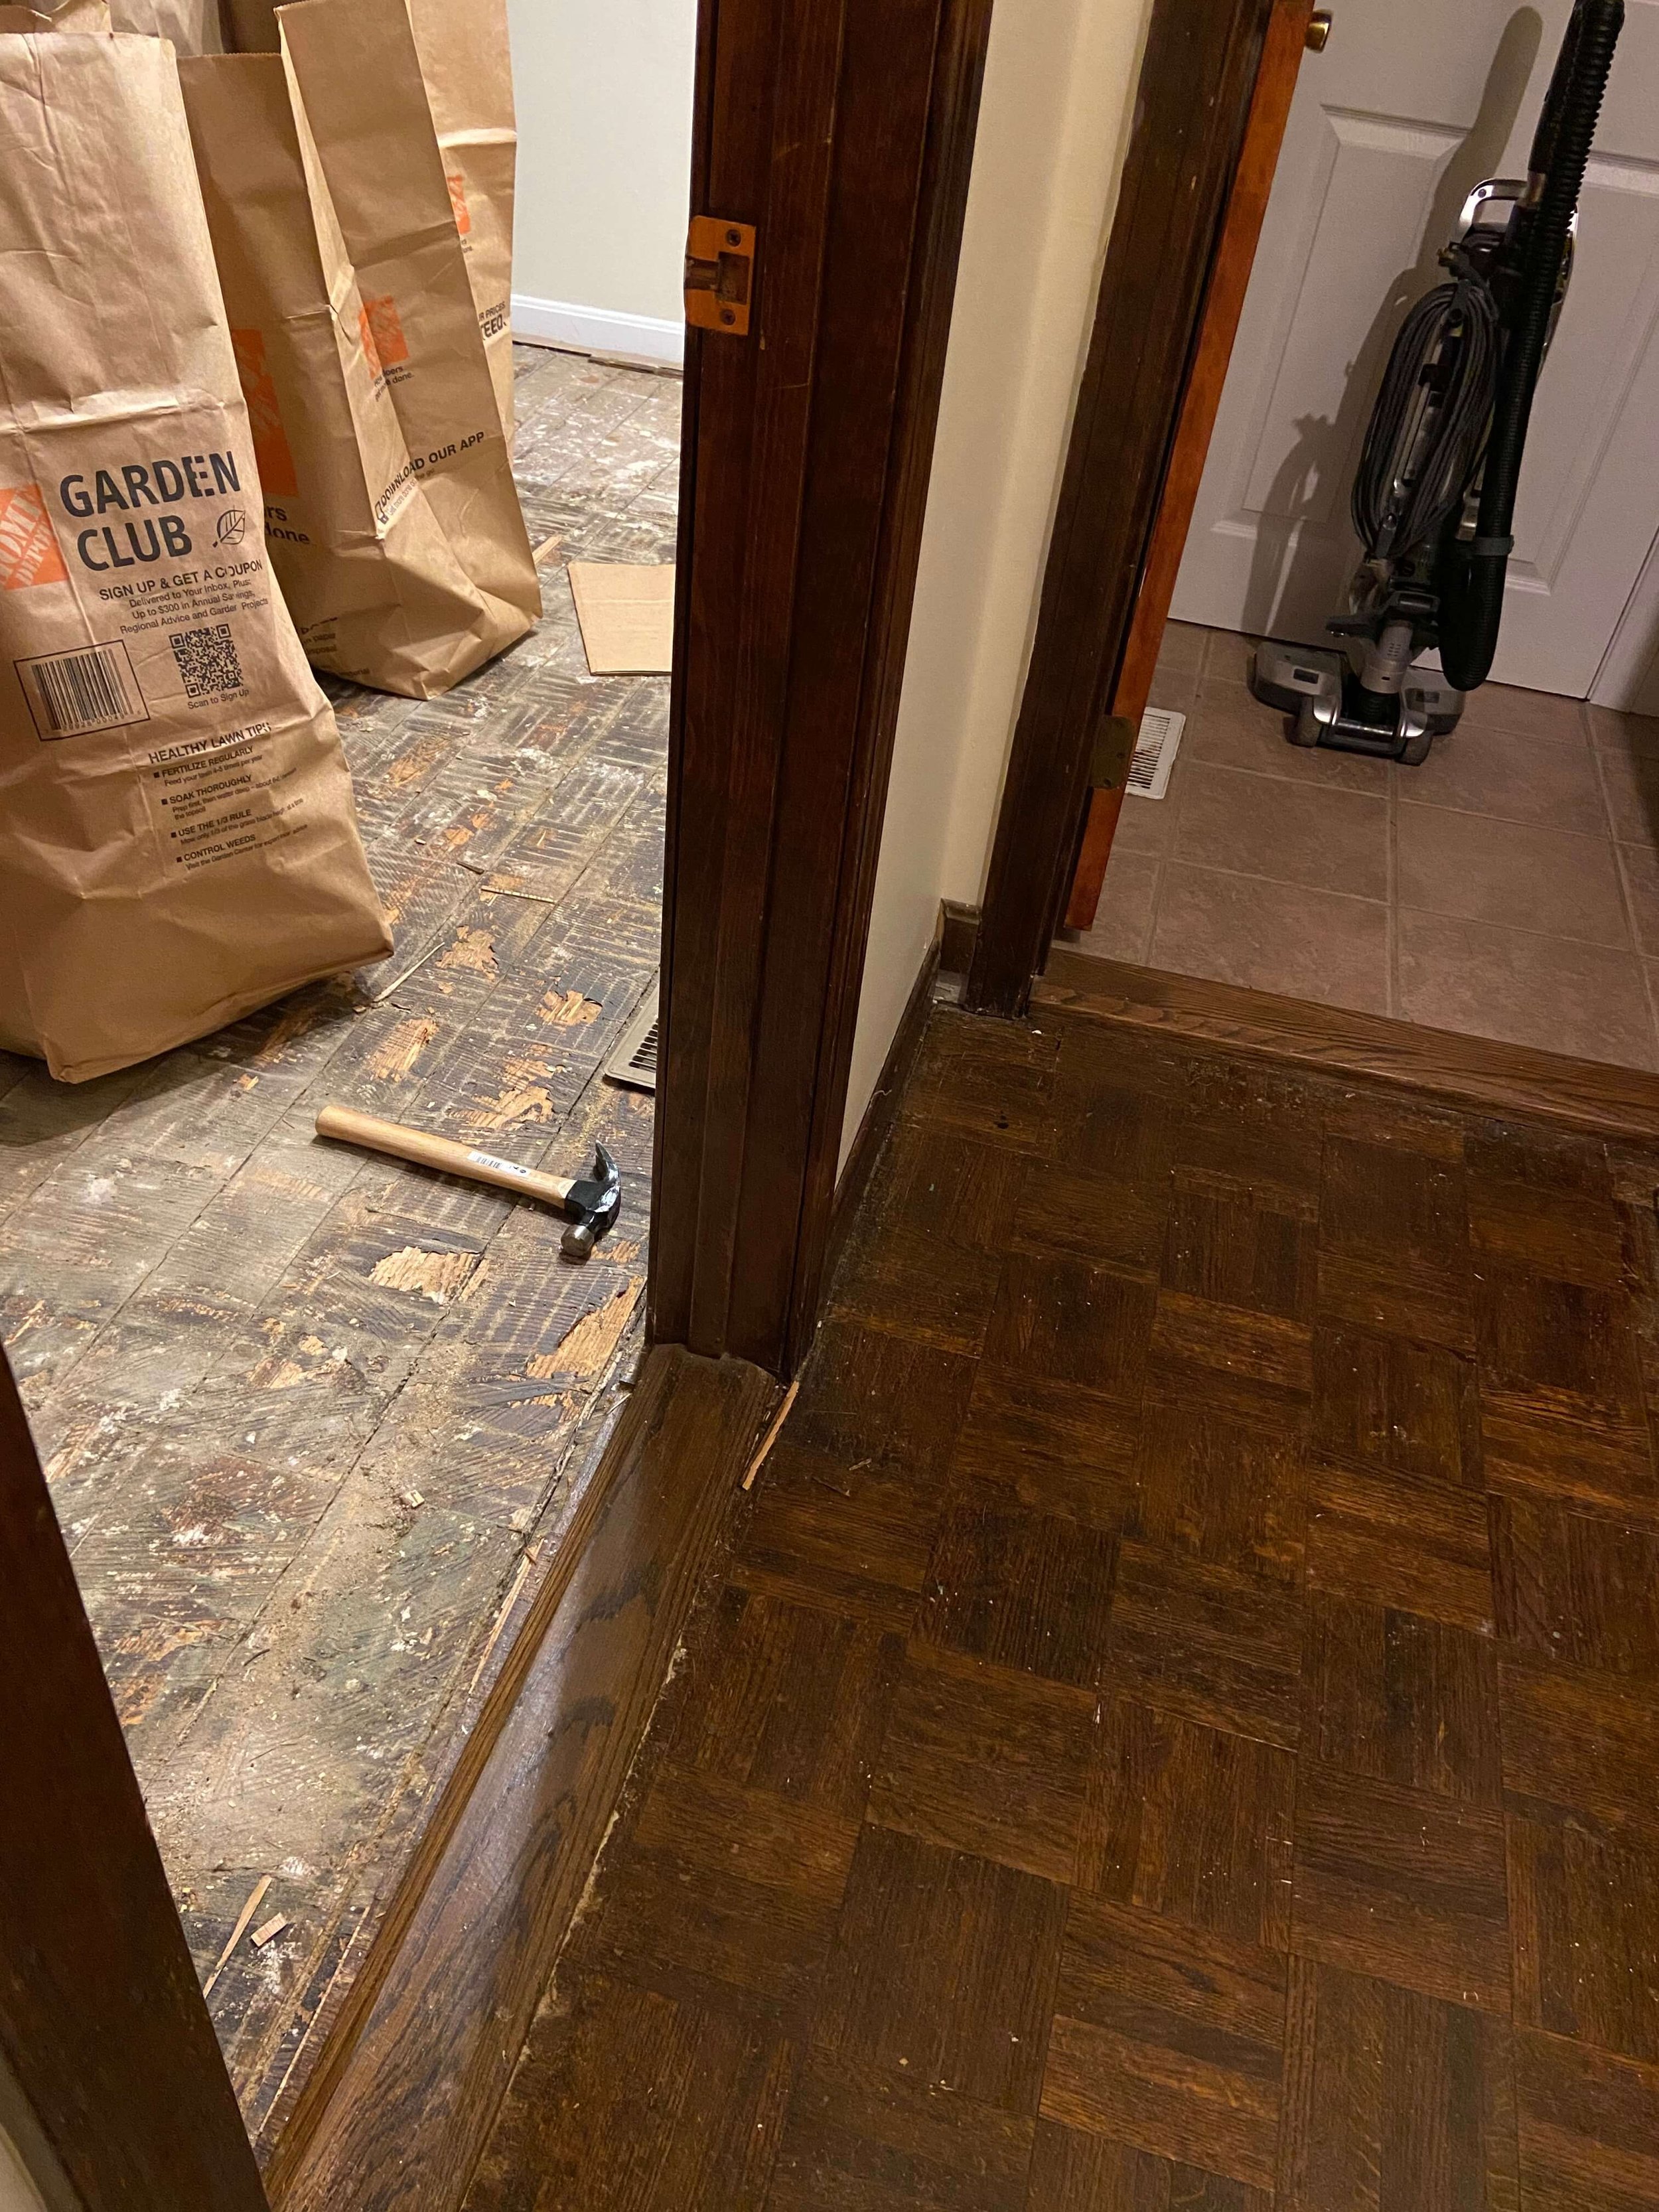
5. Scrape Away Residue
Old carpet can leave behind glue or sticky residue. Use a plastic or metal floor scraper, working at a low angle.
For stubborn glue, dampen a rag with mineral spirits and gently rub the area. Test in a small spot first to ensure it does not damage the wood finish.
If the residue won’t come off, don’t force it. You may need to sand or refinish later.
Warning: Avoid using too much water or harsh chemicals. Moisture can warp or stain hardwood.
Cleaning And Inspecting The Hardwood Floor
Once the carpet and all attachments are gone, it’s time to clean and examine your hardwood.
Sweep And Vacuum
Remove all dust, dirt, and loose debris using a soft broom or a shop vacuum. Pay extra attention to corners and along walls where dust collects.
Mop Carefully
If the floor is very dirty, use a slightly damp mop with a wood-safe cleaner. Do not soak the floor—too much water can seep between boards and cause damage.
Dry the floor immediately with a towel.
Check For Damage
Look for these common issues:
- Scratches or gouges: From tack strips or tools
- Stains or discoloration: From spills or old padding
- Loose boards: Move when you step on them
- Squeaks: Boards rubbing together
Document any problems. If you find deep damage, you may need professional repair or refinishing.
Credit: www.youtube.com
Deciding What’s Next: Refinish, Repair, Or Enjoy?
Now that the hardwood is visible, you need to decide how to finish the job.
Light Cleaning And Polishing
If the wood is in good shape, a thorough cleaning and a coat of wood polish or wax may be all you need. This brings back shine and protects the surface.
Minor Repairs
Small scratches can often be fixed with a wood touch-up pen or filler. For squeaks, try sprinkling talcum powder between the boards and sweeping it in to reduce friction.
Loose boards may need new nails or wood glue. Always use products meant for hardwood floors.
Refinishing
If the floor is heavily scratched, stained, or uneven, refinishing might be the best choice. This involves sanding the surface and applying new stain and finish.
This is a big project but can make old floors look new. You can do it yourself or hire a professional.
When To Call A Pro
If you see:
- Large areas of deep water damage
- Warped or buckling boards
- Signs of mold or rot
It’s best to contact a flooring specialist.
Non-obvious insight: Sometimes, homeowners find different types of wood or patches. This happens if previous owners made repairs using other materials. Consult an expert before refinishing mixed wood floors.
Common Mistakes To Avoid
Many first-timers make avoidable errors. Here’s how to dodge them:
- Rushing: Going too fast can damage the wood. Take your time.
- Wrong tools: Using a screwdriver instead of a pry bar, or a dull blade, makes work harder and riskier.
- Skipping safety gear: Gloves and glasses prevent injuries from sharp nails or splinters.
- Soaking floors: Too much water can ruin hardwood.
- Not testing chemicals: Always test cleaning products on a hidden spot.
- Missing staples or nails: These can scratch furniture or hurt bare feet.
Remember, patience and attention to detail pay off.
How Much Time And Effort Does It Take?
Removing carpet from hardwood is a labor-intensive job, but not impossible for a DIYer.
- Room size: A standard 12×15 foot room takes 4-6 hours for one person.
- Carpet type: Thicker, older carpets or glued padding take longer.
- Floor condition: More staples or glue mean more work.
If you have multiple rooms, consider spreading the work over a few days.
Here’s a quick comparison of effort for different room sizes:
| Room Size | Estimated Time (1 Person) | Effort Level |
|---|---|---|
| 10×10 ft | 2-3 hours | Low |
| 12×15 ft | 4-6 hours | Moderate |
| 20×20 ft | 8-10 hours | High |
Disposal: What To Do With Old Carpet And Padding
Old carpet and padding can be bulky and heavy. Here’s how to get rid of them:
- Check local rules: Many cities require carpets to be disposed of at special facilities.
- Recycle: Some recycling centers accept carpet and padding.
- Arrange pickup: Some waste companies offer special pickup for large items.
- Donate (if clean): Animal shelters sometimes use old carpet for bedding.
Fact: The Carpet America Recovery Effort (CARE) reports that only about 5% of used carpet is recycled each year. Recycling helps reduce landfill waste.
Cost Breakdown: Is Diy Cheaper?
Removing carpet yourself saves money, but there are costs to consider.
Diy Costs
- Tool rental/purchase: $40-$100 (if you don’t already own tools)
- Trash bags: $10-$20
- Safety gear: $20-$40
- Cleaner/polish: $15-$30
Total: $75-$190 Per Room
Professional Removal
- Pro labor: $1.50-$3.50 per sq. Ft.
- For a 12×15 ft room (180 sq. Ft): $270-$630
Here’s a side-by-side look:
| Method | Cost (12×15 ft room) | Pros | Cons |
|---|---|---|---|
| DIY | $75-$190 | Cheaper, flexible, personal satisfaction | Time-consuming, physical effort |
| Professional | $270-$630 | Quick, less work, expert handling | Higher cost, scheduling needed |
Protecting Your Hardwood Floor After Removal
Your hardwood floor is now exposed and may need extra care.
Immediate Steps
- Place rugs or mats in high-traffic areas.
- Attach felt pads to furniture legs to prevent scratches.
- Keep the floor dry—wipe up spills right away.
Long-term Maintenance
- Sweep or vacuum regularly with a soft-brush attachment.
- Use wood-friendly cleaners.
- Avoid harsh chemicals or steam mops.
- Reapply polish or wax every 6-12 months.
Monitoring For Issues
Keep an eye out for:
- Color fading from sunlight (use curtains or blinds)
- New squeaks or loose boards
- Signs of moisture or damage
Proactive maintenance keeps hardwood beautiful for decades.

Credit: diy.stackexchange.com
When Is Removing Carpet Not A Good Idea?
While most hardwood floors benefit from removing old carpet, there are exceptions:
- If the hardwood is in very poor shape (deep water damage, termite damage, heavy rot)
- If the floor is not real hardwood, but thin veneer or engineered wood
- If carpet was installed to insulate from cold or reduce noise in multi-story homes
If you discover these issues, consider alternatives like new carpet, area rugs, or consulting a flooring expert.
Real-life Example: Homeowner’s Experience
Emily, a homeowner in Michigan, decided to remove her living room carpet herself. After gathering her tools and preparing the space, she discovered that the padding was glued down in spots, requiring extra scraping. She found over 300 staples in her 14×16 ft room—a common but often underestimated detail.
The process took a weekend, but the result was a beautiful oak floor with only minor scratches. Emily spent about $110 on tools and supplies, compared to the $500 quote from a professional. Her main advice: “Go slow, check every inch for staples, and don’t skip the safety glasses!”
Environmental Impact And Sustainability
Choosing to reveal and restore hardwood is an eco-friendly move. Hardwood floors, if maintained, last over 100 years, while carpet needs replacement every 8-10 years.
Each year, over 4 billion pounds of carpet end up in U. S. landfills. By keeping your hardwood, you reduce waste and avoid the chemicals in new carpets.
For more about the environmental impact of flooring choices, see this EPA resource.
Troubleshooting: Dealing With Surprises
You might face unexpected challenges. Here’s how to handle some common ones:
- Pet stains: Try a mix of vinegar and water to lighten marks. If stains are deep, refinishing may be necessary.
- Paint splatters: Use a plastic scraper; avoid sharp blades that could scratch.
- Mold: If you find black or musty spots under the padding, wear a mask and clean with a mild bleach solution. If the area is large, call a professional.
Credit: www.joanbissdorf.com
Final Tips For Success
- Double-check for staples and nails using your hands and a magnet.
- Take breaks—removing carpet is tiring.
- Ask a friend for help moving heavy rolls or furniture.
- Dispose of waste responsibly.
- If in doubt, get advice from a flooring expert or local hardware store.
Frequently Asked Questions
What If I Find Mold Under My Carpet?
If you see small areas of mold, wear a mask and gloves. Clean with a mild bleach solution and dry the area well. For large or deep mold patches, consult a professional, as mold can affect your health and the structure of your floor.
Can I Reuse The Removed Carpet Or Padding?
Carpet can sometimes be reused in garages, workshops, or animal shelters if it’s clean. Padding usually cannot be reused due to wear and hygiene. Always check for signs of mold or damage before reusing.
How Do I Know If My Hardwood Floor Needs Refinishing?
If your floor has deep scratches, stains, or feels rough, refinishing can help. Pour a small amount of water on the floor—if it soaks in quickly, the finish is worn and refinishing is a good idea. Otherwise, cleaning and polishing may be enough.
Is It Safe To Remove Carpet Myself?
It is usually safe if you wear protective gear and work carefully. However, if your home was built before 1980, there may be asbestos in old glue or tiles. In that case, consult a professional before starting.
Do I Need To Sand The Floor After Carpet Removal?
Not always. If the floor is in good shape, cleaning may be enough. Sanding is only necessary if there are deep scratches, stains, or uneven areas you want to fix. Always start with cleaning before deciding to sand.
Bringing hardwood back to life is a rewarding project. With careful planning and attention, you can transform your home and enjoy your floors for decades to come.