Putting together a Graco crib can seem like a big task, especially if you’re a first-time parent or assembling furniture is new for you. But with the right steps and clear guidance, you can do it safely and confidently, ensuring your baby sleeps in a secure space. Graco is a trusted name in baby products, and their cribs are designed to be both sturdy and easy to assemble if you follow the instructions. This guide will walk you through every detail, from unpacking the box to final safety checks, so you won’t miss anything important.
You’ll also learn about choosing the right tools, understanding each part, and avoiding common mistakes that can cause frustration. Along the way, you’ll find practical tips from real experience and advice to help you build your crib without stress. By the end of this article, you’ll have a complete understanding and the confidence to assemble a Graco crib, even if you’ve never built furniture before.
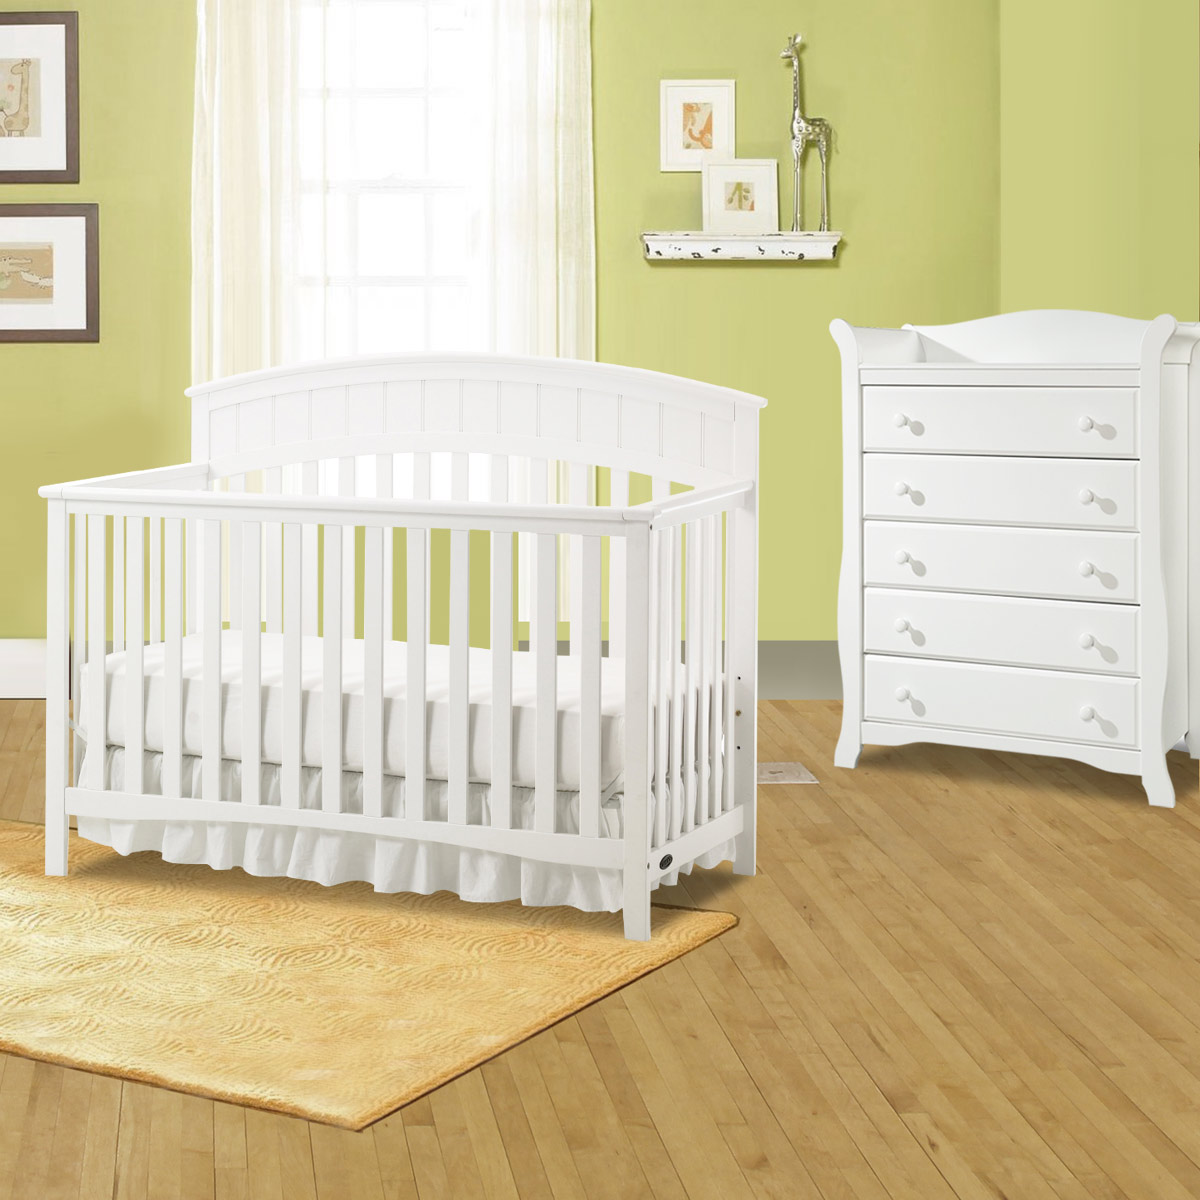
Understanding Your Graco Crib Model
Before you start, it’s important to know exactly which Graco crib model you have. Graco makes several styles—like convertible cribs, traditional cribs, and travel cribs. Each model has its own unique features and assembly requirements.
Check the label on the box or inside the crib panel for the model number. You can also find this information in your instruction manual. If you’ve lost your manual, you can download one from the official Graco website by searching your crib’s model number.
Some Graco cribs can convert into toddler beds or daybeds. If you plan to use these features, keep all extra parts and instructions for future use. Always match the parts in your box to the parts list in the manual before starting.
This simple step prevents confusion later and ensures you have everything you need.
Preparing Your Workspace
Setting up the right workspace is a step many people overlook. A clear, clean area makes assembly faster and safer.
- Choose a flat, stable surface such as a carpeted floor or large rug. This helps protect both the crib parts and your floor from scratches.
- Remove packaging materials and keep small parts in a bowl or tray so you don’t lose anything.
- Make sure you have plenty of light and enough room to move around.
- Keep children and pets away while you work to avoid accidents.
One detail many people miss: if your crib will be used in a small room, assemble it close to the final spot. Fully assembled cribs often don’t fit through doorways.
Credit: www.simplybabyfurniture.com
Gathering The Right Tools
Most Graco cribs come with the basic tools you need, like Allen wrenches. But having a few extra items can make the job easier:
- Phillips screwdriver (for screws)
- Flathead screwdriver (sometimes needed for prying or adjusting)
- Allen wrenches/hex keys (often included)
- Rubber mallet (use gently, if needed)
- Measuring tape (to double-check spacing)
- Bowl or tray for organizing screws and bolts
Having the right tools ready saves time and reduces frustration. If you have an electric screwdriver, use it on a low setting to avoid stripping screws. Never use power tools on plastic parts—they can crack easily.
Unboxing And Checking All Parts
Open the box carefully, using scissors or a utility knife to avoid damaging parts inside. Lay out all pieces on the floor and compare each one to the parts list in your manual. Check for:
- Headboard and footboard
- Side rails
- Mattress support (metal or wood frame)
- Screws, bolts, washers, and dowels
- Instruction manual
- Allen wrenches or tools (if included)
Look for any damage or missing items. If you find a problem, contact Graco customer service before starting. It’s much easier to solve issues now than halfway through assembly.
A common mistake is to assume all cribs are the same. Some Graco cribs have extra hardware for conversion kits, while others do not. Keep extra parts in a labeled bag for later use.
Reading And Understanding The Manual
Take a few minutes to read through the instruction manual. Even if you feel comfortable with tools, each crib model has specific assembly steps and safety warnings. Look for diagrams showing how each piece fits together.
If you’re missing a manual, you can find most Graco crib instructions online as PDFs. Never try to build from memory or with instructions for a different model—small differences can affect safety.
Step-by-step Assembly Process
Here’s a detailed guide to putting together a standard Graco convertible crib. If your model has extra features, check the manual for those specific steps.
1. Attach The Headboard And Footboard
Start by laying the headboard and footboard flat on the floor. These are usually the largest panels and may have different shapes.
- Position the headboard and footboard upright, parallel to each other.
- Insert the side rails into the slots or holes on each panel.
- Use the provided bolts and washers to secure the rails. Tighten with the Allen wrench, but don’t over-tighten yet—leave a little play for adjustments.
2. Connect The Side Rails
Once the headboard and footboard are in place, attach the side rails.
- Slide each rail into the pre-drilled holes or brackets.
- Make sure the rails are level and aligned.
- Secure with the correct screws or bolts as shown in your manual.
- Double-check that the rails are facing the right direction (some have an inside and outside).
It’s easy to mix up the left and right rails, so compare with the diagram in your manual.
3. Install The Mattress Support
The mattress support is the part that holds the crib mattress. It may be a metal spring frame or a wooden slat platform.
- Position the mattress support at the desired height. For newborns, the highest setting is often safest for easy access. Lower the support as your baby grows and begins to sit or pull up.
- Attach the mattress support to the four corners using bolts or hooks. Some models use adjustable brackets.
- Make sure the support is level and tightly secured. Wiggle it gently to check for movement.
Here’s a quick comparison of mattress support types in Graco cribs:
| Type | Pros | Cons |
|---|---|---|
| Metal Spring Frame | Strong, bouncy, easy to adjust | Can be noisy if not tightened |
| Wooden Slat Platform | Quiet, solid feel | Heavier, harder to adjust |
4. Secure All Bolts And Screws
Go back and tighten all bolts and screws. This step is important for safety—loose hardware can make the crib unstable.
- Use the Allen wrench or screwdriver to tighten each connection.
- Don’t over-tighten, as this can strip the screws or crack the wood.
- If a bolt doesn’t fit, check for misalignment and gently adjust.
A tip many miss: after tightening, shake each panel gently. If you hear rattling, something may be loose or out of place.
5. Attach Decorative Or Safety Features
Some Graco cribs come with extra features like teething rails, safety caps, or conversion rails.
- Follow the manual for attaching these pieces.
- Make sure all parts are flush and secure.
- If you’re missing a part, contact Graco before using the crib.
6. Place The Crib In Its Final Position
Once the crib is fully assembled, move it to its final location.
- Make sure the crib is at least a few inches away from windows, cords, or radiators.
- Place the crib on a level surface for safety.
- Check that there’s enough space around the crib for easy access.
Many parents forget to check for nearby outlets or cords—keep these far from the crib to prevent hazards.
7. Add The Mattress And Bedding
Insert the crib mattress and any bedding.
- Use only a mattress that fits snugly with less than two fingers of space between the mattress and crib sides.
- Add a fitted crib sheet. Avoid pillows, blankets, or stuffed animals inside the crib—these are not safe for infants.
- Test the mattress support again by pressing on the mattress. It should not sag or shift.
Here’s a quick comparison of safe vs unsafe bedding:
| Safe Bedding | Unsafe Bedding |
|---|---|
| Fitted sheet | Loose blankets |
| Firm crib mattress | Pillows or stuffed toys |
| No bumper pads | Thick quilts or comforters |

Credit: www.simplybabyfurniture.com
Safety Checks And Final Inspection
Never skip the final safety check. This ensures your crib is secure and ready for your baby.
- Check every bolt, screw, and connection for tightness.
- Make sure the mattress support is firmly attached and level.
- Look for sharp edges, splinters, or hardware sticking out.
- Shake the crib gently to test for wobble.
- Check for gaps larger than 2 3/8 inches between slats (the width of a soda can). Larger gaps are unsafe.
- Test the crib door or drop-side if your model has one—ensure it locks securely.
If you find any problems, fix them before using the crib. Don’t improvise with home repairs, as this can affect safety.
Common Mistakes And How To Avoid Them
Even careful parents can make mistakes when assembling a crib. Here are the most common ones, and how to avoid them:
- Skipping the manual: Every crib is different; always follow the instructions.
- Mixing up hardware: Lay out all screws and bolts in advance, and use only the correct ones at each step.
- Over-tightening screws: This can strip the holes or crack the wood. Tighten until snug, not more.
- Missing steps: Don’t jump ahead; complete each step before moving on.
- Not checking for recalls: Rare, but check the Graco website for any safety recalls related to your crib.
- Forgetting to check for leftover parts: If you have extra pieces, double-check the manual—they may be needed for later stages or conversion.
- Placing the crib in an unsafe spot: Keep away from windows, blinds, cords, and heat sources.
A practical tip: take photos during assembly, especially of complex steps. This helps if you need to take the crib apart later or convert it for a toddler.
Adjusting The Crib As Your Baby Grows
Many Graco cribs are convertible, which means you can change them as your child grows. For example, you may lower the mattress height or convert the crib into a toddler bed or daybed.
Lowering The Mattress Support
As your baby learns to sit or pull up, lower the mattress support to the next setting. This keeps your child from climbing or falling out.
- Always lower the mattress before your baby can sit or stand.
- Use the same bolts or brackets to adjust the height, following the manual.
Converting To A Toddler Bed
If your Graco crib is convertible, you may be able to turn it into a toddler bed.
- Remove one side rail and attach the toddler bed rail (sold separately for some models).
- Save all hardware and parts removed; you may need them for future changes.
- Always follow the conversion instructions to ensure safety.
Not all Graco cribs are convertible, so check your model before planning this step.
Tips For A Smooth Assembly Experience
Building a crib can take 30 minutes to 2 hours, depending on your experience and the crib model. Here are some tips to make it easier:
- Read the manual all the way through before starting.
- Ask a friend or partner for help—two people make assembly safer and faster.
- Work slowly and check each step. Don’t rush.
- Organize your hardware by type and size before you begin.
- If you get stuck, look for video guides online or call Graco support.
- Keep all receipts and warranty information in case you need help later.
It’s common to feel overwhelmed, but remember: most people only assemble a crib a few times in their life. Take your time and focus on safety first.

Credit: www.youtube.com
Cleaning Up After Assembly
After your crib is built and all safety checks are complete, clean up the workspace:
- Dispose of packaging materials safely; plastic bags can be a suffocation hazard for children.
- Store extra parts and the manual in a labeled bag or drawer for later use.
- Wipe down the crib with a damp cloth to remove dust or fingerprints.
Keeping your crib manual and extra hardware in one place is a detail many forget. You’ll need them if you move or convert the crib later.
Key Features Of Graco Cribs Compared
If you’re curious about how your crib compares to other Graco models, here’s a quick overview of some popular features:
| Model | Convertible | Mattress Height Settings | Special Features |
|---|---|---|---|
| Graco Benton | 4-in-1 (crib, toddler bed, daybed, full bed) | 3 | Simple design, easy assembly |
| Graco Solano | 4-in-1 | 3 | Includes drawer for storage |
| Graco Lauren | 4-in-1 | 3 | Classic look, sturdy build |
| Graco Remi | 4-in-1 | 3 | Changing table attached |
If you want more details about specific Graco crib features, you can check the official Graco website or Wikipedia’s Graco page.
Maintenance And Long-term Care
A crib is more than just furniture—it’s a safe space for your child. Taking care of it helps it last for years, or even for future siblings.
- Regularly check bolts and screws for tightness, especially after moving the crib.
- Clean with a damp cloth and mild soap; avoid harsh chemicals.
- Check the mattress and bedding for wear and replace as needed.
- If you convert the crib, follow the manual closely to keep all parts secure.
If you plan to store the crib, disassemble it carefully and keep all hardware in a labeled bag. Write the model number and crib name on the bag for easy future assembly.
When To Call Customer Service
Sometimes, you’ll need help that goes beyond the manual. Call Graco customer service if:
- You’re missing parts or hardware
- Parts are damaged or don’t fit
- The crib wobbles or won’t assemble as shown
- You have safety concerns or need recall information
It’s better to ask for help than to take risks with your baby’s safety.
Frequently Asked Questions
How Long Does It Take To Assemble A Graco Crib?
Most people finish assembling a Graco crib in 30 minutes to 2 hours. The time depends on your experience, the crib model, and whether you have help. Reading the manual before starting makes the process faster.
Can One Person Assemble A Graco Crib Alone?
Yes, you can assemble a Graco crib alone, but having a second person makes it much easier and safer. Some steps, like attaching the mattress support or aligning large panels, are simpler with help.
What Should I Do If Parts Are Missing From My Graco Crib?
If you find missing parts, do not try to substitute with hardware from a store. Instead, contact Graco customer service with your model number and purchase information. They will send you the correct parts for free in most cases.
How Often Should I Check The Crib For Safety?
It’s best to check the crib every few weeks, especially after moving it or if your child is teething or climbing. Tighten any loose screws and look for signs of wear or damage.
Is It Safe To Use A Secondhand Graco Crib?
Using a secondhand crib is safe if the crib meets current safety standards, has no recalls, and includes all original parts. Always check for damage, missing hardware, or gaps between slats. Never use a crib older than 10 years, as safety standards change.
—
Building a Graco crib isn’t just about following steps—it’s about creating a secure, comfortable space for your child. Take your time, use the guide and manual together, and don’t hesitate to ask for help when needed. With care and attention to detail, you’ll finish with confidence, knowing your baby has a safe place to sleep and grow.