If you have an old dresser, you know how frustrating it is when drawers get stuck. Sometimes they squeak, scrape, or refuse to move. This is a common problem with vintage or heavily used furniture, but you don’t have to live with it.
With some attention and simple tools, you can make old dresser drawers slide easier and feel almost new. This guide will walk you through everything you need to know—what causes sticky drawers, what fixes actually work, and even how to prevent future problems.
Whether you’re restoring a family heirloom or just want your bedroom furniture to work better, you’ll find practical solutions here.
Why Old Dresser Drawers Stick
Old dresser drawers often become difficult to open for a mix of reasons. Most commonly, the wood swells or shrinks due to changes in humidity. This makes the drawer too tight in its slot or causes it to rub unevenly. Dust and debris also collect in the runners, making movement rougher over time. Sometimes, the hardware—like metal tracks or glides—wears out, bends, or rusts.
Another issue is that old furniture was usually made with wood-on-wood slides, not modern metal runners. As the wood ages, friction increases and the fit becomes less precise. Paint or finish can also build up, especially if the dresser has been refinished or painted several times.
Identifying the main reason your drawer sticks is the first step in fixing the problem.
Tools And Materials You’ll Need
Before starting, gather some basic tools and supplies:
- Phillips and flathead screwdrivers
- Soft cloths or rags
- Vacuum with crevice attachment
- Fine-grit sandpaper (180–220 grit)
- Candle wax, beeswax, or bar soap
- Wood glue (if repairing cracks)
- Wood filler (for deeper gouges)
- Wood plane or block plane (optional for severe swelling)
- Lubricant (like paraffin wax, silicone spray, or dry lubricant)
- Small brush or old toothbrush
- Steel wool (for metal parts)
- Replacement hardware (if runners or slides are damaged)
- Painter’s tape (to protect surfaces)
- Measuring tape
You don’t need every item for every job. Which ones you use depends on the condition of your dresser and what you discover as you work.
Step 1: Take Out The Drawer And Inspect
Always begin by removing the drawer from the dresser. Most old drawers lift out easily when pulled straight out and then tilted up at the end. If you meet resistance, check for any stops or catches underneath.
Examine both the drawer sides and the inside of the dresser where the drawer slides (called the case or carcass). Look for:
- Dust or dirt buildup
- Loose or warped wood
- Damaged or missing runners
- Old paint or finish build-up
- Signs of swelling or shrinking wood
If your dresser has metal runners or glides, check for rust, bent pieces, or broken screws.
Step 2: Clean All Sliding Surfaces
Dirt and debris cause a surprising amount of friction. Start by using a vacuum with a crevice tool to remove loose dirt from all corners and edges. Next, use a slightly damp cloth to wipe down the drawer sides, runners, and interior tracks. For sticky residue, a little mild soap on a cloth can help.
Let all wood dry completely before continuing. If you see caked-on grime or old wax, gently scrub with a small brush or an old toothbrush. For metal tracks, steel wool can remove rust or buildup without scratching.
Credit: www.thegritandpolish.com
Step 3: Sand Problem Areas
If you notice rough spots or swelling, sand the problem areas. Use fine-grit sandpaper (180–220 grit). Focus on the drawer sides and the runners inside the dresser where they rub together.
Sand lightly, checking the fit often. It’s easy to remove too much wood, making the drawer loose. Sand in the direction of the wood grain to avoid scratches.
For drawers that are very tight, a wood plane or block plane can shave off thin layers quickly, but only use it if you are confident. Always sand by hand for better control.
Step 4: Repair And Reattach Loose Parts
Sometimes, runners, guides, or stops inside the dresser become loose or fall off. These small wood strips keep the drawer moving straight. If you find any, reattach them with wood glue and small nails if needed. Let the glue dry before using the drawer.
If there are cracks in the drawer sides or runners, add wood glue and clamp until dry. For deep gouges, use wood filler, let it dry, and sand smooth.
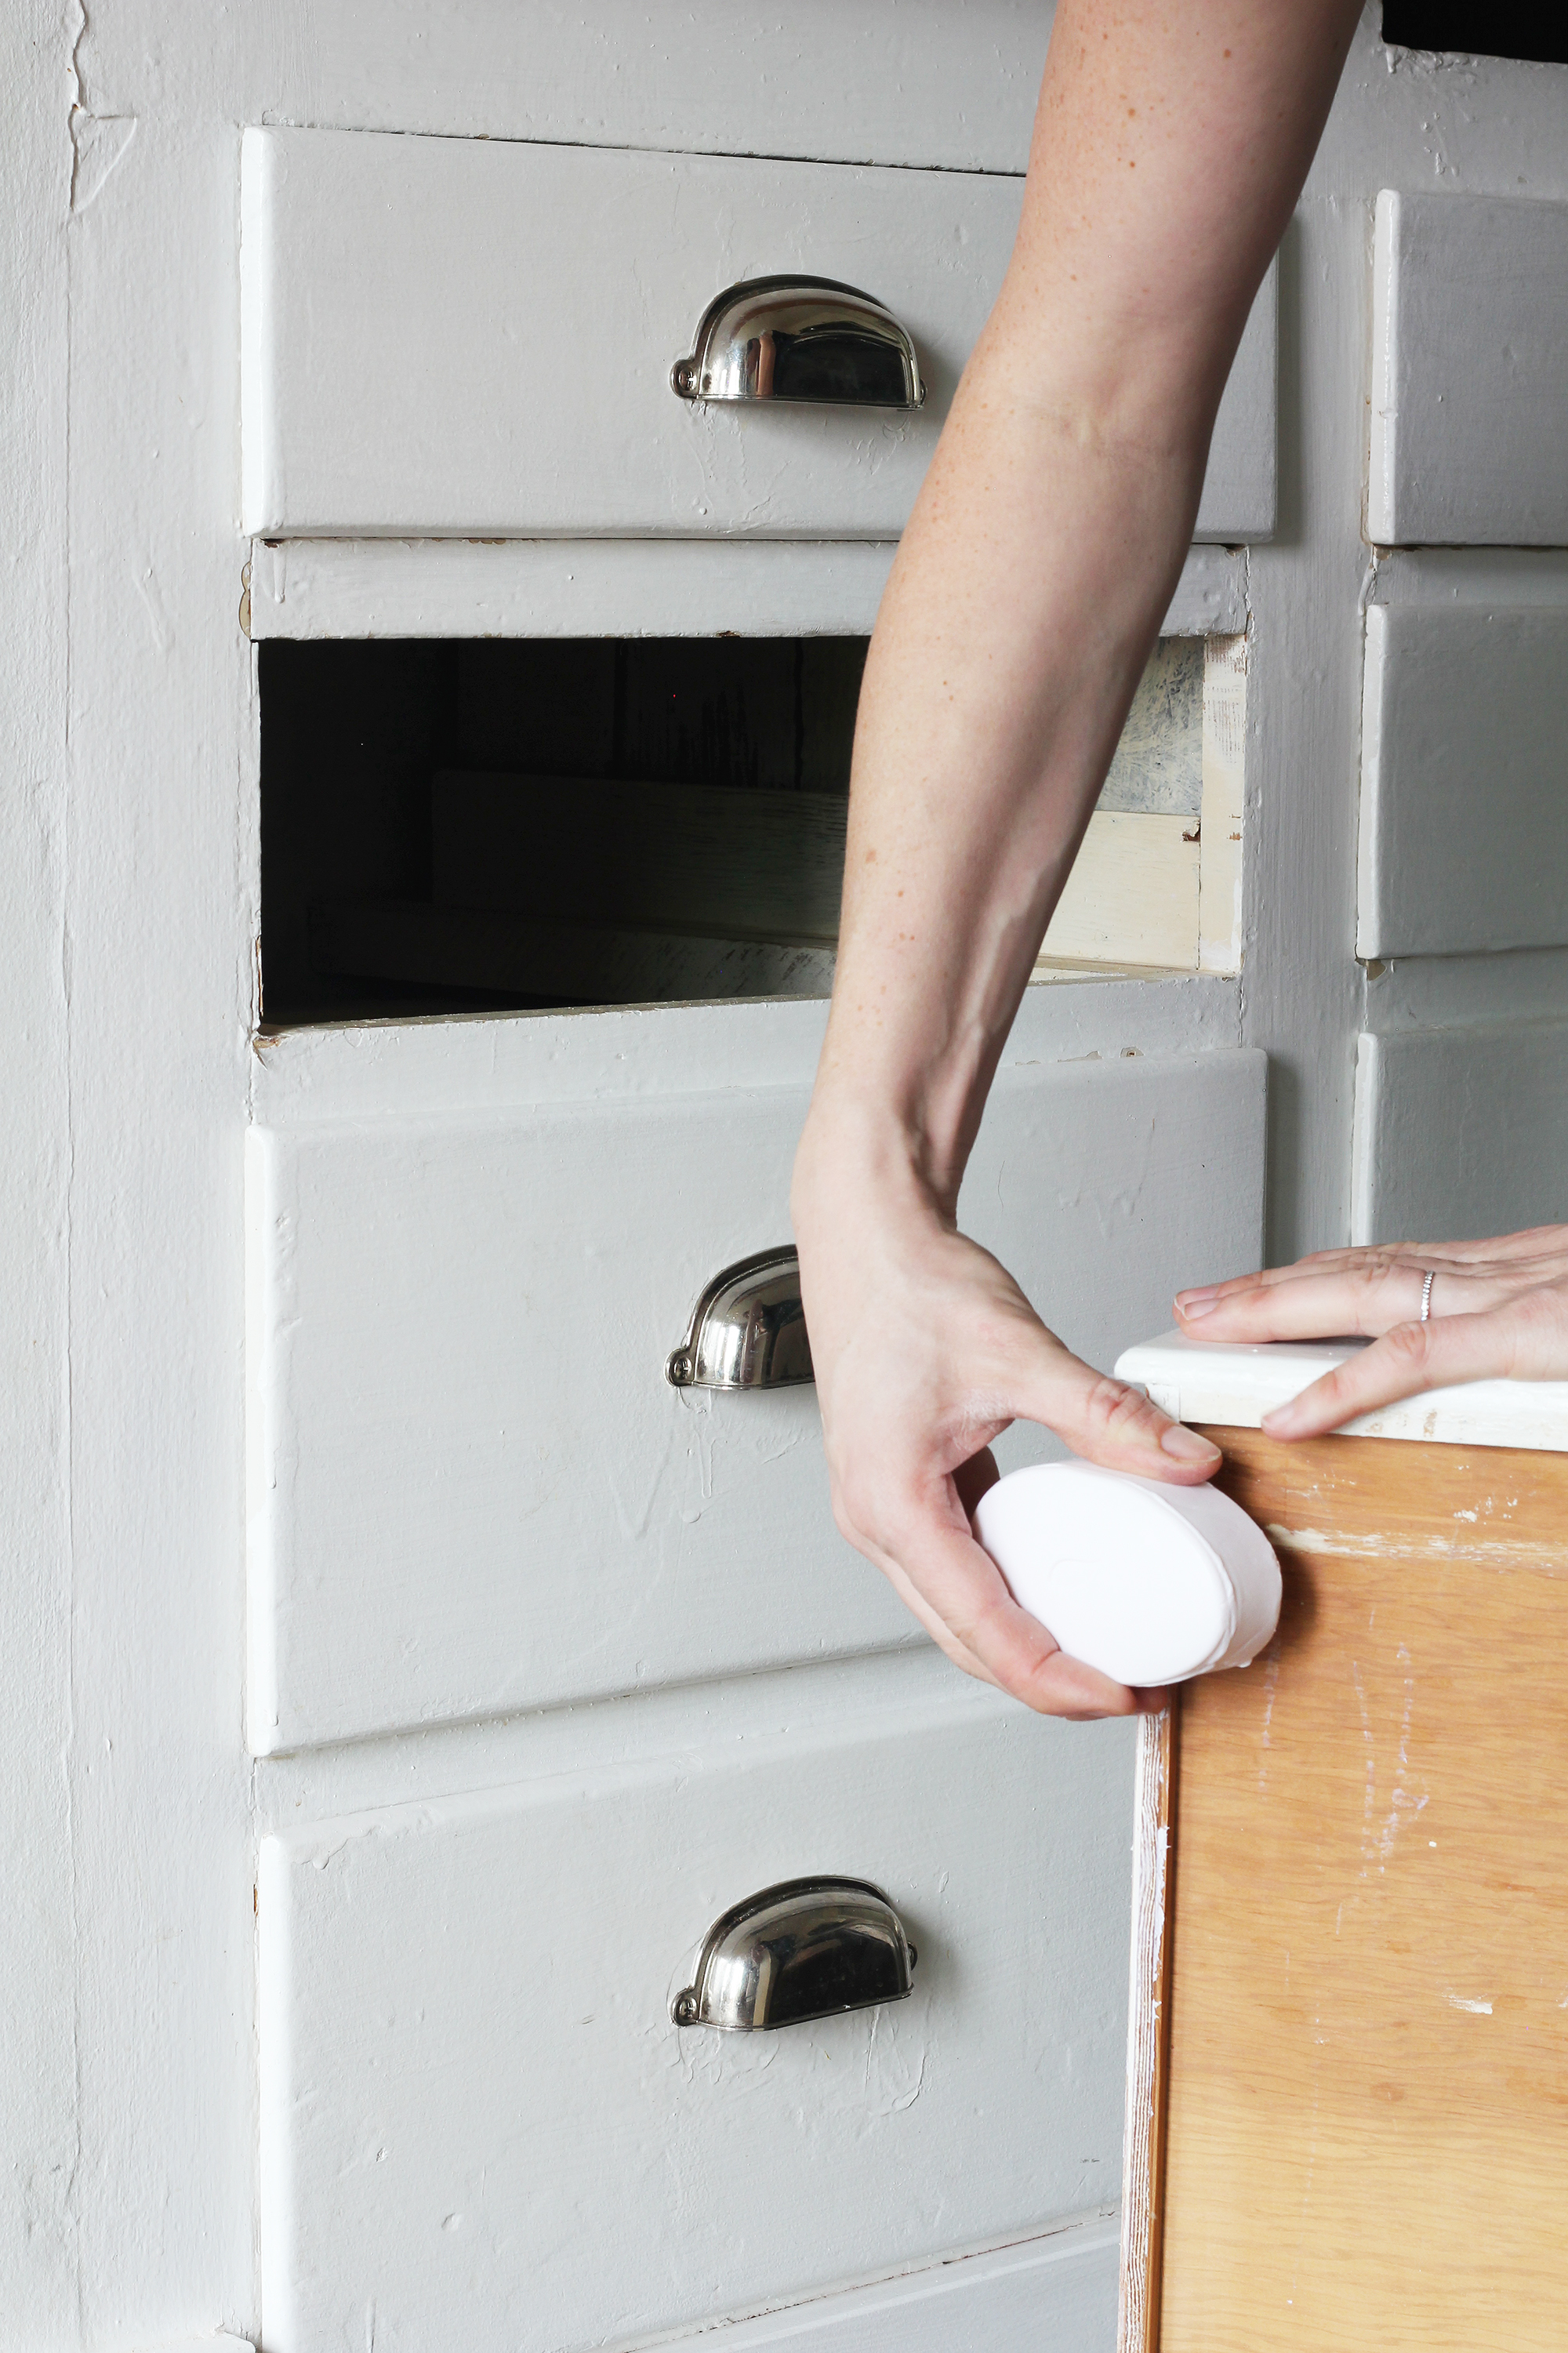
Step 5: Lubricate For Smoother Movement
Lubrication is the key to making drawers slide easier. Choose the right product for your type of dresser:
- Candle wax or paraffin wax: Rub along the drawer sides and runners. It leaves a dry, slippery coating that won’t attract dust.
- Beeswax: Works like candle wax but is more natural and often preferred for antiques.
- Bar soap: An old trick—rub a plain, dry bar along the sliding areas.
- Silicone spray or dry lubricant: For metal runners, spray lightly and wipe off excess.
Never use oil-based lubricants (like WD-40 or cooking oil) on wood. They can stain and attract dust.
Apply your chosen lubricant to every surface that touches as the drawer slides. Open and close the drawer a few times to spread it evenly.
Step 6: Deal With Metal Tracks And Hardware
Many dressers from the mid-20th century have metal runners or slides. These can get bent, rusty, or just worn out. Here’s how to handle them:
- Clean with steel wool to remove rust or old grease.
- Realign bent pieces with gentle pressure from pliers.
- Tighten any loose screws.
- Replace broken runners with matching parts from a hardware store or online.
If the metal glides have plastic wheels, check that they spin freely. Replace any that are cracked or missing.
Step 7: Adjust For Swelling Or Shrinking
Wood responds to changes in humidity. In summer, it absorbs moisture and swells; in winter, it may shrink and become loose. If your drawers stick only part of the year, swelling is likely.
To fix this:
- Identify where the drawer rubs by looking for shiny spots or marks on the wood.
- Sand those areas lightly.
- If swelling is severe, use a wood plane carefully.
For persistent humidity issues, consider using a dehumidifier in the room or keeping silica gel packs in the dresser.
Step 8: Address Paint Or Finish Buildup
If your dresser has been painted or refinished, thick layers can make drawers too tight. Carefully sand or scrape away excess paint or varnish from areas where the drawer slides. Painter’s tape can protect the visible parts of the drawer from accidental scratches.
After removing buildup, touch up the finish only if needed to prevent raw wood from drying out.
Step 9: Replace Or Upgrade Drawer Slides
Sometimes, replacement is the best option. If the runners or slides are broken or missing, new ones can be installed.
There are several types:
- Wood runners: Traditional, simple to replace or copy.
- Metal side-mount glides: Add smooth, modern movement.
- Undermount slides: Hidden under the drawer for a clean look.
Choose slides that fit the size and style of your drawer. Measure carefully before buying.
Here’s a simple comparison of popular drawer slide types:
| Slide Type | Pros | Cons |
|---|---|---|
| Wood Runners | Authentic, simple, inexpensive | Higher friction, more maintenance |
| Metal Side-Mount | Smooth glide, easy to install | Visible hardware, not always vintage-looking |
| Undermount Slides | Hidden, very smooth | Expensive, may require drawer modification |
Installation usually requires basic tools and following the instructions that come with the slides.
Step 10: Test And Fine-tune
After cleaning, repairing, and lubricating, reinsert the drawer and test the movement. Open and close it several times. If it still sticks, check for any missed spots or new problem areas. Sometimes, a second round of sanding or lubrication is needed.
If the drawer is now loose or rattles, you may have removed too much material. In this case, adhesive felt pads (cut to size) can help fill the gap and reduce noise.

Credit: www.shadesofblueinteriors.com
Preventative Maintenance For Dresser Drawers
Once your drawers slide easily, a little ongoing care will keep them that way. Here’s what to do:
- Clean regularly. Dust the runners and drawer sides every few months.
- Reapply wax or lubricant once or twice a year, especially in humid climates.
- Control humidity in the room. Try to keep it below 60% to prevent swelling.
- Check hardware for loose screws or shifting parts during routine cleaning.
- Protect from spills by keeping liquids away from your dresser.
Most people forget that regular maintenance takes only a few minutes and prevents most sticking problems.
Common Mistakes To Avoid
Many beginners run into trouble when fixing old dresser drawers. Here are mistakes to avoid:
- Sanding too much. Removing too much wood can make drawers loose and wobbly.
- Using oily lubricants. These attract dust and can stain wood.
- Ignoring humidity problems. Without addressing moisture, sticking will keep coming back.
- Forgetting about hardware. Sometimes, a simple screw tightening solves the problem.
- Not checking for paint buildup. Old paint layers often go unnoticed but cause tightness.
Paying attention to these details can save you time and frustration.

Credit: www.youtube.com
Extra Tips For Antique Or Valuable Dressers
If your dresser is an antique or family heirloom, extra care is needed. Here’s how to protect its value and function:
- Avoid harsh chemicals or sanding finishes if you want to preserve the original patina.
- Use beeswax instead of candle wax for lubrication, as it’s less likely to stain.
- If you need to replace parts, try to match the original materials and style.
- Consult a professional restorer if the piece is very valuable.
Restoring old furniture is rewarding but requires patience and a gentle approach.
When To Call A Professional
Most sticky drawers can be fixed with home tools, but some situations need expert help:
- The wood is severely warped or split.
- The dresser is extremely valuable or antique.
- You want to install specialty hardware, like soft-close slides.
- There is mold, water damage, or pest infestation.
A skilled furniture restorer or carpenter can repair these problems without risking further damage.
How Long Does The Process Take?
For most people, making an old dresser drawer slide easier takes between 30 minutes and 2 hours. Simple cleaning and waxing are quick. Repairs or slide replacement take longer. Allow extra time if you need to glue or refinish parts, as drying is required.
If you’re working on several drawers, do them one at a time to avoid mixing up parts or hardware.
Real-life Example
Consider the story of Amy, who inherited her grandmother’s 1950s dresser. The bottom two drawers were so tight they wouldn’t budge. She found a buildup of old wax and paint inside. After removing the drawers, she cleaned the runners, lightly sanded the sides, and applied beeswax.
For a drawer with a cracked runner, she glued and clamped it overnight. The next morning, everything slid smoothly. A small investment of time made the dresser practical again—without harming its sentimental value.
Comparing Lubricants: Which Is Best?
There are several products you can use to lubricate dresser drawers. Here’s a side-by-side look at the most common options:
| Lubricant | Best For | Pros | Cons |
|---|---|---|---|
| Candle Wax | Wood-on-wood slides | Cheap, easy to apply, long-lasting | May need frequent reapplication |
| Beeswax | Antiques, valuable furniture | Natural, gentle on finishes | More expensive |
| Bar Soap | Quick fixes | Always available, cheap | Shorter effect, can leave residue |
| Silicone Spray | Metal slides | Very slippery, lasts long | Must avoid spraying on wood surfaces |
Choose the product that matches your dresser’s materials and your own preferences.
Non-obvious Insights For Smooth Drawers
Most people focus only on the drawer and overlook the dresser frame itself. Often, the inside edges of the dresser case are rougher than the drawer. Sanding and waxing these surfaces can make a huge difference.
Another tip: If your drawer sags when open, the runners may be worn down. Adding a thin strip of hardwood or even a self-adhesive felt pad to the runner can restore proper alignment. This simple fix is often missed but solves dragging or uneven sliding.
Environmental Effects: Humidity And Temperature
Climate has a big impact on how old dressers work. Wood expands in humidity and contracts when dry. If you live in a humid region or your home experiences big seasonal changes, keep a close eye on your dresser’s location.
Avoid placing dressers against exterior walls or in direct sunlight, as these areas often have the biggest temperature swings. Using a small dehumidifier or air conditioner can help maintain a stable environment, making your fixes last longer.
Upgrading For Modern Convenience
Some people want the look of old dressers but the convenience of modern furniture. You can install soft-close slides or full-extension runners, which allow the drawer to open fully and close gently. This is a bigger project, as you may need to modify the drawer and dresser, but the results are impressive.
Measure carefully and follow the instructions from the hardware manufacturer. Sometimes, you’ll need to remove the old runner entirely and drill new holes. Patience and careful measuring are crucial for a successful upgrade.
For more about furniture restoration and modern hardware options, you can visit the This Old House website.
Frequently Asked Questions
Why Do Dresser Drawers Stick More In Summer?
Wood absorbs moisture in humid weather, causing it to swell. This makes drawers fit more tightly in their slots and sometimes even jam. Keeping the room’s humidity stable can help prevent this problem.
Can I Use Wd-40 On Old Dresser Drawers?
No. WD-40 is oil-based and will soak into wood, potentially staining it and attracting dust. Stick to wax, soap, or silicone spray for best results.
How Often Should I Lubricate Dresser Drawers?
For most dressers, once or twice a year is enough. If you live in a humid area or use the drawers heavily, check and reapply lubricant more often if needed.
What’s The Best Lubricant For Antique Dressers?
Beeswax is the safest choice for antiques. It’s natural, doesn’t stain, and helps preserve the original finish. Candle wax is also good for less valuable pieces.
Can I Install Modern Slides On An Old Dresser?
Yes, you can upgrade to modern slides like full-extension or soft-close runners. This often requires careful measuring and some woodworking. If the dresser is antique or valuable, consider if you want to make permanent changes.
Making old dresser drawers slide easier is a satisfying project that combines cleaning, minor repairs, and sometimes a bit of creativity. With the right approach, even vintage furniture can work as smoothly as new—while keeping its unique charm. Take your time, pay attention to details, and you’ll enjoy your dresser for many more years.