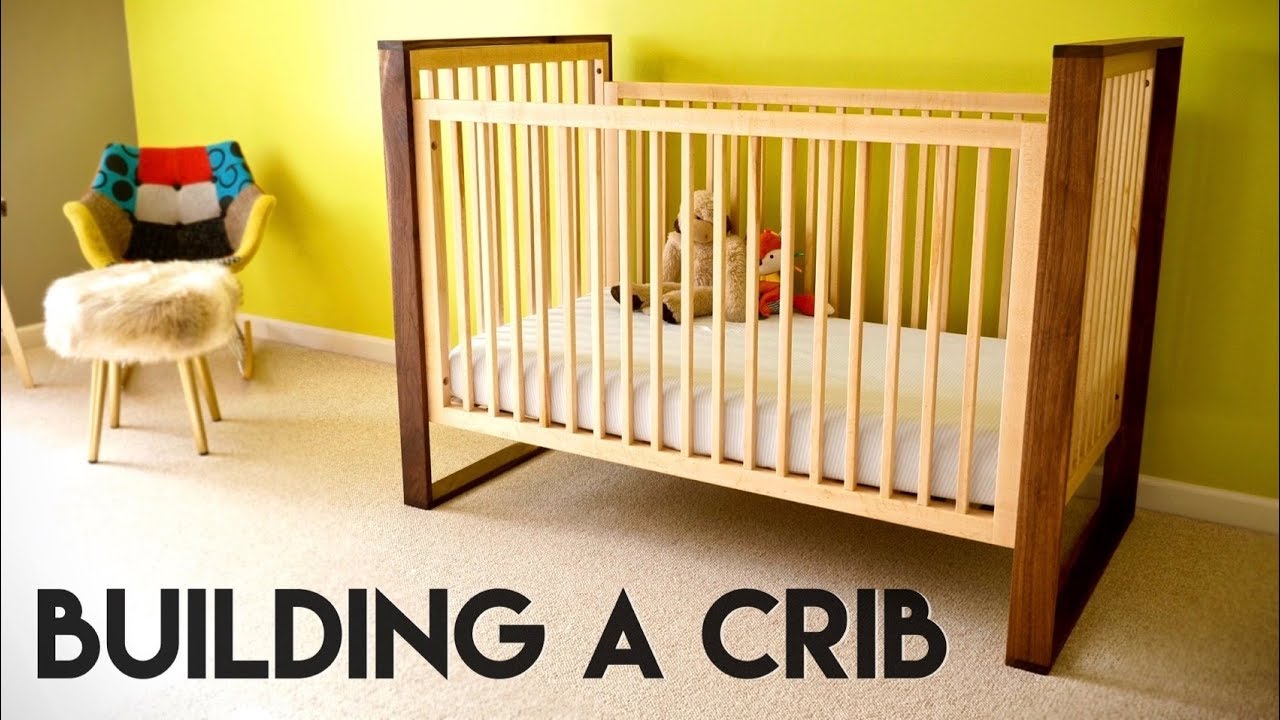
Planning to build a crib for your baby is both exciting and serious. It is a project full of emotion, responsibility, and creativity. A homemade crib can become a family treasure, giving your child comfort and safety. However, making a crib is not a simple DIY project.
It requires clear planning, careful material selection, and strict attention to safety. In this guide, you will learn every step, from design to finishing touches, and gain practical advice that will help you avoid common mistakes. Whether you are a woodworking beginner or have some experience, these instructions will guide you to create a safe, beautiful crib that will last for years.
Understanding Crib Safety Standards
Before picking up any tools, it is important to understand the crib safety standards. In the United States, the Consumer Product Safety Commission (CPSC) sets strict rules for baby cribs. These standards exist to prevent accidents, so you should never ignore them.
The distance between crib slats should be no more than 2 3/8 inches (about 60 mm) to avoid trapping a baby’s head or body. The mattress must fit snugly, with no more than two fingers’ width between the mattress and crib sides.
Corner posts should not stick up more than 1/16 inch above the rails to prevent clothing from catching. Drop-side cribs are banned in the US because they can cause injury.
Building a crib that does not follow these rules is risky and could be illegal to sell or give away. Before starting, check for updates on crib safety standards on the CPSC website or other national authorities if you live outside the US.
Planning Your Crib Design
A good design is the foundation of a safe and beautiful crib. Start by deciding the crib’s size and style. The standard interior size for a full-size crib mattress is 28 inches by 52 inches (71 cm x 132 cm).
Using a standard size makes finding mattresses and sheets much easier.
Choosing A Style
There are many crib styles, such as classic slatted, modern panel, and convertible cribs that turn into toddler beds. Each style has its own look and complexity. Classic slatted cribs are the most common and easiest for beginners.
Creating Or Finding A Plan
You can draw your own crib plan or use a trusted one from a woodworking book or website. Make sure the plan includes all measurements and follows safety standards. Many experienced woodworkers recommend making a full-size drawing on paper or cardboard to check all parts.
Deciding On Features
Some cribs have extra features, like adjustable mattress heights or teething rails. Adjustable mattress heights let you lower the mattress as your baby grows. Teething rails are plastic or wood covers that protect the crib and your baby’s teeth.
Making A Cut List
A cut list is a detailed list of all wood pieces you need, with exact sizes. This step helps you buy the right amount of material and avoid mistakes.
Choosing Materials And Tools
The materials and tools you pick will affect the crib’s safety, appearance, and strength. Never use reclaimed wood with unknown history, as it may have old paint, insects, or chemicals.
Wood Selection
The best woods for cribs are hardwoods like maple, birch, beech, or poplar. These woods are strong, smooth, and less likely to splinter. Avoid softwoods like pine unless you know how to check for knots and weak spots.
A comparison of common crib woods:
| Wood Type | Strength | Workability | Cost | Appearance |
|---|---|---|---|---|
| Maple | High | Moderate | $$$ | Light, smooth grain |
| Birch | High | Easy | $$ | Light, fine grain |
| Beech | High | Moderate | $$ | Pale, even grain |
| Poplar | Medium | Easy | $ | Pale, sometimes greenish hue |
Hardware And Fasteners
Use only child-safe hardware. Look for screws, bolts, and barrel nuts made for furniture. Avoid nails, as they can loosen over time. All hardware should be flush with the wood, with no sharp edges.
Some cribs use metal brackets for extra support at joints. These are useful for beginners and add safety.
Finishes
The crib’s finish must be non-toxic and safe for children. Choose paints and clear finishes labeled “baby-safe” or “meets ASTM F963.” Water-based polyurethane and natural oils like linseed (fully cured) are good options. Never use old paints, which may contain lead.
Essential Tools
You do not need a full workshop, but you will need:
- Saw (circular, miter, or hand saw)
- Drill and drill bits
- Sander or sandpaper (medium and fine grits)
- Clamps
- Measuring tape, square, and pencil
- Wood glue (child-safe, non-toxic)
- Screwdriver or power driver
Optional but helpful: pocket hole jig, router for smoothing edges, and a chisel.
Building The Crib: Step-by-step Instructions
Now, let’s break down the crib construction process into manageable steps. Each step has important safety checks and practical tips.
1. Cutting And Preparing The Wood
First, carefully measure and cut all parts according to your plan and cut list. Label each piece with a pencil to avoid confusion.
After cutting, sand every part until it is completely smooth. Babies put their mouths on crib rails, so remove all splinters and sharp edges. Round all corners and edges with a sander or router.
Beginner insight: Some people skip sanding between coats of finish. Always sand lightly after each coat for a smooth, safe surface.
2. Assembling The End Panels
Most cribs have two end panels (headboard and footboard), which often look solid or have decorative cutouts. Attach any panel pieces together using wood glue and screws. Clamp the panels until the glue is dry.
Check that both end panels are exactly the same height and width. Use a carpenter’s square to make sure they are not crooked.
3. Making And Attaching The Side Rails
The side rails hold the slats. Mark the location of each slat, making sure the gaps will not exceed 2 3/8 inches. Drill pilot holes for the slats to prevent the wood from splitting.
Attach slats with wood glue and screws. Double-check spacing before fixing them permanently. When both side rails are finished, sand all edges again.
Non-obvious tip: If you want extra strength, use dowels or mortise-and-tenon joints for slats instead of just screws.
4. Building The Mattress Support
There are two common types of mattress support: a wooden platform or a metal spring frame. Wooden supports are easier for DIY.
Cut strong wooden slats (at least 3/4 inch thick) to fit inside the crib frame. Space slats no more than 2 inches apart to support the mattress and prevent sagging. Attach the slats to two long support rails with screws.
If you want an adjustable height mattress, drill extra holes in the end panels for moving the mattress support up and down. Use metal brackets and bolts for safety.
5. Final Assembly
Assemble the crib in this order:
- Attach the side rails to one end panel using bolts and metal brackets.
- Attach the other end panel to the side rails.
- Place the mattress support inside and fix it with bolts at your chosen height.
Make sure all bolts are tight, and nothing wiggles. Check with a level that the crib is not tilted.
Beginner insight: Don’t over-tighten screws, as this can crack the wood. Tighten until secure, then stop.
6. Finishing Touches
Wipe all surfaces with a damp cloth to remove dust. Apply your chosen non-toxic finish according to the manufacturer’s instructions. Let the finish dry completely (often 24–48 hours) before moving the crib indoors.
Install any teething rails if your plan includes them. Add plastic caps to bolt heads for safety.
Do a final check: Run your hand over every part. There should be no rough spots, sharp edges, or loose parts.

Credit: www.instructables.com
Common Mistakes To Avoid
Building a crib is rewarding, but some mistakes can lead to unsafe results or extra work.
- Ignoring safety standards: Always measure slat spacing and mattress fit.
- Skipping pre-drilling: Screws can split wood if you do not drill pilot holes.
- Using softwood with knots: Knots can loosen and become a choking hazard.
- Not labeling parts: It’s easy to mix up pieces, especially side rails and slats.
- Using the wrong finish: Only use finishes labeled safe for children.
- Rushing assembly: Allow glue and finishes enough time to cure.
Customizing Your Crib
A homemade crib can be unique. Personal touches make it special, but always keep safety first.
Decorative Elements
You can add carved shapes, painted designs, or nameplates, but avoid small decorations that could break off. Use only water-based paints and keep all designs smooth.
Color Choices
Light, neutral colors are popular for cribs, but you can choose any shade as long as the paint is non-toxic and certified for children’s furniture.
Storage Features
Some parents add a drawer under the crib for bedding. If you do this, make sure the drawer cannot pinch fingers and does not affect the crib’s structure.
Adjusting For Growth: Convertible Cribs
Many modern cribs can change into toddler beds by removing one side or lowering the mattress. If you want this, design the crib with removable hardware and rounded edges. Keep the instructions, so you can convert the bed safely in the future.
A comparison of fixed vs. convertible cribs:
| Feature | Fixed Crib | Convertible Crib |
|---|---|---|
| Complexity | Lower | Higher |
| Lifespan | Until age 2–3 | Up to age 5–6 |
| Cost | Lower | Higher |
| Flexibility | None | Can convert to toddler bed |
Straight-to-the-point tip: If you are new to woodworking, start with a fixed crib. You can always make another convertible crib as your skills grow.
Testing For Safety And Durability
After assembly and finishing, you must test the crib before using it. This step is often missed but is critical.
Weight Test
Put at least 50 pounds (22 kg) of weight in the center of the mattress support and leave it for a few hours. This is more than the weight of a growing baby and checks for weak spots.
Shake Test
Firmly shake the crib side to side and front to back. There should be no wobbling, creaking, or loosening joints. If you find any movement, tighten the hardware.
Slat Test
Try to pull and push each slat. None should move or feel loose. If one does, remove and reattach it with glue and screws.
Finish Test
Rub a white cloth on the finish. If any color or residue comes off, the finish is not fully cured or is unsafe. Refinish with a certified product.
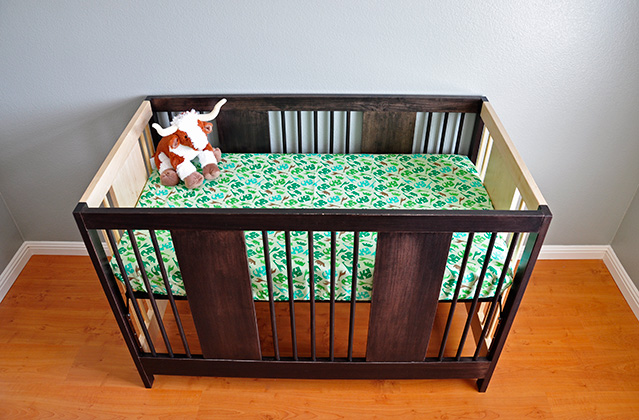
Bringing The Crib Into The Nursery
Once the crib passes all tests and is fully dry, move it into the nursery. Always place the crib away from windows, cords, and heaters. The safest spot is against a solid wall, with no nearby furniture the baby could climb.
Add a tight-fitting mattress and a fitted sheet. Never use pillows, thick blankets, or stuffed animals in the crib, as these can increase the risk of suffocation.
Maintenance And Longevity
A homemade crib can last for years if you take care of it. Every few months:
- Check all bolts and screws for tightness.
- Inspect for cracks or splinters.
- Clean with mild soap and water only.
- Refinish bare spots with non-toxic finish if needed.
If you plan to store the crib for a future child, take it apart and wrap the pieces to avoid damage.
Credit: www.youtube.com
Is Building Your Own Crib Worth It?
Making a crib is more than saving money. It is about creating a safe place for your baby and a memory for your family. Store-bought cribs can cost $150 to $1000 or more. Building your own can cost less if you already have tools, but quality materials and hardware may add up.
Homemade cribs are often stronger and can be customized, but they take time and patience. For many, the pride and love built into the project are worth every hour.
A summary of the pros and cons:
| Homemade Crib | Store-Bought Crib |
|---|---|
| Fully customizable | Limited styles |
| Often stronger materials | Some use lower-cost wood |
| Requires time and tools | Ready to use |
| Personal satisfaction | No DIY effort |
| Must meet safety standards yourself | Certified by law |
Where To Find Reliable Plans And Resources
If you need help with detailed plans, there are many trustworthy sources. Libraries, woodworking magazines, and parenting websites often have free crib plans. Make sure the plan is recent and meets current safety rules.
For official safety guidelines, visit the Consumer Product Safety Commission.
Credit: www.sirbubbadoo.com
Frequently Asked Questions
How Long Does It Take To Build A Crib?
Most people need 2–3 weekends to finish a crib, depending on skill level and drying time for glue and finish. Plan extra time for sanding and safety checks.
What Size Mattress Fits A Homemade Crib?
A standard full-size crib mattress measures 28 inches by 52 inches. Always build your crib to fit this size for safety and easy bedding.
Can I Use Reclaimed Wood To Make A Crib?
It is not recommended unless you know the wood’s history. Old wood may have paint, chemicals, or insects that can harm your baby. Only use new, untreated hardwoods.
How Do I Make Sure My Crib Is Safe?
Follow all CPSC safety standards. Test slat spacing, mattress fit, and joint strength. Use only child-safe finishes and hardware. Check for updates to safety rules before starting.
Can I Paint Or Decorate The Crib?
Yes, but only use paints and finishes labeled safe for children’s furniture. Avoid stickers or decorations that could come loose and become a choking hazard.
Building a crib is a project filled with meaning. With careful planning and attention to detail, you can create a safe, beautiful place for your child to sleep and grow. Take your time, follow each step, and enjoy the process—your efforts will last for generations.