Jacking up a floor sounds like a big project, and it is. But with the right knowledge, you can make your home safer, level your rooms, and even add value to your property. Many homes, especially older ones, suffer from sagging or uneven floors.
This problem can cause doors to stick, cracks in walls, and even worry about your home’s structure. Fixing a floor by jacking it up is not just about looks—it’s about protecting your investment and keeping your family comfortable.
You might think this job is only for professionals. While it does require care and planning, many homeowners successfully jack up their own floors. The process is not as simple as just lifting and hoping for the best. It involves understanding your house structure, picking the right tools, and working slowly to avoid damage.
This guide will walk you step by step through how to jack up a floor. From the tools you’ll need to common mistakes to avoid, you’ll get clear, practical advice. If you’re new to home repair, don’t worry—we’ll explain everything in simple language and highlight hidden dangers that many beginners miss.
By the end, you’ll know exactly what to do and what to watch out for, whether you do it yourself or hire help.
Why Floors Sag And When To Jack Them Up
Floors can sag or become uneven for many reasons. Some causes are easy to fix, while others signal bigger problems. Understanding the main reasons will help you decide if jacking up the floor is the right solution.
Common Causes Of Sagging Floors
- Weak or undersized joists: If floor joists are too small or spaced too far apart, they can bend under weight.
- Rotting wood: Water leaks or high humidity can cause joists and beams to rot.
- Termite or insect damage: Pests can eat away wood, making it weak.
- Settling foundations: If the ground beneath your house shifts, it can pull the floor down with it.
- Poor support columns: Old or damaged support posts in the crawlspace or basement can lean or sink.
When Jacking Up Is Needed
- The floor has visible dips or soft spots.
- Doors don’t close or drag across the floor.
- Cracks appear in walls above the problem area.
- The sag is more than ½ inch over a short distance.
If these issues are new or getting worse quickly, have a professional check for serious foundation problems before you start.
Tools And Materials You Need
Having the right equipment is vital for safety and good results. Here’s what you’ll need before you start.
Essential Tools
- Hydraulic bottle jacks (2–12 ton): For lifting beams or joists
- Steel support posts (adjustable): To hold the floor in its new position
- Heavy-duty wooden beams (such as 4×4 or 6×6): For spreading the jack’s force
- Level (bubble or laser): To check progress
- Measuring tape
- Safety gear: Gloves, goggles, dust mask
Materials
- Concrete blocks or footings: For stable support under jacks
- Shims: Thin wood pieces for fine adjustments
- Screws or nails: For attaching new supports
- Wood preservative or sealer: To treat any repaired wood
Helpful Extras
- Flashlight or work lights: For dark crawlspaces
- Plastic sheeting: To protect against dust
- Camera or phone: To take before-and-after photos
Pro tip: Always use equipment rated for more than the expected load. Never use car jacks or unstable objects like bricks.
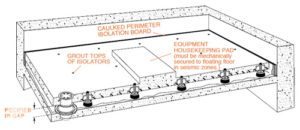
Credit: mason-ind.com
Safety Precautions Before You Begin
Lifting any part of your house is serious work. Mistakes can be costly or even dangerous. Take these steps to stay safe:
- Check for utilities: Make sure there are no gas lines, water pipes, or electrical wires in the area you will jack up.
- Work with a partner: Never try to jack up a floor alone.
- Wear safety gear: Protect your hands, eyes, and lungs.
- Move valuables: Remove furniture and personal items from the work area.
- Have an emergency plan: Know how to get help if something goes wrong.
If you are unsure about any step, or if the house is very old or has major foundation damage, call a professional.
Inspecting And Planning The Project
Before you start lifting, you must understand what you’re dealing with. This step is often missed, but it’s the most important for success.
Inspect The Floor And Structure
- Find the sag: Use a long level or a string line to identify where the floor dips. Mark the lowest point.
- Check the joists and beams: Look for cracks, rot, or insect damage. Poke wood with a screwdriver; soft spots mean rot.
- Look at support posts: Are they leaning or off-center? Do they sit on solid footings?
- Check for foundation cracks: If the foundation is shifting, jacking up the floor may not fix the root problem.
Plan Your Jacking Points
Never jack up just the floorboards. You need to lift the structure—joists or beams—below the floor.
- Mark where you will place the jacks. Usually, these are under the main beams (called girders) or joists directly below the sag.
- Plan to lift no more than ¼ inch per day. Lifting too quickly can crack walls, floors, or even break pipes.
Hidden insight: Many beginners try to fix a sag by adding shims to floorboards. This is a short-term fix and does not solve the real problem underneath.
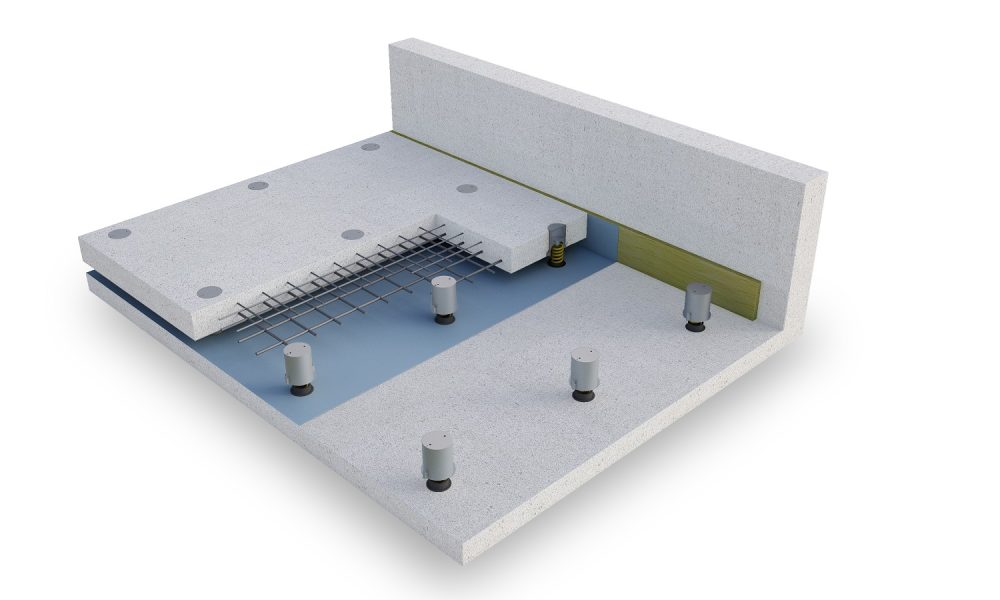
Credit: www.mason-uk.co.uk
Setting Up Jacking Equipment
Now you’re ready to set up your tools under the floor. This usually means working in a crawlspace or basement.
Preparing The Site
- Clear the area: Remove debris or insulation from where you’ll work.
- Lay down plastic sheeting: This keeps dust and dirt from spreading.
- Set up lighting: Make sure you can see everything clearly.
Placing Footings For Jacks
A jack needs a stable base. Never place a jack directly on dirt or weak concrete.
- Use thick concrete blocks or pour small concrete pads where the jacks will sit.
- The footing should be larger than the base of the jack (at least 12×12 inches and 4 inches thick).
- Place a heavy wooden beam between the jack and the floor joist or girder to spread the load.
Setting The Jacks
- Position the jack under the lowest point you marked.
- Make sure the jack is straight and stable.
- If using more than one jack (often necessary for long sags), space them 3 to 6 feet apart.
Helpful tip: Take a photo of your setup before lifting. If something shifts, you’ll know what changed.
Lifting The Floor Safely
This is where patience matters. Lifting too fast is the most common mistake and can cause expensive damage.
The Lifting Process
- Raise the jack slightly (⅛ to ¼ inch).
- Wait 1–2 days. Let the house adjust. Listen for sounds—small creaks are normal, loud cracks are not.
- Measure the sag: Check the floor above with your level or string line.
- Repeat: Raise another ⅛ to ¼ inch, then wait.
Continue this process until the floor is level or as close as safely possible.
What To Watch For
- Cracks in walls or ceilings: If you see new or spreading cracks, stop and reassess.
- Sticking doors or windows: Minor sticking is normal. If they won’t open at all, pause the project.
- Unusual noises: Sudden loud bangs mean something may be breaking. Lower the jack and inspect.
When To Stop Lifting
It’s rare to make an old floor perfectly flat. Stop if:
- The floor is within ¼ inch of level.
- You hear unusual noises.
- Cracks or other damage appear.
Expert insight: Sometimes, it’s better to stop before the floor is completely level. Old wood and plaster can be brittle, and forcing them can do more harm than good.
Installing Permanent Supports
Once the floor is raised, you must support it in its new position. Leaving the jack in place is not safe or permanent.
Types Of Supports
- Adjustable steel posts: Also called lally columns or jack posts. These are strong and easy to adjust.
- Sistered joists: Adding new lumber alongside old, weak joists.
- Concrete piers: For very heavy loads or extra stability.
How To Install Supports
- Place the support post: Center it under the beam or joist you lifted.
- Adjust height: Use the screw top to bring the post snug against the beam.
- Secure the base: Bolt the post to the concrete footing, if possible.
- Double-check level: Make sure the floor above is still level after installing the support.
If using wood shims, stack them tightly and at alternating angles for strength.
Removing The Jacks
- Lower the jack slowly until the new support is taking all the weight.
- Remove the jack and inspect all work.
Pro tip: Label the new support with the date and notes on the repair. Future owners or inspectors will appreciate it.
Repairing Damaged Structure
Often, you’ll find damage while lifting the floor. Fixing these problems now will prevent future sagging.
Common Repairs
- Replace rotten wood: Cut out and replace with new, pressure-treated lumber.
- Treat for insects: Apply wood preservative where you see termite or insect damage.
- Sistering: Attach a new joist next to a cracked or weak one, using bolts or screws.
- Add bridging: Install cross-bracing between joists to prevent twisting.
Extra Steps For Moisture
If rot or mold is present, you must solve moisture problems first. Improve drainage, seal crawlspace vents, and consider a vapor barrier.
Important: Never cover over damaged wood without fixing the problem. Hidden rot or termites will come back to haunt you.
Finishing The Job
Once the floor is level and supported, you’re almost done. A few final steps will make your repair last.
Clean Up
- Remove all tools, debris, and unused materials.
- Take final photos for your records.
Restore The Area
- Replace insulation you removed.
- Seal any holes or cracks in the crawlspace to keep out pests.
- Paint or seal new wood to prevent moisture damage.
Test Everything
- Walk across the floor to check for movement or squeaks.
- Open and close doors and windows.
- Inspect nearby walls and ceilings for new cracks.
Record Your Work
Write down what you did, including the date and materials used. This helps if you sell your home or have future repairs.
Data And Comparison: Common Floor Problems And Solutions
Understanding the best fix for your floor issue is important. Here is a helpful overview of common floor problems and the right solutions.
| Problem | Best Solution | Estimated Cost (DIY) | Time Needed |
|---|---|---|---|
| Sagging from weak joists | Jack up and add sistered joists | $200–$500 | 2–5 days |
| Rotten support beam | Replace beam and treat area | $400–$1000 | 3–7 days |
| Foundation settling | Professional foundation repair | $2000–$10,000+ | 1–3 weeks |
| Minor dips | Jacking and shimming only | $100–$250 | 1–2 days |
Mistakes To Avoid When Jacking Up A Floor
Even careful DIYers can make errors. Here are the most common mistakes and how to avoid them.
Lifting Too Quickly
Trying to level a floor in one day can cause cracks, stuck doors, or broken pipes. Always lift slowly.
Using Weak Or Unstable Supports
Never use bricks, stones, or blocks not rated for building support. Only use approved adjustable posts or new, pressure-treated wood.
Ignoring The Cause
Fixing the sag without solving the cause (rot, insects, water) means the problem will return.
Forgetting To Check Utilities
Lifting a floor can break pipes or wires. Always check what’s in the walls and under the floor before you start.
Not Using Enough Jacks
Lifting a large area with just one jack can bend or crack beams. Use multiple jacks, evenly spaced, for safer lifting.
Hidden insight: Many people focus only on the lowest spot. It’s better to lift the whole area evenly, with support at both ends and the middle.
Real-world Example: Jacking Up A 1920s Home
Let’s look at a real-life scenario. The owner of a 1920s house noticed a 1-inch dip in the living room floor. Doors near the dip would not close, and small cracks appeared in the wall.
Steps they took:
- Crawled under the house and found an old support post had sunk into soft soil.
- Installed a concrete pad under the low spot.
- Used two 6-ton bottle jacks to slowly lift the beam over one week.
- Installed an adjustable steel post on the new footing.
- Checked the floor and walls daily. After the repair, all doors closed, and cracks stopped growing.
Result: The cost was under $400 and took about one week. The owner did all the work with the help of a friend.
How To Decide: Diy Or Hire A Pro?
Not all floor jacking jobs are safe for DIY. Here are some signs you should call a professional:
- The sag is more than 2 inches deep or over a wide area.
- There is visible foundation or major water damage.
- You’re unsure about the structure or see large cracks in the foundation.
- Gas or electrical lines are nearby.
If the problem is small and you feel confident, follow the steps above. Otherwise, get expert help.
Quick Comparison: Diy Vs. Professional Floor Jacking
| Factor | DIY | Professional |
|---|---|---|
| Cost | $100–$1,000 | $2,000–$10,000+ |
| Time | 1–7 days | 1–3 days |
| Risk | Higher if inexperienced | Low, insured work |
| Best for | Minor sags, handy owners | Major problems, old homes |
Maintenance: Keeping Your Floors Strong
A strong floor is not just about jacking it up once. Good maintenance will keep problems from returning.
Regular Checks
- Inspect crawlspaces or basements every 6–12 months.
- Look for signs of water, rot, or termites.
- Check support posts for leaning or rust.
Control Moisture
- Keep gutters and downspouts clear.
- Slope soil away from your foundation.
- Use a vapor barrier in damp crawlspaces.
Watch For Warning Signs
- New cracks in walls or ceilings.
- Doors or windows that suddenly stick.
- Floors that feel bouncy or soft.
Pro tip: Early repairs are cheaper and easier. Don’t ignore small problems.
Quick Reference: Jacking Up A Floor Step-by-step
Here’s a brief summary for easy review:
- Inspect and find the problem.
- Gather all tools and materials.
- Make a plan for jacking points and supports.
- Prepare the area and set up footings.
- Place jacks and raise slowly (¼ inch at a time).
- Wait 1–2 days between lifts.
- Install permanent supports after reaching the right height.
- Fix any damaged wood or structure.
- Clean up and restore the area.
- Record your work and check regularly.
Where To Learn More
If you want to see step-by-step visuals or read more about floor jacking and home repair, consider reading this detailed guide at Family Handyman.
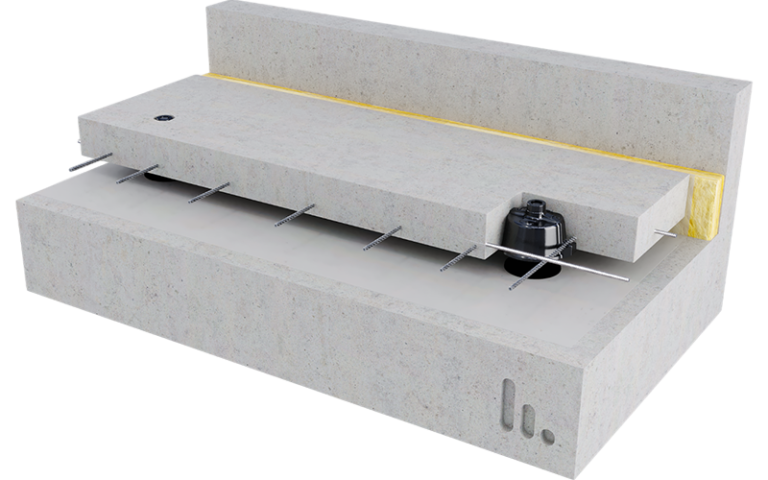
Credit: cdm-stravitec.com
Frequently Asked Questions
How Long Does It Take To Jack Up A Floor?
The process usually takes from a few days to a couple of weeks, depending on how much you need to lift. You should only raise the floor ⅛ to ¼ inch per day and wait between lifts. Rushing can cause cracks and damage.
Can I Use A Car Jack To Lift My Floor?
No, you should not use a car jack. Car jacks are not designed for long-term support or the heavy, spread-out weight of a house. Always use bottle jacks or screw jacks rated for building work, and place them on solid footings.
Is It Safe To Live In The House While Jacking Up The Floor?
In most cases, yes, you can stay in your house. However, you should avoid the area being worked on, and move furniture off the floor. If you hear loud noises or see cracks forming, pause and check for problems.
What If My Floor Doesn’t Become Perfectly Level?
It’s normal for old homes to have slightly uneven floors. Focus on removing large sags and making the floor stable. Trying to make a floor perfectly flat can cause more harm, especially in older structures.
Do I Need A Permit To Jack Up My Floor?
In many areas, small repairs under your house do not need a permit. However, if you are replacing main beams, support posts, or making structural changes, you might need one. Check with your local building department before starting.
—
Jacking up a floor can seem intimidating, but with the right approach, it’s a project many homeowners can tackle. Remember to plan, lift slowly, and always put safety first. With patience, you’ll have a stronger, more comfortable home for years to come.