Hanging chairs on a wall is more than just a clever space-saving trick; it’s a way to add style, order, and even a touch of art to your living space. Whether you’re working with a small apartment, managing a busy café, or simply looking to display your favorite chairs, wall-mounted solutions can transform how you think about seating.
Many people assume that mounting a chair on the wall is complicated or risky, but with the right guidance, it’s a safe, practical project almost anyone can tackle.
This guide takes you through everything you need to know about how to hang chairs on a wall. From choosing the right wall and hardware to step-by-step instructions for different chair types, you’ll learn both the basics and the secrets that make your project a success.
You’ll also get tips on safety, aesthetics, and maintenance—details that beginners often overlook, but that make a big difference in the long run.
Why Hang Chairs On A Wall?
Most people think of chairs as items to sit on, not to hang. So, why do it? There are several strong reasons:
- Maximize floor space: Hanging chairs frees up valuable room, making spaces look larger and cleaner.
- Organize clutter: It prevents chairs from being stacked in messy piles or blocking walkways.
- Showcase design: Some chairs are works of art. Hanging them lets you display their beauty as wall décor.
- Easy access: Wall-mounted chairs are simple to grab when guests arrive, then just as easy to put away.
- Protect chairs: Hanging keeps the bottoms from wearing out or getting wet on the floor.
In homes, it’s popular in entryways, kitchens, and small living rooms. In restaurants, bars, and schools, it’s a practical way to handle extra seating.
Another overlooked benefit is the ability to keep your cleaning routine simple. With fewer objects on the floor, sweeping and mopping become much easier, especially in high-traffic areas. For pet owners or families with small children, having chairs off the ground prevents accidental tipping and reduces tripping hazards.
If you enjoy changing your interior style with the seasons, hanging chairs lets you rotate your display. You might showcase bright, colorful chairs in spring and summer, then swap them for classic wooden designs in winter. This flexibility keeps your living space fresh and interesting with very little effort.
Understanding The Basics: Wall Types And Chair Weights
Before you start, you need to know two things: what your wall is made of, and how much your chair weighs. These two details determine everything else—what hardware you’ll use, how you’ll mount the chair, and even if the project is possible.
Common Wall Types
- Drywall (Plasterboard/Sheetrock)
- Most common in US homes and offices.
- Can hold lightweight chairs if you anchor into studs.
- Note: Old drywall can be brittle. Test a small area if you’re unsure.
- Brick or Concrete
- Strong and reliable for heavy loads.
- Requires masonry anchors and drill.
- Dust from drilling can be messy; use a drop cloth.
- Wood Paneling
- Can support chairs if panels are thick and attached to studs.
- For thin panels, always locate wall studs.
- Some decorative panels are hollow—check before mounting.
- Tile or Stone
- Rare for chair mounting; needs special drill bits and anchors.
- Tiles can crack easily if you rush or use the wrong tools.
If you live in an older building, you might find mixed wall types in one room. Always double-check before drilling.
Chair Weight Considerations
- Lightweight chairs: Plastic, resin, or some folding wood chairs (4–10 lbs).
- Medium chairs: Solid wood, metal-framed chairs (10–20 lbs).
- Heavy chairs: Large, upholstered, or vintage chairs (20–40+ lbs).
Always check your chair’s weight. Overloading a wall anchor can be dangerous. Some chairs, such as antique wooden seats or industrial steel models, may look lighter than they really are. Weigh the chair if you’re not sure—bathroom scales work well for this.
Table: Wall Type Vs. Chair Weight Compatibility
| Wall Type | Light Chair (≤10 lbs) | Medium Chair (10–20 lbs) | Heavy Chair (20+ lbs) |
|---|---|---|---|
| Drywall (studs) | ✔️ | ✔️ | ✔️ (with strong anchors) |
| Brick/Concrete | ✔️ | ✔️ | ✔️ |
| Wood Paneling | ✔️ (if thick & studded) | ✔️ (studs only) | ✖️ (risk of damage) |
| Tile/Stone | ✔️ (with care) | ✔️ (with care) | ✖️ |
Key insight: Many beginners forget to check if the wall is strong enough. Even a light chair can pull out drywall if you miss the stud. In some cases, old paint or wallpaper can hide cracks or weak spots—tap gently and listen for hollow sounds or look for flexing when you push lightly.

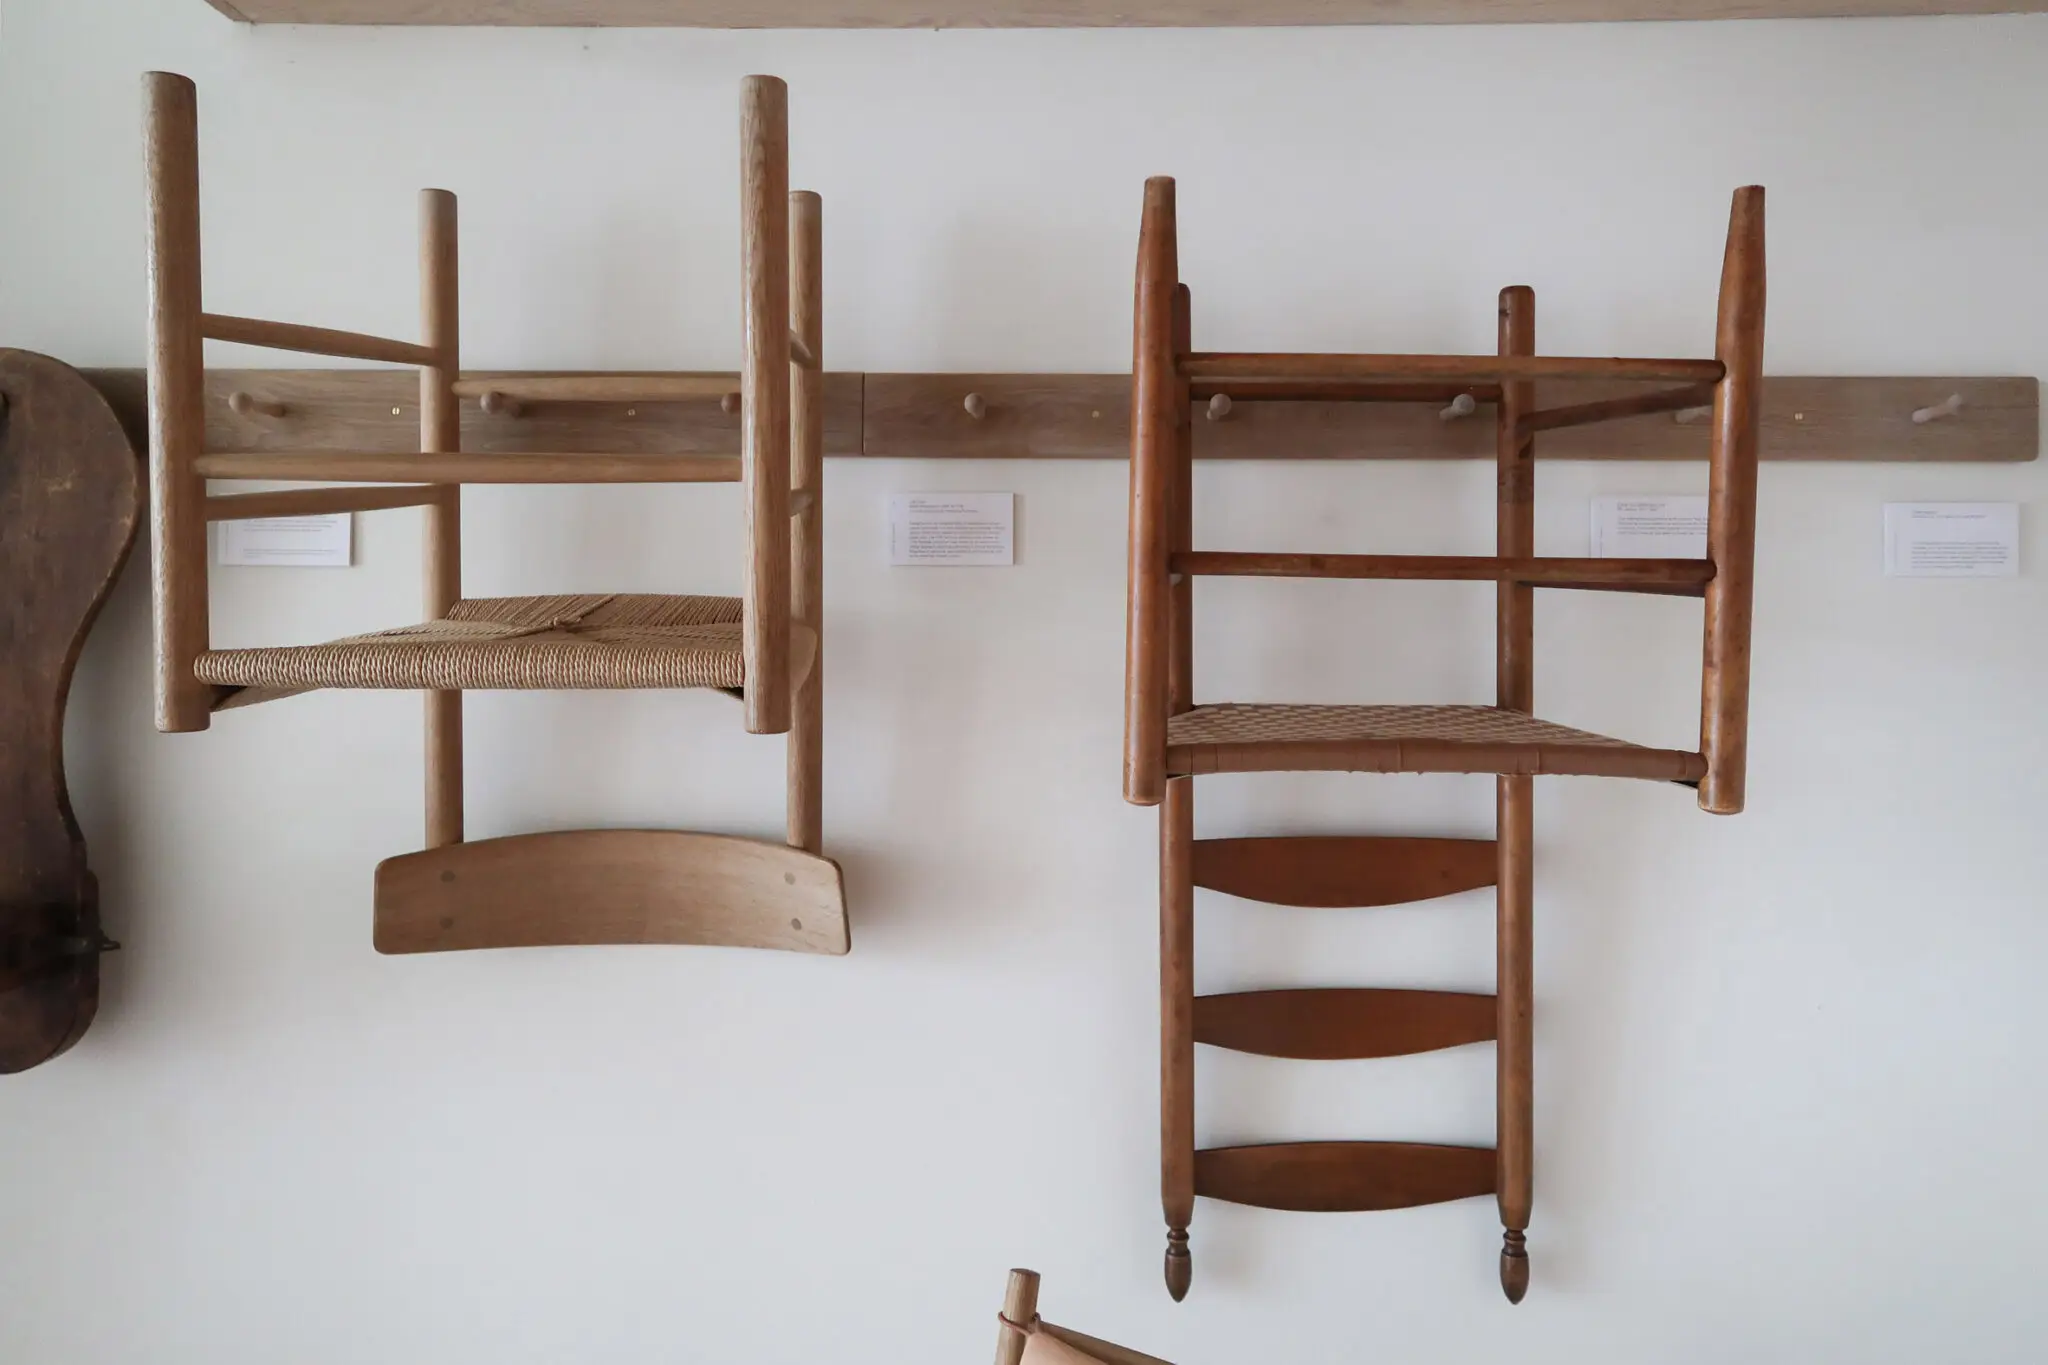
Credit: skicountryantiques.com
Choosing The Right Hardware
Not all screws and hooks are created equal. The right hardware is the backbone of a safe wall-mounted chair. Here’s what you need to know:
Wall Anchors And Screws
- Stud Screws
- For wood studs behind drywall.
- Use at least 2.5–3 inch wood screws for strength.
- Choose screws with wide threads for better grip.
- Toggle Bolts
- For hollow drywall when no stud is available.
- Spreads load; strong for medium chairs.
- Requires a slightly larger hole in the wall.
- Masonry Anchors
- For brick or concrete walls.
- Plastic or metal sleeves expand for grip.
- Use a hammer drill for best results.
- Heavy-Duty Hooks
- Stainless steel or brass for rust resistance.
- Rated for 20–50 lbs for most chairs.
- Some have rubber tips to prevent scratches.
- French Cleats
- Interlocking wall and chair brackets.
- Offers maximum support, especially for flat-back chairs.
- Can be made from metal or wood, and sometimes custom-cut to match chair width.
Table: Hardware Type Vs. Wall Type
| Hardware | Drywall (Stud) | Drywall (Hollow) | Brick/Concrete | Wood Paneling |
|---|---|---|---|---|
| Stud Screws | ✔️ | ✖️ | ✖️ | ✔️ (if thick) |
| Toggle Bolts | ✖️ | ✔️ | ✖️ | ✔️ (hollow only) |
| Masonry Anchors | ✖️ | ✖️ | ✔️ | ✖️ |
| French Cleats | ✔️ | ✔️ | ✔️ | ✔️ |
| Heavy-Duty Hooks | ✔️ | ✔️ | ✔️ | ✔️ |
Non-obvious tip: Always check the *weight rating* on packaging, not just the anchor shape. Some hooks look strong but are only for lightweight items. In humid rooms, such as kitchens or bathrooms, stainless steel or powder-coated hardware resists rust and lasts longer.
Preparing The Chair And Wall
Skipping prep is one of the main reasons wall-mounting fails. Take these steps to ensure safety and a polished look.
Inspect The Chair
- Check for cracks, loose joints, or weak spots. Only use chairs in good condition.
- Clean the chair, especially where it will touch the wall or hardware.
- Remove dirt and grease, which can make hooks or cleats slip.
- For painted or lacquered chairs, make sure the finish is solid so it won’t chip off when mounted.
Measure And Plan
- Decide how high to hang the chair. Standard is 4–6 feet from the floor, but this depends on your ceiling, chair size, and purpose.
- Mark the wall with pencil where the hardware will go. Use a level for straight lines.
- Check the stud location (if using drywall). Use a stud finder or tap to listen for solid sound.
- Think about how chairs will look when hung—symmetry and alignment can add to the visual appeal.
- If you plan to hang multiple chairs, lay them out on the floor first to preview the arrangement.
Protect The Wall And Chair
- Place felt pads or rubber bumpers on chair contact points to avoid scuffs.
- For painted walls, consider a small piece of clear plastic where the chair touches.
- Some people use adhesive-backed cork or silicone dots—they are soft and won’t mark either surface.
- For heavier chairs, use a thin strip of wood as a backer between wall and chair to spread the load.
Pro insight: Think about future use. Will you need to remove the chair often? If yes, choose hardware that is easy to unhook and re-hang. French cleats and open hooks are best for frequent changes.
Step-by-step: How To Hang Chairs On A Wall
Let’s break down the process for the most common chair types. Each chair has its own best method, so pick the one that matches your project.
1. Hanging Lightweight Chairs (plastic/folding)
These are the easiest to mount and perfect for beginners.
Steps:
- Choose location and height. Mark with a pencil.
- Locate wall studs (if drywall). Position at least one hook or anchor into a stud.
- Drill pilot holes for hooks or screws.
- Install hardware (heavy-duty hooks or French cleats).
- Mount the chair by placing the top rail or seat edge onto the hooks/cleats.
- Check stability by gently shaking the chair.
Practical tip: For folding chairs, hang by the top rail or use two hooks under the seat for a balanced look. You can even stack two folding chairs together if you use wide hooks spaced properly.
2. Hanging Wooden Chairs
Wooden chairs need more support due to weight and possible value (antiques, designer pieces).
Steps:
- Plan hook/cleat placement on the chair. Top rail and lower crossbar are common spots.
- Install French cleats or two heavy-duty hooks in the wall (use a level).
- Attach matching cleat or hook to chair if needed.
- Lift and engage the chair onto the wall hardware.
- Add bumpers/pads to contact points.
Extra insight: For vintage chairs, avoid drilling into the frame. Use wall-mounted hardware only. If the chair has delicate carvings or inlays, wrap hooks with felt to prevent scratches.
3. Hanging Metal Or Industrial Chairs
Metal chairs are heavier and sometimes have odd shapes.
Steps:
- Weigh the chair to choose the right anchors.
- Mark anchor spots at strong points (often the seat frame).
- Install masonry anchors (if concrete/brick) or stud screws (if drywall).
- Use U-shaped brackets or hooks that fit the metal frame.
- Test by hanging for at least 60 seconds, watching for any movement.
A common mistake is to hang a metal chair by a thin part of its frame. Instead, find the thickest, strongest section to support the weight.
4. Hanging Multiple Chairs (stacked Display)
Want a row or grid of chairs as art? Planning is key.
Steps:
- Measure total wall space and chair dimensions.
- Mark all hardware locations before drilling.
- Use a level and tape measure for even spacing.
- Install all hooks/cleats.
- Hang chairs one by one, checking for alignment.
Non-obvious detail: Stagger the heights for a dynamic look, especially if the chairs are different colors or styles. Try leaving slightly larger gaps between chairs of different sizes to create balance in the display.
5. Hanging Special Chairs (wicker, Upholstered, Or Odd Shapes)
Some chairs don’t have strong edges or rails.
Steps:
- Find the strongest part of the frame (usually back or seat support).
- Custom-fit hooks or padded brackets to avoid damage.
- Test on a hidden area first for marks or scratches.
- Install hardware and hang carefully.
Extra tip: For valuable or delicate chairs, consult a furniture restorer before drilling or mounting. In some cases, custom cradles or straps can be made to support the chair without any direct attachment.
Creative Ways To Hang Chairs
Mounting a chair doesn’t have to be boring. Here are ideas to add style and function:
- Use colored hooks for a pop of color.
- Hang chairs upside down for a modern art look.
- Mount chairs sideways to use as shelves for books, plants, or art.
- In kids’ rooms, hang painted chairs as playful displays.
- Use vintage theater seats for a nostalgic touch.
Pro insight: Combine different chair types in a gallery wall for maximum impact. You can also add LED strip lights behind the chairs for a dramatic evening effect, or hang chairs above a bench to create a unique “floating” seating area.
Safety First: Common Mistakes To Avoid
Many first-timers make the same errors. Avoid these to keep your chairs (and walls) safe:
- Ignoring weight limits: Always use hardware rated for more than your chair’s weight.
- Missing wall studs: Drywall alone can’t hold much. Use a stud finder.
- Rushing measurements: Crooked chairs look unprofessional. Take time to measure and level.
- Using the wrong hardware: Not all hooks are made for walls—some are for ceilings only.
- Forgetting to check wall type: Anchors that work in drywall can fail in brick or tile.
- Over-tightening screws: This can crack drywall or damage anchors.
- Not testing before full use: After mounting, gently pull or wiggle the chair to check for secure attachment before letting it stay long-term.
Some people forget to plan for children or pets—if your home is active, hang chairs high enough to avoid accidents.
Maintenance And Long-term Care
Hanging a chair is just the start. To keep your wall and chair in top shape:
- Check hardware every few months for looseness.
- Tighten screws and replace worn bumpers.
- Clean both chair and wall regularly to prevent dust and marks.
- For removable chairs, rotate them to avoid permanent wall dents.
- If you notice any movement or squeaking, remove and inspect the hardware and wall for damage.
- Wipe metal parts with a dry cloth to prevent rust, especially in humid climates.
Non-obvious insight: If you move or repaint, patch holes with filler and paint to keep walls looking fresh. For larger holes, use a wall repair kit for a seamless fix.
Real-life Examples: Where Wall-hanging Works Best
Here are some practical, inspiring ways people use wall-mounted chairs:
- Urban apartments: Foldable chairs hung in entryways save space for yoga or home offices.
- Cafés and restaurants: Extra chairs on the wall keep aisles clear and add rustic charm.
- Schools and studios: Stackable chairs on hooks simplify cleaning and event setup.
- Vacation rentals: Wall-mounted chairs in small bedrooms offer quick seating for guests.
- Art galleries: Designers use colorful chairs as creative installations.
In a small bakery, for example, chairs hung above a service counter double as both decoration and emergency seating for busy weekends. In shared office spaces, a row of folding chairs on the wall keeps common areas tidy and flexible for meetings or events.
Cost Breakdown: What To Expect
How much will it cost to hang a chair on your wall? Here’s a quick look:
| Item | Low Cost | High Cost |
|---|---|---|
| Hooks/Anchors (per chair) | $5 | $15 |
| Drill/Tools | $0 (if owned) | $50 (purchase/rental) |
| Protective Pads | $2 | $8 |
| Chair (if buying new) | $15 | $200+ |
| Professional Help | $50 | $150 |
For most DIY projects, expect to spend $10–$25 per chair (not including the chair itself). If you already have basic tools, your main cost will be hardware and pads. For large projects, buying packs of anchors or hooks can save money.
Credit: www.amishfurniturefactory.com
Extra Tips For A Professional Finish
- Paint hooks or hardware the same color as your wall for a hidden look.
- For gallery walls, use symmetrical spacing for a balanced style.
- Label each chair’s wall spot with a small, removable sticker if you swap chairs often.
- Take photos of your process; they’re handy if you want to repeat the project in another room.
- Use a laser level for perfect horizontal lines, especially when hanging multiple chairs.
- If you want a more “floating” look, use hidden cleats or brackets behind the chair.
For a cozy touch, place a small rug or art piece below the hung chair to tie the area together.
When To Call A Professional
While most people can handle basic wall-mounting, some situations need expert help:
- Mounting on delicate or historic walls.
- Hanging heavy, valuable, or antique chairs.
- When you’re not sure about wall structure or safety.
- If you want a seamless, invisible hardware look.
A handyman or carpenter can also install custom brackets or shelving for complex chair displays. For businesses or public spaces, professionals can ensure compliance with local safety codes.
Where To Find More Help
If you want more technical details or examples, look for trusted guides from home improvement stores, furniture makers, or design blogs. The Wikipedia page on wall anchors explains different fastener types and how they work, which can help you choose the safest option.
You can also visit your local hardware store with a photo of your chair and wall. Staff often have helpful advice and may suggest hardware you hadn’t considered. Online forums like Reddit’s r/DIY are also great for real-world solutions and troubleshooting.
Frequently Asked Questions
How Much Weight Can I Safely Hang On A Wall?
It depends on the wall type and the anchors used. A wood stud can hold up to 100 lbs with the right screws, while a hollow drywall anchor may only support 20–50 lbs. Always check hardware ratings and don’t exceed them. If in doubt, choose hardware with a higher rating for peace of mind.
Can I Hang Chairs On Plaster Walls?
Yes, but with care. Plaster is brittle. Use a stud finder to anchor into the wood lath behind the plaster, or use special plaster anchors. Avoid heavy chairs unless you’re sure the wall can handle it. Drilling slowly and using the right bit helps prevent cracks.
What’s The Best Way To Hang A Chair Without Damaging It?
Use padded hooks or French cleats that don’t scratch or press hard on the chair. For valuable or antique chairs, avoid drilling into the chair frame. Place felt pads at all contact points. If the chair is painted, make sure padding doesn’t stick to or pull off the finish over time.
Can I Hang Chairs On Rental Apartment Walls?
Check your lease first. Most rentals allow small holes for picture hooks, but not heavy anchors. Use removable hooks for lightweight chairs or ask your landlord for permission before drilling. In some cases, a free-standing rack may be a better option if you plan to move soon.
How Do I Remove The Hardware Without Leaving Marks?
Unscrew the hardware carefully. Fill holes with wall filler or spackle, sand smooth, and touch up with paint. For small holes, a dab of toothpaste can work in a pinch, but paint is best for a perfect match. Always keep a small pot of your wall paint for quick fixes.
Hanging chairs on the wall is both an art and a science. With the right planning and a few simple tools, you can transform your space, save room, and display your favorite chairs in style. Take your time, follow the steps, and enjoy the new look and function you’ve added to your home or business.

Credit: skicountryantiques.com