A chipped wood floor can catch your eye every time you walk into the room. Even a small chip can make your beautiful floor look old or damaged. Many people worry that they need to replace the whole floor or call in a professional.
But the truth is, most chips are fixable with the right approach, some patience, and a few simple tools. If you learn how to fix chipped wood floor sections yourself, you can save money and keep your home looking its best.
This guide will take you through everything you need to know. Whether your floor is solid hardwood, engineered wood, or laminate, you will find practical steps for every type. You’ll also discover common mistakes, smart techniques, and the best ways to make your repair last.
If you want to restore the look of your wood floor without stress or expensive repairs, keep reading. You might be surprised by how easy it is to get professional results at home.
Understanding Why Wood Floors Chip
Before you start any repairs, it’s helpful to know why chips happen. Wood floors are durable, but they are not indestructible. Chips appear when the finish or wood layer breaks away. The most common reasons for chipping are:
- Dropping heavy or sharp objects
- Moving furniture without protection
- High-heeled shoes or pet claws
- Water damage that weakens the wood
- Poor installation or low-quality materials
Chips can range from tiny dents to larger missing pieces. If you see chips in many areas, it might be a sign of a bigger problem such as moisture issues or a weak subfloor. For one or two small chips, a simple repair is usually enough.
But if your floor feels soft, squeaky, or warped, check for deeper issues before fixing the surface.
Assessing The Damage
Not all chips are the same. The repair method depends on the type of wood floor and the size of the chip. Here’s how to assess your floor:
1. Identify The Floor Type
Is your floor solid hardwood, engineered wood, or laminate? Each type needs a different repair approach. If you’re unsure, look at a floor edge or under a vent. Solid hardwood has the same wood all the way through. Engineered wood has layers, with a real wood layer on top. Laminate is not real wood, but a photo layer over compressed fiberboard.
2. Measure The Chip
Use a ruler or tape measure to check the size and depth. Small chips (under 1/4 inch) are easier to repair. Larger chips may need a filler or even a replacement board.
3. Check For Other Problems
Is the floor around the chip loose, wet, or soft? If yes, fix these issues first. A chip caused by water or movement will come back if you don’t solve the underlying problem.
Tools And Materials You Will Need
Gather everything before you start. This will make the repair smoother and prevent mistakes. Here’s a list of common tools and materials for fixing a chipped wood floor:
- Putty knife (flexible, 1–2 inches wide)
- Fine-grit sandpaper (120–220 grit)
- Wood filler or putty (color matched)
- Clean, dry cloth
- Vacuum or brush
- Painter’s tape (optional)
- Wood stain or touch-up marker (matched to your floor)
- Clear finish (polyurethane or floor sealer, if needed)
- Small paintbrush
- Gloves (optional)
- Utility knife (for trimming loose wood)
- Wax repair stick (for laminate or minor chips)
- Replacement board and saw (for large or deep chips)
You won’t need every item for every repair. The right choice depends on your floor and chip size. For most small chips, wood filler and a putty knife are enough.
Step-by-step Guide To Fixing A Chipped Wood Floor
Let’s walk through the process in detail. Follow these steps closely for the best results.
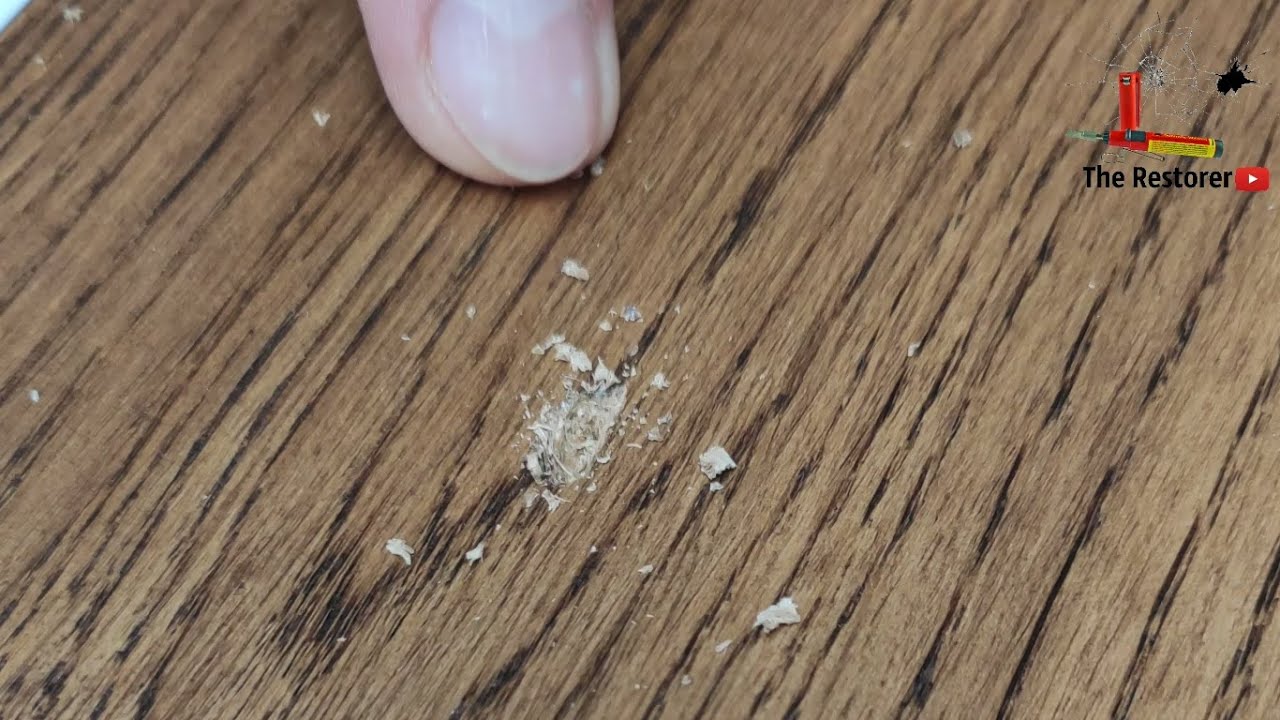
Step 1: Clean The Damaged Area
Dust, dirt, and loose wood will stop fillers from sticking. Use a vacuum or brush to clean the chip and the area around it. If there are splinters or loose pieces, carefully trim them with a utility knife. Wipe the spot with a dry cloth.
Do not use water, as it can cause the wood to swell.
Step 2: Prepare The Chip
For small chips, a quick touch-up is enough. For larger chips, you may need to build up the area in layers. If the edges are rough, lightly sand them with fine-grit sandpaper. This helps the filler blend with the rest of the floor.
Step 3: Apply Wood Filler Or Putty
Choose a wood filler that matches your floor color. If you cannot find an exact match, pick a shade lighter; you can darken it later with stain or a touch-up marker.
- Use the putty knife to scoop out a small amount of filler.
- Press the filler firmly into the chip, making sure to fill all gaps.
- Smooth the surface so it’s level with the floor.
- Remove extra filler from the floor around the chip.
Let the filler dry completely. Drying times vary by product—usually 30 minutes to 2 hours. Check the package for details.
Step 4: Sand And Blend
Once dry, lightly sand the area with fine-grit sandpaper until it’s smooth and flush with the surrounding floor. Always sand in the direction of the wood grain. Wipe away dust with a clean cloth.
If the color does not match perfectly, use a touch-up marker or wood stain to blend the repair. Test on a hidden spot first to make sure the color is right.
Step 5: Seal The Repair
To protect the area and match the floor’s shine, apply a clear finish such as polyurethane or a floor sealer. Use a small paintbrush and cover just the repaired spot. Let it dry fully before walking on it. Some fillers include a built-in finish, but most need this extra step for durability.
Step 6: Buff And Final Touch
After the finish is completely dry (often 24 hours), gently buff the area with a soft cloth. This helps blend the repaired spot with the rest of the floor.
Credit: www.youtube.com
Special Cases: Dealing With Different Floor Types
Each wood floor type needs a slightly different method. Here’s how to adapt your repair for each one.
Solid Hardwood Floors
Solid hardwood is the easiest to repair. The wood is thick, so you can sand and refinish the area several times. Deep chips can often be filled, sanded, and stained to look like new.
Engineered Wood Floors
Engineered floors have a thin top layer of real wood. Be careful not to sand too much, or you may reach the plywood underneath. For deep chips, use filler and minimal sanding. If the damage is too deep, replacing the board is safer.
Laminate Floors
Laminate is not real wood. Use a wax repair stick or laminate filler for small chips. These products are made to match popular floor colors. For larger chips, replacing the board is usually the best option.
Parquet And Patterned Floors
If your floor has a special pattern, blend the repair carefully. Use a fine brush and mix colors to match the pattern. Sometimes, a professional can help with complex designs.
When To Replace A Board Instead
Not every chip can be fixed with filler. If the chip is large (over 1 inch), deep, or in a high-traffic area, replacement may be best. Also, if the floor is warped or water damaged, filler will not last. Here’s how to know when to replace:
- The chip is deep and exposes the subfloor
- The damaged area is soft or crumbling
- The chip is in a spot you walk on often
- There are multiple chips in the same board
Replacing a single board is not as hard as it sounds, but it does require some tools and care. Most modern wood floors have boards that click or slot into place, but older floors may be nailed or glued.

Credit: www.reddit.com
How To Replace A Damaged Wood Floor Board
If you decide to replace a board, follow these steps:
- Find a matching board: Use leftover flooring or buy a replacement from the same brand and batch if possible.
- Mark the board: Use painter’s tape to mark the damaged board.
- Cut out the board: Carefully cut along the seams using a circular saw or oscillating tool. Do not cut into the subfloor.
- Remove the board: Pry out the damaged piece with a chisel.
- Clean the area: Remove old glue, nails, or debris.
- Fit the new board: Trim it if needed. Slide or click it into place. For glue-down floors, apply a thin layer of wood glue.
- Weight and let set: Place a heavy object on the board for a few hours to help it set.
Here’s a quick comparison of when to fill and when to replace a board:
| Situation | Fill | Replace |
|---|---|---|
| Chip smaller than 1/2 inch, shallow | ✔️ | |
| Large chip (over 1 inch) | ✔️ | |
| Chip in high-traffic area | Possible, but may wear out | ✔️ |
| Soft, wet, or crumbling area | ✔️ | |
| Patterned or specialty floor | Maybe, if skillful blending | ✔️ if matching is hard |
Matching The Floor Color: Common Challenges
One of the hardest parts is getting the repaired spot to match the rest of the floor. Wood floors change color over time due to sunlight and wear. Even a perfect color match at first may look different later.
Tips For Better Color Matching
- Always test fillers and stains on a scrap board or hidden spot first.
- Buy a few shades of filler or touch-up markers and mix them for a closer match.
- Remember that finishes (matte, satin, gloss) affect the final color.
- If your floor is very old or sun-faded, matching may be impossible. In this case, aim for a close blend rather than an exact match.
Here’s a comparison of common wood filler types and their pros and cons:
| Type | Best For | Strengths | Weaknesses |
|---|---|---|---|
| Latex wood filler | Small chips, easy projects | Easy to apply, dries fast | May shrink, limited colors |
| Epoxy wood filler | Deep or large chips | Very strong, can be sanded/painted | Harder to blend, takes longer to set |
| Wax repair sticks | Laminate, minor chips | Quick, good for small areas | Not as durable, limited colors |
| Wood putty | Flexible joints, minor chips | Stays flexible, easy to blend | Not for deep repairs, can collect dirt |
Mistakes To Avoid When Fixing Chipped Wood Floor
Many people make the same errors when fixing their wood floors. Here are mistakes to watch for:
- Choosing the wrong color: If the filler is too dark, it will stand out more than the chip. Always go lighter and darken with stain if needed.
- Overfilling the chip: Too much filler makes a bump that cannot be blended well. Fill to floor level, not above.
- Skipping sanding: Sanding is key to a smooth, invisible repair. Even a quick hand sand makes a big difference.
- Not sealing the repair: Unsealed filler can absorb dirt and moisture, leading to new chips or stains.
- Ignoring underlying problems: If the chip was caused by water or a moving board, the repair won’t last unless you fix these issues first.
- Using water-based cleaners right after repair: Wait at least 24–48 hours before mopping the area.
- Repairing in high humidity: Fillers may not set well on very humid days. Work in dry, mild conditions for best results.
Preventing Future Chips
Once you’ve repaired your floor, you’ll want to keep it chip-free. Here are practical ways to protect your wood floor in the future:
- Place felt pads under all furniture legs, especially chairs and tables.
- Use rugs in high-traffic areas or entryways.
- Keep pet nails trimmed.
- Avoid walking on wood floors with high heels or heavy boots.
- Clean up spills quickly to prevent water damage.
- Move heavy objects by lifting, not dragging.
- Keep your home’s humidity between 35% and 55% to avoid wood swelling or shrinking.
Here’s a simple table showing common chip causes and easy prevention tips:
| Cause | Prevention |
|---|---|
| Dragging furniture | Use felt pads or sliders |
| Pet claws | Trim nails regularly |
| Dropped objects | Use area rugs, avoid heavy tools in living spaces |
| Water spills | Wipe up immediately, use mats in kitchens/bathrooms |
| High heels | Remove shoes at the door |

Credit: www.reddit.com
Non-obvious Insights For A Professional Finish
Many DIYers miss some small but important details when repairing chips. Here are two expert tips that make a big difference:
- Blend edges with a dry brush: After applying filler, use a clean, dry paintbrush to feather the edges before it dries. This helps the repair disappear into the wood grain.
- Layer thin coats: For deeper chips, don’t fill all at once. Apply several thin layers of filler, letting each dry in between. This prevents shrinking and gives a smoother finish.
Also, don’t forget that lighting changes how repairs look. Always check your repair from different angles and times of day before sealing.
When To Call A Professional
Most chips can be fixed at home, but sometimes professional help is worth it. Call a flooring expert if:
- The chip is part of a larger area of damage (such as water or termites)
- The floor is very old, rare, or valuable
- You need to replace a large section or complex pattern
- You are not comfortable with tools or repairs
Professionals have tools to match color and finish more closely and can often refinish an entire area if needed. For more information on professional wood floor care, you can visit the National Wood Flooring Association.
Frequently Asked Questions
How Can I Tell If My Floor Is Solid Wood, Engineered, Or Laminate?
Look at a floor edge, under a vent, or at a transition strip. Solid wood is the same all the way through. Engineered wood has layers, with a thin real wood layer on top. Laminate has a printed surface on a fiberboard core and often sounds more hollow when tapped.
What If I Can’t Find A Perfect Color Match For My Wood Filler?
Use a filler that is a little lighter than your floor. After it dries, use a touch-up marker or wood stain to darken the area. You can also mix different filler colors to create a closer match. Always test on a hidden area first.
Can I Use Regular Wood Glue To Fix A Chip?
Wood glue is not usually strong enough for filling chips, especially if the chip is deep or in a high-traffic area. Use a purpose-made wood filler or putty for best results. Glue is better for reattaching loose pieces, not filling gaps.
How Long Do I Need To Wait Before Walking On The Repaired Area?
Wait until the filler and finish are fully dry. This is usually 24 hours, but check the product instructions. Walking too soon can damage the repair and create new chips.
Are There Any Safe Diy Methods For Deep Or Large Chips?
For very deep or large chips, replacing the board is safer and gives a more professional look. You can try building up layers of epoxy filler, but blending and matching the color is much harder. For expensive or old floors, professional repair is often worth the cost.
A chipped wood floor doesn’t have to be a disaster. With a little time and the right approach, you can restore your floor’s beauty and protect your investment. By following these steps and tips, you’ll feel confident fixing chips whenever they appear.
Your floor will look great, and you’ll have the satisfaction of knowing you did the repair yourself.