A wet spot on your ceiling is more than just an eyesore—it’s a warning sign. It means water is finding its way into your home, and if left unchecked, it can lead to mold, structural damage, and expensive repairs. Many homeowners notice a damp patch, feel worried, and wonder what to do next.
The good news is, most ceiling wet spots can be fixed with the right approach. Whether you live in an apartment or a house, understanding how to identify, fix, and prevent these wet spots is essential. In this guide, you’ll learn step-by-step how to fix a ceiling wet spot, avoid common mistakes, and ensure your home stays dry and safe.
What Causes A Ceiling Wet Spot?
Before you grab a paintbrush or plaster, it’s important to understand what’s causing the wet spot. There are several common sources:
- Leaky Roof: Damaged shingles, flashing, or sealant can let rainwater seep in.
- Plumbing Leaks: Pipes or fittings above the ceiling, especially in bathrooms or kitchens, may have slow leaks.
- Condensation: Poor insulation or ventilation can cause moisture to build up, especially in attics.
- HVAC Issues: Air conditioning units or ductwork can drip water due to clogs or poor drainage.
- Ice Dams: In colder regions, melting snow refreezes at the roof edge, causing water to pool and leak inside.
A wet spot is always a symptom, not the problem itself. Fixing just the stain without addressing the root cause almost guarantees the issue will return—often worse.
Assessing The Severity Of The Wet Spot
Not all ceiling wet spots are equal. Some are small and superficial, while others point to major water damage.
Visual Inspection
Look for the following signs:
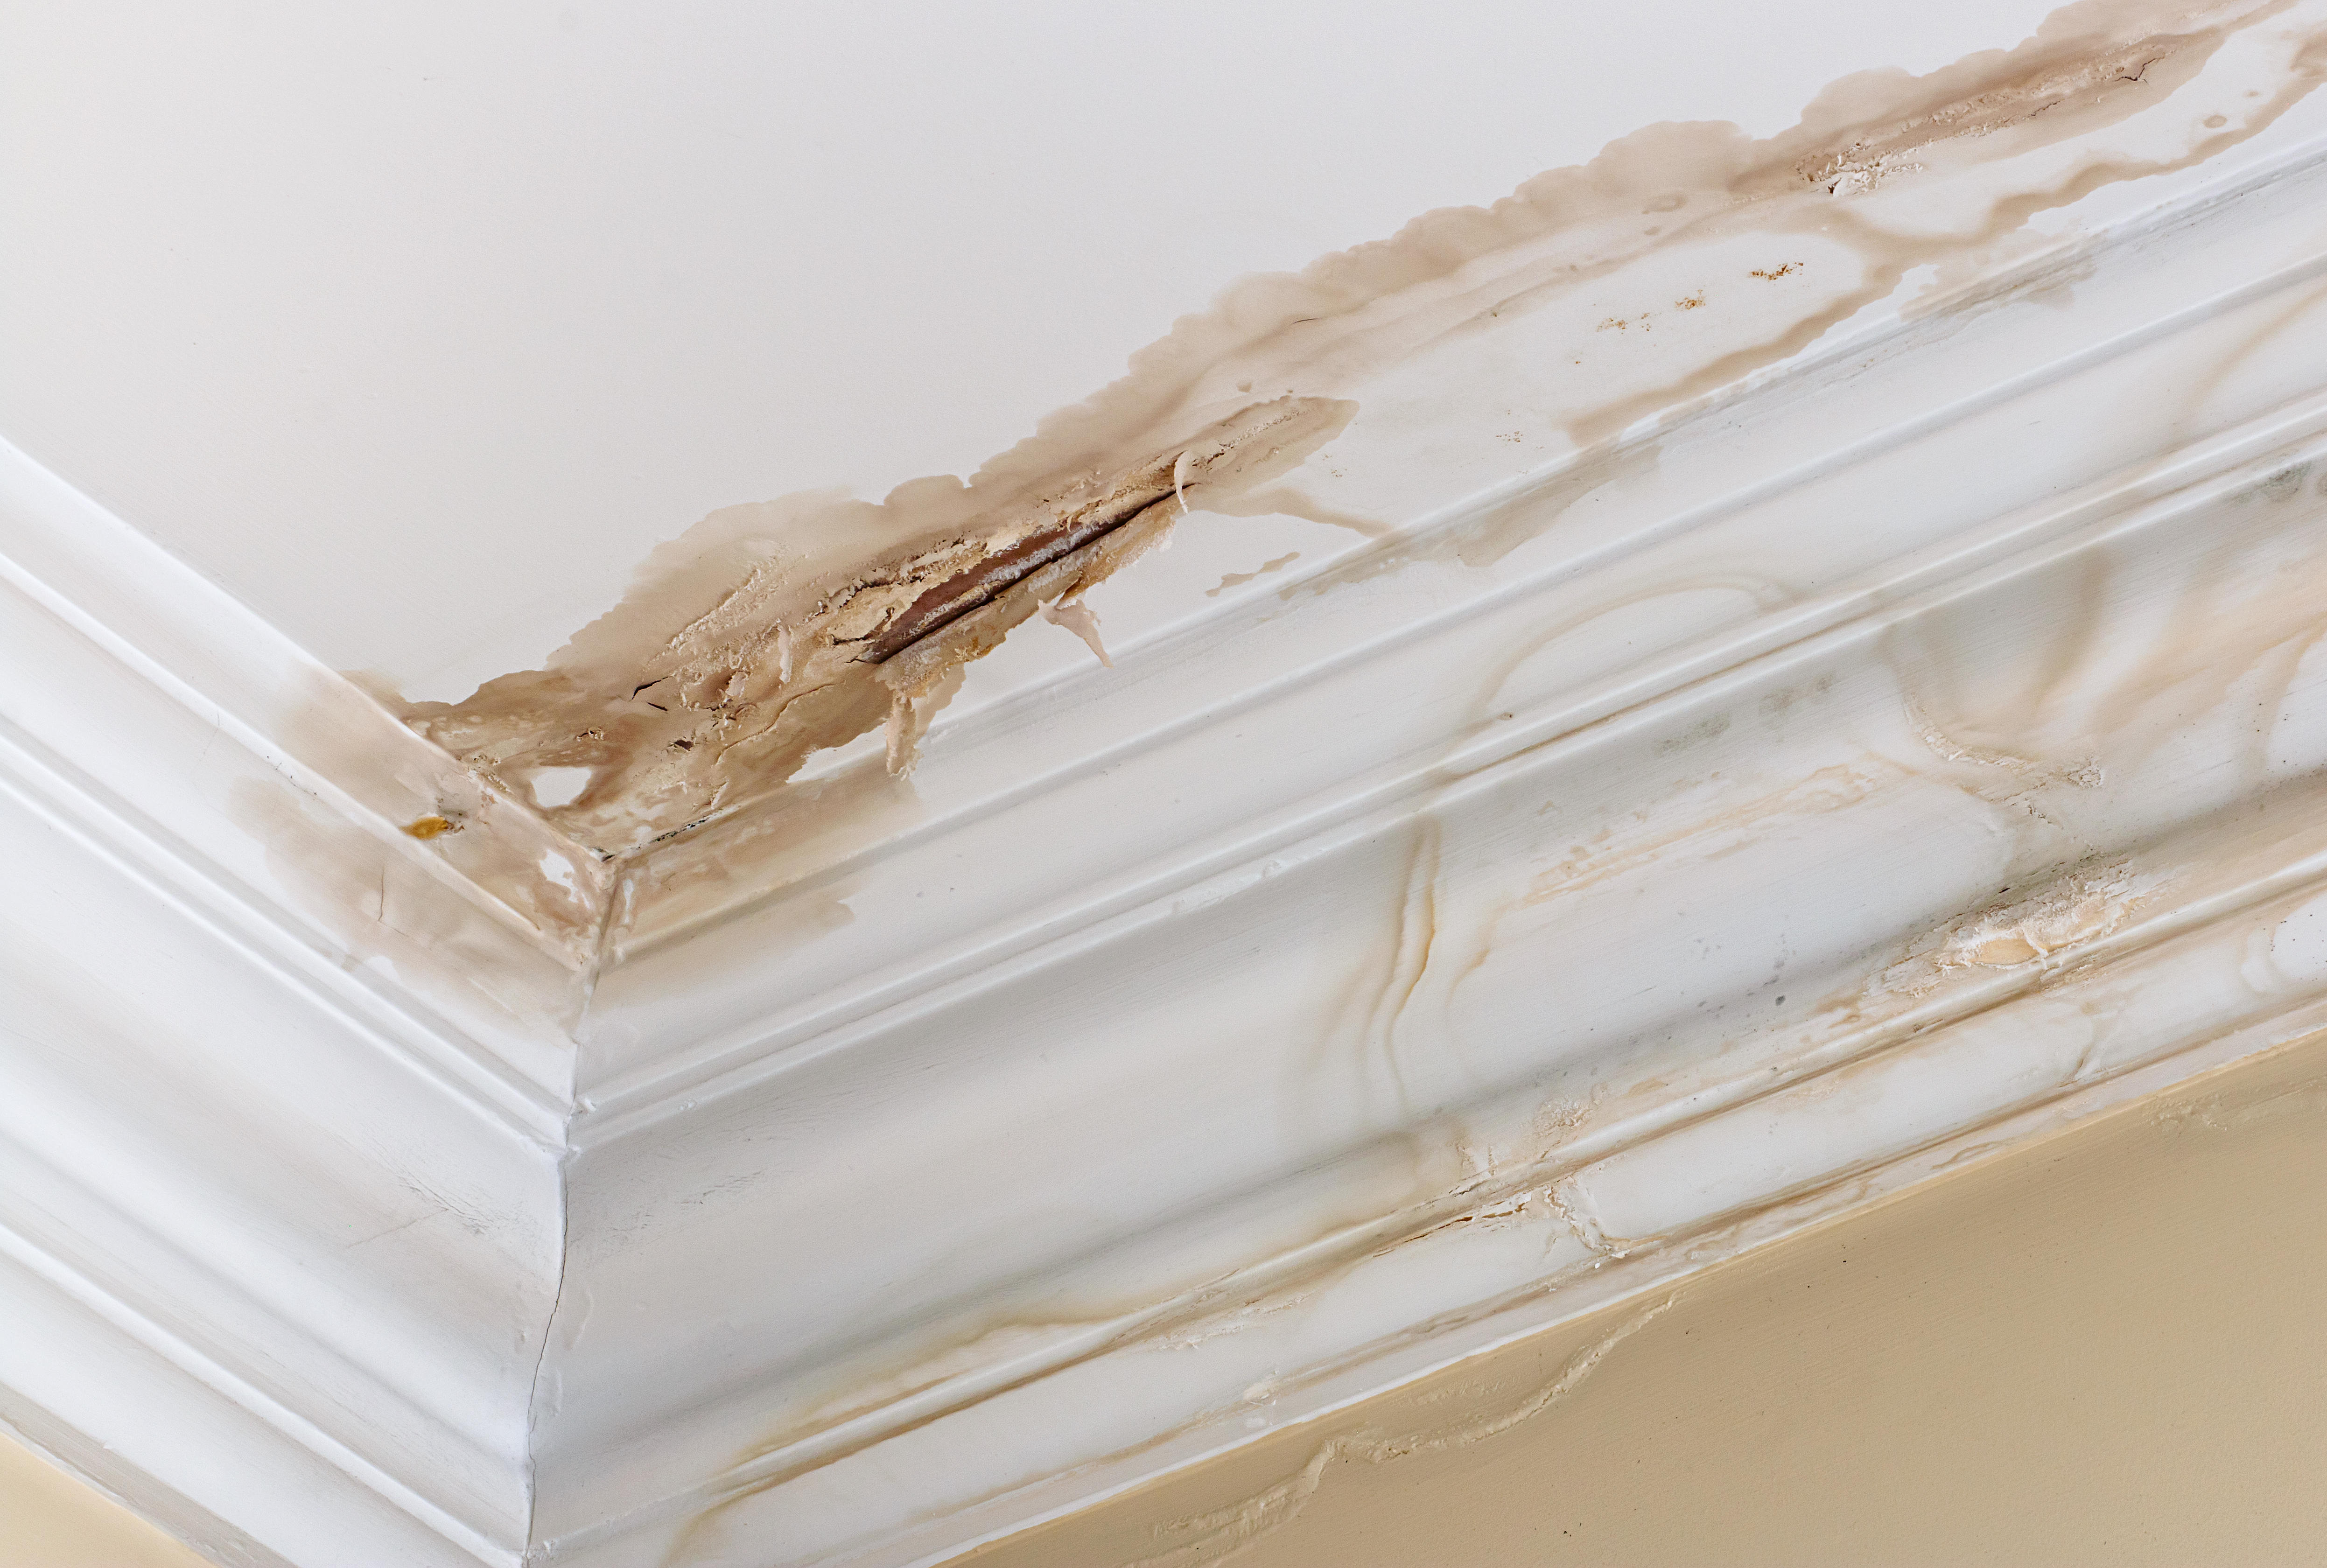
- Size and shape: Is the spot spreading? Is it circular, or does it follow a line (like a pipe)?
- Color: Fresh water stains are usually yellowish or brown. Dark spots may indicate older or repeated leaks.
- Texture: Is the surface bulging, soft, or crumbly? Peeling paint or sagging plaster means water has been there a while.
Smell And Touch
A musty or moldy smell, or a ceiling that feels damp to the touch, suggests ongoing moisture. Use caution—never push hard on a soggy ceiling, as it may break.
Immediate Action
If you notice:
- Water dripping actively from the spot
- A large bulge in the ceiling
- Cracks or sagging
Place a bucket underneath and call a professional immediately. These are signs of serious water accumulation that could cause the ceiling to collapse.
Credit: www.homedepot.com
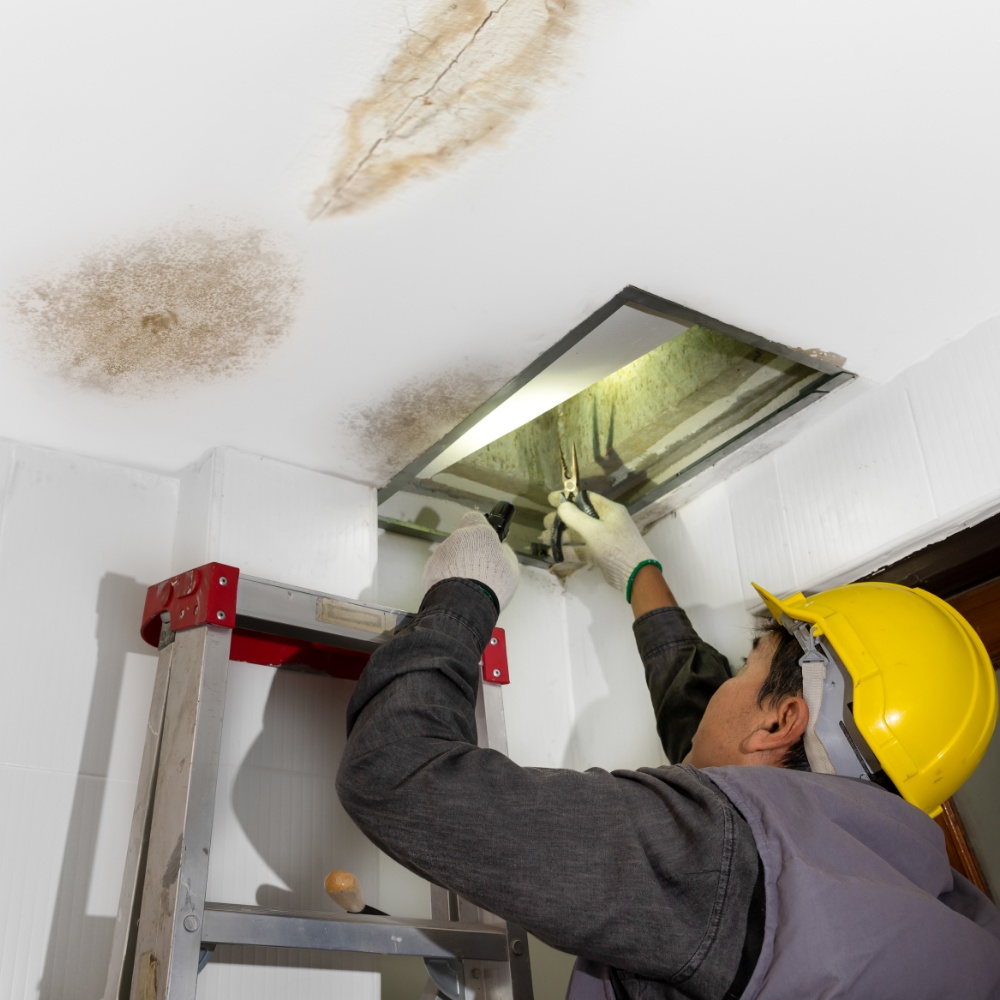
Finding The Source Of The Water
Fixing the stain is pointless if the leak continues. Here’s how to track down the cause:
Step 1: Check Directly Above
Look for bathrooms, kitchens, or laundry areas above the wet spot. Plumbing is a common culprit. If there’s no room above (such as in a single-story home), check the attic or roof.
Step 2: Roof Inspection
Look for missing or damaged shingles, blocked gutters, or cracked flashing. If the wet spot appears after rain or snow, the roof is likely to blame.
Step 3: Plumbing And Hvac
If the spot is beneath a bathroom, run water in the tub, shower, and sink, then check for drips below. Inspect HVAC units or ductwork for condensation or leaks.
Step 4: Attic Examination
Use a flashlight to check for damp insulation, wet wood, or mold in the attic. Water often travels along beams before dripping onto the ceiling.
Step 5: Outside Walls
Wet spots near exterior walls may be due to poor sealing, damaged siding, or clogged gutters causing water to back up under the roof edge.
Non-obvious insight: Water can travel sideways along joists or pipes before appearing on the ceiling. The actual leak may be several feet away from the stain.
Stopping The Water Source
Once you’ve found the cause, stop the water immediately:
- Turn off water supply if the leak is from plumbing.
- Tarp the roof if you spot obvious roof damage and rain is forecast.
- Clear gutters and downspouts to ensure proper drainage.
- Turn off HVAC units with visible condensation leaks.
- Seal attic leaks with appropriate materials.
Practical tip: Take photos before you start repairs. Insurance companies often require documentation of damage and the source.
Drying The Wet Area
Removing moisture is crucial to prevent mold and further damage.
Step 1: Remove Excess Water
If water is pooling above the ceiling, carefully poke a small hole in the center of the bulge to let water drain into a bucket. Use a screwdriver or awl. Wear safety goggles.
Step 2: Improve Airflow
Open windows, use fans, and run a dehumidifier. Direct air toward the wet spot. If the ceiling is made of drywall or plaster, drying can take several days.
Step 3: Remove Damaged Material
Cut out severely damaged sections of ceiling with a utility knife or drywall saw. Only remove what is soft, sagging, or moldy. Wear gloves and a mask.
Step 4: Check For Mold
If you see black, green, or fuzzy spots, or smell mustiness, treat the area with a mold-killing solution. Use a mixture of water and bleach (1 cup bleach to 1 gallon water). Let it dry fully before continuing.
Non-obvious insight: Mold can start growing within 24–48 hours of moisture exposure. Fast drying is essential.
Repairing The Ceiling
Once the area is dry and the leak is fixed, you can repair the ceiling.
Materials You’ll Need
- Drywall or plaster patch (if needed)
- Joint compound
- Sandpaper (medium and fine grit)
- Primer (stain-blocking)
- Ceiling paint
- Putty knife
- Utility knife
- Drywall tape
- Paintbrushes or rollers
- Dust mask, gloves
Step 1: Prepare The Surface
Scrape off any loose or peeling paint with a putty knife. Sand rough edges gently. If you removed part of the ceiling, cut a new piece of drywall to fit the hole. Secure it to ceiling joists with drywall screws.
Step 2: Tape And Mud Joints
Apply drywall tape over seams. Use a putty knife to spread joint compound over the tape and any cracks or holes. Feather the edges to blend with the existing ceiling. Let dry, then sand smooth. Repeat if needed for a flush finish.
Step 3: Prime The Area
Even if the patch looks dry, water stains can bleed through paint. Use a stain-blocking primer (such as Kilz or Zinsser) and let it dry completely.
Step 4: Paint The Ceiling
Match the ceiling color as closely as possible. Paint over the primed area, feathering the edges into the rest of the ceiling. You may need two coats for full coverage.
Common Mistakes To Avoid
- Painting over a wet or damp ceiling: This traps moisture and can cause mold.
- Ignoring the source of the leak: The spot will reappear, and hidden damage will grow.
- Using regular primer: Water stains often bleed through unless you use a stain-blocking product.
- Not checking for mold: Mold can be invisible at first but dangerous later.
- Rushing repairs: Drying and inspection take time. Shortcuts lead to repeat problems.
Comparing Ceiling Materials For Repairs
Some ceilings are easier to repair than others. Here’s a comparison of common ceiling materials:
| Ceiling Material | Repair Difficulty | Mold Resistance | Typical Use |
|---|---|---|---|
| Drywall | Easy | Low | Modern homes |
| Plaster | Moderate | Moderate | Older homes |
| Drop Ceiling Tiles | Very Easy | Low | Basements, offices |
| Wood Panel | Hard | Low | Decorative ceilings |
Tip: If your ceiling is textured (popcorn, knockdown, etc.), repairs may require special spray or matching products.
How To Prevent Future Wet Spots
Prevention is far easier and cheaper than repair. Here’s how to keep your ceilings dry:
- Inspect your roof twice a year and after major storms.
- Clean gutters at least twice a year to prevent overflow.
- Check plumbing connections and look for slow leaks under sinks and toilets.
- Seal windows and doors to keep out rain and humidity.
- Use exhaust fans in bathrooms and kitchens to reduce indoor humidity.
- Add attic insulation to prevent condensation and ice dams.
- Check HVAC drain lines each season for clogs.
Comparison: Costs Of Preventive Maintenance Vs. Repairs
Preventive steps are usually much cheaper than fixing water damage. Here’s a quick cost comparison:
| Action | Average Cost | Frequency |
|---|---|---|
| Roof inspection | $150–$300 | Yearly |
| Gutter cleaning | $100–$250 | Twice a year |
| Ceiling water damage repair | $500–$2,000 | As needed |
| Mold remediation | $1,000–$6,000 | As needed |
When To Call A Professional
Some ceiling wet spots are easy DIY projects, but others need expert attention:
- Large or spreading stains that return after repair
- Active leaks you cannot locate or stop
- Electrical fixtures near the wet spot (risk of shock)
- Mold covering a large area or inside walls
- Structural damage (cracks, sagging, or collapse)
Professional restoration companies have moisture meters, thermal cameras, and safety gear. They can handle repairs safely and quickly.
Tip: For insurance claims, get a professional inspection and keep all repair receipts.
Credit: www.homesandgardens.com
Insurance And Ceiling Water Damage
Many homeowners wonder if their policy will cover ceiling repairs. Here’s what you need to know:
- Sudden and accidental leaks (like a burst pipe or storm damage) are usually covered.
- Gradual leaks or poor maintenance are often excluded.
- Floods are not covered by standard policies; you need separate flood insurance.
- Mold removal is sometimes included if it results from a covered leak.
Advice: Contact your insurance company as soon as you find water damage. Take photos, keep samples of damaged materials, and document all repairs.
For more details, check out this helpful guide from the Insurance Information Institute.
Step-by-step Recap: Fixing A Ceiling Wet Spot
If you need a quick checklist, here’s the essential order for fixing a ceiling wet spot:
- Find the source of moisture (roof, plumbing, HVAC, etc.)
- Stop the leak—turn off water, cover roof, or fix pipes
- Dry the area—use fans, dehumidifiers, and remove damaged material
- Treat mold if present—clean thoroughly before repairs
- Repair the ceiling—patch, tape, mud, sand, and paint
- Monitor for recurrence—check the spot for several weeks
Real-world Example: Bathroom Leak
Let’s look at a scenario. Imagine you notice a small, brownish wet spot on the ceiling below your upstairs bathroom.
- You check the bathroom and find the toilet’s wax ring seal has failed, allowing water to drip slowly.
- You shut off the water, replace the wax ring, and dry the area for three days with a fan.
- You cut out the damaged drywall (about 1 sq. Ft.), check for mold (none found), and patch the ceiling.
- After priming and painting, the spot is gone—and you’ve prevented a much bigger problem.
This example shows that acting quickly and methodically can save you from higher costs and health risks.
Tools And Products That Make The Job Easier
Here are some items that can help you fix ceiling wet spots faster and more safely:
- Moisture meter: Confirms area is truly dry before repairs.
- Infrared thermometer: Spots cold, damp areas behind walls.
- Stain-blocking primer: Prevents water marks from returning.
- Dehumidifier: Speeds up drying and reduces mold risk.
- Respirator mask: Essential when dealing with mold.
Extra tip: Borrow or rent tools if you don’t want to buy them for a one-time repair.
Safety Tips During Ceiling Repairs
- Always turn off electricity to the affected area before cutting or drilling.
- Wear goggles, gloves, and a mask—old ceiling material can be dusty or contain mold.
- Use a stable ladder and don’t overreach.
- Never stand directly under a sagging, waterlogged ceiling.
How Wet Spots Impact Home Value
Even a small wet spot can lower your home’s value if not fixed properly. Buyers see water stains as a sign of bigger problems, and inspectors will note them during a sale. Properly repaired ceilings, with documented fixes, reassure buyers and protect your investment.
Tip: If you’re selling, always repair and repaint water stains before showings.
Comparing Diy Vs. Professional Repairs
Some homeowners prefer to do repairs themselves. Here’s a look at the pros and cons:
| Option | Cost | Time Required | Best For | Risks |
|---|---|---|---|---|
| DIY | $50–$300 | 2–7 days (with drying) | Small, simple leaks | Missed mold, improper drying, insurance issues |
| Professional | $500–$2,500 | 1–3 days | Large or complex damage | Higher upfront cost |
Advice: If you’re unsure, start with a professional inspection. The cost is often applied to repairs if you hire the same company.
Frequently Asked Questions
What Should I Do First When I See A Ceiling Wet Spot?
Immediately check for active water leaks and stop the water source if possible. Place a bucket under the spot if water is dripping. Do not poke or prod the ceiling unless it’s bulging and at risk of collapse.
Can I Just Paint Over A Water Stain?
No, you must fix the leak and fully dry the area first. Use a stain-blocking primer before painting to prevent the stain from reappearing.
How Can I Tell If The Wet Spot Is From Plumbing Or The Roof?
Wet spots under bathrooms or kitchens often come from plumbing. Spots that appear after rain or near exterior walls usually point to roof leaks. Sometimes, a professional may need to use moisture meters or cameras to confirm.
How Long Does It Take To Dry A Wet Ceiling?
Drying can take 2–7 days depending on the size of the wet spot, material, and airflow. Use fans and dehumidifiers for faster results, and check dryness before repairing.
Is A Ceiling Wet Spot Dangerous?
A wet spot can lead to mold growth, structural damage, and even ceiling collapse if ignored. It’s important to act quickly to prevent health risks and costly repairs.
A ceiling wet spot is a clear sign your home needs attention. By understanding the causes, taking the right steps, and using the right tools, you can fix the problem and prevent it from returning. If you ever feel unsure, don’t hesitate to call a professional.
Protecting your ceiling means protecting your home and your health.

Credit: www.youtube.com