Applying Polycrylic can turn a simple wood project into something beautiful and long-lasting. But many DIYers get frustrated when streaks and brush marks appear, especially on their first few tries. You might wonder why your finish isn’t as clear and smooth as you hoped.
The truth is, applying Polycrylic without streaks takes the right preparation, tools, timing, and technique. Even small mistakes can lead to uneven results, cloudiness, or visible lines that ruin the final look.
In this guide, you’ll learn how to apply Polycrylic with a professional touch—even if you’re a beginner. We’ll cover every step in detail, from choosing the right materials to fixing mistakes. You’ll find out what most people overlook, why surface prep matters more than you think, and how to avoid the most common problems.
You’ll also get practical advice, clear examples, and a few expert tricks that make all the difference. Whether you’re finishing a tabletop, cabinets, or a craft project, this article will help you achieve a flawless, streak-free finish that lasts.
What Is Polycrylic And Why Use It?
Polycrylic is a water-based protective finish made by brands like Minwax. It’s designed for wood surfaces such as furniture, cabinets, doors, and trim. Unlike oil-based polyurethane, Polycrylic dries quickly, has low odor, and cleans up with soap and water. It’s also less likely to yellow over time, making it a favorite for light woods and painted surfaces.
Polycrylic comes in different sheens: gloss, semi-gloss, satin, and matte. The choice depends on your style and where the item will be used. It’s best for indoor projects and is especially popular for white or light-colored finishes, as it preserves the wood’s natural look.
Advantages Of Polycrylic
- Fast drying time (usually 30 minutes to 2 hours between coats)
- Low odor and low VOCs (safer for indoor use)
- Crystal-clear finish that resists yellowing
- Easy cleanup with water
- Suitable for light woods like maple, birch, or ash
When To Use Polycrylic
Polycrylic is the best choice when:
- You want a clear, non-yellowing topcoat
- You’re finishing light wood or painted projects
- The surface won’t get heavy use or moisture (not for outdoor decks)
- You need a quick turnaround time
Why Streaks Happen
Even though Polycrylic is user-friendly, it’s easy to end up with visible streaks or brush marks. Understanding why streaks appear can help you avoid them.
- Improper surface prep: Dust, uneven sanding, or old finish can cause roughness.
- Wrong applicator: Brushes with stiff bristles or low-quality foam leave marks.
- Overworking the product: Going over the same area too much causes drag lines.
- Incorrect drying conditions: High humidity, low temperatures, or poor airflow create uneven drying.
- Thick coats: Applying too much at once prevents smooth leveling.
Many beginners try to “fix” streaks while the Polycrylic is drying, but this usually makes things worse. The key is to apply thin, even coats and let the product do its job.
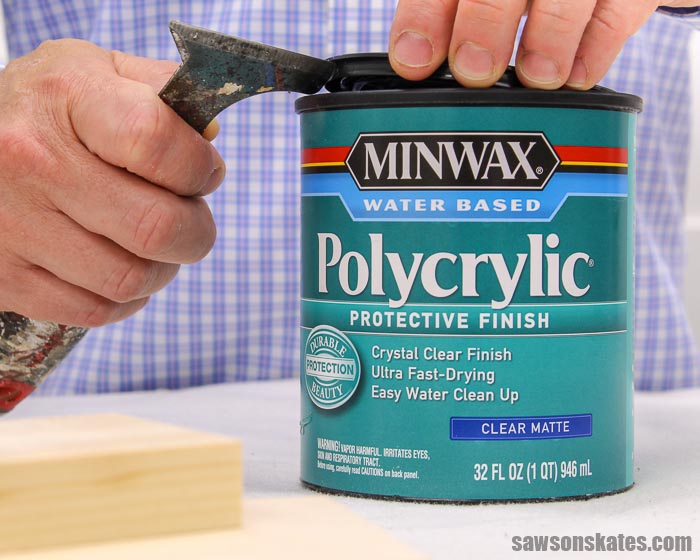
Credit: sawsonskates.com
Essential Tools And Materials
Choosing the right tools makes a big difference in your results. Here’s what you’ll need for a streak-free Polycrylic finish:
- High-quality synthetic brush: Look for soft, fine bristles designed for water-based finishes.
- Foam brush or pad: For flat surfaces and detailed areas.
- Microfiber or lint-free cloth: To remove dust.
- Fine-grit sandpaper: 220-320 grit for smoothing between coats.
- Tack cloth: For final dust removal (optional but helpful).
- Paint tray or container: To avoid dipping straight into the can.
- Stir stick: Always stir, never shake, to avoid bubbles.
- Nitrile gloves: Keeps hands clean.
- Drop cloth: Protects your work area.
Pro Tip: Avoid natural bristle brushes with water-based Polycrylic—they can cause streaks and shed bristles.
Preparing The Surface: The Foundation For Success
No finish can hide poor prep. The smoother and cleaner your wood, the better your Polycrylic results. Here’s how to prepare:
Step 1: Sanding
Start with medium-grit (120-150) sandpaper if the wood is rough or previously finished. Move to fine-grit (220-320) to create a glassy surface. Sand with the grain and avoid circular motions.
After sanding, run your hand over the surface. If you feel any rough spots or raised grain, sand again with finer grit.
Step 2: Cleaning
Wipe away all sanding dust with a vacuum or a damp cloth. Even small particles can cause bumps and streaks. For best results, follow up with a tack cloth to pick up fine dust.
Step 3: Conditioning (optional)
For blotchy woods like pine or for stained wood, use a pre-stain wood conditioner. This helps the Polycrylic absorb evenly. Allow it to dry as per the label before proceeding.
Step 4: Environment
Choose a dust-free, well-ventilated area. Ideal temperature: 60–80°F (15–27°C). Humidity should be below 60% to avoid slow drying and streaking.
Choosing The Right Applicator
The tool you use affects the finish more than you think. Here’s a quick comparison:
| Applicator Type | Best For | Streak Risk | Notes |
|---|---|---|---|
| High-quality synthetic brush | Edges, trim, detailed work | Low (if used correctly) | Use soft, fine bristles |
| Foam brush | Flat, wide surfaces | Very low | No brush marks, but can tear |
| Foam pad | Large panels, doors | Very low | Reusable if cleaned well |
| Sprayer | Large, detailed projects | Lowest | Requires practice |
Expert advice: For most home projects, a foam brush or pad is the easiest way to get a streak-free finish. Use a synthetic brush for corners and trim.
Mixing And Handling Polycrylic
A simple but important step: always stir Polycrylic gently before use. Shaking introduces bubbles that can dry as bumps or streaks. Stir with a clean stick for at least 30 seconds, scraping the bottom and sides.
Pour a working amount into a separate container. This prevents debris or dust from contaminating the main can.
Avoid dipping a dirty brush into the can. Always use a clean brush or foam applicator.
The Right Way To Apply Polycrylic
Here’s the step-by-step method for a flawless finish:
Step 1: Load The Brush Or Pad
Dip about 1/3 of the brush length into the Polycrylic. Tap (don’t wipe) the excess on the side of the container. If using a foam pad, pour a small amount onto the pad or dip lightly.
Step 2: Apply In Thin, Even Coats
Work in the direction of the wood grain. Use long, smooth strokes from one edge to the other. Overlap each pass slightly to avoid missed spots.
Do not press hard. Let the weight of the brush or pad do the work.
Step 3: Avoid Overbrushing
Go over each area only once or twice while wet. Overworking creates streaks and bubbles. If you see a missed spot, wait for the next coat rather than fixing it now.
Step 4: Watch For Drips
Check edges and corners for drips. Quickly smooth them out with a light touch of the brush.
Step 5: Let It Dry
Allow the first coat to dry for 2 hours (or as the label directs). Drying time depends on temperature and humidity.
Step 6: Sand Between Coats
After the first coat is dry, sand lightly with 320-grit sandpaper. This smooths any raised grain or dust nibs. Wipe away all dust with a lint-free cloth or vacuum.
Step 7: Repeat
Apply 2–3 coats for furniture, or up to 5 for tabletops. Always sand lightly between coats and remove all dust.
Pro Techniques For A Streak-free Finish
To go from good to great, try these expert tips:
- Thin the Polycrylic slightly (5–10% water) for the final coat. This helps it level out and reduces brush marks.
- Keep a wet edge. Don’t let one area dry before you finish the rest. Work quickly and in sections.
- Use a light touch for the last stroke. Feather out the edge so it blends with the rest.
- Switch to a foam roller for large flat surfaces like tabletops or doors. This gives a super-smooth finish.
Non-obvious insight: Most streaks happen during the last coat, not the first. Take extra care with your final application—this is what you’ll see every day.

Credit: www.youtube.com
Common Mistakes And How To Avoid Them
Even experienced DIYers make these errors:
Applying Too Thickly
Thick coats cause drips, streaks, and a cloudy finish. Always apply thin coats—even if it means more coats overall.
Using The Wrong Brush
Cheap or stiff brushes leave marks that don’t disappear when dry. Invest in a good-quality synthetic brush.
Rushing Dry Times
Applying a second coat before the first is dry traps moisture and causes streaks. Be patient; check if the surface feels dry and cool, not tacky.
Working In Poor Conditions
High humidity or cold temperatures slow drying and make streaks worse. If possible, finish in a climate-controlled space.
Skipping Sanding
Each coat needs to be sanded lightly for the smoothest result. Skipping this step leads to uneven layers and visible imperfections.
Troubleshooting: Fixing Streaks And Brush Marks
Already have streaks? Don’t panic. Here’s how to fix them:
- Let the finish dry completely (at least overnight).
- Sand lightly with 320-grit sandpaper to smooth out marks.
- Wipe away dust with a tack cloth or lint-free cloth.
- Apply a new, thin coat using a foam pad or brush, following the grain.
- Feather out the edges for a seamless blend.
If streaks are deep, you may need to repeat sanding and recoating. For stubborn areas, lightly dampen a lint-free cloth with water and buff out the streak before recoating.
Pro Tip: For a final touch, rub the dry surface with a brown paper bag or 0000 steel wool for ultra-smoothness. Always wipe clean after.
Comparing Polycrylic Application Methods
Different methods suit different projects. Here’s a practical comparison:
| Method | Speed | Ease | Best For | Quality |
|---|---|---|---|---|
| Brush | Medium | Easy | Trim, small items | Good (with care) |
| Foam Brush | Fast | Very easy | Flat surfaces | Excellent |
| Foam Pad | Fast | Easy | Large panels | Excellent |
| Roller | Very fast | Moderate | Tables, doors | Excellent (if used correctly) |
| Sprayer | Fastest | Hard | Cabinets, professional work | Best |
Non-obvious insight: Foam pads and rollers can reduce streaks more than brushes, but they require careful cleaning between coats to avoid hardened bits causing scratches.
How Many Coats Should You Apply?
The number of coats depends on the project’s purpose:
- Decorative items: 2 coats are usually enough
- Furniture (shelves, bookcases): 3 coats
- Tabletops, desktops: 4–5 coats for extra durability
Always sand between coats and let each layer dry fully.
Curing And Final Protection
Polycrylic dries quickly to the touch, but curing takes longer. Light use is fine after 24 hours, but full hardness takes about 3 weeks. Avoid heavy objects, scrubbing, or heat until fully cured.
After the final coat dries, you can add extra smoothness by lightly buffing with a brown paper bag or 0000 steel wool. For a super-slick feel, apply a thin coat of furniture wax after a month.
Practical Examples: Real Project Scenarios
Let’s look at how these tips work for common projects.
Kitchen Tabletop
A kitchen table sees heavy use. After sanding to 220 grit, apply four thin coats of Polycrylic with a foam roller. Sand with 320 grit between coats. For the last coat, thin the Polycrylic with 10% water and roll lightly.
Let cure for 3 weeks before heavy use.
Painted Bookshelf
For a painted bookshelf, a synthetic brush works best. Apply three thin coats, sanding with 320 grit between layers. Avoid overbrushing—resist the urge to fix wet spots. A final gentle rub with a paper bag creates a silky finish.
Small Craft Item
On small items like jewelry boxes, use a foam brush. Two thin coats are usually enough. Pay extra attention to corners, and sand lightly with 320 grit between coats for a glass-smooth feel.
Safety And Clean-up Tips
Polycrylic is safer than oil-based finishes, but still follow these guidelines:
- Use in a well-ventilated area
- Wear gloves to prevent skin contact
- Clean brushes and pads with soap and water immediately after use
- Store unused Polycrylic tightly sealed and away from extreme heat or cold
Dispose of rags and applicators properly, as even water-based finishes can combust if left in a pile.
When To Choose Something Else
Polycrylic is not perfect for every job. Avoid it for:
- Outdoor furniture (use spar urethane instead)
- Very dark woods (can cause a slight haze)
- High-moisture areas like bathrooms
For a more durable, heat-resistant finish, consider oil-based polyurethane or conversion varnish instead.
Where To Buy And Recommended Brands
Polycrylic is available at most hardware and paint stores. Brands like Minwax and Varathane are the most trusted. Always check that you’re buying water-based Polycrylic, not oil-based polyurethane.
For more details, visit the Minwax official Polycrylic page.
Quick Reference: Do’s And Don’ts
Here’s a summary to help you remember the key points:
Do:
- Sand and clean the surface thoroughly
- Use high-quality synthetic or foam applicators
- Apply thin, even coats
- Sand lightly between coats
- Allow full drying and curing time
Don’t:
- Apply thick layers
- Use old or stiff brushes
- Overwork the finish as it dries
- Rush between coats
- Finish in a dusty or humid environment
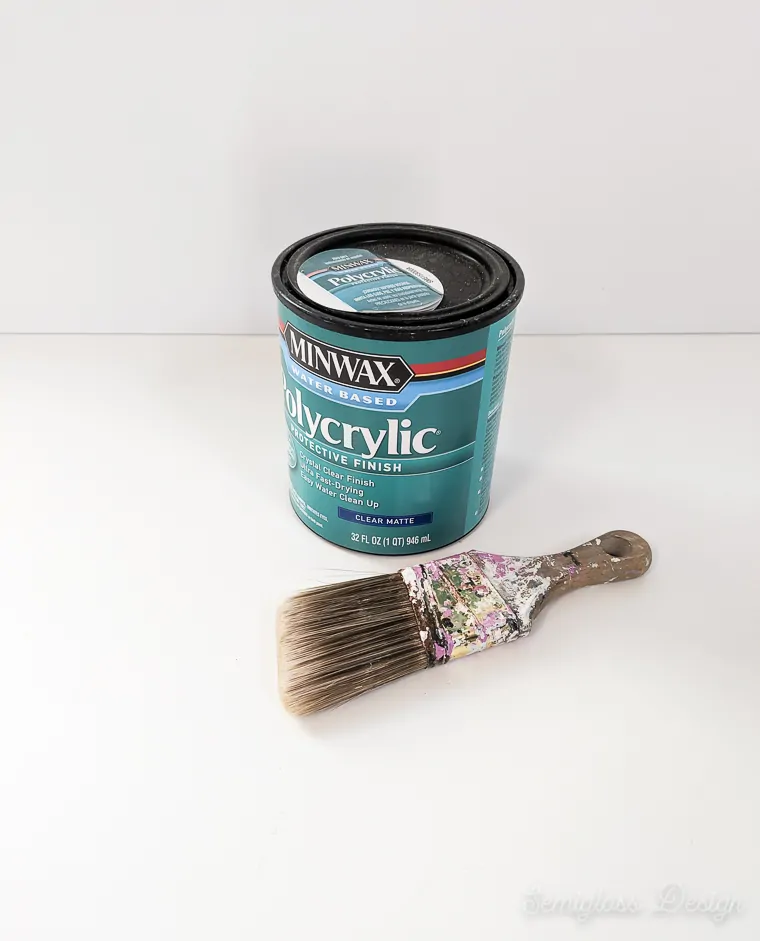
Credit: www.semiglossdesign.com
Frequently Asked Questions
What Is The Best Way To Apply Polycrylic To Avoid Streaks?
The best way is to use a foam brush or pad for flat surfaces and a synthetic brush for edges. Apply thin, even coats, always going with the wood grain. Overlap each pass slightly, and avoid going over the same spot multiple times while wet.
Can I Use A Roller To Apply Polycrylic?
Yes, a high-density foam roller works well for large, flat surfaces like tables and doors. It helps prevent streaks and creates a smooth finish. Roll lightly and avoid overworking. Clean the roller well between coats to avoid dried bits.
How Long Should I Wait Between Polycrylic Coats?
Wait at least 2 hours between coats, or as recommended on the product label. The surface should feel dry and cool, not tacky. Cooler or humid conditions may require longer drying times.
What Do I Do If I See Streaks After Polycrylic Dries?
Let the finish dry completely, then sand lightly with 320-grit sandpaper. Wipe away all dust and apply a new, thin coat. For deep streaks, repeat the sanding and recoating process.
Is Polycrylic Food Safe?
Polycrylic is not rated as food-safe while wet, but once fully cured (after 3 weeks), it is generally considered safe for surfaces that contact food briefly. However, it’s not recommended for cutting boards or items that will be in constant contact with food.
Applying Polycrylic without streaks is all about preparation, patience, and the right tools. Each step matters—from sanding and cleaning, to choosing the right brush, to letting each coat dry fully. With practice and these techniques, you can create a finish that looks as good as any professional’s work.
Your wood projects will not only look better, they’ll last longer and stay beautiful for years.