A finished basement adds valuable living space, but many homeowners face one big challenge: a cold, damp, and uneven concrete floor. A raised floor system can solve these issues, making your basement warmer, drier, and more comfortable. Whether you want to create a family room, home gym, or bedroom, building a raised floor is a smart investment. But the process is more complex than just laying boards over concrete. You need to consider moisture, headroom, insulation, and local building codes. This guide will walk you through every step — from planning and choosing materials to building and finishing your raised basement floor.
Why Build A Raised Floor In Your Basement?
A typical basement floor is bare concrete. While strong, concrete is cold and often attracts moisture. These problems make basements uncomfortable and can even damage furniture or cause mold. Building a raised floor offers several benefits:
- Thermal insulation: A raised floor creates a barrier between your feet and the cold concrete, making the space warmer.
- Moisture protection: Properly designed raised floors help keep out dampness and reduce mold risk.
- Level surface: If your concrete floor is uneven or cracked, a raised floor creates a smooth, stable base.
- Comfort: It feels much better underfoot, especially if you want to add carpet or other soft flooring.
Many people overlook one important detail: a raised floor can also hide utilities like electrical cables or pipes, making future upgrades easier.
Essential Planning Before You Start
Before picking up any tools, you need a solid plan. Skipping this step can lead to expensive mistakes or even structural problems.
Assess Your Basement’s Condition
First, check your basement for any signs of water leaks, flooding, or mold. If you see water stains, peeling paint, or a musty smell, address these issues first. Fixing leaks and improving drainage is essential — a raised floor alone won’t solve ongoing water problems.
Measure Your Space And Headroom
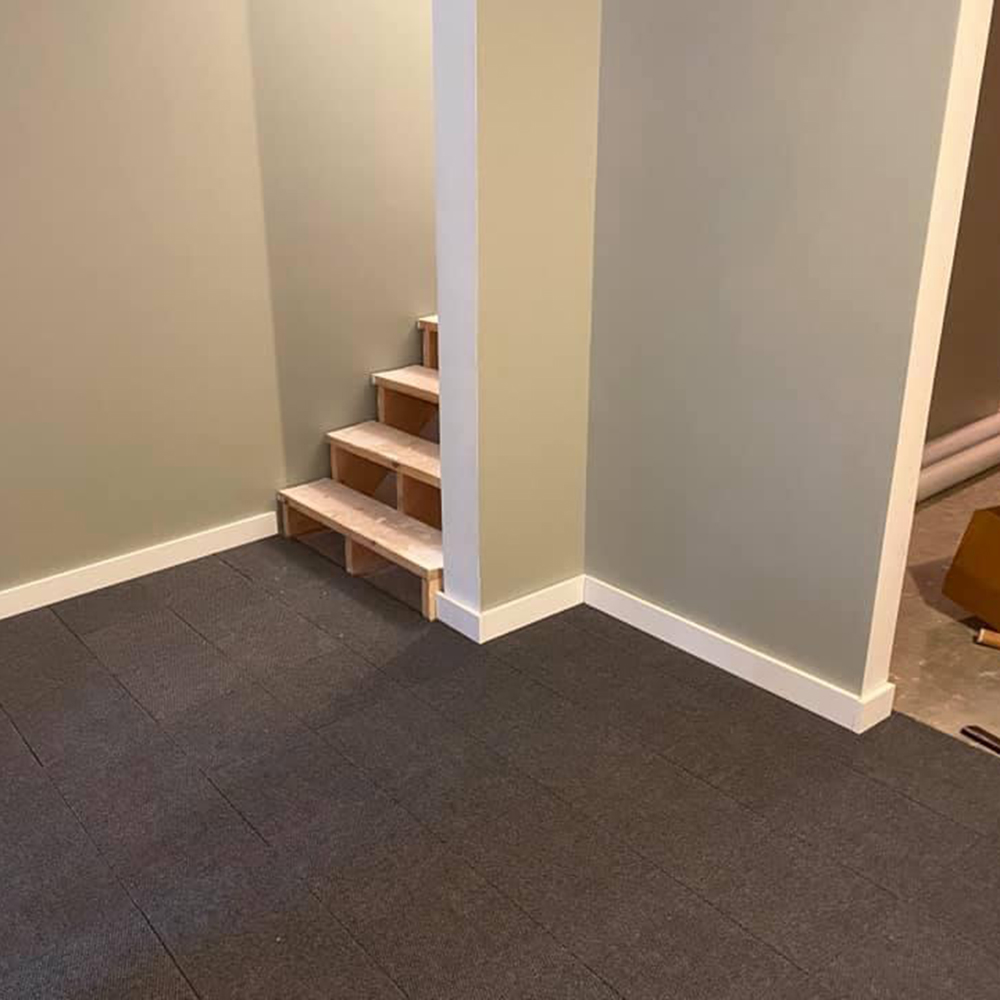
Measure the length, width, and especially the height from concrete to ceiling. Most raised floors are 2 to 4 inches thick; add any planned underlayment and top flooring. Make sure you have enough headroom to meet local building codes — usually at least 7 feet (84 inches) after the floor is finished.
Check Local Building Codes
Some cities require permits for basement renovations. Codes may dictate the minimum ceiling height, fireproofing, or insulation. Always check with your local building department before buying materials.
Plan For Utilities
Think about future needs: do you want to add in-floor heating, extra outlets, or plumbing? It’s much easier to add these before the floor goes in.
Choosing The Right Raised Floor System
You have several options for building a raised floor. Each has pros and cons depending on your budget, DIY skills, and basement conditions.
Common Types Of Raised Floor Systems
| System Type | Cost | Installation Difficulty | Moisture Protection | Height Added |
|---|---|---|---|---|
| Wood Frame (Sleepers) | Low | Intermediate | Moderate | 2-4 inches |
| Subfloor Panels | Medium to High | Easy to Moderate | High | 1-2 inches |
| Plastic Grid Systems | High | Easy | Excellent | 1 inch |
1. Wood Framing (sleepers)
This classic method uses pressure-treated lumber laid flat on the concrete. Plywood sheets are screwed on top, creating a sturdy, level surface. This method is affordable and customizable but takes more time.
2. Subfloor Panels
Manufacturers sell interlocking panels made from OSB with a plastic moisture barrier underneath. These go down quickly and offer good insulation, but are pricier than lumber.
3. Plastic Grid Systems
Newer systems use a plastic grid to lift plywood off the concrete, allowing airflow and blocking moisture. They’re very effective but cost more.
Factors To Consider When Choosing
- Budget: Wood sleepers are cheapest, but subfloor panels save labor time.
- Moisture risk: If your basement is damp, pick a system with a built-in vapor barrier.
- Height loss: Thick floors reduce headroom.
- DIY ability: Pre-made panels are easier for beginners.
One thing many beginners miss: combining methods is possible. For example, you can use a plastic grid under wood sleepers for extra moisture protection.
Gathering Materials And Tools
You’ll need several materials, depending on your chosen system. Here’s a breakdown for a typical wood sleeper raised floor:
Essential Materials
- Pressure-treated 2×4 or 2×3 lumber (for sleepers)
- ¾-inch tongue-and-groove plywood
- Construction adhesive
- Plastic vapor barrier sheeting (6-mil polyethylene)
- Rigid foam insulation (optional, for extra warmth)
- Tapcon concrete screws or masonry nails
- Leveling shims (composite or plastic)
- Flooring underlayment (if needed for finished floor type)
- Moisture-resistant tape (for vapor barrier seams)
Tools Needed
- Hammer drill (for driving screws into concrete)
- Circular saw (for cutting lumber and plywood)
- Tape measure
- Chalk line
- Utility knife
- Level
- Caulk gun
- Safety gear (gloves, goggles, dust mask)
If you use subfloor panels or grid systems, check the manufacturer’s instructions for any special tools or fasteners.
Step-by-step Guide To Building A Raised Floor
The building process has several key steps. Rushing any of these steps can lead to squeaks, uneven floors, or moisture problems later.
1. Prepare The Concrete Floor
Sweep and vacuum the floor thoroughly. Remove any debris, nails, or paint splatters. If you see cracks wider than ¼ inch, fill them with concrete patch and let them dry.
Check for levelness. If the floor slopes or has low spots, use self-leveling compound to create a flat surface. Uneven concrete will make the raised floor unstable and noisy.
2. Install A Vapor Barrier
Roll out 6-mil plastic sheeting over the entire floor, overlapping seams by at least 6 inches. Tape all seams with moisture-resistant tape. Run the plastic 2-3 inches up the basement walls. This stops moisture from moving up into your new floor.
A common mistake: skipping this step. Even “dry” basements can have moisture problems later.
3. Lay Out And Install Sleepers
Mark lines on the plastic sheeting where your sleepers will go, typically every 16 inches on center (measured from the center of one board to the next). Lay out your pressure-treated sleepers.
Check each sleeper with a long level. Use composite shims to level them where needed. Secure each sleeper to the concrete with Tapcon screws or masonry nails every 24-32 inches.
If you want extra insulation, lay rigid foam boards between sleepers before securing them.
4. Add Insulation (optional But Recommended)
Cut pieces of rigid foam insulation to fit snugly between the sleepers. This step greatly improves warmth and energy efficiency. Make sure the foam is rated for below-grade use.
5. Install The Subfloor
Lay ¾-inch tongue-and-groove plywood perpendicular to the sleepers. Stagger the joints for strength. Leave a ¼-inch gap around the edges for expansion.
Fasten the plywood to the sleepers with wood screws every 8-10 inches. Don’t screw into the concrete.
If using subfloor panels or plastic grid systems, follow the manufacturer’s layout pattern and locking method.
6. Seal The Edges And Joints
Apply construction adhesive between plywood joints to reduce squeaks. Seal the expansion gap around walls with low-expansion foam or backer rod and caulk.
7. Install Flooring Underlayment
If your final floor (carpet, laminate, vinyl) requires underlayment, lay it now according to product instructions.
8. Finish With Top Flooring
Install your chosen finished flooring: carpet, engineered hardwood, vinyl plank, or tile. Each material has different installation needs. For example, floating laminate floors “float” above the subfloor, while carpet may need tack strips.
Real-world Example: Comparing Raised Floor Costs
Many homeowners wonder about the price difference between systems. Here’s a simple comparison for a 500 sq ft basement.
| System | Material Cost (Approx.) | Labor Time | DIY Friendliness |
|---|---|---|---|
| Wood Sleepers + Plywood | $1,000 – $1,300 | 2-4 days | Moderate |
| Subfloor Panels | $2,000 – $2,500 | 1-2 days | Easy |
| Plastic Grid + Plywood | $2,500 – $3,000 | 1-2 days | Easy |
These are rough estimates. Actual costs depend on local prices and your choices.
Credit: www.greatmats.com
Important Details That Beginners Often Miss
Building a raised basement floor is more than just following instructions. Here are two key insights many first-timers overlook:
1. Moisture Can Come From Walls, Not Just Floors
Many people focus only on the concrete slab. But basement walls can also leak water or vapor. Extending the vapor barrier 2-3 inches up the wall and sealing it helps block this.
2. Expansion Gaps Are Essential
Wood and plywood expand and contract with humidity changes. If you skip the ¼-inch gap around the room’s edge, your floor can buckle or squeak. Always leave space and seal it with flexible material.
Insulation And Vapor Barrier: What Works Best?
Proper insulation and moisture control are essential for comfort and durability.
Vapor Barrier Tips
- Use 6-mil polyethylene plastic or a special basement vapor barrier membrane.
- Overlap seams and tape tightly.
- Extend plastic up the wall and seal with waterproof tape or foam.
Insulation Options
- Rigid foam board (extruded polystyrene or XPS) is best for below-grade use.
- Avoid fiberglass batts below the floor; they absorb moisture and lose R-value.
- Minimum R-10 insulation is recommended for cold climates.
If you plan to add radiant heat, check that your insulation is compatible.
Common Mistakes To Avoid
Even experienced DIYers can make mistakes in basement floor construction. Here are some of the most frequent problems and how to prevent them:
- Skipping the moisture test. Always test for moisture with a plastic sheet taped to concrete for 48 hours. If condensation appears, solve moisture problems first.
- Using untreated wood. Only use pressure-treated lumber in contact with concrete to prevent rot.
- Not leveling the sleepers. An uneven base causes squeaks and gaps.
- Forgetting about headroom. Double-check ceiling height after all layers.
- Blocking floor drains. If your basement has a floor drain, do not cover it. Provide access or reroute drainage.
Installing Utilities Under The Raised Floor
A raised floor lets you run wires, pipes, or ducts underneath. Plan locations before laying the plywood. Never compress wires between the plywood and concrete; always use proper conduit or raceway.
If you want to add electrical outlets in the floor, use boxes rated for below-grade installation. Mark their locations carefully and cut openings in the plywood as you go.
Credit: www.greatmats.com
Soundproofing And Comfort Upgrades
Basements can feel echoey. If you want a quieter space, consider these upgrades:
- Add a soundproof underlayment under the finished floor.
- Use thicker carpet and pad for playrooms or bedrooms.
- Seal all gaps at walls and around pipes.
If you plan to use the space as a home theater, these steps make a big difference.
Maintenance And Longevity
A well-built raised floor can last decades, but it needs some care:
- Check annually for moisture or musty smells.
- Avoid letting water pool near the foundation outside.
- If you ever have a plumbing leak, remove sections of floor to let things dry.
If you plan to sell your home, document your build process for future buyers and inspectors.
When To Hire A Professional
DIY raised floors are possible for many handy homeowners, but some situations require a pro:
- Significant water problems
- Low ceilings where every inch counts
- Complex layouts with many posts or obstacles
- Adding in-floor heating or advanced wiring
A contractor can also help with permits and inspections.
Finishing Touches: Making Your Basement Floor Beautiful
Once the raised floor is finished, you have many options for final flooring. Popular choices include:
- Carpet: Cozy and warm, but may trap moisture if your basement is humid.
- Vinyl plank: Waterproof and easy to clean. Good for laundry or playrooms.
- Engineered hardwood: Looks great but costs more. Needs a good moisture barrier.
- Ceramic tile: Durable, but cold unless paired with radiant heat.
Always use flooring rated for basement or below-grade installation.
Case Study: Homeowner Success Story
David from Ohio wanted to turn his cold, damp basement into a home office. He chose subfloor panels for their speed and moisture resistance. He added rigid foam insulation below, installed laminate plank flooring, and sealed all wall gaps. The result? A quiet, warm space that feels like any room upstairs. His energy bills dropped, and he can comfortably work year-round.
Comparing Raised Floor Height Loss
Many people worry about losing ceiling height. Here’s a typical comparison:
| System | Total Height Added | Minimum Finished Ceiling Height Required |
|---|---|---|
| Wood Sleepers + Plywood | 2.5 – 3.5 inches | 84 inches |
| Subfloor Panels | 1 – 1.5 inches | 84 inches |
| Plastic Grid + Plywood | 1.5 – 2 inches | 84 inches |
If your basement is already low, choose the thinnest system possible.
Eco-friendly And Health Considerations
Choose low-VOC (volatile organic compound) materials whenever possible to improve indoor air quality. Pressure-treated wood is safe for indoor use if it’s marked for ground contact and not older CCA-treated stock. Ventilate the space well during installation.
Time And Labor: How Long Does It Take?
For a 500 sq ft basement, building a raised floor typically takes:
- Wood sleeper system: 2-4 days for one person with basic tools
- Subfloor panel system: 1-2 days for one person
Add extra time if you need to level the concrete or add utilities.
Useful Resources For Diyers
For more detailed code requirements and best practices, see the Building Science Corporation Basement Insulation Guide.
Frequently Asked Questions
How Do I Know If My Basement Needs A Raised Floor?
If your basement floor is cold, damp, or uneven, or if you want to add insulation or hide utilities, a raised floor is a good solution. Basements with water leaks must fix those problems before installing any floor.
Can I Build A Raised Floor If My Basement Ceiling Is Low?
It depends on your local building codes. Most codes require a minimum finished ceiling height of 7 feet. Some raised floor systems add as little as 1 inch, but check your measurements carefully.
What’s The Best Material For Basement Raised Floors?
Pressure-treated lumber is best for sleepers in contact with concrete. For panels, look for products rated for below-grade use, with built-in moisture barriers.
Will A Raised Floor Stop Basement Mold?
A raised floor helps if you use a vapor barrier and insulation. But it will not fix mold or water problems on its own. Address leaks and humidity before building.
Can I Install Heated Floors Under A Raised Basement Floor?
Yes. Many people add electric or hydronic radiant heat under the subfloor. Make sure your insulation and vapor barrier are compatible with heating systems.
A raised floor can completely transform your basement, making it warm, dry, and ready for anything from a cozy den to a home gym. With careful planning and attention to detail, your project will add lasting comfort and value to your home.

Credit: www.youtube.com