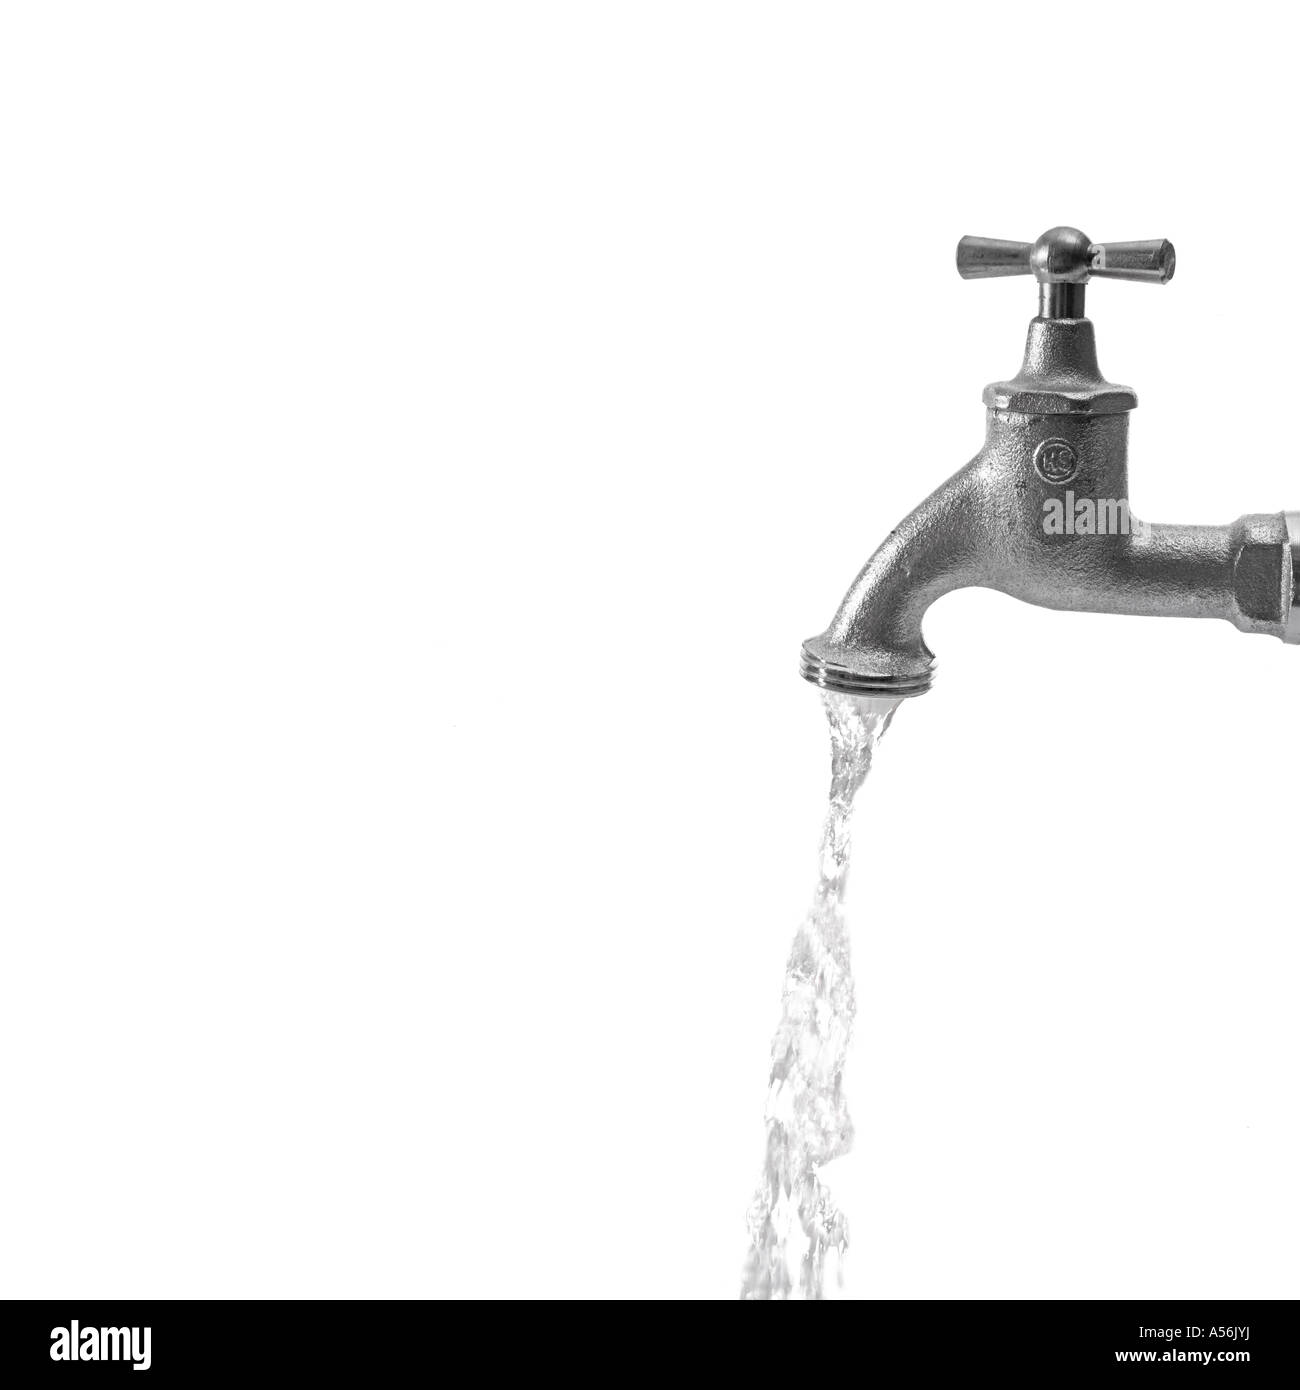
Every home needs a reliable water supply. But when water keeps running from a tap and won’t stop, it can be frustrating, wasteful, and even costly. A dripping tap wastes gallons of water each day, and if left unchecked, it can increase your water bill, damage your plumbing, or even cause flooding.
Many people think fixing a tap requires a plumber. In reality, you can often stop running water from a tap with some simple tools and a bit of patience.
Knowing how to handle a tap that won’t stop running is a valuable skill. Whether the problem is a small drip or a steady stream, you can solve most issues yourself. This guide will show you the causes, tools you need, step-by-step solutions, and how to avoid future problems.
By the end, you’ll feel confident tackling a running tap and saving both water and money.
Why Taps Keep Running: Common Causes
Before you can fix a running tap, it’s important to understand why it happens. Here are the most frequent reasons:
1. Worn Out Washer
The washer is a small rubber or silicone ring inside many taps. It presses against the valve seat to create a seal when you close the tap. Over time, washers can wear out, become stiff, or crack, which prevents a tight seal and lets water leak through.
2. Damaged O-ring
The O-ring is another rubber part, usually found in modern mixer taps. It helps seal the spout and the base. If it breaks or wears down, water may leak from the base of the tap or cause the tap to keep running.
3. Faulty Valve Seat
The valve seat connects the tap and the spout. Minerals from water can build up and corrode this area. Corrosion or rough spots can stop the washer from sealing properly, letting water escape.
4. Loose Or Broken Tap Handle
A loose handle might not turn the tap off fully. If the handle is stripped or the internal screw is loose, the tap cannot close tightly, so water keeps running.
5. Cartridge Or Ceramic Disc Problems
Modern taps often use a cartridge or ceramic disc instead of washers. These can get clogged, worn, or cracked, leading to drips or a constant flow.
6. High Water Pressure
If your water pressure is too high, it can force water through even small gaps in the tap, causing drips or leaks.
7. Installation Errors
Poor installation, like a misaligned washer or an incorrectly sized part, can cause leaks and running water soon after a new tap is fitted.
8. Debris In The Tap
Small bits of grit or debris can block the tap’s internal parts, stopping them from closing fully and letting water through.
Understanding these causes will help you choose the right repair method.
Tools And Materials You Will Need
Before starting, gather the following tools and materials. Having everything ready will make the process smoother and less stressful.
- Adjustable wrench or spanner
- Flat-head and Phillips screwdrivers
- Replacement washers, O-rings, or cartridges (check your tap type)
- Needle-nose pliers
- Penetrating oil (for stuck parts)
- Soft cloth or towel
- Bucket or bowl (to catch water)
- Plumber’s tape (Teflon tape)
- Small brush or old toothbrush
- Flashlight (if working under a sink)
- Allen key (for some modern taps)
Pro tip: Always check the make and model of your tap before buying replacement parts. Bring the old part to the store, if possible, to match size and type.
How To Stop A Running Tap: Step-by-step Guide
Let’s break down the process in clear, easy-to-follow steps. These instructions work for most common taps, including pillar, mixer, and monobloc taps.
Step 1: Turn Off The Water Supply
First, you must shut off the water. Look for isolation valves under the sink. Turn them clockwise with a screwdriver or by hand. If there’s no valve, you may need to turn off the main water supply for your home.
After shutting off the water, open the tap to drain any remaining water. Place a bucket under the tap to catch drips.
Step 2: Plug The Drain
Use a sink plug or a wet cloth to block the drain. Small parts can easily fall in and get lost.
Step 3: Remove The Tap Handle
- For traditional taps, look for a decorative cap on top of the handle. Pry it off with a flat-head screwdriver.
- Unscrew the handle with the appropriate screwdriver.
- For modern taps, you might need an Allen key to loosen a screw under or behind the handle.
Gently pull the handle off the tap body.
Step 4: Loosen And Remove The Tap Cover
Under the handle, you’ll find a metal cover (also called a shroud or skirt). Unscrew it by hand. If it’s stuck, use a cloth for a better grip.
Step 5: Unscrew The Tap Mechanism
Use an adjustable wrench or spanner to unscrew the spindle or cartridge (the main working part inside the tap). Turn counter-clockwise. Be careful not to damage the tap body.
For mixer taps, you may need to remove a cartridge instead of a spindle.
Step 6: Inspect The Washer, O-ring, Or Cartridge
- For washer taps: Check the washer at the base of the spindle. If it looks worn, cracked, or flattened, it needs replacing.
- For modern taps: Inspect the cartridge or ceramic disc. Look for cracks, chips, or signs of wear. Replace if needed.
- For O-rings: These are usually found around the spindle or base of the spout. Replace any that look worn or broken.
Step 7: Clean Internal Parts
Use a brush or cloth to clean the valve seat and other internal surfaces. Remove any mineral deposits or debris. For stubborn buildup, a little vinegar can help dissolve it.
Step 8: Replace The Faulty Parts
Fit a new washer, O-ring, or cartridge as needed. Make sure the new part matches the old one in size and shape. If you’re not sure, ask at the hardware store or check the tap manufacturer’s website.
Step 9: Reassemble The Tap
Reverse the steps:
- Screw the spindle or cartridge back in.
- Replace the shroud.
- Reattach the handle and secure the screw.
- Snap on the decorative cap, if there is one.
Step 10: Turn On The Water Supply And Test
Remove the drain plug. Turn the water supply back on slowly to avoid sudden pressure. Open and close the tap several times to check for leaks.
If water still runs, double-check you installed the parts correctly. Sometimes, the valve seat is too damaged, and you may need to reseat it or call a professional.
How To Identify Your Tap Type
Knowing what kind of tap you have makes repair easier. Here are the main types:
| Tap Type | Main Features | Common Problems |
|---|---|---|
| Pillar Tap | Separate hot and cold taps, turns left/right | Worn washer, loose handle |
| Monobloc Mixer Tap | Single spout for hot/cold, one or two handles | Faulty cartridge, broken O-ring |
| Ball Tap | Single handle, round ball mechanism | Worn ball, leaks at base |
| Ceramic Disc Tap | 90-degree turn, smooth action | Cracked disc, worn seal |
If you’re not sure, take a photo and ask a hardware store assistant for help.
When Should You Call A Plumber?
Most tap repairs are simple, but sometimes it’s best to get professional help. Here’s when you should call a plumber:
- Main water shut-off valve is stuck or you can’t find it.
- Severe corrosion or rust inside the tap.
- Valve seat is deeply pitted and needs grinding or reseating.
- Persistent leaks after replacing washers or cartridges.
- Complex mixer taps with electronic or sensor parts.
Remember, if you feel unsure, it’s safer to ask for expert help than risk flooding your home.
Advanced Repairs: Fixing The Valve Seat
Sometimes, replacing the washer doesn’t stop the leak because the valve seat is damaged. Here’s how to deal with it:
- Buy a valve seat grinder or reseating tool from a hardware store.
- Remove the tap spindle as before.
- Insert the tool into the tap body and gently grind the seat smooth.
- Clean away any debris and reassemble the tap with a new washer.
This repair takes more time but can save you the cost of a new tap.
Preventing Taps From Running In The Future
Fixing a running tap is only part of the story. Here’s how to prevent problems from coming back:
1. Use The Tap Gently
Turning taps off too tightly wears out washers and O-rings faster. Close the tap firmly but not forcefully.
2. Regular Maintenance
Check taps every few months for drips, corrosion, or stiff handles. Early action means simpler repairs.
3. Clean Aerators And Spouts
Dirt and limescale build up in the aerator (the small mesh at the spout tip). Unscrew it and soak in vinegar to clear blockages.
4. Check Water Pressure
High pressure wears taps out quickly. If you hear banging pipes or see splashing, ask a plumber to check your pressure. Pressure-reducing valves are available.
5. Install Water Softeners
In hard water areas, minerals build up inside taps. A water softener can reduce this damage.
6. Use Quality Parts
Cheap washers or cartridges fail quickly. Always buy good quality replacements from trusted brands.
7. Replace Old Taps
If your tap is over 15 years old and keeps leaking, it may be time for a new one. Modern taps are more reliable and use less water.
Comparing Washer, Cartridge, And Ceramic Disc Taps
Understanding how different taps work helps you choose the right repair. Here’s a quick comparison:
| Tap Type | Repair Difficulty | Common Lifespan | Best For |
|---|---|---|---|
| Washer Tap | Easy | 5-10 years | Older homes, basic sinks |
| Cartridge Tap | Medium | 8-12 years | Modern bathrooms, kitchens |
| Ceramic Disc Tap | Easy-Medium | 10-15 years | New builds, water-saving |
Washer taps are simple to fix, but the washers need replacing more often. Cartridge and ceramic disc taps last longer, but parts may be more expensive.
Credit: www.alamy.com
The Cost Of A Running Tap
Many people underestimate how much water a leaking tap wastes. Even a slow drip can waste up to 3 gallons (13 liters) per day, or over 1,000 gallons (4,700 liters) per year. Fast drips or a running tap can waste much more.
Here’s how running taps impact your wallet and the environment:
| Drip Rate | Water Wasted/Day | Annual Cost (USD, est.) |
|---|---|---|
| Slow Drip (1/sec) | 3 gallons | $10-15 |
| Steady Drip (2/sec) | 5 gallons | $18-25 |
| Small Stream | 20 gallons | $70-100 |
Fixing a running tap is one of the easiest ways to save water and money.
Two Important Tips Most Beginners Miss
- Check Both Hot and Cold Taps: Sometimes, the leak comes from the hot tap, but you only notice it at the spout. Always check both sides, especially on mixer taps.
- Replace All Washers/O-Rings at Once: If one washer is worn, the others may also be close to failing. Replacing all at the same time saves future work.
Common Mistakes To Avoid
- Forgetting to turn off the water before starting repairs
- Using the wrong size washer or O-ring
- Overtightening parts, which can crack the tap body
- Losing small screws or washers down the drain
- Mixing up hot and cold tap parts
- Ignoring signs of corrosion, which signal deeper problems
Patience and attention to detail will prevent most of these errors.
Eco-friendly Upgrades
If you want to go further, consider these upgrades:
- Low-flow aerators: Reduce water use without lowering pressure.
- Touchless taps: Prevent leaks due to accidental handling.
- Smart sensors: Turn off taps automatically if left running.
Making your taps more efficient saves water and lowers bills.
Credit: www.alzstore.com
Where To Learn More
For more details about tap types, water-saving upgrades, and plumbing basics, you can visit the Wikipedia page on taps.
Frequently Asked Questions
What Should I Do If My Tap Keeps Dripping After Changing The Washer?
Sometimes, the valve seat is damaged or dirty. Clean it with a brush and inspect for rough spots. If it’s pitted, use a valve seat grinder. Also, double-check that the new washer is the correct size and installed properly.
Can I Use Any Washer Or Cartridge For My Tap?
No, taps need specific sizes and types of washers or cartridges. Always match the replacement part to your tap’s brand and model. Bring the old part to the store or check the packaging for compatibility.

Credit: www.dreamstime.com
Is It Safe To Fix A Running Tap Myself?
Yes, most tap repairs are safe for beginners if you turn off the water supply first. Use the right tools and take your time. If the tap is very old, corroded, or you feel unsure, call a plumber.
How Often Should I Replace Washers Or Cartridges?
It depends on your tap type and water quality, but most need replacing every 5–10 years. Hard water areas may need more frequent changes. Regular checks help spot early signs of wear.
What If My Tap Leaks From The Base, Not The Spout?
Leaks at the base often mean a worn O-ring or seal, not a washer. Replace the O-ring or the cartridge, depending on your tap type. Check for cracks in the tap body as well.
Solving a running tap is a simple way to save water, money, and stress. With the right tools and a little knowledge, you can fix most problems in less than an hour. Keeping your taps in good shape not only helps your home run smoothly, it also protects the environment for everyone.