Water damage under your floors can be a hidden nightmare. One day your floor feels soft or you spot a stain, and suddenly you realize there’s a much bigger problem below. Replacing a water damaged subfloor isn’t a small task, but with the right guidance, you can tackle it without calling in expensive professionals. If you want your floors safe, sturdy, and mold-free, understanding how to handle subfloor replacement is essential. This guide walks you step-by-step through the process, explains what to watch out for, and shares tips most beginners miss.
Why Subfloors Get Water Damaged
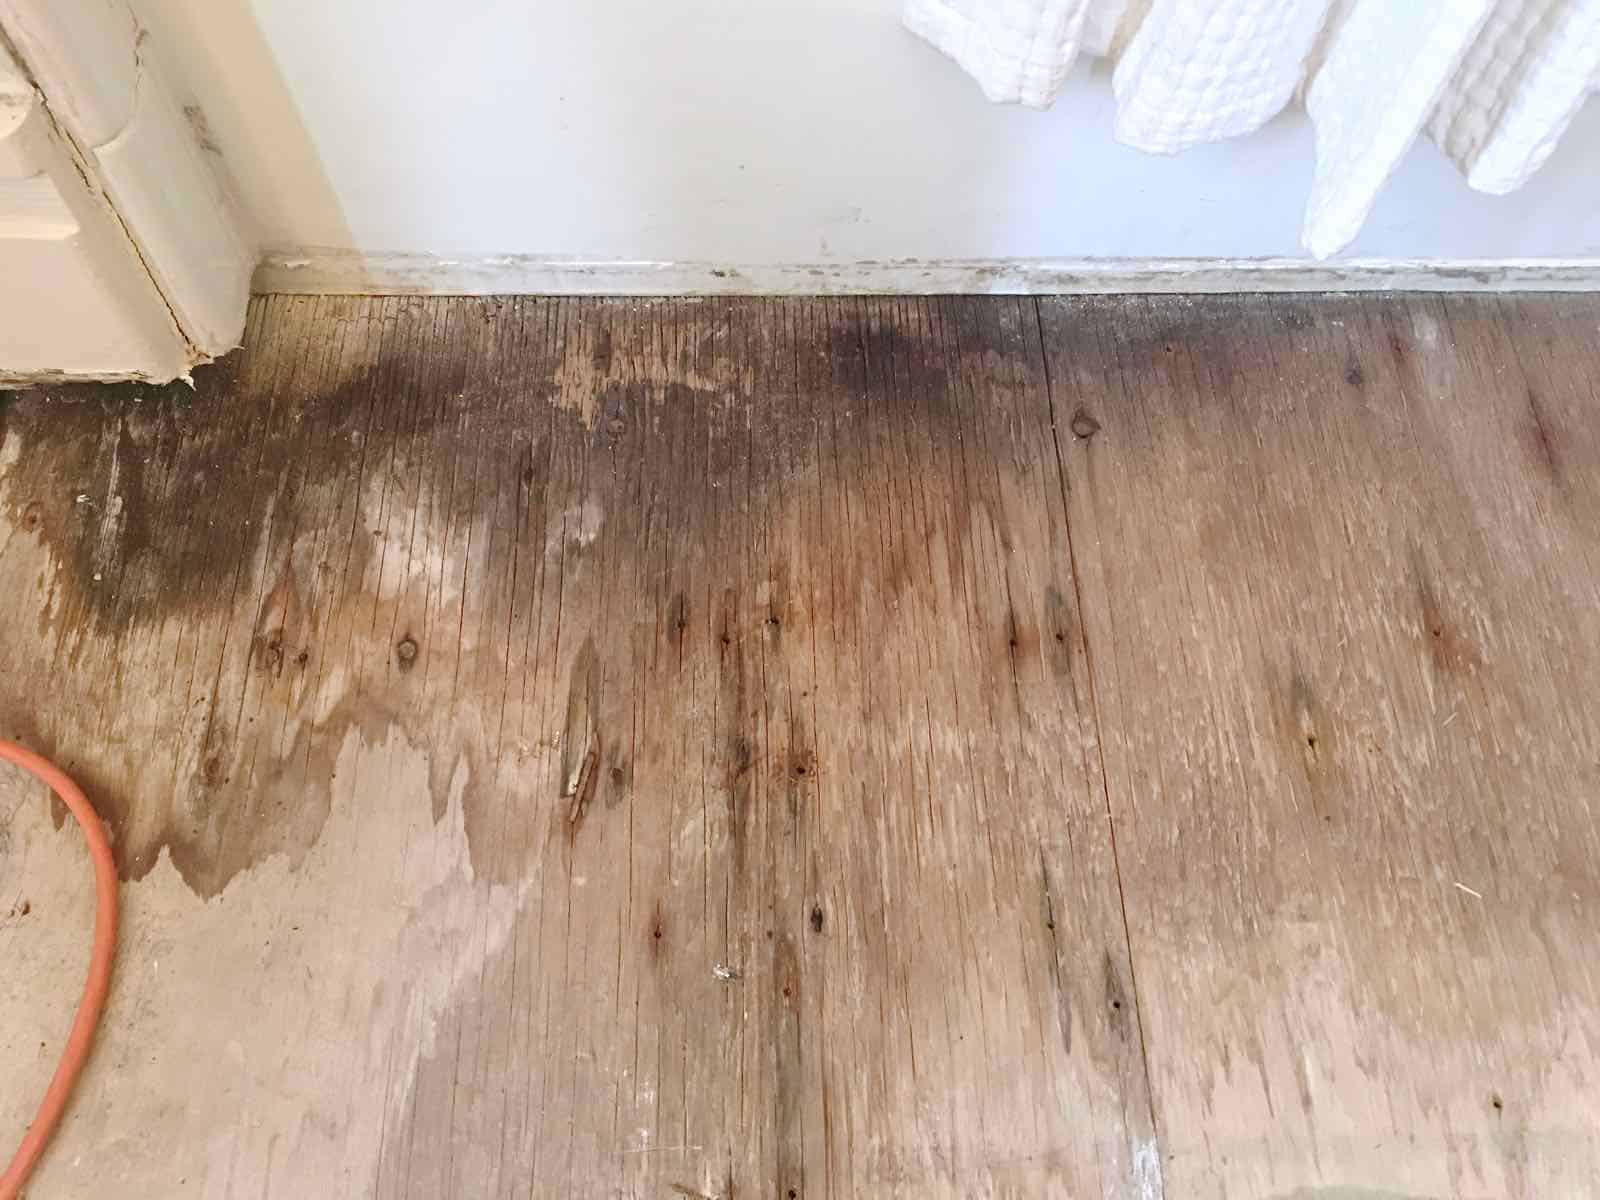
Subfloors are the layer beneath your visible flooring—like tile, carpet, or hardwood. They support everything above. When water leaks from plumbing, spills, or even high humidity, it can seep through and soak the subfloor. Over time, this moisture weakens the wood or composite material. Signs include a musty smell, soft spots, sagging, or visible mold.
Ignoring the problem risks more than just the floor. Water-damaged subfloors can lead to:
- Structural problems: The floor could collapse in severe cases.
- Mold growth: This is dangerous for health, especially for children and those with allergies.
- Persistent odors: Smells can linger long after the source is gone.
Some homeowners try to patch or cover up the damage, but this only delays the inevitable. Full replacement is often the safest long-term solution.
Assessing The Damage: Is Replacement Needed?
Before you start ripping out floors, figure out if replacement is truly necessary. Not all water damage means you need to rebuild everything.
Warning Signs
- Soft or spongy flooring: Walking across the floor feels uneven or bouncy.
- Dark stains or discoloration: Water leaves marks that don’t go away.
- Persistent musty odor: Smells linger even after cleaning.
- Visible mold or mildew: Black or green spots indicate a serious problem.
- Cupping or warping: Wood planks bend upwards or bubble.
If you see several of these, the subfloor likely needs replacing.
Moisture Testing
Use a moisture meter to check the subfloor. These tools are inexpensive and show if the wood is still wet. Safe levels for wood are generally below 16%. Anything higher means mold can grow.
Probing For Rot
Use a screwdriver to gently press into the subfloor. If it sinks in easily or the wood crumbles, rot is present and replacement is required.

Credit: www.reddit.com
Tools And Materials Needed
Having the right tools makes the job smoother and safer. Here’s what you’ll need:
Tools
- Pry bar
- Circular saw or oscillating multi-tool
- Hammer
- Drill
- Screwdriver
- Tape measure
- Level
- Utility knife
- Safety goggles and gloves
- Shop vacuum
Materials
- Replacement subfloor panels (usually 3/4” tongue-and-groove plywood or OSB)
- Construction adhesive
- Wood screws (decking screws are best)
- Floor patch or leveling compound (if needed)
- Plastic sheeting (to protect other areas)
- New floor covering (optional)
Safety Gear
- N95 mask (to avoid inhaling mold)
- Knee pads
- Hearing protection (when using power tools)
Tip: If you suspect asbestos or lead paint in your old flooring, contact a professional before disturbing it.
Preparation: Clearing And Protecting The Area
Proper prep saves you time and avoids damage elsewhere in your home.
- Remove furniture and belongings: Clear the room completely.
- Take up flooring: Pull up carpet, tile, or hardwood to expose the subfloor. For tile, this may require a chisel and hammer.
- Seal off the area: Use plastic sheeting to contain dust and debris, especially if you’re working in a main living area.
- Turn off utilities: If plumbing is involved, shut off water and power to the area.
Credit: atcharlotteshouse.com
Step-by-step Guide: How To Replace Water Damaged Subfloor
1. Identify And Fix The Water Source
Never replace the subfloor before solving the water problem. Otherwise, damage will return. Common sources include:
- Leaking pipes
- Faulty appliances (dishwasher, washing machine)
- Roof leaks
- Window or door leaks
- Poor ventilation in bathrooms
Fix the source completely. Check for moisture with a meter before proceeding.
2. Remove Damaged Flooring
Carefully take up the top flooring layer without damaging reusable materials.
- Carpet: Pull up from the corner and remove tack strips.
- Tile: Use a chisel and hammer. Remove all mortar and debris.
- Hardwood: Pry up boards gently. Save good pieces if possible.
Dispose of ruined materials safely.
3. Cut Out The Damaged Subfloor
Mark the area needing replacement. Try to keep cuts along the joists (the structural beams below the subfloor) for a solid edge.
- Set your circular saw blade depth to match the subfloor thickness.
- Cut along the lines, staying just inside the joist edge.
- Use a pry bar to lift the damaged section out.
Pro Insight: Always wear a mask. Cutting into wet, moldy wood can release spores.
4. Inspect And Treat The Joists
With the subfloor removed, check the joists for damage.
- Probe with a screwdriver. If the wood is soft or crumbles, the joist may need repair or reinforcement.
- Allow joists to dry completely if they are still damp. Use fans or a dehumidifier.
- Apply mold treatment or a bleach solution (1 cup bleach to 1 gallon water) to kill any spores.
Severely damaged joists may require professional help.
5. Cut And Fit The New Subfloor
Measure the opening carefully. Cut new plywood or OSB to fit, allowing for a snug but not forced fit.
- Lay the panel over the opening.
- Ensure the long edges land on the joists for proper support.
- Leave a 1/8” gap between panels for expansion.
6. Attach The New Subfloor
Apply construction adhesive to the joists before placing the panel. This reduces squeaks.
- Set the panel in place.
- Screw it down every 6-8 inches along the edges and every 12 inches in the field (center).
- Use a level to make sure the floor is even with surrounding areas.
If needed, use floor leveling compound to smooth small dips.
7. Restore The Flooring
Replace your original flooring or install new material. Some types, like tile, may require a cement backer board on top of the subfloor. Follow manufacturer instructions for best results.
Insider Tip: If you’re considering new flooring, waterproof materials like vinyl plank or tile hold up better in moisture-prone areas.
Comparison: Plywood Vs Osb For Subfloors
Choosing the right subfloor panel is important for long-term performance. Here’s how plywood and OSB compare:
| Feature | Plywood | OSB (Oriented Strand Board) |
|---|---|---|
| Water Resistance | Better resists swelling | Swells more if wet |
| Strength | High, holds nails well | Strong, but weaker edges |
| Cost | More expensive | Cheaper |
| Common Use | Bathrooms, kitchens | General flooring |
Recommendation: For bathrooms or kitchens, plywood is safer due to better moisture tolerance.
Practical Tips Most People Miss
- Check for hidden leaks with a moisture meter, even if damage seems localized.
- Seal all seams and screw heads with caulk in bathrooms to reduce future risk.
- Stagger your panels so seams don’t line up with previous boards, increasing strength.
- Use exterior grade screws to avoid rust over time.
- Acclimate new wood in your home for 24 hours before installation to prevent warping.
- Inspect insulation under the subfloor in basements or crawl spaces—replace if wet or moldy.
Common Mistakes And How To Avoid Them
- Not addressing the water source: Fix leaks before replacing wood.
- Cutting over pipes or wires: Always check below before sawing.
- Skipping the mask: Mold spores are hazardous.
- Using nails instead of screws: Screws hold panels tighter and reduce squeaks.
- Forgetting expansion gaps: Wood needs space to expand and contract.
- Rushing the drying process: Moisture left under the floor will cause problems again.
- Ignoring permits or codes: Some areas require inspections for major repairs.

Credit: www.youtube.com
How Much Does It Cost To Replace Water Damaged Subfloor?
Costs vary depending on the room size, materials, and whether you DIY or hire help.
Diy Cost Breakdown (per 100 Sq Ft)
| Item | Estimated Cost |
|---|---|
| Plywood (3 sheets) | $75 – $100 |
| Screws & Adhesive | $25 |
| Floor Leveler | $15 |
| Disposal Fees | $20 |
| Safety Gear | $30 |
| Total | $165 – $190 |
Professional replacement costs can range from $600 to $1,500 for the same space, depending on labor rates and complexity.
Example: Replacing Subfloor In A Bathroom
Let’s walk through a real-world example. Suppose your toilet leaked, soaking the subfloor around it.
Step 1: Turn off water, remove the toilet, and pull up the vinyl flooring.
Step 2: Mark and cut out the wet subfloor, making sure to cut along joists.
Step 3: Let the area dry for 48 hours with fans.
Step 4: Treat joists with mold killer.
Step 5: Cut new plywood to size, notch around the toilet drain, and screw it down.
Step 6: Patch seams, reinstall the toilet with a new wax ring, and lay new flooring.
This job can be done in a weekend, but allow extra time for drying and unexpected issues.
Safety And Health Considerations
Water-damaged wood often hides mold. Mold exposure can cause headaches, breathing issues, and allergic reactions. Children and elderly are especially at risk.
- Always wear a mask, gloves, and goggles.
- Seal off work areas and keep pets and kids away.
- Clean tools after use to avoid spreading spores.
If you see black mold covering a large area (over 10 sq ft), consider hiring a mold remediation professional.
Preventing Future Water Damage
After all that hard work, you want to avoid repeating the process. Here’s how:
- Fix leaks immediately: Don’t wait to repair plumbing or roof leaks.
- Install a moisture barrier under floors in basements or bathrooms.
- Use waterproof caulk around tubs, sinks, and appliances.
- Ventilate bathrooms with exhaust fans.
- Check appliances (dishwasher, washing machine) regularly for leaks.
- Slope landscaping away from your home to keep water out of crawl spaces.
When To Call A Professional
Some subfloor jobs are best left to experts:
- Extensive mold: Large areas of black mold need special handling.
- Structural damage: If joists or beams are affected.
- Hazardous materials: Suspected asbestos or lead paint.
- Complex plumbing or wiring: If you’re unsure about pipes or wires below the floor.
Professional contractors can also get the job done faster and ensure it meets building codes.
Subfloor Replacement: Timeline And What To Expect
Here’s a typical timeline for a 100 sq ft room:
- Day 1: Remove furniture and flooring, cut out subfloor.
- Day 2: Dry and treat joists, measure and cut new panels.
- Day 3: Install new subfloor, finish edges, replace floor covering.
Add extra time if drying is slow or materials need to be ordered.
How To Dispose Of Old Water Damaged Subfloor
Water-damaged wood and moldy materials can’t go out with regular trash.
- Contact your local waste facility for guidelines.
- Wrap moldy pieces in plastic to prevent spore spread.
- Some areas offer special pickup or drop-off for construction debris.
Check local laws to avoid fines and protect the environment.
Upgrading To Water-resistant Subfloors
If you live in a flood-prone or humid area, consider water-resistant subfloor panels. These are treated with special coatings and resist swelling and mold better than standard plywood or OSB.
Brands like Advantech or DryGuard cost more but can extend the life of your flooring. For more details about building materials, you can read on the Wikipedia Subfloor page.
Subfloor Replacement Vs. Repair: Which Is Better?
Sometimes, only a small area is damaged. You might consider a patch instead of a full replacement.
| Situation | Repair | Replacement |
|---|---|---|
| Damage Area | Less than 1 sq ft | Larger or multiple spots |
| Mold Present | No | Yes |
| Joist Involved | No | Yes |
| Cost | Lower | Higher |
| Longevity | Short-term solution | Long-term solution |
If you’re unsure, replacement is safer for the long run.
Frequently Asked Questions
What Type Of Subfloor Is Best For Bathrooms?
Plywood is generally preferred for bathrooms because it resists water better than OSB and holds fasteners well. For added protection, use water-resistant plywood or a waterproofing membrane on top.
How Long Does It Take To Replace A Water Damaged Subfloor?
A typical DIY replacement in a small room (100 sq ft) takes 2–3 days. This includes drying time, treating joists, and installing new panels. Larger rooms or more complex damage can take a week or more.
Can I Just Dry Out The Subfloor Instead Of Replacing It?
If the subfloor is only slightly damp and not warped, moldy, or soft, drying may be enough. Use a moisture meter to confirm it’s below 16%. If there’s rot, mold, or structural damage, replacement is necessary.
Do I Need To Remove Cabinets Or Walls To Replace The Subfloor?
In most cases, you can cut around cabinets and walls. However, if water damage extends underneath, it’s better to remove and replace the affected subfloor for a thorough repair.
Is It Safe To Walk On A Water Damaged Subfloor?
If the floor feels soft, spongy, or sagging, avoid walking on it. The structure may be weak and could collapse. Always check with a screwdriver and moisture meter before trusting the surface.
Water-damaged subfloor replacement is hard work, but with careful planning and the right steps, you can restore your home’s safety and value. Remember: solving the water issue and using the right materials are just as important as the repair itself. Take your time, stay safe, and enjoy the confidence of a job well done.