Protecting floors during construction is more than just a precaution—it’s a smart investment that can save significant time, money, and frustration. Whether you are renovating a single room or building a new property, floors are among the most vulnerable surfaces.
Scratches, stains, dents, and debris can quickly turn a beautiful floor into a costly problem. Many people underestimate the risks, thinking that minor dust or foot traffic won’t cause much harm. But even a small nail or a drop of paint can leave a permanent mark.
If you want your floors to look perfect when the work is done, you need a solid plan for protection. This guide gives clear, practical steps and expert tips to help you safeguard all types of flooring—from hardwood and tile to vinyl and carpet.
You’ll learn about the best materials, the right installation techniques, and common mistakes to avoid. Even if you have never managed a construction project before, you’ll find strategies here that make sense and truly work.
Why Floor Protection Matters
It’s easy to overlook floor protection during construction. After all, the focus is usually on building, painting, or installing. But the reality is that unprotected floors can suffer major damage in just a few hours. Here’s why taking steps to protect floors is so important:
- Repair costs are high. Fixing gouges in hardwood or replacing stained carpet can cost hundreds or thousands of dollars. Prevention is much cheaper.
- Time delays often happen when floors are damaged. Workers may have to stop and fix the issue, delaying your project.
- Permanent damage is possible. Some stains, burns, or scratches can never be fully repaired, reducing the value and beauty of your floors.
- Legal disputes may arise if you’re working with contractors. Clear floor protection helps avoid blame and arguments over who is responsible.
According to the National Association of Home Builders, flooring accounts for up to 10% of total construction defect complaints. This means it’s one of the most common sources of frustration for both homeowners and builders.
Types Of Floors And Their Vulnerabilities
Understanding your floor material is the first step. Different surfaces need different kinds of protection. Here’s a closer look at the most common types:
Hardwood
Hardwood floors are beautiful but easily scratched by grit, tools, or furniture. Water can also cause stains or swelling.
Tile
Ceramic and porcelain tiles are tough but not immune. Dropped objects can cause chips or cracks. Grout lines are especially vulnerable to dirt and stains.
Carpet
Carpet absorbs dust, paint, and liquids quickly. It is hard to clean once stained and can hold odors or mold from moisture.
Vinyl & Laminate
These floors resist scratches but can be gouged by heavy equipment. Some adhesives or paints may stain or react with the surface.
Concrete
Often seen in basements or garages, concrete resists most damage but is easily stained by oils, paints, and chemicals.
Stone
Natural stone like marble or granite can scratch or stain from acidic materials (like some cleaners or foods). It is also sensitive to heavy impacts.
Knowing your floor type helps you choose the right kind of protection. Never assume that one method works for all surfaces.
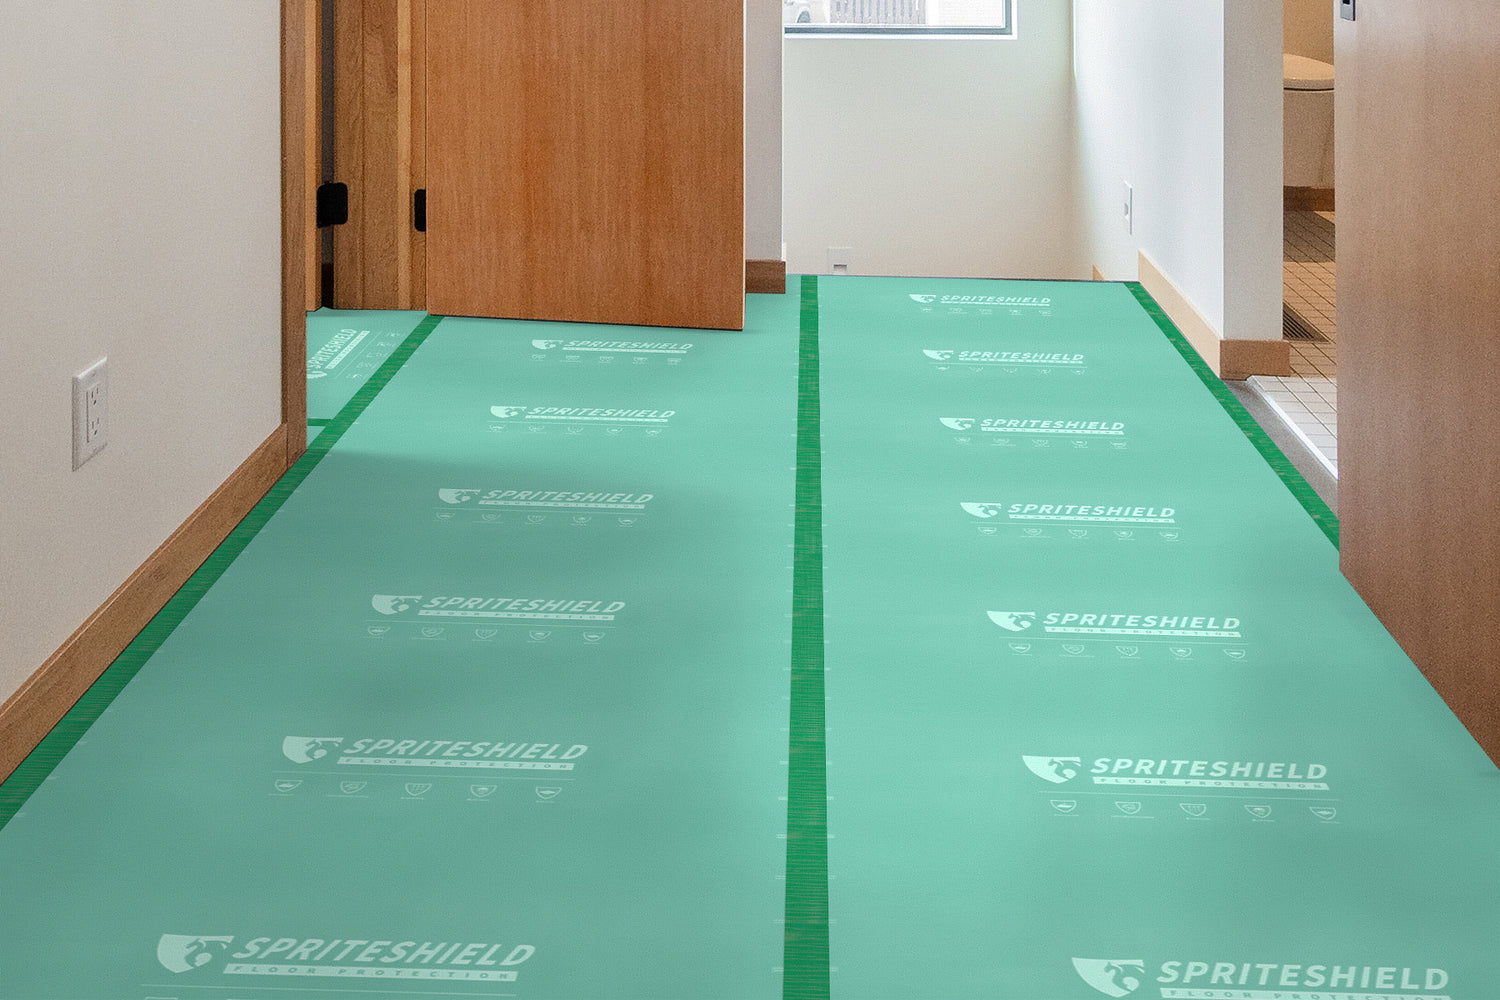
Credit: spriteshield.com
Common Sources Of Floor Damage During Construction
Many people think only heavy tools cause problems, but the risks are everywhere. Watch out for these common hazards:
- Foot traffic: Workers moving in and out can grind dirt and grit into floors.
- Dropped tools or materials: One hammer or tile can leave a dent or chip.
- Paint and chemical spills: Even a few drops can leave permanent stains.
- Construction dust: Fine particles scratch surfaces and settle in seams or carpet fibers.
- Water leaks: Plumbing work or rain can cause swelling, warping, or mold.
- Moving equipment: Wheelbarrows, carts, or ladders drag across surfaces, causing marks.
- Improper cleaning: Using the wrong cleaner can damage the finish or surface.
Non-obvious insight: Even the smallest particles—like drywall dust—can act like sandpaper under shoes, leaving invisible scratches that only appear weeks later.
Essential Floor Protection Materials
Choosing the right material is key. Here are the top options for floor protection, with a comparison to help you decide.
| Material | Best For | Pros | Cons |
|---|---|---|---|
| Ram Board (heavy-duty paperboard) | Hardwood, tile, stone | Strong, reusable, breathable | Higher cost, needs taping |
| Plastic sheeting | Carpet, concrete | Waterproof, cheap | Slippery, tears easily |
| Carpet film | Carpet | Sticks in place, easy removal | Can leave adhesive residue |
| Corrugated cardboard | Most surfaces | Cheap, easy to install | Not waterproof, single-use |
| Foam mats | Tile, stone | Cushions heavy impacts | Expensive, can shift |
| Drop cloths (canvas, fabric) | All types | Reusable, flexible | Not impact-resistant |
Specialty Products
Some jobs need unique solutions:
- Sticky mats: Placed at entry points to catch dust from shoes.
- Edge guards: Rubber or foam strips to protect baseboards and floor edges.
- Custom-fit covers: For stairs or unusual shapes.
Pro tip: Look for products labeled “breathable” for new or freshly finished floors. Non-breathable covers can trap moisture and cause damage.
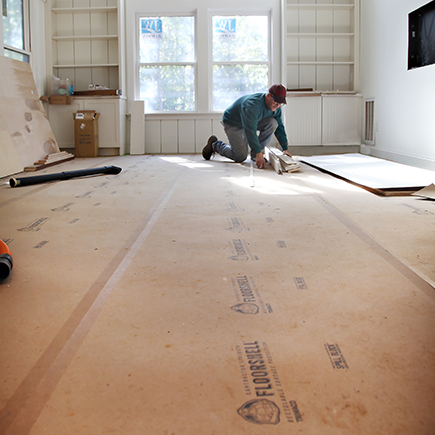
Credit: trimaco.com
Step-by-step Guide: How To Protect Floors During Construction
A clear plan makes all the difference. Follow these steps for reliable floor protection:
1. Assess The Area
Walk through the site and identify all vulnerable floors. Note high-traffic zones, entry points, and areas near messy work (like painting or tiling).
2. Clean Before Covering
Always start with a clean floor. Dirt or grit under a cover can scratch surfaces. Sweep, vacuum, and dry the floor completely.
3. Choose The Right Material
Select materials based on floor type and project needs. For example, use Ram Board or thick cardboard for hardwood, and plastic sheeting for carpet.
4. Measure And Cut
Cut your protective material to fit each area. Overlap edges by at least 2 inches to prevent gaps.
5. Install And Secure
Lay down the material smoothly. Use low-tack tape (not duct tape) to secure edges, especially at seams and doorways. For stairs, use pre-cut treads or non-slip mats.
6. Double Up In High-risk Areas
For spots with extra risk (like near saws or paint), add a second layer or use foam underlay for extra cushioning.
7. Mark Safe Walkways
Use colored tape or arrows to show where people should walk. This keeps traffic away from delicate areas.
8. Monitor And Maintain
Check the covers daily. Replace or patch any torn or shifted sections right away.
9. Remove Carefully
When the job is finished, remove covers gently. Roll them up, lifting rather than dragging to avoid scratching.
10. Final Clean
Vacuum and mop the floor after removing protection. Inspect for any damage and address it immediately.
Non-obvious insight: Never tape directly to hardwood or delicate stone. Always tape to the protective covering or to the baseboard. Adhesive can pull up finish or stain the floor.
Best Floor Protection Strategies For Different Construction Phases
Not all construction projects are the same. The right strategy depends on the phase and type of work.
Demolition
- Use heavy-duty materials like Ram Board or multiple layers of cardboard.
- Protect not only floors but also stairs and thresholds.
Painting
- Plastic sheeting or canvas drop cloths are best.
- Tape edges to prevent drips from seeping under.
Plumbing And Electrical
- Watch for water leaks or solder drips.
- Use waterproof covers, especially near pipes.
Installing Cabinets Or Fixtures
- Add foam or extra cushioning under heavy tools.
- Lay plywood over protected floors before moving appliances.
Final Finishing
- Switch to clean, dust-free covers.
- Use sticky mats at entrances to trap dust.
It’s a mistake to leave the same protection in place for the entire project. Adjust as work moves from rough to delicate stages.
Comparing Popular Floor Protection Products
With so many products on the market, it’s helpful to see how they compare on key factors.
| Product | Durability | Water Resistance | Ease of Use | Cost |
|---|---|---|---|---|
| Ram Board | Excellent | Moderate | Easy | $$ |
| Plastic Sheeting | Low | High | Very Easy | $ |
| Carpet Film | Good | High | Easy | $ |
| Corrugated Cardboard | Moderate | Low | Easy | $ |
| Foam Mats | Excellent | Low | Moderate | $$$ |
Choose based on your project’s needs and budget. For long projects, durability may matter more than initial cost.
Mistakes To Avoid When Protecting Floors
Even with good intentions, it’s easy to make errors. These are the most common mistakes—and how to avoid them:
- Using the wrong tape: Duct tape can damage floors. Always use low-tack or painter’s tape.
- Leaving gaps: Small spaces between covers let dust and liquids reach the floor.
- Not checking covers regularly: Shifting or torn covers won’t protect anything.
- Covering wet floors: Moisture trapped under covers can cause mold or warping.
- Not protecting edges and corners: These areas get bumped the most and are often forgotten.
- Using slippery materials: Some plastics can cause falls. Use non-slip products or add mats.
- Applying too much adhesive: This can leave stains or residue.
Non-obvious insight: If workers are using heavy carts or dollies, lay down a sheet of plywood over your protective covering. This spreads out the weight and prevents dents.
Credit: www.americover.com
Advanced Tips For Large Or Complicated Projects
Some projects need extra steps for the best results:
For Multi-level Homes
- Protect stairs with special tread covers or custom-cut mats.
- Use edge guards on each step to prevent chipping.
For Long-term Projects
- Choose reusable materials like heavy-duty boards or mats.
- Clean under the covers every few weeks to prevent grit buildup.
For Wet Work (tile Cutting, Plumbing)
- Build a “moat” with towels or foam to catch water near the work area.
- Use waterproof tape to seal seams.
For Commercial Spaces
- Mark walkways with colored tape and signs.
- Assign one person to inspect and maintain protection daily.
For Unique Surfaces
- Consult the floor manufacturer for approved protection methods.
- Test a small area with your chosen material before covering the entire floor.
How To Save Money On Floor Protection
Floor protection doesn’t have to be expensive. Here’s how to get the most value:
- Reuse materials: Heavy-duty boards or mats can be used for several projects.
- Buy in bulk: Contractors’ supply stores offer discounts.
- Plan ahead: Measure first and buy only what you need.
- Mix materials: Use more expensive products in high-risk areas and cheaper ones elsewhere.
- DIY options: Clean cardboard boxes can be cut and taped together for large areas.
Remember, the cost of protection is almost always less than the cost of repair.
Cleaning Up After Construction
Once the work is done, good cleanup is essential:
- Carefully remove all covers, rolling or folding them to trap dust.
- Sweep and vacuum floors, paying attention to corners and seams.
- Mop or wipe down hard floors with the correct cleaner for your material.
- Inspect floors for any damage or stains.
- Address any issues immediately—small problems are easier to fix right away.
Pro tip: For stubborn tape residue, use a soft cloth and a small amount of mineral spirits. Test first in a hidden spot.
Case Study: Real-world Example
Sarah renovated her kitchen and living room with new hardwood floors. She used standard drop cloths and tape around the edges. But after the project, she noticed scratches and dull spots in the high-traffic areas—places where the cloth had shifted or bunched up. She learned that using Ram Board with taped seams, plus a sticky mat at the entry, would have prevented almost all the damage. Her experience shows that the right materials and regular checks are essential, even for small jobs.
When To Call A Professional
Most floor protection is DIY-friendly, but some situations call for expert help:
- Large commercial projects with strict safety rules
- Expensive or historic flooring (like antique parquet or rare stone)
- Projects involving hazardous materials or chemicals
Professionals have access to specialty products and can set up protection quickly and securely. For complex projects, this extra cost is often worth it.
Environmental Considerations
Protecting floors can also be eco-friendly. Many products are now made from recycled or biodegradable materials. Look for certifications like FSC (for wood products) or choose reusable mats. Recycle or reuse materials whenever possible to reduce waste.
Non-obvious insight: Some “eco” covers are not waterproof. Always check the specs before buying, especially for wet areas.
For more on sustainable building practices, see this resource from the US Environmental Protection Agency.
Frequently Asked Questions
How Do I Protect Hardwood Floors From Heavy Equipment?
Use thick, rigid boards like Ram Board or plywood over a soft underlayment. This spreads the weight and prevents dents. Never drag equipment—always lift or use moving pads.
Can I Use Plastic Sheeting On All Floor Types?
Plastic sheeting works well for carpet and concrete but can trap moisture on wood or stone. For these floors, use breathable covers and avoid taping directly to the surface.
How Long Can I Leave Protective Covers In Place?
Most covers can stay down for weeks, but check them every few days. For long-term projects, choose reusable and breathable materials and clean underneath regularly to prevent grit buildup.
What’s The Best Way To Prevent Paint Spills On Floors?
Use canvas drop cloths or specialty floor protectors and tape edges securely. For high-risk areas, double up layers or use waterproof covers. Clean up spills immediately if they occur.
Are There Eco-friendly Options For Floor Protection?
Yes, many brands now offer recycled paperboard, biodegradable mats, and reusable covers. Always check that the product matches your floor type and project needs.
Protecting your floors during construction is a simple step that pays off in big ways. With the right materials, proper installation, and regular checks, you can keep your floors looking perfect—no matter how messy the project gets. Take action early, adapt your strategy as the work moves forward, and don’t hesitate to ask for help if needed.
A small investment in protection today means a beautiful, undamaged floor tomorrow.