Making your own mattress may sound difficult, but it is possible—and often rewarding. People decide to build a mattress themselves for many reasons: saving money, customizing comfort, using natural materials, or just the satisfaction of creating something useful. If you are interested in building a mattress from scratch, you will need patience, planning, and some basic tools. This guide shows you how to make a mattress that fits your needs, with step-by-step details, tips, and expert advice.
Many think mattresses are only for professionals to make, but home builds can be just as comfortable as store-bought ones. You can choose the materials, adjust the firmness, and avoid chemicals that are common in factory-made mattresses. Plus, you might spend less than half the price of a premium mattress for similar quality.
If you follow the process carefully, you can have a mattress that lasts for years and is truly your own.
Building your own mattress can also be a fun learning experience. You get to see how each layer affects the final comfort and support. Sometimes, after sleeping on your homemade mattress, you’ll notice you rest better because you chose exactly what you wanted.
Some people also enjoy the creative side—picking fabrics, sewing the cover, or even adding artistic touches. Over time, you’ll understand your sleep preferences much better, which is something most store-bought options can’t offer.
Why Make Your Own Mattress?
People often ask, “Why not just buy one?” Here are the main reasons:
- Customization: You control every layer—firmness, thickness, and material.
- Cost Savings: A DIY mattress can cost 30–60% less than store models of similar quality.
- Material Choice: Use natural latex, organic cotton, wool, or other materials you prefer.
- No Harmful Chemicals: Many commercial mattresses have flame retardants and adhesives you might want to avoid.
- Special Sizes: If you need a custom shape or size (like for an RV or odd-shaped bed), DIY is sometimes the only way.
Understanding your personal reason helps guide your project and material choices.
There’s also a deeper benefit: peace of mind. When you know exactly what’s inside your mattress, you don’t worry about hidden chemicals or low-quality foam. For families with allergies or chemical sensitivities, this control can make a big difference in health and comfort. And if you care about the environment, you can pick eco-friendly materials and skip plastic packaging.
Another advantage is learning new skills. Cutting foam, sewing covers, and assembling layers teach you practical techniques you can use in other home projects. If you ever need to fix or adjust your mattress, you’ll know exactly how to do it.
Understanding Mattress Types
Before you start building, it’s important to know the common mattress types. Your choice affects comfort, price, and building process.
| Type | Main Materials | Pros | Cons |
|---|---|---|---|
| Foam | Memory foam, polyfoam, latex | Easy DIY, lightweight, many firmness options | Can trap heat, some off-gassing |
| Latex | Natural or synthetic latex | Durable, supportive, natural option | Heavy, higher cost, can feel firm |
| Spring (Innerspring) | Steel coils, foam, fiber | Good airflow, bouncy feel | Harder DIY, coil units can be pricey |
| Hybrid | Coils + foam/latex | Balanced comfort, more support | Complex, expensive to build |
For most DIYers, foam or latex mattresses are the easiest to build. If you want a spring mattress, you can buy pre-made coil units, but you’ll need extra skill and tools.
It’s also good to remember that foam mattresses, especially memory foam, can feel warmer. If you live in a hot climate or sweat at night, consider adding a layer of wool or a special cooling cover. Latex mattresses, while heavier, often last longer and resist sagging better than regular foam.
Hybrid mattresses combine the best of both worlds—support from springs, comfort from foam or latex. But they require careful layering and more precise measuring, since the coil units have fixed sizes. Beginners usually find all-foam or all-latex builds simpler and less stressful.
Planning Your Mattress Build
Start with a plan. Decide the following:
- Size: Twin, Full, Queen, King, or custom.
- Firmness: Soft, medium, or firm.
- Materials: Choose based on comfort, allergies, and budget.
- Budget: Most DIY mattresses cost between $250 and $1,200, depending on size and materials.
Write down your preferences. For example, “I want a medium-firm Queen mattress, 10 inches thick, made with latex and organic cotton. ”
Planning avoids frustration. If you skip this step, you might end up buying the wrong materials or spending too much. Some people even build a simple, mini “test mattress” first—a small 2×2 foot version—to check the feel of each layer before buying all the foam.
Mattress Sizes
Here are standard US mattress sizes:
| Size | Dimensions (inches) | Best For |
|---|---|---|
| Twin | 38 x 75 | Kids, single adults, tight spaces |
| Full | 54 x 75 | Teens, small guest rooms |
| Queen | 60 x 80 | Couples, most bedrooms |
| King | 76 x 80 | Couples needing space, families |
| Cal King | 72 x 84 | Tall people, luxury rooms |
Custom sizes are possible, but you’ll need to cut foam and fabric yourself.
If you are building for an RV, camper, or a non-standard bed frame, be sure to measure twice before you order any materials. Double-check the interior space—sometimes bed frames are slightly smaller than listed.
Choosing Materials
This is where you control comfort, durability, and cost. Here’s what you’ll need:
1. Core Support Layer
The core is the thickest part. It gives most of the support.
- High-density polyurethane foam: Cheapest, comes in many firmness levels.
- Natural latex: More expensive but lasts longer and is chemical-free.
- Pocket coils: For hybrid mattresses, but harder to work with.
For most, a 6–8 inch foam or latex base works well.
If you want a softer mattress but still need support, you can use a medium-density core and add a thicker comfort layer. Some advanced builders even stack two different densities in the core for a unique feel.
2. Comfort Layer
This layer sits on top of the core and provides softness.
- Memory foam: Great for pressure relief.
- Latex: Responsive and cooler than memory foam.
- Soft polyfoam: Cheapest, but wears out faster.
- Wool or cotton batting: Adds plushness and breathability.
Thickness can range from 1–4 inches. You can use more than one material for a custom feel.
Combining materials is a common trick. For example, a 1-inch latex layer over a 1-inch memory foam gives both bounce and contouring. Wool helps with temperature regulation and can also reduce odors.
3. Quilting/pillow Top Layer
Optional, but adds luxury feel.
- Wool batting
- Cotton batting
- Quilted fabric
This layer is usually 0. 5–2 inches thick.
If you want a “hotel mattress” feel, a pillow top makes a big difference. It’s also easy to replace if it becomes flat over time.
4. Mattress Cover (ticking)
The cover holds everything together and protects the mattress.
- Organic cotton: Breathable, natural feel.
- Bamboo fabric: Soft and eco-friendly.
- Polyester blends: Durable and stain-resistant.
You can buy pre-made zippered covers or sew your own.
Covers with handles make moving and rotating the mattress easier. If you sew your own, reinforce the seams and use a strong zipper—mattresses are heavy and need sturdy closures.
5. Fire Barrier (if Needed)
US law requires flame resistance. Some use wool, which is naturally fire resistant. Others use special barriers. If you live outside the US or don’t need this, you can skip it.
If you use a wool fire barrier, make sure it fully wraps around all foam or latex, not just the top. Some commercial barriers are made from Kevlar or silica blends, but these are usually only needed if you plan to sell mattresses.
Tools And Supplies
- Sharp knife or electric carving knife (for cutting foam)
- Heavy-duty scissors
- Measuring tape
- Spray adhesive (optional, for holding layers together)
- Sewing kit or sewing machine (for making a cover)
- Mattress needles and strong thread
- Vacuum and clean workspace
A large, clean workspace is important. Even small bits of dust or dirt can get trapped inside the cover if you’re not careful.
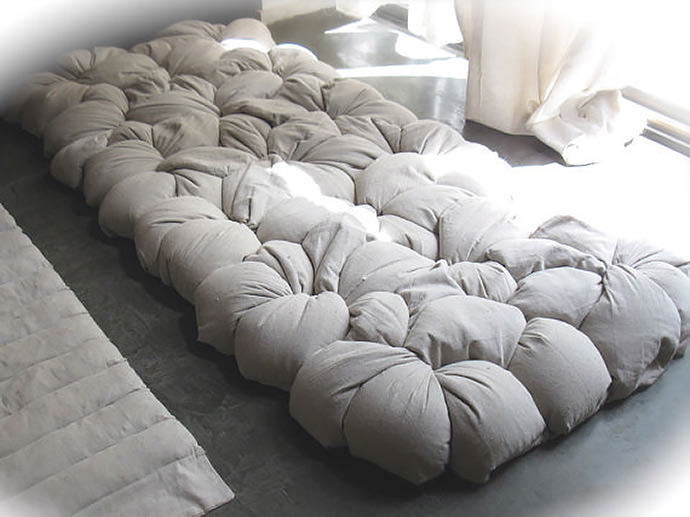
Credit: openyoureyesbedding.com
Where To Buy Materials
You can find foam and latex online, at local upholstery shops, or mattress supply websites. Common sources include Foam Factory, Latex Mattress Factory, and Amazon. Always check reviews and certifications. For covers, Etsy or specialty textile shops have organic options.
Tip: Always buy a little extra material in case you make a mistake.
Some suppliers offer custom cutting—if you don’t want to cut foam yourself, ask if they’ll do it for you. For organic materials, look for certifications like GOLS for latex or GOTS for cotton.
Step-by-step Mattress Building
Let’s get practical. Here’s how to make your own mattress, from planning to finished bed.
Step 1: Measure And Plan
Measure your bed frame or the space for your mattress. Write down the size. Decide on the total thickness (usually 8–12 inches for adults). Sketch a simple cross-section: core, comfort layer, and cover.
If you’re unsure, lay out books or folded blankets on your bed to “test” different thicknesses and firmness levels before you buy materials.
Step 2: Cut Foam Or Latex To Size
Lay your foam or latex on a flat surface. Use a measuring tape and marker to outline the exact size. Cut with a sharp knife or electric carving knife. Go slowly for a straight edge. Stack the layers to check the total height.
Non-obvious insight: Let foam “rest” for 24 hours after cutting—this helps it expand fully and lose any odors.
If you have to cut curves or custom shapes, make a cardboard template first. Practice on scrap foam before cutting your main piece. Clean cuts look better and make layering easier.
Step 3: Layer Materials
Stack your layers in order: core at the bottom, then comfort, then pillow top if using. Make sure everything lines up. You can use spray adhesive between layers, but many DIYers skip glue so layers can be replaced or adjusted later.
Tip: If you use latex, it’s heavy and may shift less. Foam layers are lighter and might need more support.
Check for any lumps or uneven spots. Press down with your hands across the mattress to make sure the layers are flat and even before you put them in the cover.
Step 4: Add Fire Barrier (if Needed)
If you need a fire barrier, wrap wool batting or a commercial fire sock around all foam layers. Tuck in the edges neatly. Some covers have built-in fire barriers.
Make sure the barrier is smooth—wrinkles can be felt through the mattress. If you use wool, lightly mist it with water to help it hold its shape as you wrap.
Step 5: Insert Into Mattress Cover
Open the zippered cover and carefully insert your stacked layers. Start with one end and work slowly. Smooth out wrinkles as you go. Zip the cover shut.
If you sew your own cover, measure each side, cut fabric panels, and sew with strong thread. Add a zipper or Velcro for easy removal.
A second pair of hands makes this step easier, especially for Queen or King sizes. Don’t force the foam—it can tear if you pull too hard.
Step 6: Final Adjustments
Place the mattress on your bed base. Lie down and test the feel. If it’s too soft or firm, unzip and swap layers or adjust thickness as needed.
Sleep on your new mattress for a week before making big changes. Sometimes your body needs a few nights to adjust.
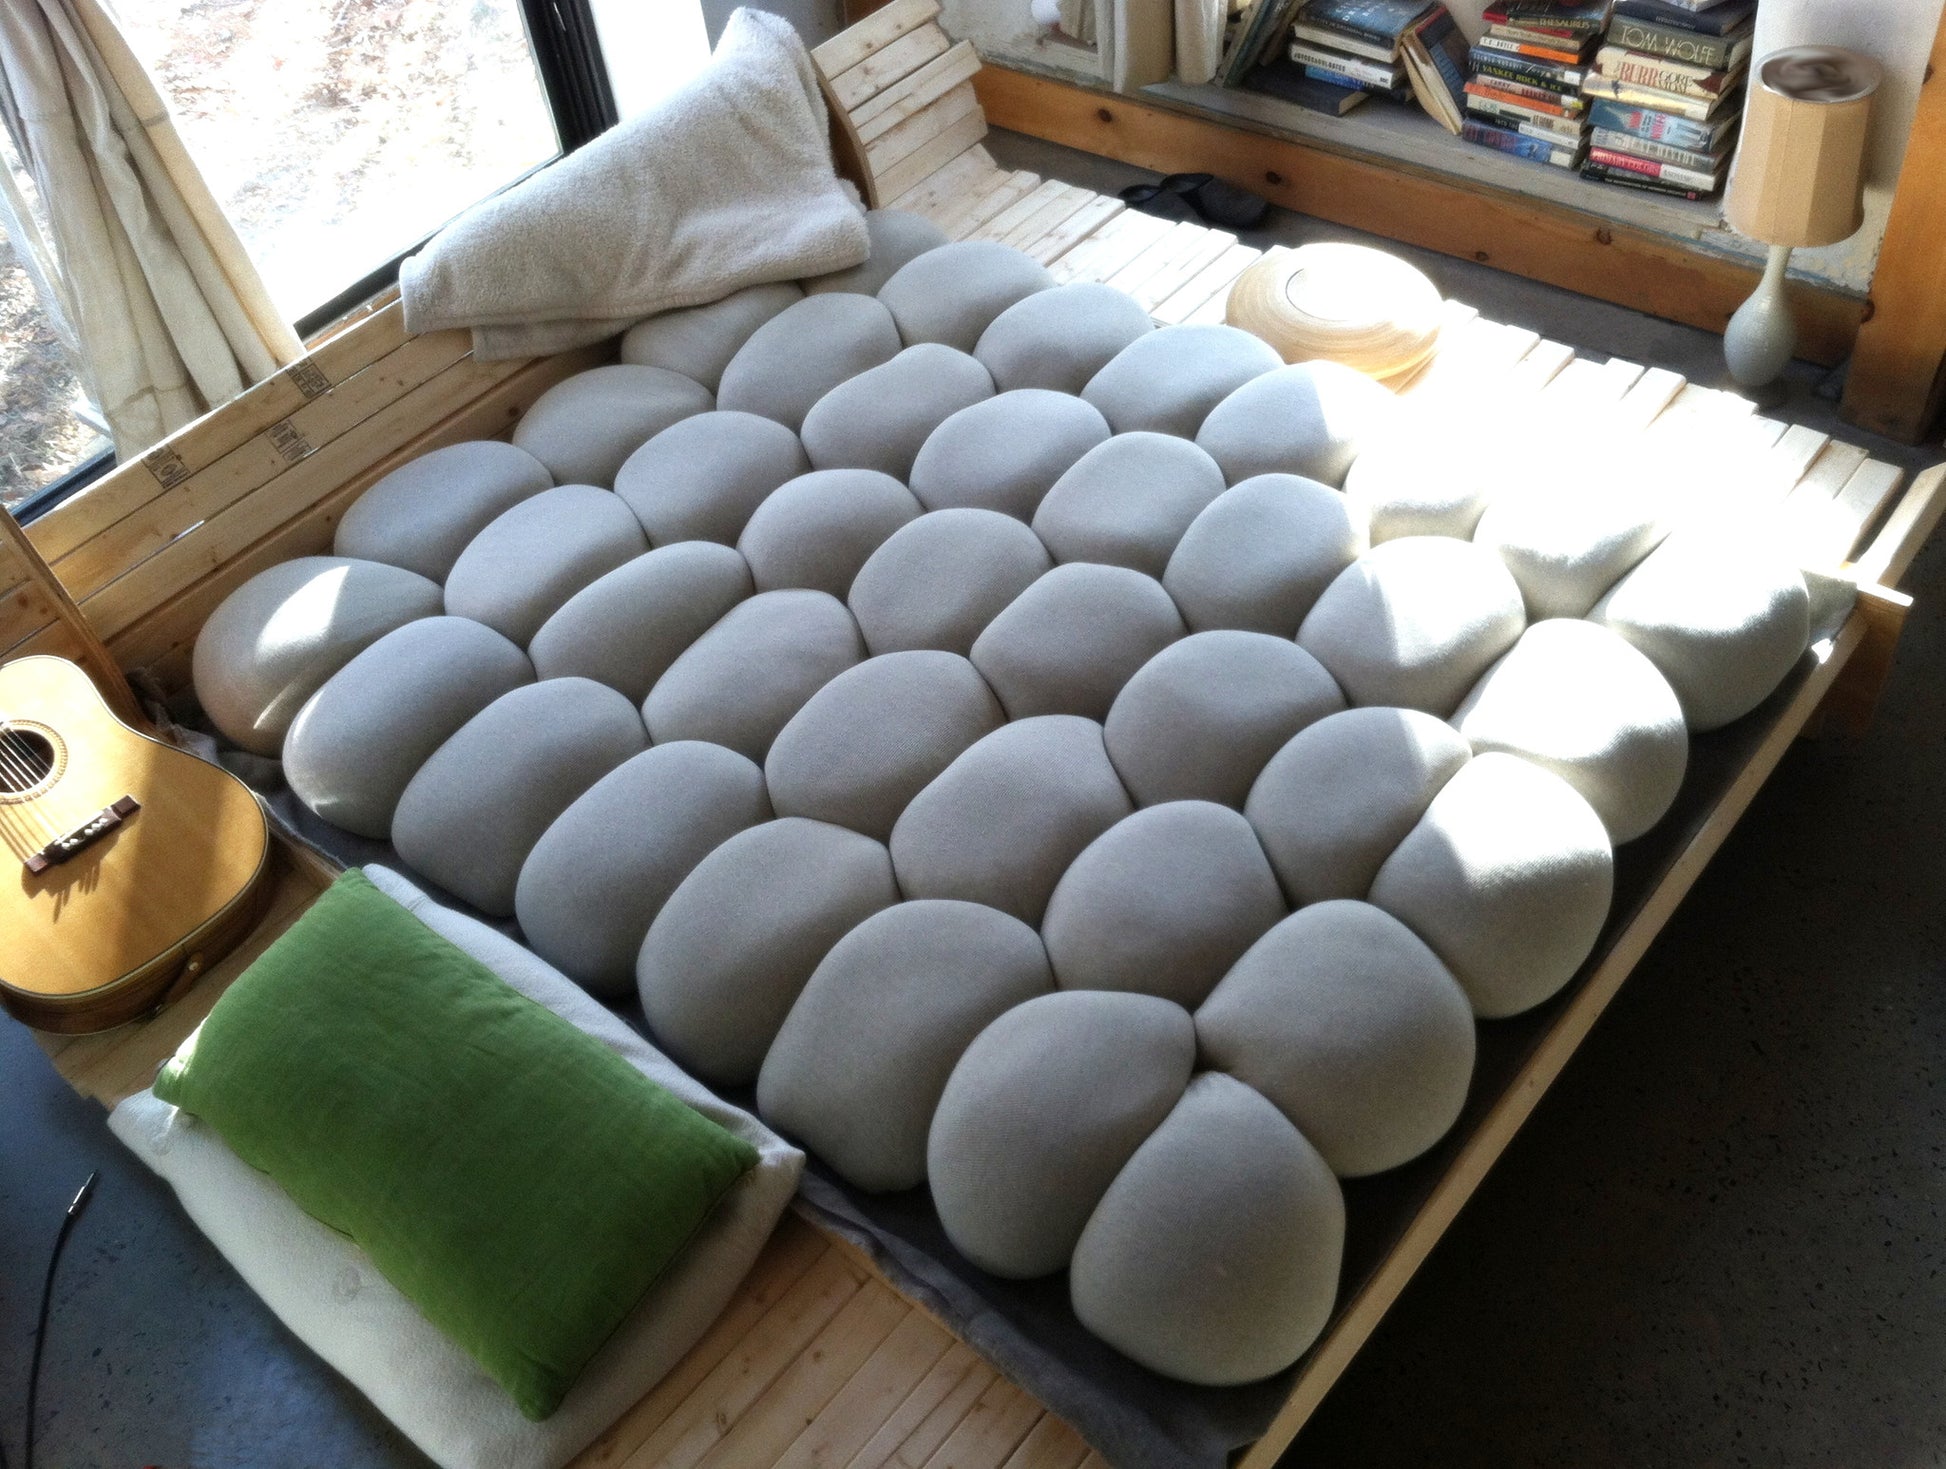
Credit: www.handmadecharlotte.com
Tips For A Long-lasting Mattress
- Rotate your mattress 180° every 6 months.
- Use a mattress protector to guard against spills and dust.
- Keep your mattress dry and well-ventilated.
- Don’t fold or bend latex or foam for storage—it can damage the material.
If you notice the mattress feels different over time, check the base for sagging. Sometimes the bed frame or slats are the problem, not the mattress itself.
Common Mistakes To Avoid
- Choosing the wrong firmness: Many first-timers pick foam that’s too soft. For adults, a base foam density of 1.8–2.5 lbs/ft³ (firmness 30–36 ILD) works well.
- Skipping the cover: Without a proper cover, layers will shift, and your mattress will wear out faster.
- Poor measuring: A half-inch error can mean a loose or overly tight fit in your cover.
- Not checking for allergies: Latex, wool, or other fibers can trigger allergies.
- Ignoring fire safety: In the US, mattresses sold must meet fire codes. Homemade mattresses for personal use are usually fine, but check your local rules.
Another mistake: not letting foam or latex “air out” before use. Some materials have factory odors that need a few days to fade.
Cost Breakdown Example
Here’s an example of costs for a Queen-size DIY latex mattress:
- 6” Natural latex core: $400
- 2” Soft latex comfort layer: $180
- Organic cotton cover: $120
- Wool fire barrier: $80
- Tools and supplies: $40
Total: $820
A similar store-bought mattress can cost $1,800–$2,500.
Actual costs vary by location, material quality, and shipping. If you reuse an old mattress cover or buy materials during sales, you can save even more.
Comparing Diy And Store-bought Mattresses
This comparison shows the main differences:
| Feature | DIY Mattress | Store-Bought |
|---|---|---|
| Price (Queen) | $400–$1,200 | $700–$2,500 |
| Customization | Full control | Limited options |
| Material Quality | Choose best available | Varies, sometimes undisclosed |
| Warranty | None (DIY) | 10–25 years typical |
| Effort Required | High (DIY labor) | None (ready to use) |
One more difference: when you make your own mattress, you can repair or replace layers anytime. Store-bought mattresses are often glued shut, so you can’t fix them if something goes wrong.
Practical Examples And Variations
All-foam Mattress
Most budget-friendly and easiest for beginners.
- 6” high-density polyfoam base (firm)
- 2” memory foam comfort layer (medium)
- 1” soft foam or wool pillow top (optional)
- Zippered cover
You can adjust the feel by swapping the order of the layers or changing the thickness. This is a good “starter project” for those who want to learn.
All-latex Mattress
Best for people who want natural materials and durability.
- 6” medium or firm natural latex base
- 2” soft latex or wool layer
- Organic cotton cover
Latex mattresses are heavy. Make sure your bed frame is strong enough, especially for King or Cal King sizes.
Hybrid Mattress
Adds pocket coils for bounce and airflow.
- 6” pocket coil unit
- 2” latex or memory foam
- Wool or cotton pillow top
- Strong cover
Hybrids are harder to build but offer a more “springy” feel.
For hybrids, make sure the coil unit matches your mattress size exactly. Even a small size mismatch can cause edges to feel uneven.
How To Choose The Right Firmness
Firmness is personal. Most people prefer a “medium” mattress (ILD 28–32 for latex, 30–36 for polyfoam). Side sleepers may like softer tops, while back/stomach sleepers often need more support.
Non-obvious insight: Test different foam samples before buying full-size layers. Many suppliers sell small samples for under $10.
If you share your bed, consider a “split” mattress—each side can have different firmness. This is easy with DIY: just order two Twin XL layers and zip them into a King cover.
Caring For Your Diy Mattress
Homemade mattresses need some extra care:
- Wash the cover every 3–6 months.
- Air out foam or latex layers annually.
- Use a slatted base for airflow, especially with latex.
- Repair small tears in the cover quickly.
If you spill something, remove the cover and dry the foam completely. Mold can grow if foam stays damp.
Recycling And Sustainability
Building your own mattress gives you more control over the environment. Use organic or recycled materials if possible. At the end of its life, latex and cotton can be composted, foam can often be recycled, and covers can be reused for other projects.
When replacing old layers, check if your local recycling center accepts foam or textile materials. Some cities offer special pickup days for these items.
When To Replace Layers
Over time, comfort layers may wear out before the core. If you notice sagging or less support, unzip your mattress and replace the top layer only—saving money and reducing waste.
It’s normal for the top inch or two to soften after a few years. Replacing just that layer can make your mattress feel brand new again.
Safety Tips
- Always cut foam on a flat, stable surface.
- Wear a mask if cutting synthetic materials to avoid inhaling dust.
- If you use adhesives, ventilate your workspace well.
- Keep tools away from children and pets.
Don’t rush while using sharp tools—accidents usually happen when you hurry. Always double-check measurements before cutting.
Where To Learn More
For more details on mattress materials, fire safety, and sleep health, you can read the Wikipedia Mattress article.
Frequently Asked Questions
How Long Does A Diy Mattress Last?
A well-built foam or latex mattress can last 8–15 years. Latex lasts longer than most foams. Replacing worn comfort layers can extend the life further.
With good care, some latex mattresses last over 20 years. The key is keeping the cover clean and replacing layers as needed.
Can I Make A Mattress Without Sewing?
Yes, you can use a pre-made zippered cover. Many online retailers sell high-quality covers in standard and custom sizes, so sewing is not required unless you want a custom fabric or fit.
If you decide to sew your own, look for upholstery-grade fabric and heavy-duty zippers. Practice on a small piece before working on the full cover.
Is Building A Mattress Cheaper Than Buying?
Usually, yes. Most people save 30–60% compared to buying a similar quality mattress. However, DIY takes time and you won’t get a warranty or a free trial.
Consider the value of your time and learning experience as part of the cost. For many, the ability to repair and customize is worth more than a store warranty.
What Is The Best Material For A Mattress Core?
For most, natural latex or high-density polyurethane foam gives the best support and durability. Latex is better for those wanting a chemical-free, long-lasting mattress.
Polyfoam is a good budget option, but check for CertiPUR-US or similar certifications for safety.
Do I Need To Add Springs?
No, springs are optional. Many modern mattresses are made entirely from foam or latex. Springs add bounce and airflow but are harder to work with for DIY.
If you want a hybrid, look for coil units with edge support to prevent sagging when you sit on the edge.
Making your own mattress is a project that gives you control over comfort, materials, and cost. With careful planning, quality materials, and attention to detail, you can create a bed that matches your needs exactly. Take your time, learn from each step, and enjoy the satisfaction of sleeping on something you built yourself.
Your new mattress will reflect your personal taste and effort, giving you a unique place to rest every night.

Credit: www.youtube.com