As an Amazon Associate I earn from qualifying purchases.
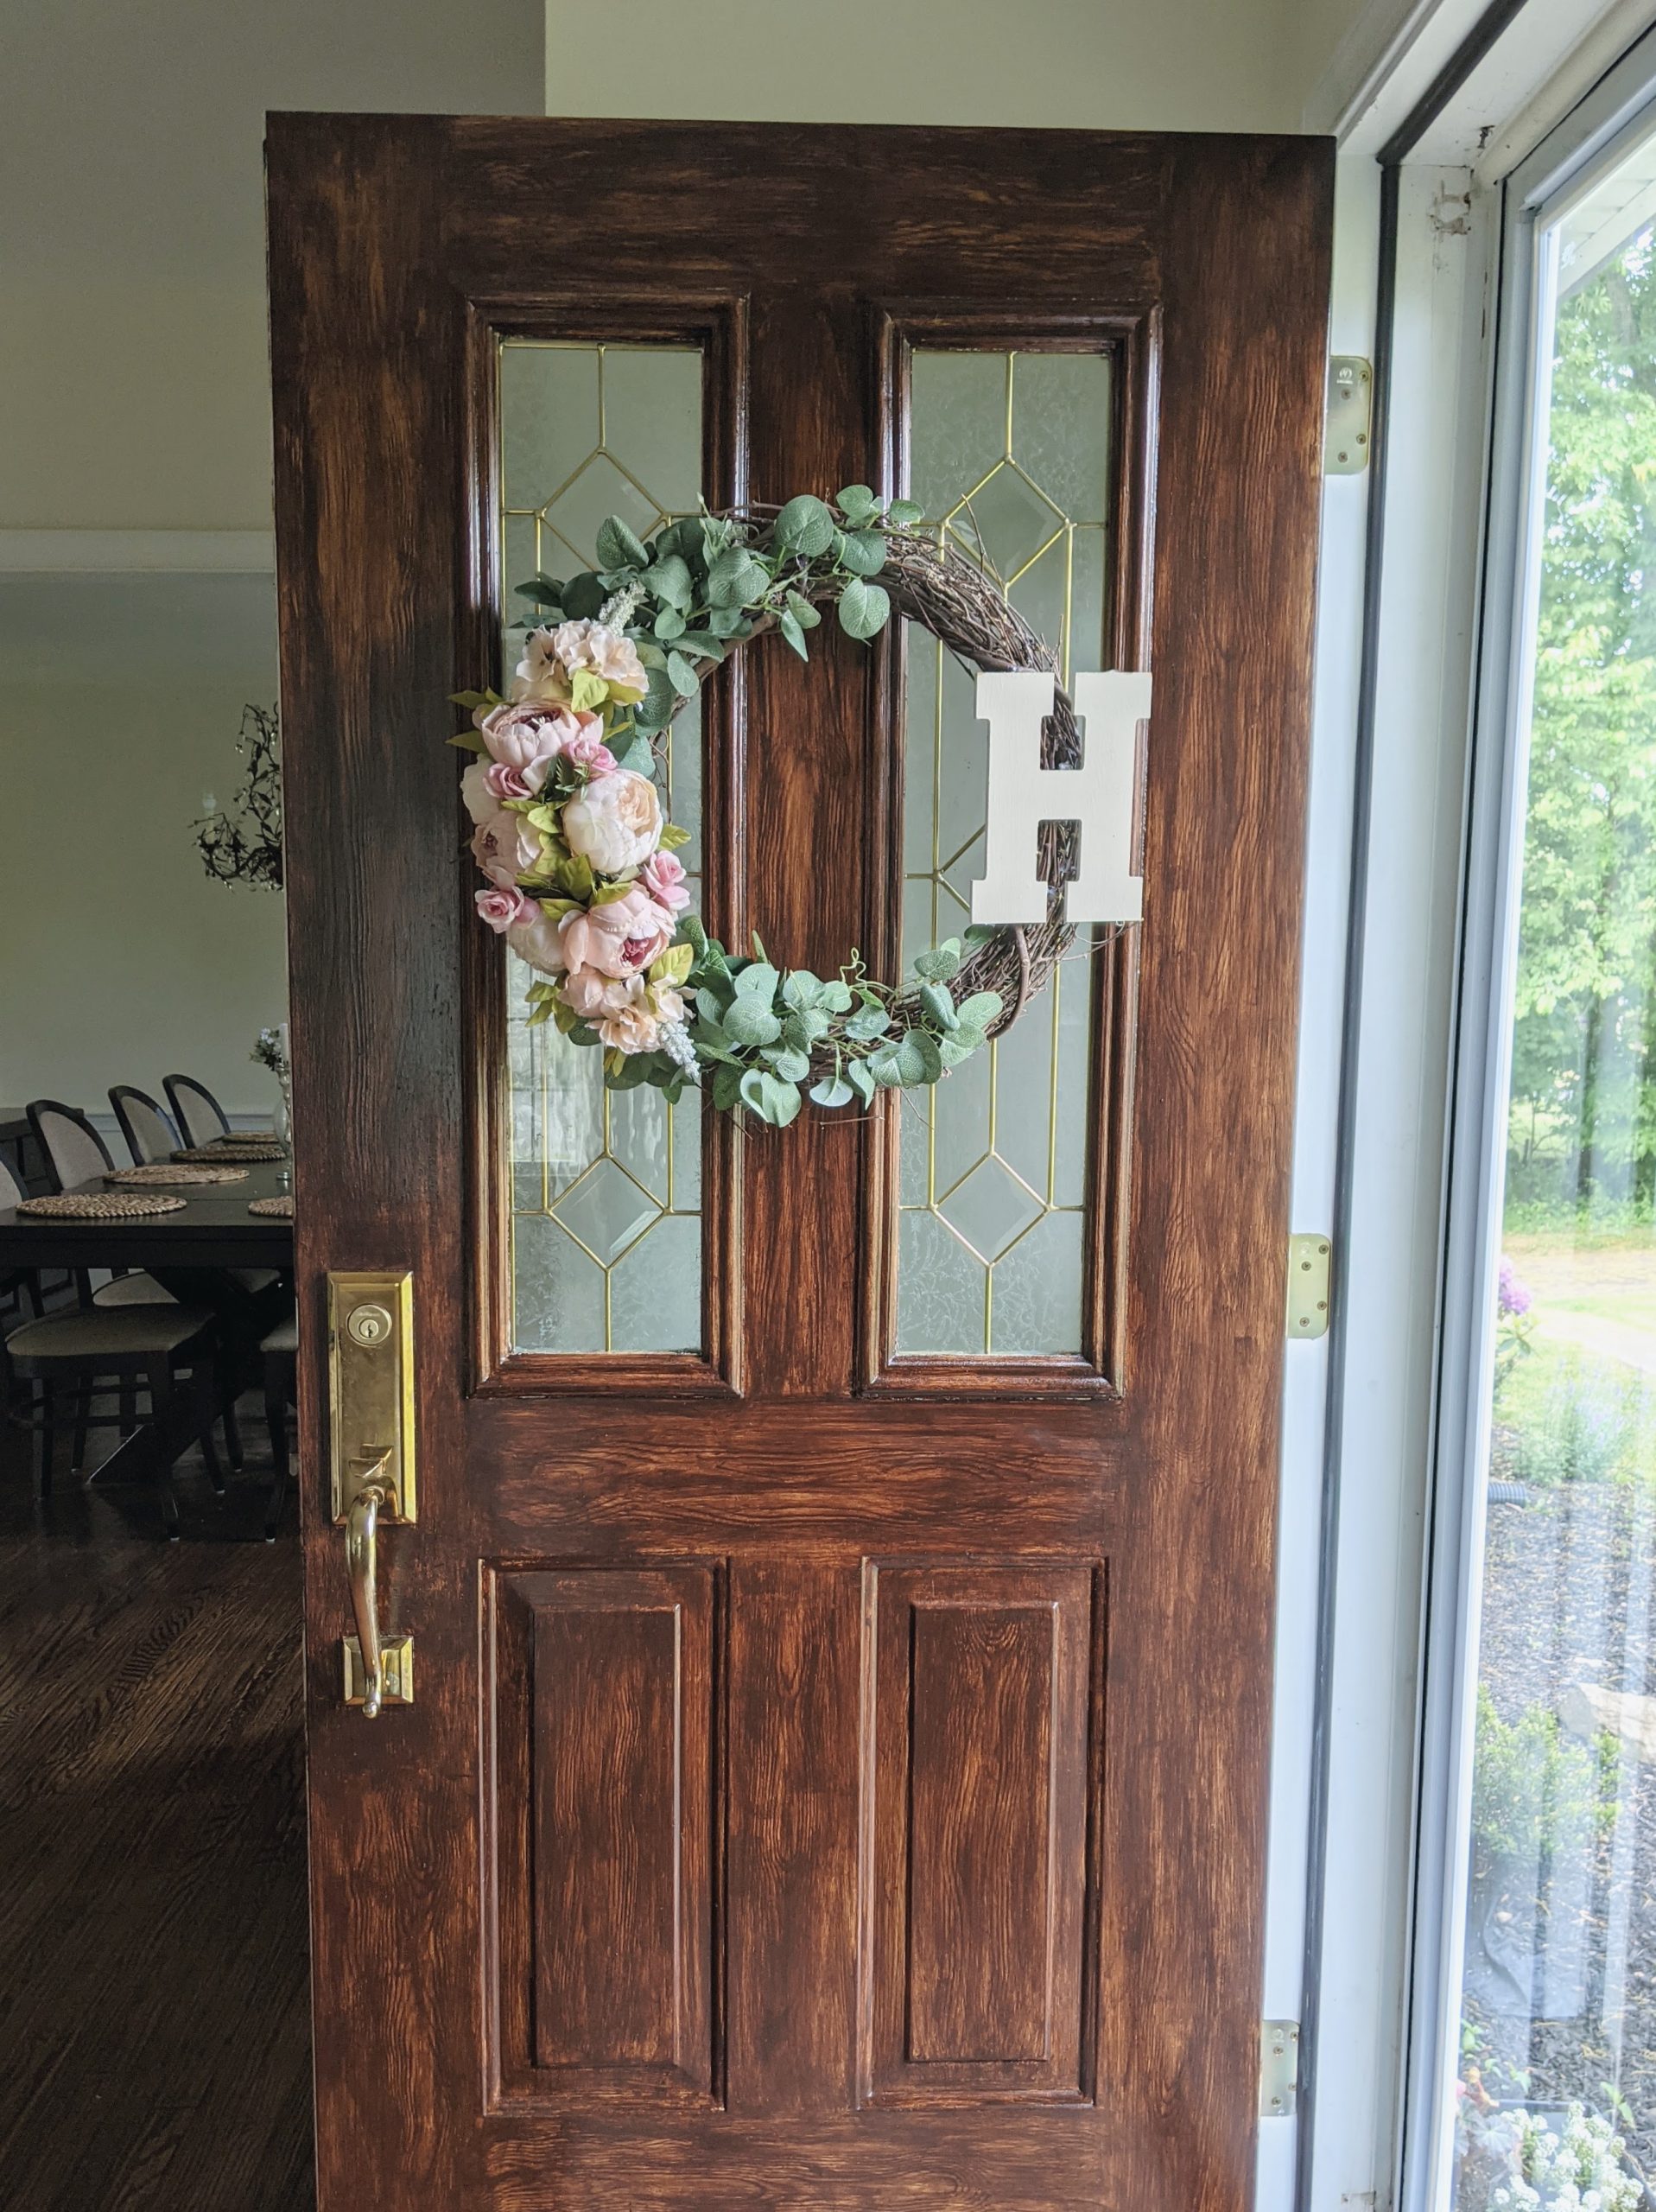
Making a metal door look like wood is one of the most powerful ways to boost the style of your home—without replacing the door. Many people love the warmth and classic look of wood, but want the strength, security, and low maintenance of metal.
The good news is, you can have both. With the right techniques, tools, and attention to detail, you can transform a plain metal door into a beautiful wood-look masterpiece that even your guests may not notice is actually steel or aluminum.
This guide explains the entire process, step by step. You’ll learn how to select the right materials, properly prepare your door, apply faux wood finishes, add realistic grain, and protect your work for years. Along the way, you’ll find practical tips, examples, and expert advice that will help you avoid beginner mistakes and get professional-looking results.
Whether you’re a homeowner, DIY enthusiast, or even a property manager, this article gives you everything you need to know.
Why Make A Metal Door Look Like Wood?
There are many reasons why someone chooses to give a metal door a wood grain finish:
- Aesthetic upgrade: Wood adds warmth, luxury, and curb appeal that plain metal can’t match.
- Cost savings: Faux wood finishes are far cheaper than buying a real solid wood door, which can cost $800–$3,000 or more.
- Durability: Metal doors resist warping, rotting, and insect damage—problems common with real wood, especially in humid or wet climates.
- Security: Steel and aluminum are much harder to break or force open, making them ideal for exterior doors.
- Low maintenance: Once sealed, a faux wood finish is easy to clean and doesn’t need regular staining or sealing like real wood.
Some people use this technique to restore old, scratched, or faded metal doors. Others simply want to match the look of wood trim, siding, or garage doors on their property.
Key Methods To Achieve A Wood-look Finish On Metal
There are two main ways to make a metal door look like wood:
- Painting (Faux Wood Grain Painting): Uses paint and special tools to create a wood grain effect. This is the most popular DIY method.
- Wood-Look Vinyl Wraps: Uses adhesive vinyl film printed with a wood pattern. This is quick but less customizable.
This article focuses on faux wood grain painting, as it gives the most realistic results and flexibility for custom colors and grain types.
Credit: joyfullytreasured.com
What You’ll Need: Tools And Materials
Gathering the right supplies is essential for a smooth project. Below is a table comparing recommended products for each step:
| Step | Recommended Product | Why It Matters |
|---|---|---|
| Cleaning | TSP (trisodium phosphate) or degreaser | Removes oils and dirt for better paint adhesion |
| Sanding | Medium/fine-grit sandpaper (220–320 grit) | Scuffs glossy surfaces, helps paint stick |
| Priming | Rust-inhibitive metal primer | Prevents rust, creates ideal paint base |
| Base Coat | High-quality latex or alkyd paint (tan or beige) | Mimics the “wood” background |
| Wood Grain Layer | Gel stain (oil-based or water-based) | Creates realistic wood grain with tools |
| Graining Tools | Wood grain rocker, comb, artist brushes | Essential for lifelike patterns |
| Topcoat/Sealer | Clear polyurethane or spar urethane | Protects finish from weather and fading |
Don’t forget: painter’s tape, drop cloths, gloves, and a mask for safety.
Step 1: Preparing The Metal Door
Preparation is the foundation of a great finish. Rushing this step leads to peeling or uneven results later.
Remove Hardware And Weatherstripping
Take off the doorknob, lock, kickplate, and any other hardware. Remove weatherstripping if possible. This allows you to paint every part of the surface and avoid messy lines.
Clean The Surface Thoroughly
Metal doors collect grease, dust, and even old wax. Scrub the entire surface with TSP or a strong degreaser. Rinse well with water and dry completely. Even invisible residue can cause paint to bubble or peel.
Sand The Door
Use 220–320 grit sandpaper to lightly scuff the entire surface. You don’t need to remove all old paint, but the goal is to dull glossy areas and create “tooth” for the primer. Wipe with a tack cloth after sanding.
Repair Dents And Scratches
If there are deep dents or gouges, fill them with auto body filler (like Bondo) or epoxy putty. Sand smooth when dry. Little imperfections are fine—real wood has knots and grain—but large defects will ruin the illusion.
Mask Off Edges
Use painter’s tape to protect glass, hinges, and surrounding walls or trim. Lay down drop cloths to catch drips.
Step 2: Priming The Metal
Metal requires a special primer. Never skip this step.
- Choose a rust-inhibitive primer labeled for metal. Most are oil-based or shellac-based.
- Apply a thin, even coat with a quality brush or foam roller. Spray cans work for intricate surfaces.
- Let dry completely, usually 2–4 hours.
- Check for missed spots; touch up as needed.
If the door is exposed to weather, two coats of primer give extra protection.
Step 3: Applying The Base Coat
The base coat acts as the “background” wood color. It shows through the grain pattern you’ll add later.
- Pick a color that matches the wood you want (tan for oak, reddish for cherry, yellow for pine).
- Use a high-quality latex or alkyd paint. Satin or semi-gloss finishes look most realistic.
- Apply with a brush or roller in long, even strokes. Avoid drips.
- Let dry fully—follow paint can instructions, but usually 4–8 hours.
Pro tip: Two thin coats are better than one thick one. Sand gently between coats for ultra-smooth results.

Credit: www.youtube.com
Step 4: Creating The Wood Grain Effect
This is where the magic happens. The “wood” is made by applying gel stain and creating grain patterns with tools.
Choosing A Gel Stain
Gel stain is thicker than regular stain, so it sits on top of the paint and is easy to control. You can find gel stains in many wood tones—walnut, mahogany, oak, etc.
Oil-based gel stains dry slower, giving you more time to work. Water-based stains are easier to clean up but dry faster, so beginners may want to start with oil-based.
Working In Sections
Divide the door into sections (usually panels, rails, and stiles) and complete each one before moving on. This prevents visible stop marks.
Applying The Stain
- Wear gloves.
- Use a brush or lint-free rag to spread a thin, even layer of gel stain over a section.
- Immediately, while the stain is wet, use your graining tool (wood grain rocker, comb, or artist brush) to create the pattern.
- Drag the tool through the stain in a wavy motion to mimic wood grain. Practice on cardboard first.
- For more realism, vary the pressure, wiggle the tool, and overlap strokes.
Pro insight: Most beginners make the grain too regular or straight. Real wood has “cathedral” arches, knots, and changes in direction. Look at real wood doors for ideas.
- When satisfied, feather the edges with a dry brush to blend.
- Move to the next section. Always keep a wet edge for consistency.
Letting The Stain Dry
Gel stain takes 6–24 hours to dry, depending on type and thickness. Don’t rush—touch-ups are easier when fully dry.
Step 5: Adding Depth And Realistic Details
The best faux finishes have more than one color and layer, just like natural wood.
- Add a second layer of gel stain (darker or lighter) in select areas for highlights and shadows.
- Use a small artist brush to paint “knots” or extra grain lines.
- Blend with a dry brush or rag.
- Let each layer dry before adding another.
Advanced tip: Use a wood-toned glaze (thinned paint) in corners or around panels to create the look of shadow and aging.
Step 6: Sealing And Protecting Your Faux Wood Door
Never skip sealing. It protects your work from scratches, sun, and rain.
- Choose a clear polyurethane or spar urethane rated for exterior use.
- Apply with a clean brush in long, smooth strokes. Two or three thin coats work best.
- Allow each coat to dry fully (4–8 hours) before the next.
- Lightly sand between coats for a glass-smooth finish.
Important: Oil-based sealers can yellow over time. For a lighter wood look, use a water-based polyurethane.
Step 7: Reinstall Hardware And Clean Up
Once the final topcoat is dry (wait at least 24 hours), remove tape, clean up, and reinstall hardware. Lubricate locks if needed.
Stand back and admire your work—you now have a “wooden” metal door that’s strong, weatherproof, and beautiful.
Different Wood Looks You Can Create
You’re not limited to one style. Here’s a comparison of popular wood looks for metal doors:
| Wood Type | Base Color | Stain Color | Grain Style |
|---|---|---|---|
| Oak | Light tan | Golden or medium brown | Prominent, wavy “cathedral” arches |
| Walnut | Medium brown | Rich, dark brown | Straight, subtle lines |
| Mahogany | Reddish brown | Deep red or brown | Tight, straight grain |
| Pine | Yellow | Honey or light brown | Wide, sweeping grain with knots |
Tip: Always test your colors on a scrap before starting.
Alternative: Using Wood-look Vinyl Wrap
Not everyone wants to paint. Vinyl wraps offer a fast, no-mess solution. These are adhesive sheets printed with wood grain patterns.
Pros
- Quick installation (1–2 hours)
- No paint fumes or mess
- Removable if you change your mind
Cons
- Less durable than painted finishes (may peel with sun/heat)
- Limited grain/pattern choices
- Hard to repair if damaged
Vinyl wraps are best for interior doors or temporary upgrades. For exterior metal doors, paint is usually longer lasting.
Common Mistakes And How To Avoid Them
Many beginners make small errors that ruin the illusion. Here are some to watch for:
- Skipping cleaning and sanding: Paint and stain will not stick to dirty or glossy metal.
- Not using metal primer: This leads to peeling, rust, or bubbling—sometimes within weeks.
- Rushing the stain: If you don’t practice, the grain can look fake or “painted on.” Practice on cardboard first!
- Using regular stain instead of gel: Regular stain is too thin for vertical metal surfaces; it drips and creates a mess.
- Not sealing the finish: Without a topcoat, your hard work can fade, scratch, or peel.
- Making the grain too perfect: Real wood is never perfectly straight or even. Add “flaws” for realism.
How Long Will It Last?
A well-done faux wood finish on a metal door can last 5–10 years or more, especially if you use quality products and reapply a clear topcoat every few years. Sun, rain, and frequent use may cause fading, but touch-ups are simple compared to replacing a door.
Real-world Example: Transforming A Garage Entry Door
Let’s say you have a plain, faded steel door from your garage to your house. It’s solid, but ugly. Instead of buying a new wood door ($400+), you decide to paint it.
- You clean, sand, and prime as described.
- For a walnut look, you use a medium brown base coat and dark gel stain.
- With a wood grain rocker, you create long, straight lines, adding swirls for knots.
- Two coats of spar urethane seal your masterpiece.
- The result? A door that matches your wood floors and trim for less than $60 in materials.
How Much Does It Cost?
Faux finishing a standard-size metal door typically costs $40–$90 in materials:
- Primer: $10–$15
- Base paint: $15–$25
- Gel stain: $10–$20
- Sealer: $10–$20
- Sandpaper, tape, brushes: $10
Compare this to the cost of a new wood door ($400–$3,000+), and you can see why this project is so popular.
Maintenance Tips For A Long-lasting Finish
Even though your door is now “wood,” it’s still metal underneath—so you get easy care:
- Clean with a soft cloth and mild soap; avoid harsh chemicals.
- Check for chips or scratches once a year. Touch up with matching stain and seal as needed.
- If the door faces harsh sunlight, add a fresh topcoat every 2–3 years.
Extra insight: If you live near the ocean or in a very humid area, check for signs of rust under the finish. If you see any, sand and prime that area before resealing.
Can You Do This On Textured Or Embossed Metal Doors?
Absolutely. In fact, many metal doors are embossed with a fake wood grain pattern. This makes your job easier—just follow the lines with your stain and tools. On smooth doors, you’ll create all the grain yourself.

Credit: eattravellife.com
Is This Project Beginner-friendly?
Yes, with patience and practice. The biggest challenge is getting the grain to look natural. Most people succeed by:
- Practicing on cardboard before the door
- Watching video tutorials for technique
- Taking their time—don’t rush!
With modern products, you don’t need to be an artist to create a convincing effect.
Safety Tips
- Always work in a well-ventilated area.
- Wear gloves and a mask when sanding or using oil-based products.
- Dispose of rags and brushes carefully, as oil-based stains can spontaneously combust.
When To Call A Professional
If your door is heavily rusted, dented, or you want a very complex grain pattern, consider hiring a professional painter. They have special tools and can match any wood style. However, most homeowners can get great results themselves.
Useful Resources For Wood Graining
To learn more about wood graining techniques, there are excellent video tutorials and guides online. One of the best is from the This Old House team, who demonstrate advanced faux wood painting methods. For deep dives into the chemistry of paint and stain, see the Wikipedia entry on wood grain.
Frequently Asked Questions
Can I Use This Method On An Exterior Metal Door?
Yes, this method is perfect for exterior doors. Just make sure to use a rust-inhibitive primer and a topcoat rated for outdoor use to protect against sun and rain.
How Do I Choose The Right Color For A Wood-look Finish?
Pick a base coat similar to the lightest wood color you want, and a gel stain in the shade of your chosen wood (oak, walnut, cherry, etc.). Always test your combination on a scrap or hidden area first.
Is There A Faster Way Than Painting To Get A Wood Look On Metal?
A vinyl wood-look wrap is the fastest method. It installs in 1–2 hours with no mess but may not last as long or look as realistic as a hand-painted finish.
How Do I Fix Mistakes Or Touch Up Damage?
Small mistakes can be fixed by lightly sanding the area and reapplying stain and topcoat. For bigger problems, repeat the base coat and grain steps just on the damaged spot.
Will The Wood Finish Fade Or Peel Over Time?
With proper sealing and maintenance, your finish should last many years. Sun and weather can fade colors, so add a fresh clear topcoat every few years to keep it looking new.
Giving your metal door a wood-look finish is a smart way to combine the beauty of wood with the strength and low maintenance of metal. With careful preparation, the right tools, and a bit of practice, you’ll enjoy a door that impresses everyone who visits.
