As an Amazon Associate I earn from qualifying purchases.
How To Make A Dresser Taller
A dresser is more than just a storage piece; it shapes your room’s look and comfort. Sometimes, you get a dresser that’s sturdy, stylish, and perfect—except it’s just too low. This can make it uncomfortable to use, waste vertical space, or even look odd with your other furniture. The good news: you don’t have to buy a new dresser. You can make your existing dresser taller with a few smart, practical steps. Whether you want to raise it by a few inches for better ergonomics, to fit your vacuum under it, or just to match your bed’s height, this guide shows you how.
Many people try simple hacks, like stacking books under the legs or using furniture risers, but these often look temporary and can be unsafe. If you want a result that’s sturdy, attractive, and lasting, you need the right approach. This article walks you through all the best ways to make a dresser taller, including both basic and advanced methods.
You’ll also get tips for matching the new height with your room, choosing the right materials, and avoiding common mistakes. Let’s get started.
Why Make A Dresser Taller?
Before you start, it helps to understand why people raise their dressers. Here are some of the most common reasons:
- Ergonomics: A taller dresser means less bending over, which is easier on your back and knees.
- Room Proportion: Low furniture can look awkward, especially with higher beds or wall art.
- Storage: Raising the dresser gives you more space underneath for baskets or shoes.
- Cleaning: More height means it’s easier to sweep or vacuum under the dresser.
- Style Update: A taller dresser can look more modern or elegant, changing the whole feel of a room.
Knowing your reason helps you pick the best method. For example, if you want extra storage, you might add a base with drawers. If you just need a little more height, simple risers or new legs might be enough.
Measuring And Planning
Jumping into a project without a plan can lead to mistakes. Before you buy materials or tools, follow these steps:
1. Measure The Current Height
Use a tape measure to check the current height from floor to top. Write this number down.
2. Decide On The New Height
Think about how much taller you want the dresser. Most people add between 2 and 8 inches. Stand next to the dresser and imagine the new height. Place boxes or books underneath to test what feels right.
3. Check Stability
Is your dresser solid? If it wobbles now, raising it may make it worse. Tighten any loose screws or joints before you start.
4. Match Your Room
Look at other furniture in the room, especially beds and side tables. The dresser should not look out of place after you raise it.
5. Plan For Safety
Raising a dresser changes its center of gravity, making it easier to tip over. Decide if you’ll need to anchor it to the wall, especially if you have kids.
Methods To Make A Dresser Taller
There are several proven ways to raise a dresser. Each has pros and cons, and some need more tools or DIY skills. Let’s go through each method in detail.
1. Adding Furniture Risers
Furniture risers are one of the quickest ways to add height. They are strong blocks or cones (usually plastic or wood) that fit under the dresser legs.
How to Use:
- Choose risers that match your needed height. Most come in 2, 3, 5, or 8-inch sizes.
- Lift one corner of the dresser at a time and slide the riser under each leg.
- Make sure each leg is fully seated in the riser.
- Check that the dresser is level.
Pros:
- Fast and easy.
- No tools needed.
- Removable.
Cons:
- May look temporary.
- Can slide on smooth floors.
- Not always stable with heavy dressers.
Tip: Choose risers with non-slip bottoms for better safety.
2. Replacing Or Extending The Legs
If your dresser has legs, you can replace them with taller ones or add extensions.
How to Replace Legs:
- Unscrew the old legs.
- Buy new, taller legs (wood or metal) from a hardware store or online.
- Screw the new legs into place.
- If the legs are unfinished, stain or paint them to match.
How to Extend Legs:
- Buy leg extenders—small blocks or cylinders that attach to the bottom of the current legs.
- Attach with screws, glue, or metal brackets (follow the manufacturer’s instructions).
- Paint or finish to match the dresser.
Pros:
- Looks permanent and stylish.
- Very sturdy if done right.
- Customizable height.
Cons:
- Needs tools (screwdriver, possibly drill).
- Some skill required.
- Not all dressers have removable legs.
Non-obvious Insight: For dressers with angled or tapered legs, find extenders designed for that shape to avoid wobbling.
3. Building A Platform Base
A platform base is a wooden box or frame that sits under the dresser. It raises the whole piece evenly and adds a modern touch.
Steps:
- Measure the dresser’s width and depth.
- Cut wood to size (plywood for the top, 2x4s for the sides).
- Assemble a box or open frame.
- Paint or stain the base.
- Slide the dresser on top and secure it with brackets or screws if needed.
Pros:
- Very sturdy.
- Can add storage drawers or baskets inside the base.
- Hides uneven floors.
Cons:
- More complex build.
- Needs saw, drill, and measuring tools.
- Adds weight.
Data Example: Raising a 48-inch wide dresser by 6 inches with a platform uses about 8 board feet of lumber.
4. Installing Caster Wheels
Adding casters (wheels) to the bottom of your dresser raises it and makes it easy to move.
How to Install:
- Buy locking casters that support the dresser’s weight.
- Flip the dresser upside down.
- Mark and drill holes in each corner.
- Attach the casters with screws.
- Flip back over and lock the wheels in place.
Pros:
- Adds 2-4 inches of height.
- Great for rooms where you often move furniture.
- Industrial or modern look.
Cons:
- Not for dressers with thin or weak bottoms.
- Wheels may scratch floors (use felt pads or rubber wheels).
- May look out of place with classic dressers.
Non-obvious Insight: Choose casters with brakes to keep the dresser from rolling when you don’t want it to.
5. Adding A Second Dresser Or Cabinet
Stacking another small dresser or cabinet under your main dresser can double the height and add storage.
Steps:
- Find a smaller unit with the same width and depth.
- Remove the top from the lower unit if needed.
- Attach the two pieces with screws or brackets.
- Paint or refinish to match.
Pros:
- Extra drawers or shelves.
- Unique look.
Cons:
- Hard to find matching pieces.
- Needs strong attachment to avoid tipping.
Tip: Always anchor the combined unit to the wall for safety.
6. Extending The Sides With Wood Blocks
If your dresser has flat sides or a solid base, you can add wood blocks at each corner.
How to Do It:
- Buy solid wood blocks in your desired height (2-6 inches).
- Stain or paint them to match the dresser.
- Attach with wood glue and screws from the inside.
- Add felt pads to protect floors.
Pros:
- Custom height and look.
- Cheap materials.
Cons:
- Visible seams if not finished well.
- May require sanding and finishing.
7. Using Adjustable Furniture Feet
Adjustable feet are metal or plastic feet that screw in and out to set the height.
How to Use:
- Drill holes in the bottom corners of the dresser.
- Screw in the adjustable feet.
- Turn each foot to raise or lower until level.
Pros:
- Fine-tune height.
- Good for uneven floors.
Cons:
- Usually adds 1-3 inches (less dramatic change).
- Not as stylish as custom legs.
Tip: Use adjustable feet along with a platform for both height and stability.
8. Adding A Decorative Plinth
A plinth is a decorative base that wraps around the bottom of the dresser, adding height and a classic look.
How to Install:
- Cut plinth molding to fit the dresser’s sides.
- Attach with finish nails and wood glue.
- Fill seams and paint or stain.
Pros:
- Elegant, built-in look.
- Hides old or damaged bottoms.
Cons:
- Needs careful measuring and miter cuts.
- Adds weight.
9. Attaching A Metal Frame Base
For a modern style, use a metal frame (like square tubing or hairpin legs).
How to Install:
- Buy or weld a frame to fit the dresser’s size.
- Attach with screws through the frame into the dresser’s base.
- Paint the frame for a custom look.
Pros:
- Very strong.
- Trendy with mid-century or industrial design.
Cons:
- More expensive.
- Needs drilling metal.
Non-obvious Insight: Use rubber spacers between the metal and wood to stop creaks.
10. Adding An Under-dresser Drawer Unit
If you want both height and storage, add a drawer unit underneath.
How to Do It:
- Buy or build a low drawer box the same width and depth as the dresser.
- Place the dresser on top.
- Secure with screws or brackets.
Pros:
- Extra storage for shoes, linens, or toys.
- Seamless look if well finished.
Cons:
- Needs precise measuring.
- Can be heavy.
Safety And Stability Tips
Making your dresser taller changes how it stands and how weight is distributed. Here’s how to keep things safe:
- Check for Wobble: After adding height, press on each corner and side to check for movement.
- Add Anti-Tip Brackets: Always anchor tall dressers to the wall, especially in kids’ rooms.
- Distribute Weight Evenly: Don’t overload top drawers.
- Use Felt Pads: Protect your floors from scratches.
- Test Before Use: Open and close all drawers to make sure the dresser is balanced.
Choosing The Right Materials
The best materials depend on your method, but here are some basics:
- Wood: Strong, easy to cut and finish. Use hardwood for legs and frames.
- Metal: Modern, strong, but harder to drill.
- Plastic: Cheap, light, easy for risers but can look less stylish.
- Rubber: Good for non-slip feet or spacers.
Pro Tip: Buy extra hardware (screws, brackets) in case you make a mistake.
Tools You May Need
You don’t need a full workshop, but these tools help:
- Tape measure
- Level
- Drill
- Screwdriver
- Hammer
- Saw (if building a base)
- Sandpaper
- Paintbrush or roller
Non-obvious Insight: Use a clamp when attaching new legs or a base to keep everything straight.
Matching The New Height To Your Room
A dresser that’s too tall or too short will look strange. Here’s how to get it right:
- Standard dresser height: 30-36 inches.
- Taller dressers: Up to 42-48 inches work for modern or large rooms.
- Match your bed: The dresser should be close to your bed’s height for balance.
- Align with art: If you hang art or a mirror above the dresser, leave 6-12 inches of space.
If you want to compare before and after heights for common methods, see this quick guide:
| Method | Height Added (inches) | Skill Level |
|---|---|---|
| Furniture Risers | 2-8 | Beginner |
| Replace Legs | 2-10 | Intermediate |
| Platform Base | 4-12 | Advanced |
| Caster Wheels | 2-4 | Beginner |
| Stacking Units | 12+ | Advanced |
Common Mistakes To Avoid
- Skipping Measurements: Guessing can lead to uneven or unstable results.
- Ignoring Weight Limits: Not all risers or legs support heavy dressers.
- Forgetting to Anchor: Tall dressers can tip—always use wall anchors.
- Mismatched Materials: Mixing metal with soft wood can lead to cracks or squeaks.
- Rushing Paint or Stain: Let finishes dry fully before using the dresser.
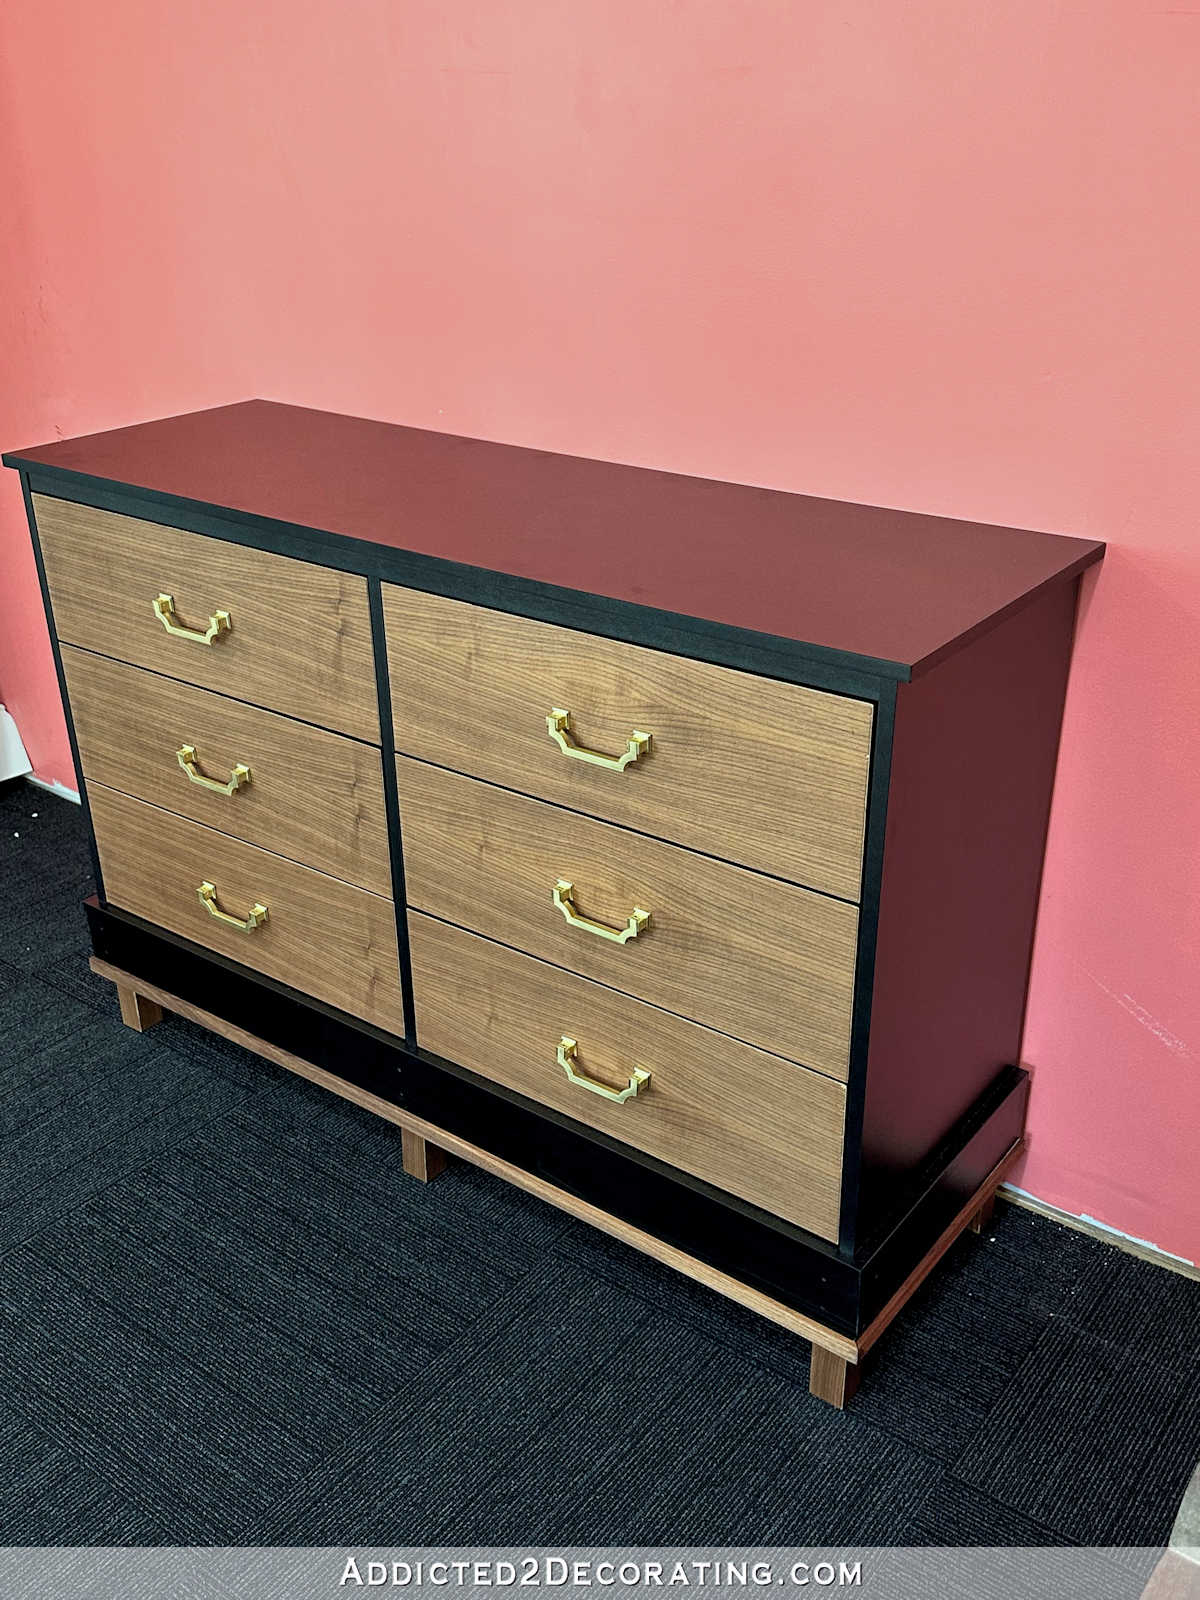
Credit: www.addicted2decorating.com
Real-life Example
Let’s look at a real project. Sarah had a 32-inch tall, 6-drawer dresser. She wanted to raise it to match her 36-inch bed. Here’s what she did:
- Measured and chose 4-inch wood legs from a hardware store.
- Unscrewed the old legs.
- Painted the new legs to match the dresser.
- Screwed the new legs in, added felt pads.
- Used a level to check balance.
- Anchored the dresser to the wall.
Result: The dresser matched the bed, was easy to clean under, and looked like a new piece.
Cost Comparison
How much does it cost to make a dresser taller? Here’s a quick look:
| Method | Material Cost (USD) | Time Required |
|---|---|---|
| Furniture Risers | $10–$25 | 10–20 min |
| New Legs | $20–$60 | 30–60 min |
| Platform Base | $40–$100 | 1–3 hours |
| Caster Wheels | $15–$50 | 30–45 min |
| Stacking Units | $0–$100+ | 2–4 hours |
Tip: If you already have scrap wood or hardware, your costs can be much lower.

Credit: www.youtube.com
Finishing Touches
When you raise your dresser, the new section may look raw or mismatched. Here’s how to finish it:
- Paint or Stain: Match the color to your dresser for a seamless look.
- Add Trim: Use molding to cover seams or gaps.
- Install Skirt Boards: For a classic look, add a wood or metal skirt around the base.
- Replace Hardware: New knobs or handles can update the style to match the new height.
Pro Tip: Always sand new wood parts before painting for a smooth finish.
When To Call A Professional
Most people can handle small risers or replacing legs, but if you’re:
- Adding more than 8 inches
- Building a platform with drawers
- Working with antique or valuable dressers
…it’s wise to consult a carpenter. They can ensure the dresser stays safe and looks great.
Eco-friendly Ideas
If you care about the environment, try these:
- Upcycle old furniture: Use legs or bases from other discarded pieces.
- Choose FSC-certified wood: This ensures the wood is responsibly sourced.
- Use non-toxic paint: Safer for your home and planet.
Summary Table: Methods And Best Uses
Here’s a quick reference for which method to choose:
| Method | Best For | Max Height Added |
|---|---|---|
| Furniture Risers | Temporary, rental homes | 8 inches |
| New Legs/Extenders | Permanent, stylish update | 10 inches |
| Platform Base | Storage, modern look | 12 inches |
| Caster Wheels | Movability, kids’ rooms | 4 inches |
| Stacking Units | Maximum height and storage | 24+ inches |
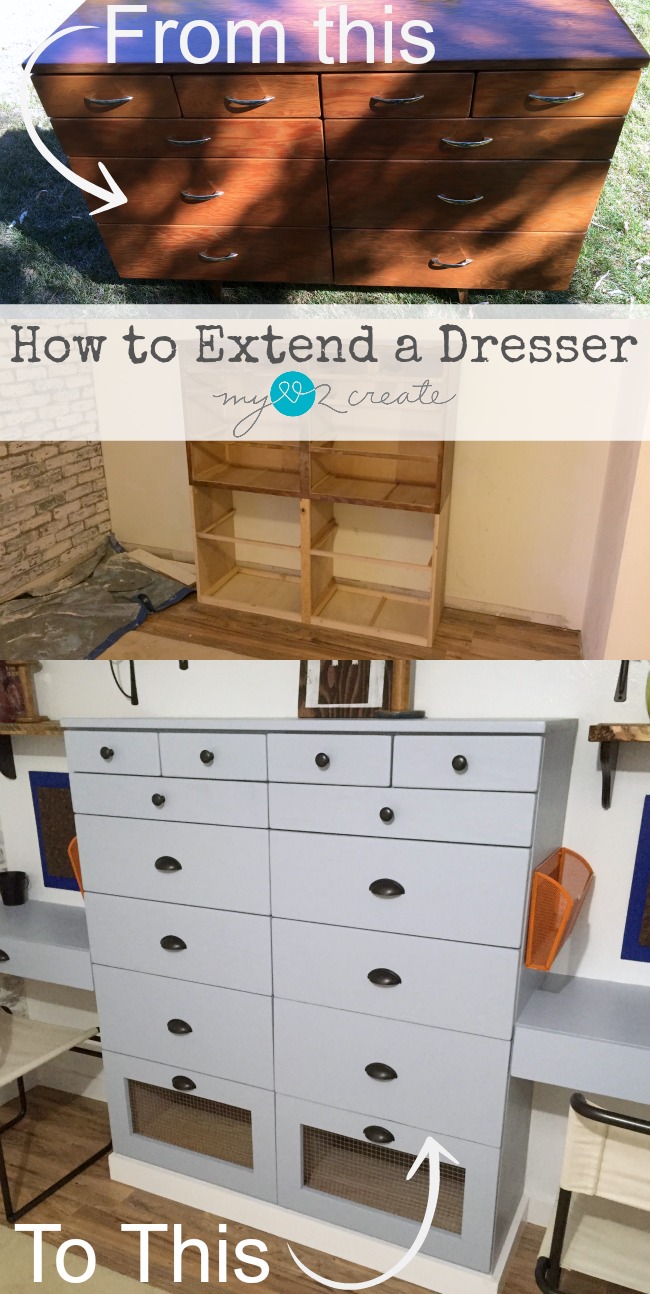
Credit: mylove2create.com
Final Thoughts
Making your dresser taller is a smart way to improve comfort, style, and storage. With a little planning, the right materials, and careful work, you can transform an ordinary dresser into a perfect fit for your space. Always measure carefully, think about safety, and finish your project for a polished look.
If you’re not sure, start with a simple method like risers or new legs, then work up to more advanced ideas. With these steps, your dresser will not just be taller—it will fit your life and style much better.
For more details on furniture modification and safety, you can check Wikipedia’s furniture guide.
Frequently Asked Questions
How Much Taller Can I Safely Make My Dresser?
Most dressers can be raised by 2 to 8 inches safely, especially if you anchor them to the wall. If you want to add more height, use a platform base and check for stability before loading the dresser.
What’s The Easiest Way To Make A Dresser Taller Without Tools?
Furniture risers are the simplest method. Just place them under each leg. Make sure they fit tightly and are rated for your dresser’s weight.
Can I Add Height To A Dresser With No Legs?
Yes! Build a platform base or use wood blocks at each corner. Secure the base to the bottom with screws or brackets for safety.
Will Raising My Dresser Damage The Floor?
If you use felt pads or rubber feet under the new legs or base, you’ll protect your floor. Avoid dragging the dresser, especially on hardwood or laminate.
Do I Need To Anchor A Taller Dresser To The Wall?
Yes, especially if you add more than 4 inches of height or have children. A wall anchor prevents tipping and keeps your home safer.
With these tips, you’re ready to take your dresser to new heights—both literally and in style.
