A damaged dresser top can make your whole room feel less inviting. Scratches, water stains, peeling veneer, and dents on a dresser are common, especially if you use it daily. But you don’t always need to buy a new piece or spend a fortune on repairs.
There are several practical ways to cover up the flaws and give your dresser a fresh look—sometimes in just an afternoon. Whether you want a quick fix or a creative transformation, this guide will walk you through everything you need to know about how to cover a damaged dresser top and restore both style and function.
Why Cover A Damaged Dresser Top?
A dresser top takes a lot of abuse—from spilled drinks and makeup to heavy objects and sunlight. Over time, these can cause scratches, stains, and even warping. Covering up the damage can help you:
- Restore the look of your furniture.
- Protect the surface from further harm.
- Save money compared to buying new.
- Add a personal touch with unique materials or designs.
Many people don’t realize that covering a damaged top can also extend the life of your dresser by preventing moisture and dirt from getting into cracks or exposed wood.
Assessing The Damage
Before you decide how to cover your dresser top, you need to know what kind of damage you’re dealing with. Look for:
- Light scratches: Surface-level marks you can’t feel with your fingernail.
- Deep gouges: Marks or dents you can feel when you run your hand over the surface.
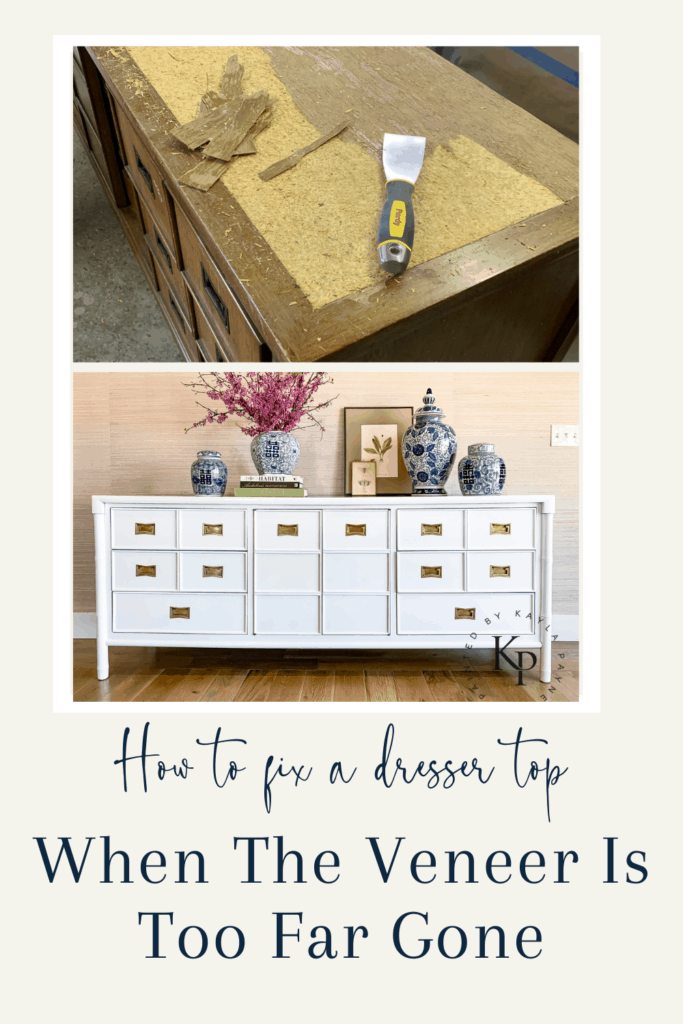
- Peeling veneer: Thin layers of wood or laminate coming off the top.
- Water stains: White or dark marks from spills or humidity.
- Discoloration: Faded or uneven color from sunlight or chemical cleaners.
- Sticky residue: Old tape or sticker marks.
- Warping: Raised or bumpy areas.
Knowing the type of damage helps you choose the best covering method. For example, a sticky residue can be cleaned, but a warped surface might need a thick cover like a tray or new top.
Preparation: Cleaning And Smoothing
No matter which method you choose, you’ll get better results if you start with a clean, smooth surface. Here’s how:
- Remove everything from the dresser top.
- Clean the surface with a gentle cleaner and a soft cloth. Warm water and mild dish soap work for most dressers.
- Dry thoroughly to prevent moisture from getting trapped under your cover.
- Lightly sand any rough or peeling spots with fine sandpaper (220 grit is a good choice). Wipe away dust with a damp cloth.
- Repair deeper gouges or holes with wood filler if you plan to use a thin cover (like contact paper).
*Tip*: Don’t skip sanding if the top is uneven or peeling. Thin covers will show every bump and ripple.
Quick Fixes: Fast And Easy Covering Methods
If you need a fast solution—maybe for a party or just until you have more time—these options can cover damage in minutes.
1. Decorative Trays
A decorative tray can hide a large damaged area. Choose one that’s big enough to cover most of the top, and use it to hold perfume bottles, books, or jewelry boxes. Trays add style and function at the same time.
2. Table Runners Or Scarves
A table runner or pretty scarf is a simple way to hide scratches and stains. Choose a runner that matches your room’s style. You can swap it out easily for different seasons or looks.
3. Placemats Or Doilies
Layering placemats or doilies is a quick fix for small damaged areas. Place them strategically to cover the worst spots. This method works best on dressers used for display, not heavy daily use.
4. Removable Adhesive Mats
Adhesive mats (like those used for kitchen shelves) can be cut to size and stuck on top. Choose a pattern or color you like. They’re easy to clean and replace if you want a new look later.
*Non-obvious insight*: Many people forget that heat-resistant silicone mats (sold for kitchens) can also work, especially if you use hair tools on your dresser.
Credit: www.paintedbykaylapayne.com
Creative Covering Options For Lasting Results
When you want a more permanent solution or a style upgrade, these methods can transform your dresser top and make it look new again.
1. Contact Paper Or Peel-and-stick Vinyl
Contact paper is a budget-friendly option that comes in many colors and patterns, including faux wood, marble, and metallic. Peel-and-stick vinyl is thicker and more durable. Here’s how to use it:
- Measure the top and cut your paper or vinyl to size, leaving a small overhang.
- Peel off the backing slowly, smoothing out bubbles with a credit card as you go.
- Trim the edges with a sharp knife for a clean look.
*Tip*: Choose thicker vinyl for dressers with deep scratches or uneven spots, as it hides flaws better than thin contact paper.
2. Wallpaper
Using a piece of wallpaper is a stylish way to cover a dresser top. Modern wallpaper is often washable and easy to clean. Attach with double-sided tape or wallpaper paste, depending on how permanent you want it.
*Non-obvious insight*: Look for wallpaper samples at stores—they’re often inexpensive and large enough to cover a dresser.
3. Fabric Covers
Fabric can bring color and texture to your furniture. Use upholstery fabric, canvas, or even an old curtain.
- Cut the fabric to size, leaving a few inches extra on each side.
- Wrap the fabric around the top, securing it underneath with a staple gun or upholstery tacks.
- For a no-sew option, use double-sided fabric tape.
This method is especially good for dressers with badly damaged tops, as the fabric hides imperfections and adds a soft touch.
4. Glass Or Acrylic Topper
A custom-cut piece of glass or acrylic provides a sleek, protective layer. Many hardware stores will cut glass or acrylic to your measurements. Place the topper right on the dresser for an instant upgrade.
- Glass gives a high-end look and is easy to clean.
- Acrylic is lighter and less likely to break.
Slip a pretty piece of paper or fabric under the glass for a custom look that’s easy to change.
5. Wood Veneer Or Laminate Sheet
For a truly durable fix, try wood veneer or laminate sheets. Veneer is a thin layer of real wood, while laminate is a printed surface on a synthetic base.
- Cut the sheet to size and apply with wood glue or contact cement.
- Press down firmly and let dry according to the product instructions.
- Trim edges with a sharp blade for a clean finish.
This method works well for dressers with large, flat surfaces but is harder on curved or detailed tops.
6. Painted Designs
If you enjoy DIY, painting the dresser top can cover damage and let you add your personal style.
- Sand the surface lightly to help the paint stick.
- Use a primer if the wood is stained or very dark.
- Apply two coats of paint, letting each dry fully.
- For extra durability, finish with a clear sealer.
Geometric patterns, stencils, or freehand designs can make your dresser unique.
*Tip*: For a marble look, try a faux painting technique. There are many tutorials online for different finishes.
7. Decoupage
Decoupage means gluing paper or fabric designs onto the surface and sealing them with clear varnish. Try:
- Magazine cutouts
- Wrapping paper
- Book pages
- Maps
Decoupage is a creative way to personalize your dresser and cover up even large areas of damage.
8. Resin Pour
A resin pour creates a glossy, hard surface that’s nearly waterproof. Resin kits are available at craft stores. This method takes time (and is a bit messy) but gives a modern, smooth finish that hides most imperfections.
- Mix the resin and hardener according to instructions.
- Pour over the top, spreading evenly.
- Let cure for 24–48 hours.
*Warning*: Resin is permanent and hard to remove. Make sure you want this look before starting.
Comparing Covering Materials
Choosing the right material depends on your dresser’s damage, your budget, and your style. Here’s a comparison to help you decide:
| Material | Durability | Cost | Ease of Application | Best For |
|---|---|---|---|---|
| Contact Paper | Low–Medium | Low | Easy | Light damage |
| Wallpaper | Medium | Low–Medium | Easy | Style change |
| Fabric | Medium | Low | Easy–Medium | Heavily damaged tops |
| Glass/Acrylic | High | Medium–High | Easy | Protection and style |
| Wood Veneer | High | Medium | Medium–Hard | Major damage |
| Paint | Medium–High | Low | Medium | Custom look |
| Resin | Very High | High | Hard | Modern style, waterproof |
Step-by-step: Covering With Contact Paper
Let’s walk through the process for a popular choice—contact paper. This method is affordable, quick, and works for most dressers.
Materials Needed
- Contact paper of your choice
- Scissors or utility knife
- Measuring tape
- Ruler or straight edge
- Credit card or plastic smoother
- Mild cleaner and cloth
Steps
- Measure the dresser top—length and width.
- Cut the contact paper to fit, leaving an extra inch on each side.
- Clean and dry the top so the adhesive will stick.
- Peel back a few inches of the backing.
- Line up the paper with one edge and press down.
- Smooth as you go, peeling away more backing and pressing out air bubbles.
- Trim excess with a knife for neat edges.
- Press down the edges firmly to prevent peeling.
*Common mistake*: Rushing the application can cause bubbles or wrinkles. Go slowly and smooth carefully.
Step-by-step: Glass Or Acrylic Topper
For a sleek and protective solution, a glass or acrylic topper is hard to beat.
Materials Needed
- Custom-cut glass or acrylic sheet (hardware store)
- Measuring tape
- Non-slip pads (optional)
- Decorative paper or fabric (optional)
Steps
- Measure the top exactly, and order your glass or acrylic sheet.
- Clean the dresser well.
- Lay decorative paper or fabric on the top if you want a custom background.
- Place the glass/acrylic on top.
- Add non-slip pads under the corners if needed.
*Practical example*: Many hotel dressers use glass toppers to protect from spills and scratches.
Step-by-step: Painting The Dresser Top
Painting is a classic way to cover damage and add color or pattern.
Materials Needed
- Sandpaper (medium and fine grit)
- Primer (if needed)
- Paint (furniture or latex paint)
- Small roller or brush
- Clear sealer (polyurethane or wax)
- Painter’s tape
Steps
- Sand the top to remove shine and smooth rough spots.
- Wipe away dust with a damp cloth.
- Tape off edges to protect the rest of the dresser.
- Apply primer if the surface is dark or stained.
- Paint in thin, even coats.
- Let dry fully between coats (check paint instructions).
- Apply a clear sealer for durability.
*Common mistake*: Skipping the sealer leads to chips and stains.
Step-by-step: Using Fabric
Fabric is a cozy, forgiving option for deep scratches or uneven surfaces.
Materials Needed
- Heavy fabric (upholstery or canvas)
- Scissors
- Staple gun or upholstery tacks
- Measuring tape
Steps
- Measure and cut fabric so it wraps around the edges.
- Smooth fabric over the top, pulling tightly.
- Staple or tack under the edges on the underside of the top.
- Trim excess fabric for a neat finish.
*Tip*: If you want a removable cover, use Velcro strips instead of staples.
Mistakes To Avoid
Many people make errors that can ruin the look of their dresser or cause covers to fail.
- Not cleaning the surface—dirt or grease can stop covers from sticking.
- Applying thin materials over deep gouges—these will show through.
- Forgetting to seal paint or decoupage—leaves the surface vulnerable to water and scratches.
- Using glass without pads—can cause scratches or sliding.
- Choosing the wrong adhesive—some glues can damage the surface or not hold fabric well.
- Skipping measuring—results in covers that are too small or large.
*Non-obvious insight*: If your dresser is antique or valuable, avoid permanent adhesives or paint, which can reduce its value.
Real-life Examples
Let’s look at some real situations:
- Samantha’s DIY fix: Samantha had a dresser with a water-damaged top. She sanded it lightly, then covered it with marble-look contact paper. The dresser now looks modern, and guests often ask where she bought it.
- Hotel solution: Many hotels use glass toppers on dressers to prevent damage from heavy use. This method works well in homes, too, especially for kids’ rooms.
- Creative studio: An artist covered her dresser in old comic book pages using decoupage. The top is now a conversation piece and hides many scratches underneath.
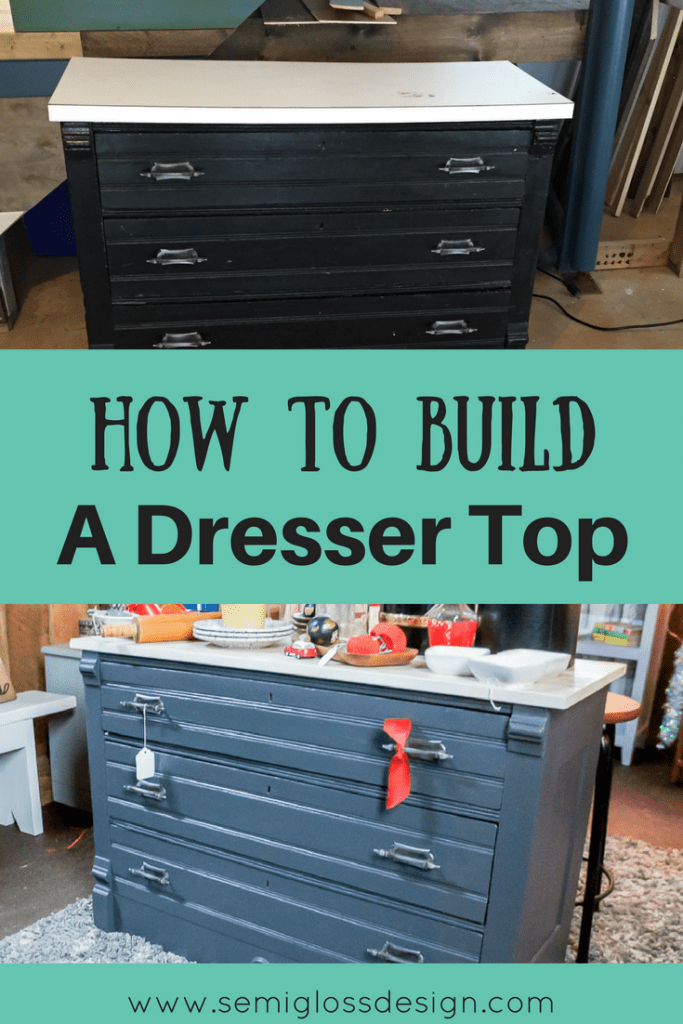
Credit: www.semiglossdesign.com
Cost Breakdown
Covering a damaged dresser top can be much cheaper than replacing the furniture. Here’s an estimated cost range for each method:
| Method | Material Cost | Skill Level | Time Required |
|---|---|---|---|
| Contact Paper | $10–$20 | Beginner | 30–60 min |
| Wallpaper | $15–$40 | Beginner | 30–60 min |
| Fabric | $10–$30 | Beginner–Intermediate | 30–90 min |
| Glass/Acrylic | $30–$80 | Beginner | 10 min |
| Wood Veneer | $25–$60 | Intermediate | 1–2 hrs |
| Paint | $20–$50 | Beginner–Intermediate | 2–4 hrs |
| Resin | $40–$120 | Intermediate–Advanced | 4–6 hrs (+curing) |
When To Replace Instead Of Cover
Sometimes, covering isn’t enough. If your dresser top is:
- Severely warped (not flat)
- Moldy or has a bad odor
- Structurally broken (splitting or crumbling wood)
…it might be safer and easier to replace the dresser or hire a professional for repairs. Covering can hide flaws, but it can’t fix deep structural issues.
Eco-friendly Covering Options
Want to help the environment? Try these ideas:
- Use recycled fabric (old curtains, tablecloths, or clothes).
- Choose FSC-certified wood veneer for responsible sourcing.
- Reuse glass from old picture frames for a topper.
- Look for eco-friendly adhesives and paints with low VOCs.
These options keep waste out of landfills and reduce your environmental impact.
Maintenance Tips For Your New Cover
After you’ve covered your damaged dresser top, keep it looking good with these tips:
- Clean gently: Use a soft, damp cloth. Avoid harsh chemicals.
- Protect from heat: Don’t put hot items directly on contact paper or fabric.
- Use coasters and trays: Prevent new stains and scratches.
- Check edges regularly: Press down any peeling corners right away.
- Reapply or replace: Many covers can be swapped out if they wear or you want a new look.
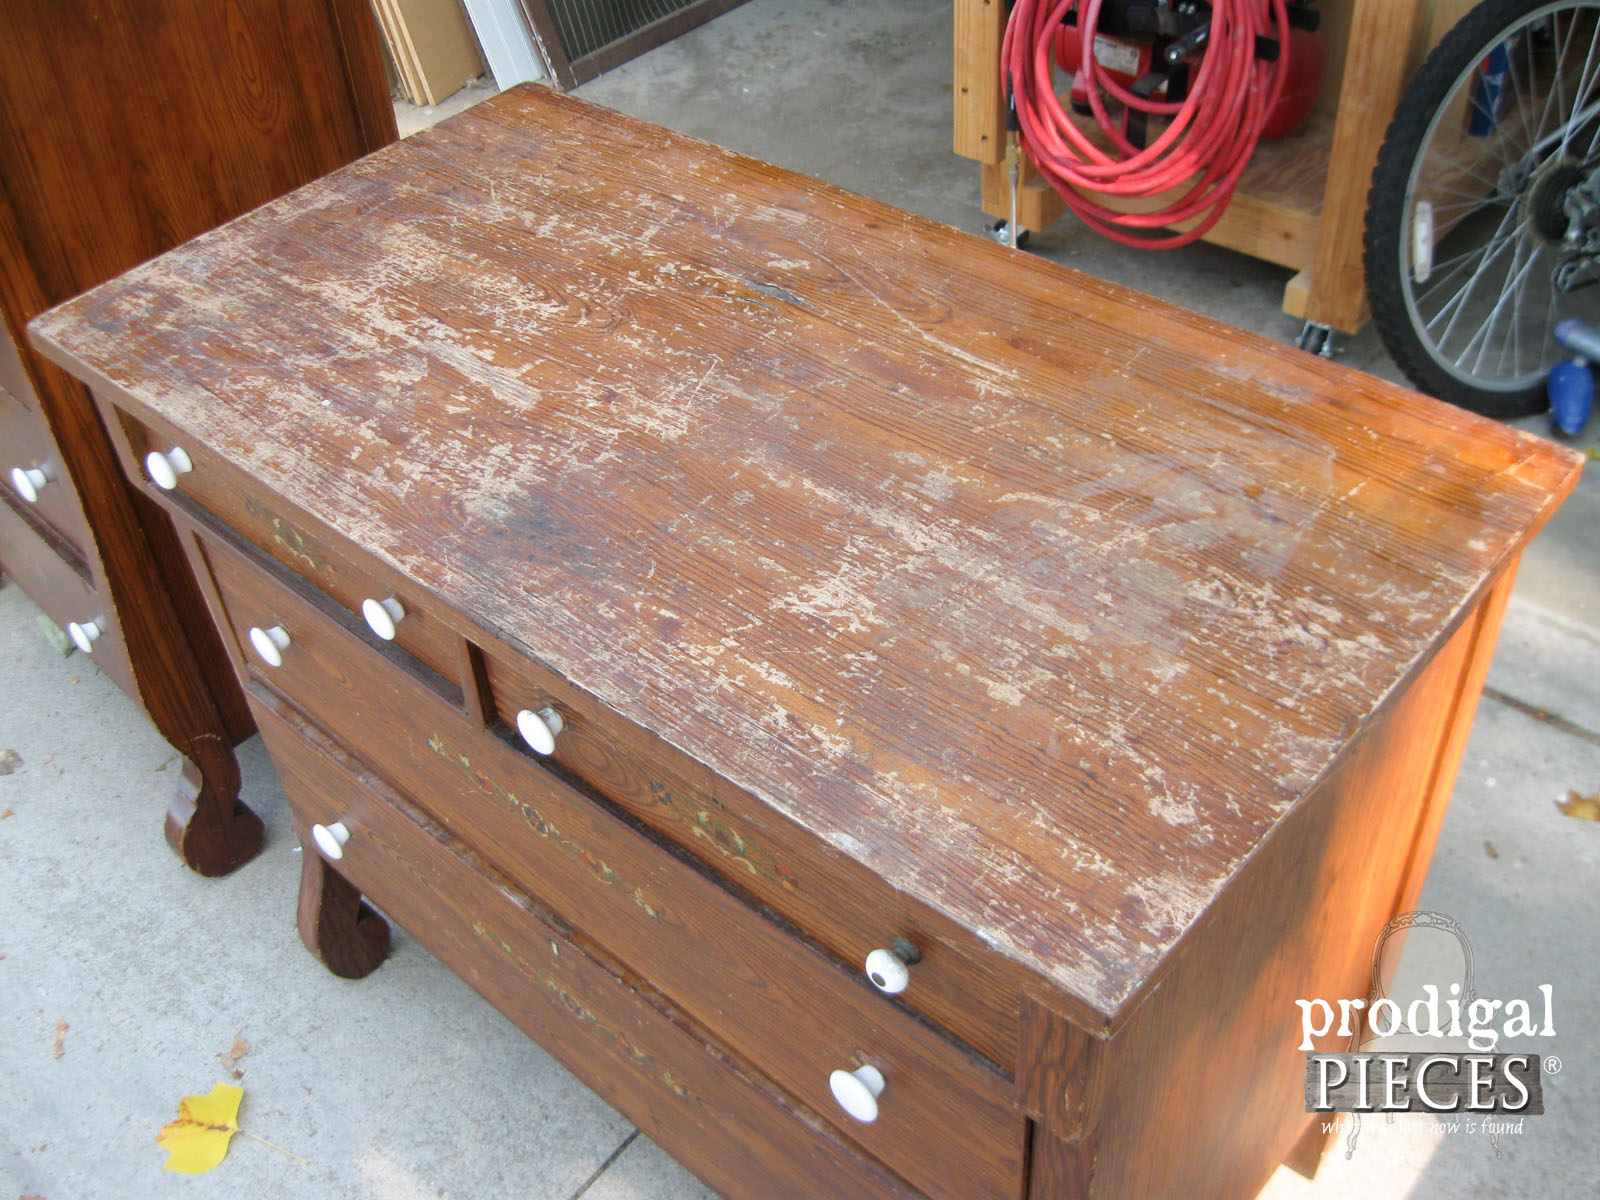
Credit: prodigalpieces.com
Inspiration: Popular Styles For Covered Dresser Tops
If you’re not sure which look to choose, here are some popular ideas:
- Faux marble (contact paper or paint) for a modern vibe
- Botanical wallpaper for a fresh, natural look
- Colorful fabric for boho or eclectic rooms
- Glass over gold foil for a glamorous touch
- Painted geometric designs for a bold statement
- Distressed wood veneer for rustic or farmhouse style
Browse social media or design sites for more inspiration. You might find a look that’s perfect for your space.
When To Call A Professional
If your dresser is valuable, antique, or you’re unsure about tackling repairs, it’s smart to get expert help. Professionals can:
- Restore veneer or wood
- Match paint or stain perfectly
- Fix structural damage
This can cost more, but protects your investment and ensures a high-quality result. For most modern or everyday dressers, DIY covering is enough.
Frequently Asked Questions
What Is The Easiest Way To Cover A Damaged Dresser Top?
The easiest way is to use contact paper or a table runner. Both can be applied quickly and require no special tools. Contact paper is best if you want a smooth, wipeable surface, while a table runner is a great option for fast, temporary coverage.
Will Contact Paper Damage My Dresser?
High-quality contact paper is designed to be removable and should not damage most dresser finishes. However, on very old or fragile finishes, adhesive can sometimes leave residue. Test a small corner before covering the whole surface.
How Do I Hide Deep Scratches Or Dents?
For deep scratches or dents, use a thicker cover like fabric, wood veneer, or a glass topper. Thin materials like regular contact paper may show the damage underneath. You can also fill dents with wood filler before applying a cover.
Can I Paint Over A Damaged Dresser Top Without Sanding?
Sanding is recommended before painting to help the new paint stick and to smooth rough areas. If you skip sanding, the paint may peel or chip off more easily, especially on glossy or damaged surfaces.
What Is The Most Durable Way To Cover A Dresser Top?
A glass or acrylic topper is the most durable and easy-to-clean option. For a permanent, waterproof solution, a resin pour creates a strong, glossy finish. Both can handle heavy use and protect the dresser for years.
For more ideas about furniture repair and creative upgrades, you can check out Better Homes & Gardens.
Covering a damaged dresser top is a smart way to extend your furniture’s life and refresh your space. With so many creative and practical solutions, you can find an option that fits your budget, skill level, and style. Whether you want a quick fix or a total transformation, you now have the tools to make your dresser look beautiful and last longer.