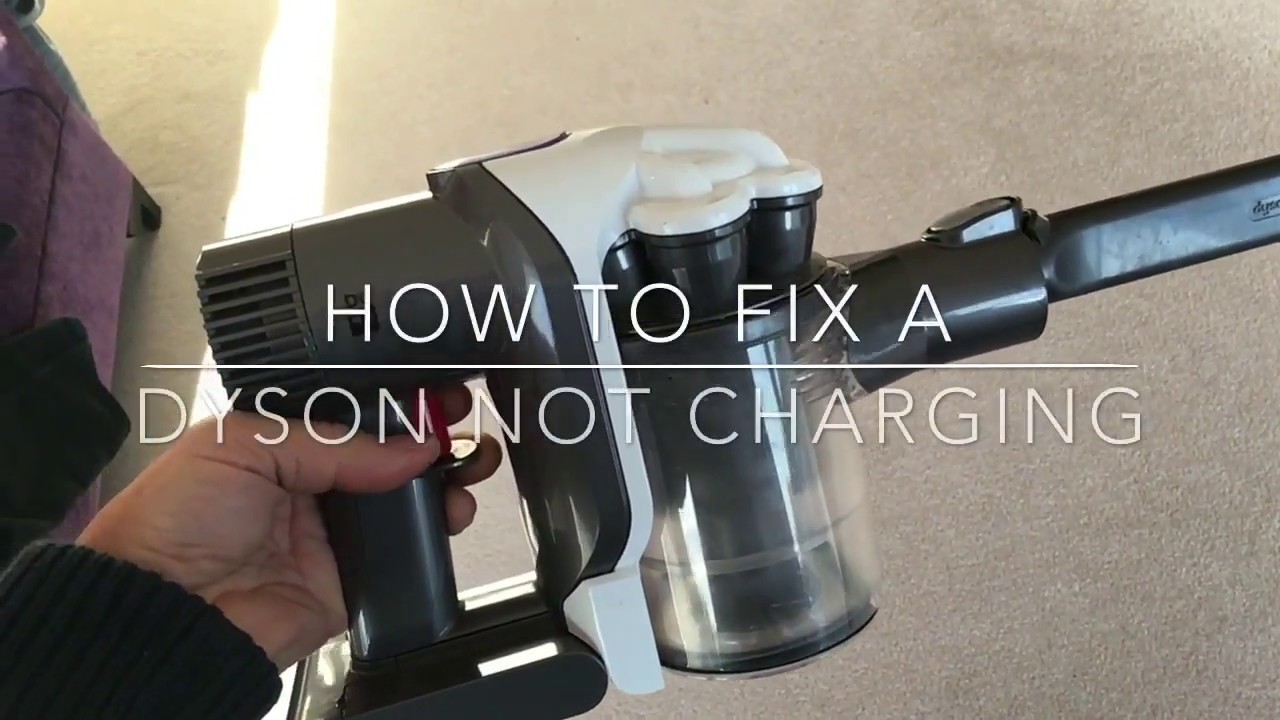
Is your Dyson vacuum not charging? This can be frustrating.
A vacuum that won’t charge means dust and dirt can pile up quickly. Dyson is known for high-quality vacuums. They help keep homes clean. But like all gadgets, problems can arise. One common issue is charging. If your Dyson vacuum isn’t charging, you’re not alone.
Many users face this problem. There could be several reasons for this. In this blog, we will explore possible causes and offer solutions. Stay with us to get your Dyson back in action.
Credit: www.youtube.com
Common Causes
It’s incredibly frustrating when your Dyson vacuum refuses to charge. You may have chores piling up and a vacuum that just won’t cooperate. Before you panic and rush to the store for a replacement, let’s explore some common causes. Often, the issue is something simple that can be fixed at home. We’ll go through a few typical problems that might be behind your charging woes.
Battery Issues
The battery is the heart of your Dyson vacuum. If it’s not working properly, your vacuum won’t charge or hold a charge. Here are some signs of battery issues:
- Your vacuum only runs for a very short time.
- The battery light is blinking red or not lighting up at all.
- You’ve been using the vacuum for several years without replacing the battery.
Most Dyson batteries are designed to last a few years. If your vacuum is older, it might be time for a new battery. Replacing the battery yourself is usually straightforward and can save you the hassle of buying a new vacuum.
Charger Problems
Sometimes, the problem isn’t with the vacuum at all but with the charger. Let’s check a few things:
- Inspect the charger for visible damage, such as frayed wires or bent prongs.
- Plug the charger into a different outlet to ensure the problem isn’t with the power source.
- Use a multimeter to check if the charger is delivering the proper voltage.
If the charger is faulty, you might need to purchase a new one. Luckily, chargers are usually less expensive than batteries and can often be replaced quickly.
Connection Faults
Loose or dirty connections can also prevent your Dyson from charging. Here’s what to look for:
- Ensure the battery is securely attached to the vacuum.
- Check for dust or debris in the charging port and clean it with a dry cloth.
- Make sure the charging dock is properly aligned with the vacuum.
Sometimes, the simplest fix is the right one. Ensuring all connections are clean and secure can often solve the problem. If you’ve checked these areas and the vacuum still isn’t charging, it might be time to contact Dyson support for further assistance.
In conclusion, a Dyson vacuum not charging can be due to various reasons, such as battery issues, charger problems, or connection faults. By systematically checking these common causes, you can often diagnose and fix the problem yourself, saving time and money.
Battery Troubleshooting
If your Dyson vacuum isn’t charging, it can be quite frustrating. But don’t worry, you’re not alone. Many users face this issue, and often, the root cause is the battery. Let’s dive into some battery troubleshooting steps that can help get your Dyson vacuum back to its optimal performance.
Checking Battery Life
First things first, you need to check the battery life. A weak or dead battery is the most common reason for charging problems. Here’s a simple way to check:
- Plug in your vacuum and let it charge for a few hours.
- After charging, turn it on and see how long it runs.
- If it runs for only a few minutes, the battery might be the culprit.
Checking the battery life is crucial. Sometimes, batteries just wear out over time. It’s normal, but it means you might need a new one.
Replacing The Battery
If your battery isn’t holding a charge, it might be time to replace it. Don’t worry, replacing a Dyson battery is straightforward. Follow these steps:
- First, make sure your vacuum is unplugged and turned off.
- Locate the battery compartment, usually at the bottom or back of the vacuum.
- Unscrew the compartment and remove the old battery.
- Insert the new battery, ensuring it’s properly aligned.
- Screw the compartment back on and charge your vacuum.
Replacing the battery can breathe new life into your Dyson vacuum. It’s like giving it a second wind!
Proper Battery Maintenance
Maintaining your battery can extend its life and improve performance. Here are some tips:
- Avoid Overcharging: Unplug the vacuum once it’s fully charged.
- Store Properly: Keep your vacuum in a cool, dry place.
- Regular Use: Use the vacuum regularly to keep the battery active.
Proper battery maintenance is key. It’s like taking care of a pet – with a little attention, it stays healthy and happy!
By following these battery troubleshooting steps, you can ensure that your Dyson vacuum remains a reliable household helper. Remember, a well-maintained battery keeps your vacuum running smoothly, so you can tackle those dust bunnies with ease!
Charger Inspection
If your Dyson vacuum is not charging, the first step is to inspect the charger. This may seem obvious, but many people overlook this crucial step. Ensuring the charger is working correctly can save you time and effort. Let’s dive into the details of charger inspection with a focus on testing the charger, inspecting the charger cable, and using an alternative charger.
Testing The Charger
First things first, let’s test the charger. Here’s how you can do it:
- Plug the charger into a working outlet. You can test the outlet with another device to ensure it’s working.
- Connect the charger to your Dyson vacuum.
- Observe the charging light on the vacuum. Is it on? If not, the charger might be the issue.
It’s also a good idea to check the charger for any signs of damage. Sometimes, a simple visual inspection can reveal a lot. Look for burn marks, cracks, or other visible damage.
Inspecting Charger Cable
Next up, let’s talk about the charger cable. Often, the cable is the culprit behind charging issues. Here’s what you should do:
- Carefully examine the entire length of the cable.
- Check for any bends, frays, or cuts.
- If you find any damage, the cable might need to be replaced.
Remember, even a tiny cut can cause significant problems. If you suspect the cable, don’t hesitate to replace it. Better safe than sorry, right?
Using An Alternative Charger
Finally, if you have access to a spare charger, give it a try. Here’s how:
- Use a charger that’s compatible with your Dyson model.
- Plug the alternative charger into the outlet and connect it to your vacuum.
- Check if the vacuum starts charging.
If your vacuum charges with the alternative charger, you’ve found your problem! Time to invest in a new charger.
In conclusion, inspecting the charger is a vital step in diagnosing why your Dyson vacuum isn’t charging. By testing the charger, inspecting the cable, and trying an alternative, you can zero in on the issue. Don’t skip these steps—they can save you a lot of hassle!

Credit: www.wikihow.com
Connection Checks
Are you frustrated because your Dyson vacuum isn’t charging? You’re not alone. Many Dyson users encounter this issue, and often, the solution lies in the simplest of checks. Let’s dive into the connection checks that can get your vacuum back in action.
Securing Connections
First things first, ensure that all connections are secure. A loose connection can prevent your Dyson from charging properly. Follow these steps:
- Make sure the charger is plugged into the wall outlet firmly.
- Check that the power cord is intact and not frayed.
- Verify that the charging cable is snugly connected to the vacuum.
Remember, a loose connection can make all the difference. A simple push can sometimes solve the problem.
Cleaning Contacts
Dirty contacts can also be a culprit. Over time, dust and debris can accumulate on the charging contacts, obstructing the flow of electricity. Here’s how to clean them:
- Unplug the charger from the wall.
- Use a dry, soft cloth to gently wipe the charging contacts on both the vacuum and the charger.
- If there’s stubborn dirt, slightly dampen the cloth with rubbing alcohol for a deeper clean.
Be gentle while cleaning to avoid damaging the contacts. Clean contacts ensure smooth charging.
Inspecting Charging Port
Sometimes, the issue lies within the charging port of the vacuum. A careful inspection can reveal hidden problems:
- Check the port for any visible damage or debris.
- If you see anything stuck inside, use a small brush or compressed air to clean it out.
- Examine if the port is loose or misaligned.
In some cases, the port might need professional repair, but often, a simple cleaning can fix the issue.
In conclusion, connection checks are a crucial step in diagnosing charging issues with your Dyson vacuum. By securing connections, cleaning contacts, and inspecting the charging port, you can often identify and resolve the problem. Take these simple steps before considering more drastic measures, and you might just save yourself a trip to the repair shop.
Software Updates
Is your Dyson vacuum cleaner refusing to charge? It might not just be a hardware issue. Sometimes, the software inside your vacuum also needs a bit of attention. Yes, you heard that right! Just like your smartphone, your Dyson vacuum can receive software updates. These updates can fix bugs, improve performance, and even solve charging issues. Let’s dive into how you can check for and install these updates.
Firmware Checks
First things first, let’s talk about firmware. Firmware is the software that runs your vacuum. It’s like the brain of your Dyson. To ensure your vacuum is working correctly, you need to make sure its firmware is up to date.
- Check the Current Firmware Version: Usually, you can find this information in the vacuum’s manual or on the Dyson app.
- Compare with the Latest Version: Visit the Dyson website or contact customer support to see if there is a newer version available.
Update Procedures
Updating the firmware is often straightforward, but it can vary depending on the model of your Dyson vacuum. Here’s a general guide:
- Connect to Wi-Fi: Ensure your vacuum is connected to a stable Wi-Fi network.
- Open the Dyson App: Navigate to the settings menu and look for firmware updates.
- Follow On-Screen Instructions: The app will guide you through the update process. Make sure not to turn off the vacuum during the update.
Impact Of Updates
Why bother with updates? Well, let’s just say they can make a world of difference. Here are some benefits you might notice:
| Before Update | After Update |
|---|---|
| Slow charging | Improved charging speed |
| Frequent disconnections | Stable connection |
| Unresponsive buttons | Smooth operation |
Think of these updates as a quick tune-up for your vacuum. Just like how a software update can breathe new life into your old phone, it can do wonders for your Dyson vacuum too.
So, next time your Dyson vacuum isn’t charging, don’t panic. Check if a simple software update can solve the problem. Who knew technology could be so helpful, right?
Resetting The Vacuum
Ever found yourself in a situation where your trusty Dyson vacuum just won’t charge? It’s frustrating, right? But before you start panicking or considering a costly repair, let’s talk about resetting your vacuum. Sometimes, a simple reset can solve the issue and get your vacuum back to its full power. In this section, we’ll walk you through the steps, explain when to reset, and discuss the effects of resetting your Dyson vacuum.
Steps To Reset
Resetting your Dyson vacuum is not rocket science. Here’s how you can do it:
- Turn off and Unplug: Ensure your vacuum is turned off and unplugged from the charging unit.
- Remove the Battery: Carefully detach the battery from the vacuum. This step might vary depending on your Dyson model.
- Hold the Power Button: Press and hold the power button for about 10 seconds. This helps in discharging any remaining power.
- Reattach the Battery: Place the battery back into the vacuum.
- Plug in and Charge: Plug your vacuum back into the charger and let it charge for a few hours.
And there you go! Your vacuum should be reset and ready to clean those pesky dust bunnies.
When To Reset
Knowing when to reset your Dyson vacuum is just as important. Here are some scenarios where a reset might be necessary:
- Battery Issues: If your vacuum isn’t holding a charge or charging at all, a reset might help.
- Performance Problems: Notice a drop in suction power or unusual behavior? A reset could be the fix.
- Error Lights: If your vacuum displays error lights, a reset might clear those errors.
Think of a reset like giving your vacuum a fresh start. It can solve minor issues and improve performance.
Effects Of Resetting
So, what happens when you reset your Dyson vacuum?
| Effect | Explanation |
|---|---|
| Restored Charging | Often, a reset can resolve charging issues, allowing your vacuum to charge properly again. |
| Improved Performance | Resetting can clear minor glitches, leading to better suction and overall performance. |
| Cleared Errors | Error lights or codes might disappear after a reset, indicating the issue has been resolved. |
Resetting your vacuum can be a lifesaver. It’s like hitting the refresh button on your computer – simple but effective.
Remember, a reset won’t fix all problems. If your vacuum continues to have issues, it might be time to contact Dyson support. But before that, give the reset a try. It might just save you a lot of hassle.
Professional Repair
Dyson vacuum not charging? Professional repair services can help diagnose and fix the issue. Ensure your vacuum runs smoothly again.
If your Dyson vacuum isn’t charging, it might need professional repair. DIY fixes can be risky. Professional help ensures safety and effectiveness. Here’s what you need to know about getting your Dyson vacuum professionally repaired.Finding A Service Center
Start by locating an authorized Dyson service center. Check the Dyson website for a list of approved centers. Use their service locator tool to find the nearest one. You can also call Dyson customer service for assistance. They can guide you to the best option.Cost Considerations
Repair costs vary depending on the issue. Simple fixes like battery replacement are usually cheaper. More complex problems can be more costly. Always ask for an estimate before proceeding. This helps you avoid surprises.Warranty Information
Check if your Dyson vacuum is still under warranty. Repairs under warranty might be free. Dyson often offers a two-year warranty on their vacuums. Contact Dyson with your model and purchase details. They can confirm if your vacuum qualifies for a free repair. “`
Credit: www.izvoz.mk
Preventative Measures
So, your Dyson vacuum isn’t charging? That can be incredibly frustrating, right? The good news is that there are ways to prevent this issue from occurring in the first place. By following some simple preventative measures, you can keep your vacuum running smoothly and avoid the headache of a non-charging device. Let’s dive into these helpful tips!
Regular Maintenance
First things first, regular maintenance is key. Just like any other appliance, your Dyson vacuum needs some TLC to function properly. Here are some steps you can follow:
- Clean the filters: Make it a habit to clean the filters every month. This ensures that dust and debris don’t clog the system, which could affect the battery life.
- Inspect for blockages: Check the vacuum for any blockages in the hose or brush bar. Blockages can put extra strain on the motor and battery.
- Battery check: Periodically check the battery for any signs of damage or wear. A damaged battery may not hold a charge well.
Proper Storage
How you store your Dyson vacuum can also impact its charging ability. Here are a few storage tips:
- Temperature: Store your vacuum in a cool, dry place. Extreme temperatures can affect battery performance.
- Position: Ensure that the vacuum is stored upright or in a docking station. This prevents any strain on the battery connections.
- Avoid overcharging: If your model has a removable battery, avoid leaving it on the charger for extended periods. Overcharging can reduce battery lifespan.
Usage Tips
Believe it or not, how you use your Dyson vacuum can also influence its charging efficiency. Here are some tips to get the most out of your device:
- Use the right settings: Opt for lower power settings for regular cleaning tasks. High power settings drain the battery faster.
- Don’t let the battery completely drain: Try to recharge the vacuum before the battery is completely dead. This helps maintain the battery’s health.
- Regular breaks: Give your vacuum a rest during long cleaning sessions. Continuous use can overheat the battery and affect its charging capability.
By following these preventative measures, you can keep your Dyson vacuum in top shape and ensure it charges properly. Regular maintenance, proper storage, and mindful usage can make all the difference. After all, a little care goes a long way, don’t you agree?
Frequently Asked Questions
How Do You Fix A Dyson That Won’t Charge?
Check for blockages, clean the filter, and ensure the charger is plugged correctly. Replace the battery if needed.
How Do I Reset My Dyson Cordless Battery?
To reset your Dyson cordless battery, unplug the charger. Hold the power button for 10 seconds, then release. Plug in and charge fully.
How Do I Know If A Dyson Battery Needs Replacing?
Check if your Dyson battery needs replacing by observing short runtime, charging issues, or flashing LED lights.
What Is The Lifespan Of A Dyson Battery?
A Dyson battery typically lasts around 3 to 4 years, depending on usage and maintenance. Proper care can extend its lifespan.
Why Is My Dyson Vacuum Not Charging?
Your Dyson vacuum may not charge due to a faulty battery, charger, or connection issue.
Conclusion
Ensuring your Dyson vacuum charges properly is crucial for its performance. Follow the steps mentioned to troubleshoot charging issues. Regular maintenance can prevent many common problems. Clean the charging port and ensure a proper connection. Replace the battery if necessary.
If problems persist, seek professional help. Keep your vacuum in good working condition for the best results. Happy cleaning!