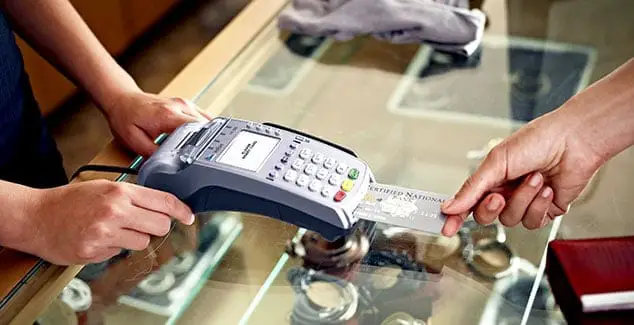
Verifone is a well-known American card machine company with a global reputation for transaction processing. The firm sells card terminals to a variety of commercial service providers in the UK. Still, it also sells items directly to customers having a card processing agreement.
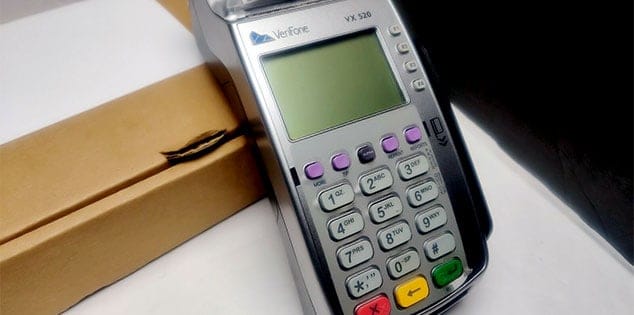
Nowadays, credit card readers are swarming the market. The credit card, being the most convenient payment method, needs a suitable device to read it and make a seamless payment. Among them, one of the well-known models is the Verifone VX520. The VX520 is a sturdy, durable tabletop gadget that will withstand for a long time.
Because of its strong processor and extensible memory, it can handle encryption, decryption, and processing at an incredible speed. Alternative payments are supported via incorporated NFC functionalities, as well as value-added applications such as loyalty or gift card acceptance.
More Troubleshooting Guides
[su_list icon=”icon: arrow-right” icon_color=”#00690b”]
- Skyjack 3219 Troubleshooting
- Oculus Quest 2 Controller Not Working
- STA-RITE Max-E-Therm 400 Troubleshooting
- Verizon Fios Wifi Not Working
[/su_list]
The VX520 has a wide range of connectivity possibilities, including dial-to-dial and Ethernet, as well as an optional battery.
Below the gadget, a specially constructed communication port space maintains the counters tidy and clutter-free. However, it is normal to encounter some problems with this device since not all machines are perfect.
Here are some solutions to the common problems that you may encounter while using the Verifone VX520.
Verifone VX520 Troubleshooting
Verifone VX520 Not Working
The following are some of the easiest steps to troubleshoot a Verifone VX520:
- Remove the Terminal from the power supply for around 30 seconds and then plug it back in.
- Allow the Terminal to reset once you plug it back in.
- After that, return to the soft pay screen, where they are going to select the sales screen.
Terminal Showing that Verifone VX520 is Not Connected to a Network
Network issues are quite common these days. WiFi may get disconnected suddenly due to network trafficking or other reasons. You can follow these procedures to reconnect your Terminal with the WiFi:
- Ensure that your WiFi connection is up and running and that your Terminal is within reach.
- Make sure that it is charged
- First press ‘Network’
- Then press ‘WiFi’
- Last but not the least, select ‘Scan Networks’
- Enter the password after tapping the network’s name.
- The Terminal is now going to be connected to the default network automatically.
Verifone VX520 Terminal not charging?
Sometimes you might find that Verifone VX520 is not charging properly. It is quite normal for a device to act this way. Here are some steps that can help you charge the Terminal.
- Please double-check that the Terminal is powered on and that the battery is properly plugged into the gadget.
- Attempt to charge the Terminal with a different charger.
- Attempt to use a different power socket.
How to Unlock a Verifone VX520
I’ve discovered that the Terminal locks regularly by accident, so you’re not alone if you’re having this difficulty. I’ve discovered that the Terminal locks regularly by accident, so you’re not alone if you’re having this difficulty. Here are gradual steps on how you can unlock the keyboard, as well as why it continues happening.
By selecting the number <8> from the main SoftPay display, you may enter the menu to lock and unlock the keyboard. Note that pressing the red <x> button in the lower right-hand corner of the keyboard will take you back to the main SoftPay display, where you should begin. To unlock the keyboard, hit the number 8 key first. The password will be requested by the Terminal.
- The password that needs to be entered is<alpha> <alpha> 6 – 6 – 8 – 3 – 1
- The Terminal will then inquire if you wish to lock the keyboard, with the following choices:
“Yes” (press the F1 key)
“No” (press the F2 key)
- Select F2 or “No” to unlock the keyboard. If you lock the keyboard on the Verifone VX520, each time you try to make a sale or a refund, the Terminal will request you the password.
How to Reprint Receipt on Verifone VX520
Generally, you can get a receipt while doing the transaction using Verifone VX520. However, if you have lost the receipt or need a new one, you can always reprint it using the Terminal. Here are some easy steps that you need to follow:
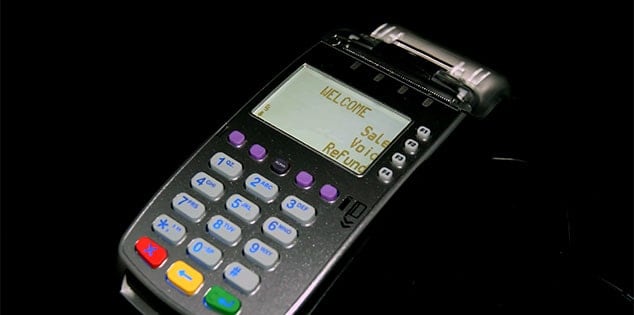
- To enter the Reprint option from the SoftPay home screen, hit the third purple button from the left once. The Sale, Refund, and Void choices are displayed on the SoftPay home screen.
- Now choose the receipt you want to print.
- If you want to reprint the last receipt,
- F2, which stands for “Last Receipt,” should be pressed. The merchant copy of the receipt is printed by the Terminal.
- Press F1, which is ‘Yes,’ to print the customer receipt from the same transaction.
- If you need to print any other receipts,
- Select F3, which represents ‘Any Receipt.’
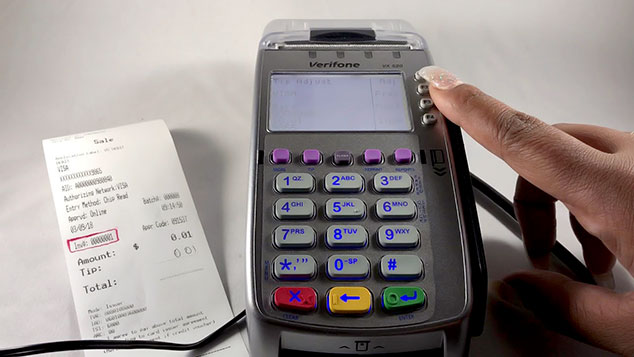
- Type in the transaction’s invoice number using the keypad. On the receipt, above the total amount, you’ll notice the invoice number. You can print a Details Report to get the invoice number if you don’t know it.
- Press Enter. The receipt’s merchant copy is printed by the Terminal.
- Click F1, which stands for ‘Yes,’ to print the client receipt for the same transaction.
How to Fix Common Connectivity Issues with the Verifone VX520
- First and foremost, if you get a connection issue, you need to check the Ethernet cable. To do so, flip the Terminal over and look at where the Ethernet cable is plugged in. It should be plugged into the port labeled ETH. If it is confirmed that the Terminal is plugged in and the Ethernet is working, you can try repairing the connection.
- Hit the star key ‘*,’ which is just above the red X.
- Select commServer, which is F2.
- When you see a screen saying VCS Ethernet, choose the reprint button, which is the purple button below the icon of the tools.
- It will go to the Diagnostic menu. Select F4 for repair.
- ‘Connection Repair Successfull’ will be shown. Then press any key.
- Hit the red X to see Ethernet again.
- Select the star button again.
- Choose credit, debit, EMV, and you will be good to go.
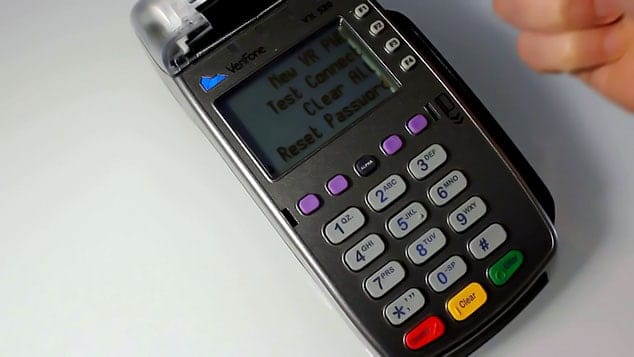
How to Repair a Verifone VX520 Reboot Problem?
If you find Verifone VX520 keeps rebooting, you need to follow these easy steps to correct it.
- Press the F2 and F4 buttons at the same time.
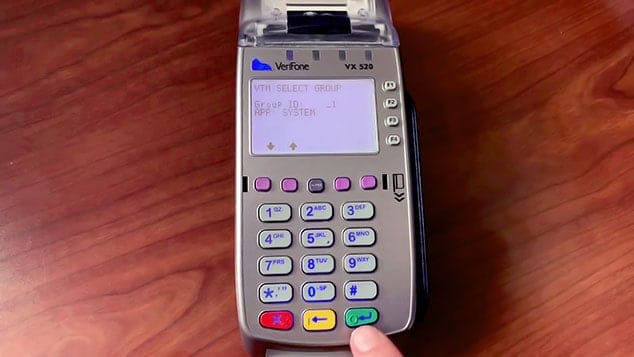
- The manager password is going to be one. Then between the purple keys, there is an alpha key. Press it twice. Then press 6-6-8-3-1 and hit Enter.
- The device is going to reboot.
- Select the number 1 to edit parameters.
- Then hit Enter and enter the password again.
- Click the number 1 to new select parameters.
- Press star ‘*’ right above the red X.
- Press 3 and Alpha to get the letter D
- Then press 4 and Alpha two times to choose H.
- For E, press 3 and Alpha two times.
- To select A, press 2 and Alpha.
- For P, press 7 and Alpha.
- In case of any error, use the yellow key to backspace.
- After these steps, hit Enter, and the value will be 0 and then Enter.
- Now hit red X and number 3 to restart.
- The Terminal will go through its prompts, and it will load, reboot, and eventually will bring you back to the main screen, which is the sale, card, verify, and settlement. So, you’ll be good to go.
How to Setup Verifone VX520 Terminal?
The VX520 can communicate through an analog phone line and with a wired IP connection. You can use either connection type based on your preference. However, the IP connection is faster.
- At first, the Terminal needs to be communicated with the host. If you choose the IP connection option, you need to connect the Terminal to an active IP connection.
- Remove the cover from the bottom of the Terminal.
- Take an Ethernet cable from the box.
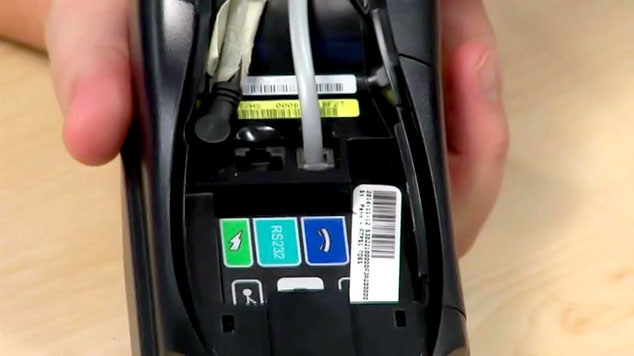
- Plug one end of the cable into a modem or a router and the other end into the port labeled with the letters ETH below the Terminal.
- If you have opted for a dial connection type,
- Take a phone cord with a functional dial connection.
- Plug it into the port labeled with a phone icon underneath the Terminal. Now that the connection cable is plugged in, we need to power on the Terminal.
- Plug the power cable into the power port marked with a lightning bolt icon.
- Lock the cable counterclockwise and place the cover back on the Terminal.
- It will light up and go to the main screen.
- If you are using the Terminal as a standalone unit, you are good to go. But if you are using an extended pin pad, you need to connect the pin pad to the Terminal.
- It is very important to make sure the Terminal is powered down before connecting the pin pad.
- Remove the cover below the Terminal.
- Unlock clockwise and unplug the power cable.
- Take a pin pad cord and plug it into the port labeled rs-232.
- You can now plug the power cord back into the power port on the Terminal.
- The pin pad will light up and display ‘Welcome.’
- It will go to the main screen, and you are good to go.
These are some of the problems you can face with your Verifone VX520. This device is pretty good for its price and functionality. So don’t be disappointed and follow the Verifone VX520 troubleshooting if any of the following problems arrive.
If you are looking for Verifone VX520 Manual Press Here.
Does the ink ever get low on the vx520? If so, how do you replace it?
Thanks.
Verifone VX520 doesn’t use traditional ink like a printer does. Instead, it uses thermal paper for printing receipts. Thermal printers don’t require ink or toner because they work by applying heat to specially coated thermal paper, which darkens where heat is applied to produce the text or image.
If your VX520 isn’t printing correctly, it’s usually because the thermal paper roll is running low or is loaded incorrectly. Here’s how to replace the paper roll:
If you have any other questions about the Verifone VX520, feel free to ask. I’m happy to help! 😊