Transforming an Ikea Hemnes dresser with paint is one of the most satisfying and cost-effective ways to personalize your furniture. The Hemnes series is known for its classic design, solid wood construction, and affordable price. But what if the standard finishes don’t match your style?
Painting an Ikea Hemnes dresser can make it look custom-made and unique. If you want to upgrade your space or just add a personal touch, learning how to paint an Ikea Hemnes dresser the right way is key. This guide will take you through every step, from preparing your dresser to achieving a professional, long-lasting finish.
Whether you are a beginner or have some DIY experience, you’ll find practical advice, real examples, and tips that most tutorials miss.
Why Paint Your Ikea Hemnes Dresser?
The Ikea Hemnes dresser is popular for its sturdy pine construction and simple lines. But the finish can feel generic, especially if you want a unique look in your home. Painting your dresser can:
- Match your room’s color palette perfectly.
- Hide scratches or stains from daily use.
- Add personality with a bold hue or soft pastel.
- Upgrade the finish for a high-end look at a low cost.
Many people are surprised by how much a new coat of paint can change the feel of a room. Plus, painting furniture is usually much cheaper than buying new.
What Makes Hemnes Dressers Special?
Before you start, it’s important to know what you’re working with. The Hemnes dresser is made mostly from solid pine. Unlike some Ikea furniture that uses particleboard and veneer, pine is durable and absorbs paint well. However, the factory finish can make paint adhesion tricky if you don’t prepare it correctly.
Key features of the Hemnes dresser:
- Solid wood (main structure)
- Smooth, even surfaces
- Shallow protective coating (clear acrylic or stain)
- Available in multiple sizes and colors
Because the Hemnes has a protective finish, skipping prep can result in peeling or chipping paint. This is a common mistake that leads to frustration.
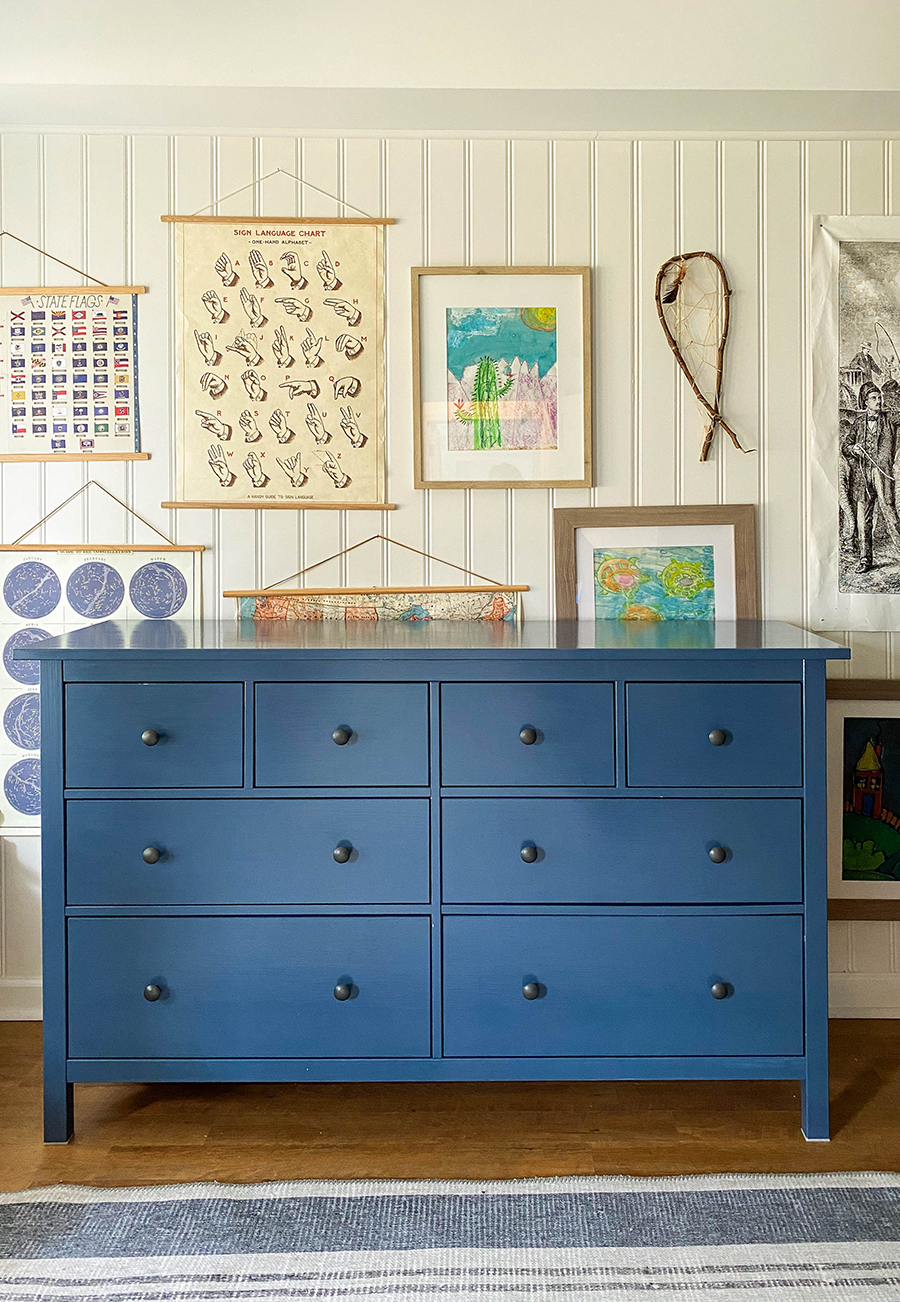
Credit: inhonorofdesign.com
Choosing The Right Paint And Supplies
Your paint and tools will make a big difference in the final result. For the Hemnes dresser, you’ll need products that work well on wood and can stand up to daily use.
Paint Types:
- Acrylic latex paint: Easy to use, low odor, good durability.
- Chalk paint: Gives a matte, vintage look. No primer needed, but may require a top coat.
- Oil-based paint: Extremely durable, but more fumes and slower drying.
- Milk paint: Natural, eco-friendly. Needs a bonding agent for slick surfaces.
Other Supplies:
- Primer (for best adhesion)
- Sandpaper (120 and 220 grit)
- Tack cloth (to remove dust)
- High-quality brushes and/or foam rollers
- Painter’s tape (for clean edges)
- Drop cloth (to protect floors)
- Screwdriver (to remove hardware)
- Paint tray
- Protective topcoat (polycrylic or polyurethane)
Here’s a quick comparison of paint options for your Hemnes dresser:
| Paint Type | Finish | Durability | Prep Needed | Best For |
|---|---|---|---|---|
| Acrylic Latex | Satin, Semi-gloss | High | Primer | Modern, easy clean |
| Chalk Paint | Matte | Medium | Minimal | Vintage, soft look |
| Oil-Based | Glossy | Very High | Primer, ventilation | Heavy-use areas |
| Milk Paint | Matte | Medium | Bonding agent | Natural/eco styles |
Pro tip: Most beginners overlook the importance of a good primer. Even if you use chalk paint, a primer can help the paint stick and last longer on the Hemnes’ smooth finish.
Prepping Your Hemnes Dresser
Preparation is the most important step for a smooth, lasting paint job. Skipping or rushing prep leads to peeling, uneven color, and visible brush marks.
Step 1: Remove Hardware And Drawers
- Unscrew all knobs and pulls using a screwdriver.
- Take out each drawer, labeling if needed to remember their order.
- Set hardware aside in a safe spot.
Step 2: Clean The Surfaces
- Use a mild detergent (like dish soap) and water to wipe down the entire dresser.
- Remove grease, dust, and fingerprints.
- Dry with a clean towel.
Step 3: Sanding
- Lightly sand every surface you plan to paint using 120-grit sandpaper.
- Focus on glossy or slick areas.
- Wipe away dust with a tack cloth.
- For a super smooth finish, follow with 220-grit sandpaper.
Non-obvious tip: Sanding between coats (called “de-nibbing”) with very fine sandpaper (320 grit) can make your finish feel factory-smooth.
Step 4: Tape Off Areas
- Use painter’s tape to protect parts you don’t want painted (inside drawers, back panel edges).
- Press tape down firmly to avoid paint bleeding.
Step 5: Prime
- Apply a high-quality primer suitable for wood (stain-blocking if the dresser is dark).
- Use a roller for flat areas and a brush for corners.
- Let the primer dry fully, usually 2-4 hours.
Why prime? The Hemnes’ original finish can prevent paint from sticking. Primer solves this and helps colors look true.
Painting Your Ikea Hemnes Dresser: Step-by-step
Now the fun part begins. Take your time—rushing leads to mistakes you’ll notice later.
Step 1: Paint The Frame
- Start with the main structure, not the drawers.
- Use a foam roller for flat sides and a brush for edges or details.
- Apply thin, even coats. Thick layers may drip or peel.
- Let dry between coats (usually 2-4 hours).
Step 2: Paint The Drawers
- Lay each drawer face-up on a protected surface.
- Paint the front and sides. Avoid the inside and runners, as paint can interfere with smooth opening.
- Apply 2-3 thin coats for full coverage.
Example: If you choose a light color over a dark Hemnes finish, you may need more coats for solid coverage.
Step 3: Sand Between Coats
- After each coat dries, lightly sand with 220-320 grit sandpaper.
- Wipe dust with a tack cloth.
- This step makes the final coat smooth and professional-looking.
Step 4: Apply A Topcoat
- For dressers used daily, a polycrylic topcoat adds durability.
- Use a clean brush or foam roller for an even finish.
- Let dry fully before handling.
Note: Polycrylic is water-based and dries clear. Polyurethane is tougher but can yellow over time, especially on light paint.
Step 5: Reassemble
- Once everything is dry and cured (wait at least 24-48 hours), remove painter’s tape.
- Reattach hardware or upgrade to new knobs for a fresh look.
- Slide drawers back into place.
Non-obvious insight: Paint can take up to 30 days to fully cure. Be gentle with your dresser during this period to avoid dents or scratches.
Advanced Techniques For A Custom Look
Want to go beyond a simple color change? Here are some techniques to make your Hemnes dresser truly unique.
Two-tone Painting
Paint the frame in one color and the drawers in another. For example, a white frame with navy blue drawers looks modern and bold.
Ombre Effect
Use shades of the same color, with the darkest on the bottom drawer and the lightest on top. This creates a gradient look that draws the eye.
Stenciling
Add patterns using stencils and contrasting paint. Geometric shapes or florals can make your dresser a statement piece.
Distressing
Lightly sand the edges and corners after painting to reveal some wood or base color. This gives a vintage, shabby-chic feel.
Replace Knobs And Pulls
Swapping the original hardware for brass, glass, or ceramic knobs instantly elevates the dresser. Make sure to measure the screw spacing before buying.
Common Mistakes To Avoid
Many people make the same errors when painting Ikea Hemnes dressers. Avoid these to save time and frustration.
- Skipping sanding: Even if the paint says “no sanding,” the Hemnes’ finish needs light sanding for best results.
- Not using primer: Primer is essential for good adhesion and true color.
- Painting hardware: Paint on knobs and pulls chips quickly. Always remove hardware before painting.
- Painting inside drawers: Paint can make drawers stick and wear unevenly.
- Rushing drying times: Patience leads to a smoother, longer-lasting finish.
- Not sealing: Without a protective topcoat, paint can chip or stain.
Real-life Example: Transforming A Black-brown Hemnes
Let’s look at a real transformation. Maria had a black-brown Hemnes dresser that looked dated in her bright bedroom. She wanted a soft sage green dresser with gold knobs.
Steps she took:
- Removed hardware and drawers.
- Cleaned with soap and water, dried thoroughly.
- Sanded all surfaces with 120-grit, then 220-grit sandpaper.
- Applied a bonding primer.
- Painted with two coats of acrylic latex in sage green, sanding lightly between coats.
- Finished with two coats of polycrylic topcoat for durability.
- Replaced knobs with brushed gold hardware.
Result: The dresser looked brand new and matched her style perfectly. She noted that the sanding and priming steps made the paint go on smooth and prevented chipping, even after months of daily use.
How Long Does The Process Take?
Here’s a realistic timeline for painting your Hemnes dresser:
| Task | Time Estimate |
|---|---|
| Remove hardware, clean, sand | 1-2 hours |
| Tape and prime | 1 hour + 2-4 hours drying |
| First coat of paint | 1 hour + 2-4 hours drying |
| Second/third coats (if needed) | 1 hour per coat + drying |
| Apply topcoat | 30 minutes + 2-4 hours drying |
| Reassemble | 30 minutes |
| Total | 1-3 days (with drying times) |
Insight: Most of your time will be waiting for paint to dry. Plan the project over a weekend or several evenings.
How To Choose The Perfect Color
Color choice is personal, but here are some tips:
- For small rooms, light colors make the space feel bigger.
- Deep navy or emerald green look rich and dramatic.
- Soft pastels create a calming, modern look.
- Neutral tones like white, gray, or beige never go out of style.
If you can, buy sample pots and test a small area on the back or inside of a drawer before committing.
Pro tip: Consider how the dresser color will look with your flooring, wall color, and bedding. Natural light can also change how colors appear throughout the day.
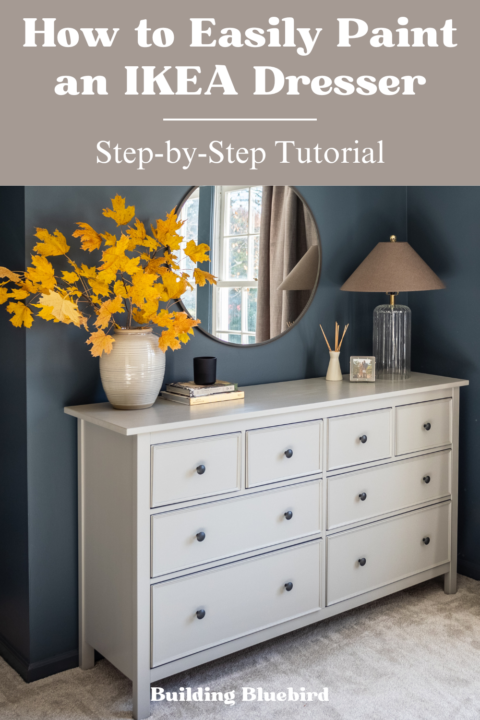
Credit: buildingbluebird.com
Caring For Your Newly Painted Dresser
Once your dresser is painted, a little care keeps it looking new.
- Clean with a damp, soft cloth. Avoid harsh chemicals.
- Use coasters or mats under items to prevent scratches.
- Touch up chips with leftover paint and a small brush.
- Let the paint cure for at least 30 days before heavy use.
Non-obvious tip: Placing felt pads under decorative items and baskets helps prevent dents or scratches, especially on soft matte finishes.
Budgeting: How Much Does It Cost?
Painting a Hemnes dresser is much cheaper than buying a new one. Here’s a rough budget breakdown:
| Item | Estimated Cost |
|---|---|
| Primer | $10–$20 |
| Paint | $20–$40 |
| Topcoat | $15–$25 |
| Sandpaper | $5 |
| Rollers/Brushes | $10–$20 |
| Painter’s Tape | $5 |
| Hardware (optional) | $10–$40 |
| Total | $65–$150 |
Example: A new Hemnes dresser can cost $200 or more, so painting is a great way to save money and get a custom look.
Environmentally Friendly Options
If you want to reduce your environmental impact, look for low-VOC or zero-VOC paints and primers. Many brands now offer eco-friendly options that are safe for indoor use and better for air quality. Properly cleaning and reusing brushes and rollers also helps reduce waste.
For more on safe paint choices, visit the EPA’s guide on VOCs.
Tips For Beginners
- Start small: If you’re nervous, practice on a small piece (like a drawer front) before tackling the whole dresser.
- Plan for mistakes: Keep extra paint for touch-ups.
- Take your time: Good results come from patience, not speed.
- Ask for help: Friends or family can make the process more fun and manageable.
- Watch for weather: If painting outside, avoid days that are too humid or cold.
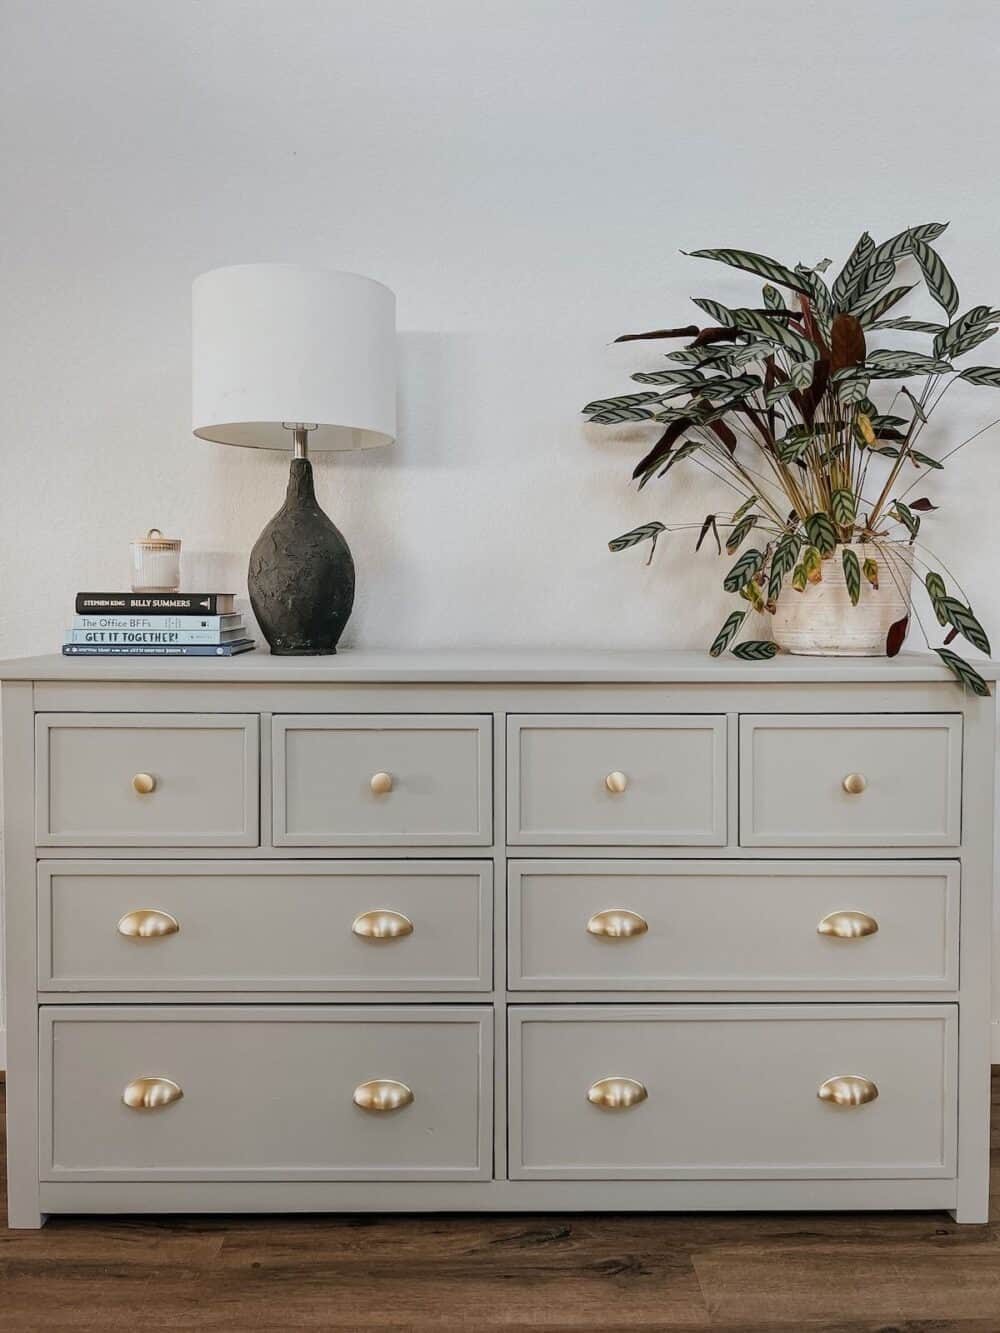
Credit: www.loveandrenovations.com
Frequently Asked Questions
How Do I Stop Brush Marks When Painting My Hemnes Dresser?
Use a high-quality brush or foam roller, and apply thin coats. Sand lightly between coats with fine sandpaper. Paint with the grain of the wood for a smoother finish.
Can I Paint Hemnes Dressers Without Sanding?
While some paints claim “no sanding needed,” the Hemnes’ slick finish means light sanding is best for long-lasting results. Skipping this step can cause peeling.
What Is The Best Primer For Ikea Hemnes Dressers?
A stain-blocking, water-based primer made for wood works best. Brands like Zinsser and Kilz are popular choices. This type of primer helps paint stick and covers any old stains.
How Long Should I Wait Before Using My Painted Dresser?
Wait at least 24-48 hours before reassembling and light use. For full durability, let the paint cure for 30 days before placing heavy items or cleaning with water.
Can I Use Spray Paint On My Hemnes Dresser?
Spray paint is possible but tricky for large furniture. You’ll need many cans, and even coverage is hard. For a smoother, more professional finish, use a brush or foam roller.
Painting your Ikea Hemnes dresser is a project that combines creativity and practicality. With the right prep, materials, and patience, you can achieve a beautiful, long-lasting result that matches your unique style. Don’t rush the process, and remember that each step makes a difference in how your dresser looks and lasts.
Whether you want a subtle update or a bold transformation, your Hemnes dresser is the perfect canvas for your next DIY adventure.