Creating your own leather furniture is a rewarding project that blends craft, design, and function. Whether you want a statement piece for your living room or a custom chair that fits your space perfectly, making leather furniture at home is possible with the right materials, planning, and skills. This guide covers everything you need to know, from choosing leather to building the frame, upholstery techniques, and finishing touches. You’ll also learn tips that even experienced hobbyists sometimes overlook.
Understanding Leather Furniture
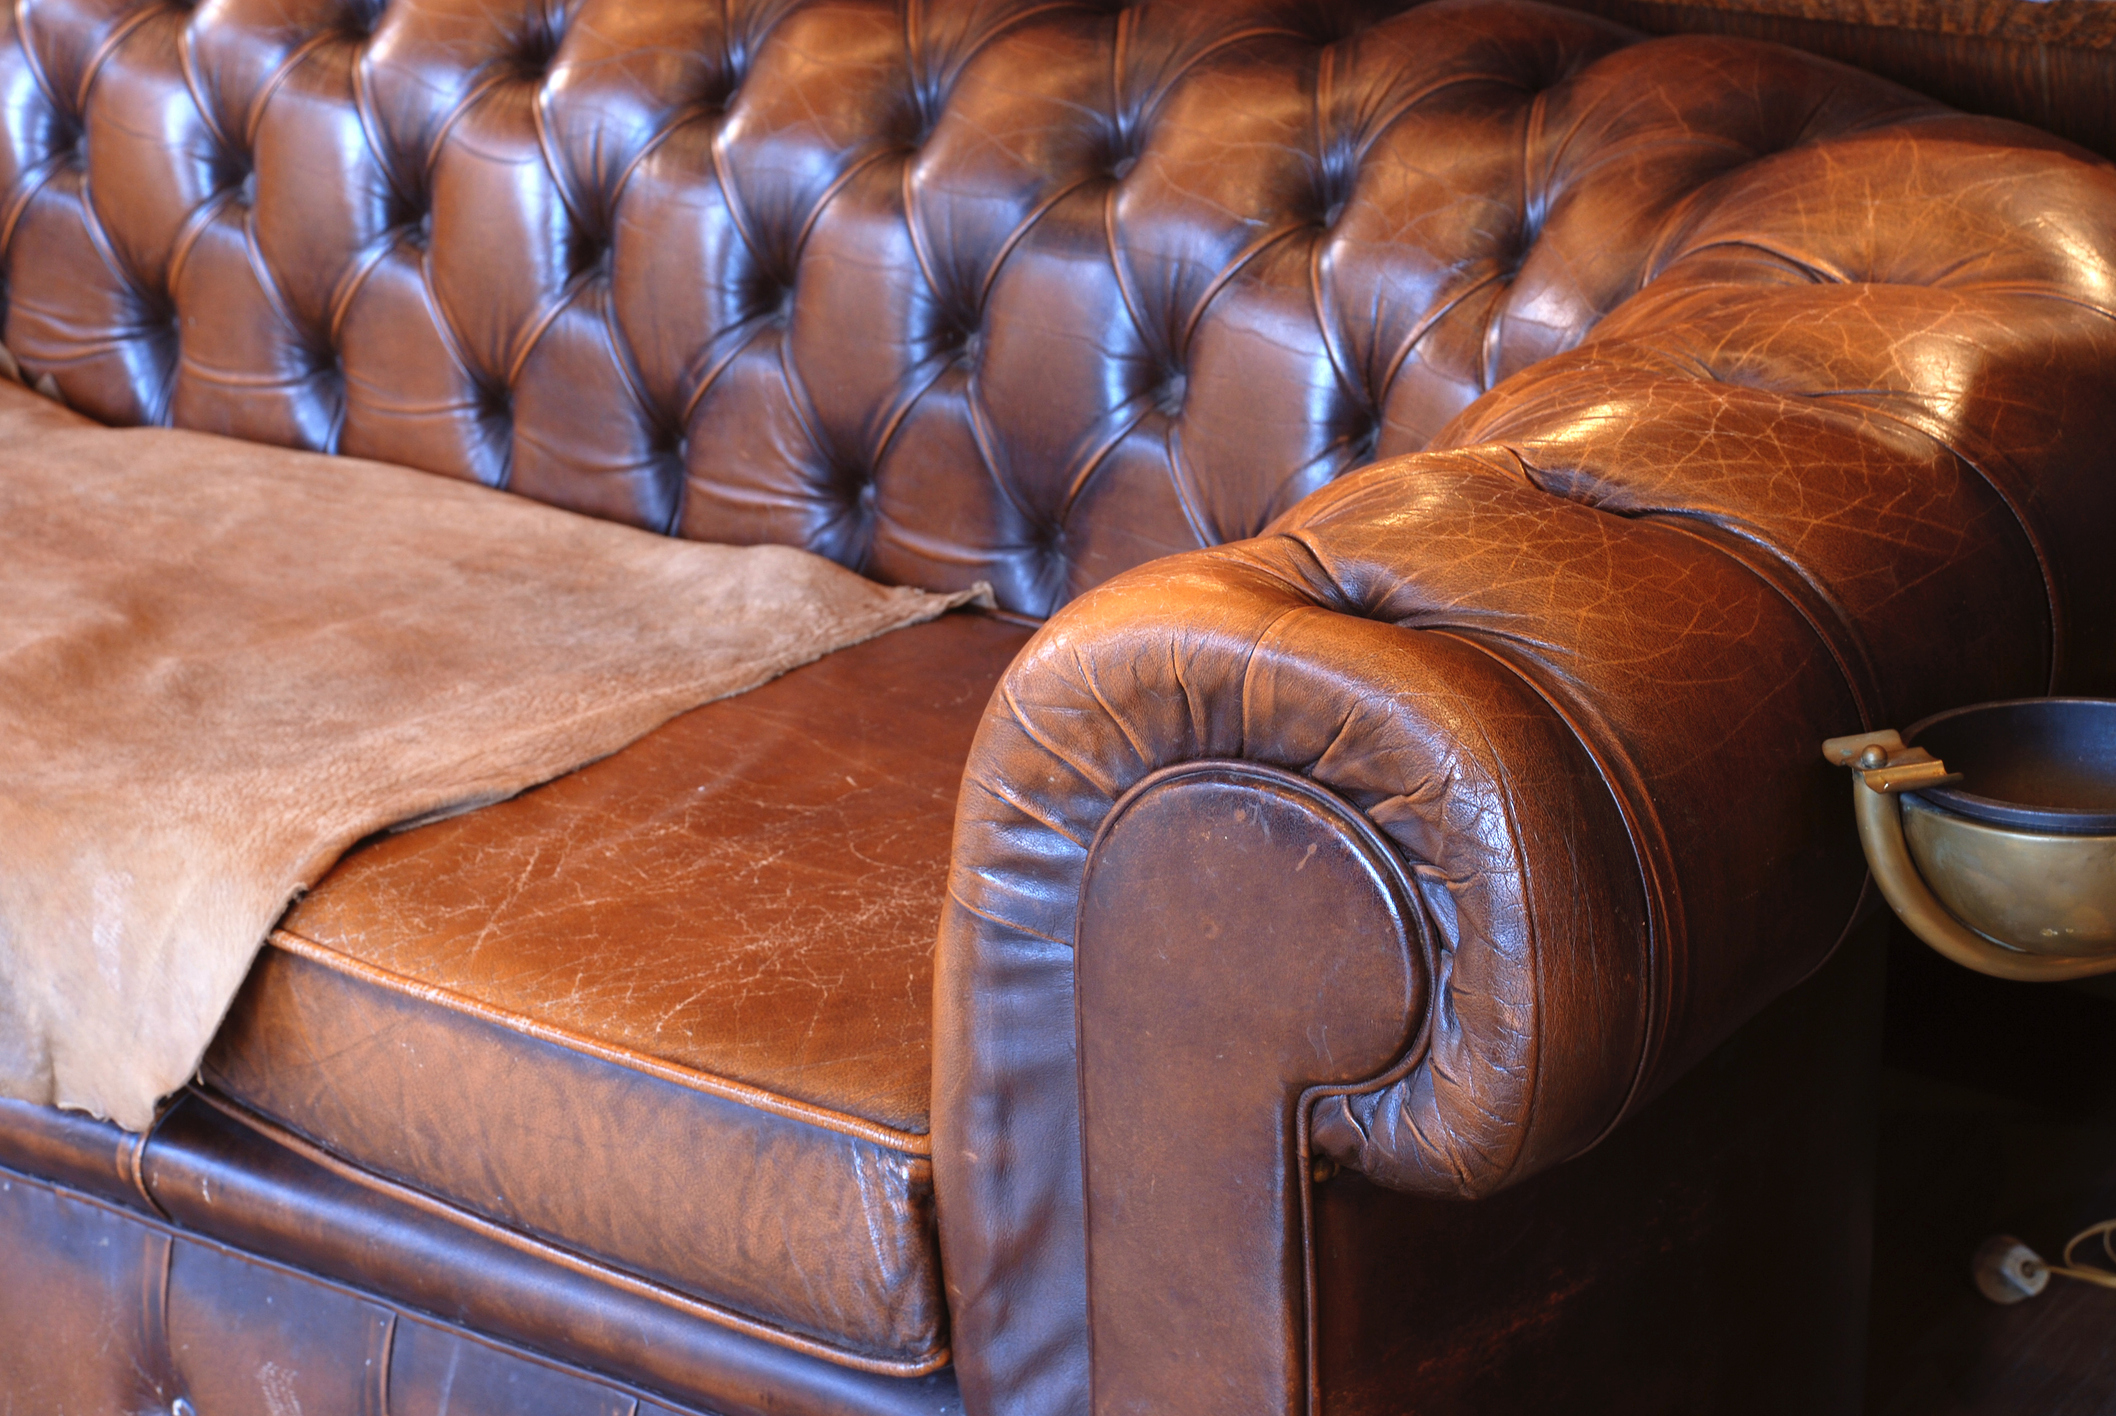
Leather furniture stands out for its durability, comfort, and timeless style. It can last decades with proper care. Real leather ages beautifully, developing a unique patina over time. Before starting, it’s important to understand why leather is popular and what makes it different from other materials.
Leather breathes, so it stays cool in summer and warm in winter. It’s resistant to stains and tears, making it a good choice for families and high-traffic areas. But making leather furniture requires patience, the right tools, and attention to detail.
One thing many beginners miss: not all leather is the same. There are big differences in quality, thickness, and finish. Choosing the right type for your project is the first step to success.
Planning Your Leather Furniture Project
Every great project begins with a plan. Think about the type of furniture you want to make: a sofa, armchair, ottoman, or something else. Consider where it will go in your home, the size, and the style that matches your decor.
Start by sketching your design. You don’t need to be an artist—simple drawings with measurements are enough. This will help you calculate how much leather and other materials you need. Decide if you want visible seams, tufted buttons, or a smooth, modern look.
Key factors to plan:
- Functionality: Will the furniture be used daily, or is it more decorative?
- Size: Measure your space carefully.
- Comfort: Think about cushion thickness and support.
- Style: Traditional, modern, rustic, or something else.
Many first-timers forget to consider the weight and bulk of leather furniture. Make sure your design can be moved through doorways and fits the room.

Credit: simplepracticalbeautiful.com
Choosing The Right Leather
Selecting the right leather is critical. There are several types, each with unique properties. Here’s a breakdown to help you choose:
| Leather Type | Features | Best For |
|---|---|---|
| Full-grain | Thick, natural surface, ages well | Luxury sofas, armchairs |
| Top-grain | Smooth, more flexible, slightly sanded | Modern designs, high-use pieces |
| Split-grain | Softer, less durable, often embossed | Ottomans, decorative pieces |
| Bonded leather | Made from scraps, less expensive | Budget projects, rarely for long-term use |
Full-grain leather is the top choice for premium furniture. It’s thick, strong, and develops character with age. Top-grain is also excellent and a bit more flexible. Split-grain is cheaper and can work for less-used items. Avoid bonded leather for main seating because it cracks over time.
When buying leather, check:
- Thickness (measured in ounces or millimeters)
- Surface quality (look for scars, holes, or blemishes)
- Flexibility (should bend without cracking)
- Color consistency
A quick tip: Always order a little extra leather in case of mistakes. Matching color and grain later can be difficult.
Tools And Materials Needed
Making leather furniture requires both woodworking and upholstery tools. Gathering everything in advance will make the process smoother.
Essential tools:
- Measuring tape and ruler – For accurate sizing
- Carpenter’s square – For precise corners
- Saw (circular or handsaw) – To cut wood for the frame
- Electric drill and screws – For assembling the frame
- Staple gun (manual or pneumatic) – For attaching fabric and leather
- Upholstery needles and thread – Heavy-duty, for sewing leather seams
- Leather shears or rotary cutter – For clean leather cuts
- Rubber mallet – For fitting pieces without damage
- Foam cutter or knife – For shaping cushions
- Glue (wood and contact cement) – For attaching foam and leather
Materials:
- Quality leather (type and color of your choice)
- Solid wood (oak, maple, or plywood for frame)
- High-density foam (for cushions)
- Upholstery webbing or springs (for seat support)
- Batting (polyester or cotton for padding)
- Screws, nails, tacks
- Upholstery fabric (for areas not covered by leather)
- Finishing materials (leather conditioner, wood stain or paint)
Pro tip: Use high-quality materials for the frame and supports. Weak frames lead to sagging and noisy furniture.
Building The Furniture Frame
The frame is the backbone of your furniture. It must be strong enough to support weight for years. Most leather furniture uses a wooden frame, often made of hardwoods like oak or maple.
Steps To Build A Simple Armchair Frame
- Cut the wood to size. Use your design plans for all frame pieces: Legs, seat, back, and arms.
- Assemble the seat base. Attach the front, back, and side rails to form a rectangle.
- Install seat support. Add webbing or metal springs for comfort and durability.
- Attach legs. Use strong screws and corner blocks for stability.
- Build the back and arms. Secure them to the base with wood glue and screws.
- Check for squareness. Use a carpenter’s square to ensure all angles are 90 degrees.
| Wood Type | Strength | Cost | Best Use |
|---|---|---|---|
| Oak | High | $$$ | Heavy-duty frames |
| Maple | Medium-High | $$ | General frames |
| Plywood | Medium | $ | Hidden supports |
Tip: Pre-drill holes to prevent wood from splitting. Reinforce joints with wood glue and corner blocks for extra strength.
Adding Cushioning And Padding
Comfort is key for any seating furniture. The right combination of support and softness makes a big difference.
Cushion Materials
- High-density polyurethane foam is the most common. It offers support and holds its shape.
- Memory foam adds luxury but can be expensive.
- Down or polyester batting creates a softer, plush feel.
How to add cushioning:
- Cut foam to fit the seat and back areas.
- Add layers of batting for smooth edges.
- Attach foam to the frame using spray adhesive or contact cement.
- For extra comfort, use a mix of foam and down in seat cushions.
Don’t forget to round the edges of the foam with scissors or a foam knife. Sharp edges create hard, unnatural corners when covered with leather.
Upholstery: Cutting And Sewing Leather
This is where your furniture starts to take shape. Working with leather is different from fabric—mistakes are harder to fix, so measure twice and cut once.
Preparing The Leather
- Lay out the leather hide on a clean, flat surface.
- Mark patterns using chalk or a soft pencil. Remember to add extra for seams (about 1/2 inch).
- Cut pieces with sharp leather shears or a rotary cutter for clean edges.
Sewing Leather
Leather is thick, so you need heavy-duty needles and strong upholstery thread. Most projects use a seam allowance of about 1/2 inch.
- Sew seams on a sturdy sewing machine or by hand with special needles.
- Reinforce stress points (like corners) with backstitching or extra layers.
- For a professional look, use double-stitched seams.
Expert insight: Test your stitches on a scrap piece first. Adjust thread tension and needle size to avoid skipped stitches or holes.
Attaching Leather To The Frame
With your leather pieces ready, it’s time to upholster the frame. This step needs patience and careful stretching.
Step-by-step Upholstery
- Start with the largest areas (like seat and back). Lay the leather over the padding.
- Align edges and tuck leather into corners.
- Staple one side to the frame, then pull the leather tight and staple the opposite side.
- Work from the center outwards for smooth, wrinkle-free surfaces.
- Fold and pleat leather neatly at corners. Use a rubber mallet to help shape tight spots.
- Trim excess leather only after you’re sure of the fit.
Common mistake: Over-stretching leather causes it to crack over time. Pull it snug, but don’t force it.
Finishing Touches
- Add decorative nails or tacks along seams for a classic look.
- Install tufted buttons using a long upholstery needle.
- Attach dust covers (fabric on the bottom) to hide frame details.
For moving parts like recliners, leave extra slack in the leather to prevent tearing.
Credit: www.thecleaningauthority.com
Staining, Finishing, And Protecting Your Leather Furniture
After upholstery, it’s time to finish your piece. Even pre-colored leather benefits from a good conditioner to keep it supple.
Staining And Coloring
Most leather for furniture comes pre-dyed, but you can add custom color with leather stain. Always test on a scrap before applying to your furniture.
- Apply stain with a soft cloth or sponge in thin, even layers.
- Let each layer dry fully before adding the next.
- Finish with a leather sealer for protection.
Conditioning
Leather dries out over time. A good leather conditioner keeps it soft and prevents cracks. Apply it every 6-12 months, or more often in dry climates.
Protecting The Frame
If your furniture has visible wood, finish it with stain or clear varnish. Sand smooth between coats for a professional look.
Tip: Attach felt pads to the bottom of legs to protect your floors.
Common Challenges And How To Solve Them
Making leather furniture isn’t always easy. Here are some issues you might face—and how to handle them:
- Leather wrinkles or sags: This happens if the leather isn’t stretched evenly. Work slowly and staple from the center outwards.
- Stitching tears through leather: Use a thimble for hand sewing and heavy-duty thread. Never use regular cotton thread.
- Frame feels wobbly: Reinforce joints with corner blocks and check for loose screws.
- Uneven color: Always buy leather from the same batch. If you must join pieces, place seams in less visible areas.
- Leather cracks: This is often from over-drying or old leather. Use conditioner regularly and avoid placing furniture in direct sun.
Not-so-obvious insight: Let new leather furniture “breathe” for a few days before heavy use. This helps the leather adjust to its shape and the padding to settle.
Comparing Diy Vs. Store-bought Leather Furniture
Is building your own leather furniture worth it? Here’s a quick comparison to help you decide:
| Aspect | DIY | Store-Bought |
|---|---|---|
| Cost | Lower for materials, higher for time | Higher upfront |
| Customization | Unlimited design, size, color | Limited choices |
| Quality Control | Direct control over every detail | Quality varies by brand |
| Time Investment | High (weeks to months) | Immediate |
| Skill Required | Moderate to advanced | None |
DIY is best if you want a unique piece and enjoy hands-on work. Store-bought is easier but less personal.
Maintaining Leather Furniture
After all your hard work, keeping your leather furniture in top shape is important.
Maintenance tips:
- Dust regularly with a dry, soft cloth.
- Clean spills quickly with a damp cloth. Avoid soap or harsh cleaners.
- Condition leather every 6-12 months.
- Keep away from heat sources (like radiators) and direct sunlight.
- Rotate cushions to prevent uneven wear.
Avoid sharp objects (keys, pet claws) that can scratch the surface.
Pro insight: Small scratches can often be buffed out with your finger or a dab of leather conditioner.
Advanced Techniques And Customization
If you want to go beyond basics, there are many ways to customize your leather furniture:
- Tufting: Adds a classic, elegant look. Mark button locations before upholstering.
- Contrast stitching: Use a thread color that stands out for a modern vibe.
- Embossing: Create patterns with heat and pressure for a unique finish.
- Mixing materials: Combine leather with fabric or wood accents.
Experiment on scraps before trying new techniques on your finished piece.
Safety Tips And Best Practices
Working with leather and wood can be safe if you follow basic precautions:
- Always wear safety glasses when cutting wood or using power tools.
- Use gloves when cutting leather to avoid cuts.
- Work in a well-ventilated area, especially when using glue or stains.
- Keep tools sharp and clean for best results.
- Store leftover leather flat or rolled to prevent creases.
Beginner’s reminder: Don’t rush. Leather furniture is an investment in time and effort.

Credit: www.youtube.com
Where To Learn More
There are many resources for learning leatherworking and furniture building. Local workshops, online tutorials, and books can help you improve your skills. For in-depth information, the Wikipedia entry on upholstery provides a solid foundation.
Frequently Asked Questions
How Much Does It Cost To Make Leather Furniture At Home?
The cost varies by size, leather quality, and tools. A basic armchair may cost $300–$700 for materials. Sofas can run $800–$2,000. Investing in good tools can save money on future projects.
Can I Use Faux Leather Instead Of Real Leather?
Yes, faux leather is cheaper and easier to work with, but it’s less durable and doesn’t age as well as real leather. It’s a good choice for practice or for pieces that won’t see heavy use.
What’s The Hardest Part Of Making Leather Furniture?
For most beginners, sewing and stretching leather is the hardest. Cutting mistakes are expensive, and leather doesn’t hide errors like fabric does. Take your time and practice on scraps first.
How Do I Repair Scratches Or Cracks In Leather?
Small scratches can be buffed with conditioner. Deeper cracks may need leather filler and color restorer. Prevention is best: keep leather moisturized and away from sharp objects.
Do I Need Special Tools For Leather Furniture?
Some basic tools (like staple guns and sewing needles) must be heavier-duty for leather. A regular sewing machine may not work; look for an upholstery-grade machine or sew by hand with leather needles.
Crafting leather furniture is a challenging but deeply satisfying experience. With the right materials, careful planning, and patience, you can create a piece that lasts for decades—one that’s truly your own.