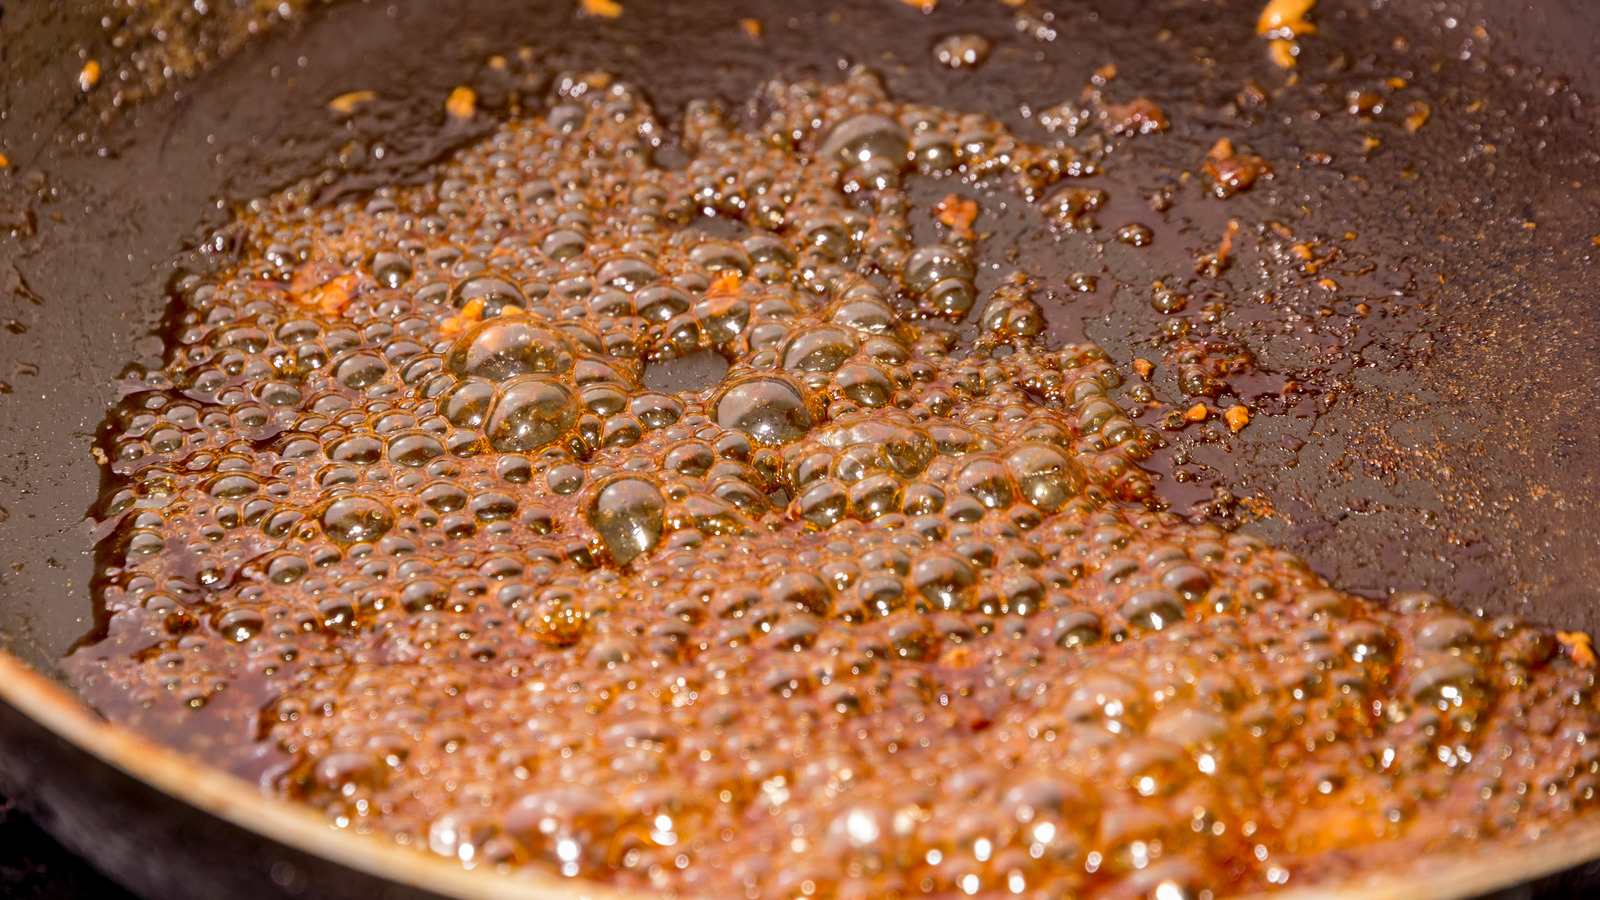
Getting burnt sugar off a pan can feel like a nightmare. The sticky, blackened mess seems glued to the metal, and scrubbing only makes it worse. Many people have faced this problem, whether after making caramel, syrup, or a sweet sauce.
The good news is, you don’t have to throw out your pan or spend hours scraping. With the right steps, tools, and knowledge, you can restore your pan without damaging it.
In this article, you’ll find detailed methods to remove burnt sugar from any type of pan—stainless steel, nonstick, or cast iron. You’ll learn why burnt sugar sticks so stubbornly, which cleaning solutions really work, and how to avoid common mistakes.
This guide also explores what to do if you have serious build-up, plus tips for preventing burnt sugar in the future. By the end, you’ll feel confident tackling even the toughest burnt sugar messes.
Why Does Sugar Burn And Stick To Pans?
Burnt sugar forms when sugar is heated past its melting point—about 320°F (160°C)—and then allowed to cook further. As the sugar breaks down, it turns brown and then black, forming a carbonized layer. This layer bonds tightly to metal surfaces, especially at high temperatures.
Pans with thin bottoms or poor heat distribution are more likely to have hot spots where sugar burns. Stainless steel and aluminum pans are especially prone, since they conduct heat quickly. Nonstick pans can suffer too, although the coating can sometimes help with removal.
Burnt sugar is tough because it’s not just a stain—it’s a solid, glassy residue. Water alone usually doesn’t work, since sugar dissolves slowly when it’s in this form. That’s why knowing the right techniques is so important.
Safety First: What To Do Before Cleaning
Before you start, make sure your pan is safe to handle. If the pan is still hot, let it cool completely. Trying to clean a hot pan can cause burns or damage the pan’s surface.
If you notice any cracks or warping in your pan after burning sugar, inspect it carefully. Sometimes, extreme heat can weaken the metal or nonstick coating. If the pan seems damaged, consider replacing it to avoid safety risks.
Wear gloves if you’ll be using strong cleaners, scrubbing pads, or boiling water. This protects your skin from irritation and accidental burns.
Quick Assessment: What Type Of Pan Are You Cleaning?
The best method to remove burnt sugar depends on the pan material. Here’s a quick overview:
| Pan Type | Best Cleaning Method | Extra Precautions |
|---|---|---|
| Stainless Steel | Boiling, baking soda, vinegar | Avoid metal scrubbers to prevent scratches |
| Nonstick | Soak, gentle scrubbing, baking soda | Never use abrasive pads |
| Cast Iron | Boiling, coarse salt, re-seasoning | Dry and oil afterward to prevent rust |
| Copper | Mild cleaners, baking soda paste | Avoid acidic solutions that tarnish copper |
Knowing your pan type helps you avoid damage and choose the right approach.
Method 1: The Boiling Water Technique
This is often the first and safest method to try, especially if the burnt sugar layer is fresh and not too thick.
- Fill the pan with enough water to cover the burnt area.
- Bring the water to a boil on the stove. Let it boil for 10–15 minutes. The heat helps soften and loosen the burnt sugar.
- Turn off the heat and let the water cool slightly.
- Use a wooden spoon or silicone spatula to gently scrape the loosened sugar. Avoid metal utensils, which can scratch the pan.
- Pour out the water. If some sugar remains, repeat the process or move to another method.
This technique works well for stainless steel, cast iron, and even nonstick pans if you’re gentle. Many people miss that letting the water cool a bit makes it safer and sometimes helps the sugar lift off in larger pieces.
Pro tip: Add a few drops of dish soap to the water before boiling. This helps break down sticky sugar and makes it easier to remove.
Method 2: Baking Soda Power
Baking soda is a gentle abrasive and a natural cleaner. It’s safe for most pan types and can break down stubborn burnt sugar without scratching.
- Sprinkle a generous amount of baking soda over the burnt area.
- Add a small amount of water to form a thick paste.
- Let the paste sit for 15–30 minutes. The longer it sits, the more it softens the sugar.
- Use a non-scratch sponge or cloth to scrub in a circular motion. Apply firm pressure, but do not use steel wool on nonstick or delicate pans.
- Rinse with warm water. Repeat if necessary.
This method is especially good for nonstick pans, where you need to avoid harsh abrasives. For tough spots, try repeating the process with a fresh batch of baking soda paste.
Beginner insight: Many people use too little baking soda. A thick, wet paste works better than a thin layer, as it stays in contact with the burnt sugar longer.
Method 3: Vinegar And Baking Soda Fizz
Combining white vinegar with baking soda creates a bubbling reaction that can lift off burnt sugar.
- Pour enough white vinegar into the pan to cover the burnt area.
- Heat the vinegar gently (do not boil). Warm vinegar helps dissolve sugar.
- Remove from heat and immediately sprinkle baking soda over the area. It will fizz and bubble.
- Let the mixture sit for 10–20 minutes. The reaction helps loosen the carbonized sugar.
- Scrub with a soft brush or non-scratch sponge. Rinse and repeat if needed.
This technique works for stainless steel and some nonstick pans (check your manufacturer’s guide for vinegar safety). Do not use vinegar on cast iron or copper pans, as it can damage the surface.
Expert tip: Vinegar’s acidity works well on sugar, but always rinse thoroughly to remove any acid residue.
Method 4: The Soak-and-scrape Approach
If you’re dealing with a heavy build-up or old burnt sugar, soaking is key.
- Fill the pan with hot, soapy water. Use a strong dish detergent.
- Let it soak for at least 1 hour. For very tough cases, soak overnight.
- Scrape gently with a plastic or wooden spatula. Avoid sharp metal tools.
- Repeat as needed, or combine with other methods (like baking soda) for more power.
This method is safe for all pan types, but the soaking time is the secret. Many people give up too soon—soaking overnight often makes the difference.
Method 5: Dishwasher Tablet Trick
Dishwasher tablets contain powerful cleaning agents that can help with stubborn burnt sugar.
- Place a dishwasher tablet (not a powder) directly on the burnt area.
- Add hot water to cover the mess.
- Let it soak for 1–2 hours. The tablet will dissolve and release cleaning agents.
- Scrub with a non-scratch sponge.
- Rinse thoroughly.
This method is great for stainless steel and oven-safe pans. Do not use on nonstick or seasoned cast iron, as the chemicals can damage the surface.
Non-obvious insight: You can use this trick for burnt sugar on baking sheets and oven trays, too—not just pots and pans.
Method 6: Lemon And Salt Scrub
For those who prefer natural cleaners, lemon and coarse salt can help remove burnt sugar and freshen up your pan.
- Cut a lemon in half and sprinkle coarse salt on the cut side.
- Rub the lemon over the burnt sugar area. The acid and salt work together to break down the residue.
- Let it sit for 10 minutes, then scrub with a sponge.
- Rinse with warm water.
Lemon and salt are gentle but effective, especially for stainless steel and ceramic pans. Avoid on cast iron, as acid can strip the seasoning.
Method 7: The Oven Cleaner Solution (extreme Cases Only)
Oven cleaner is a last resort for very stubborn burnt sugar, especially if you’re trying to save an expensive stainless steel or aluminum pan.
- Spray a thin layer of oven cleaner on the burnt area.
- Let it sit for 20–30 minutes. Follow all safety instructions on the product label.
- Scrub with a non-metal brush.
- Wash thoroughly with hot, soapy water to remove all chemical residue.
Never use oven cleaner on nonstick, enamel, or cast iron pans. It can ruin the coating or seasoning. Always wear gloves and work in a well-ventilated area.
Method 8: Boiling With Vinegar
If you want a method that combines soaking and the power of acid, try boiling vinegar.
- Fill the pan with equal parts water and white vinegar to cover the burnt sugar.
- Bring the mixture to a gentle boil for 10–15 minutes.
- Turn off heat and let cool slightly.
- Scrub with a soft brush or spatula.
This is similar to the baking soda and vinegar method, but the prolonged heat helps soften stubborn residue.
Method 9: Commercial Pan Cleaners
There are specialty pan cleaners on the market designed for burnt-on messes.
- Look for products made for your specific pan material (stainless, nonstick, etc.)
- Always follow the label directions.
- Test on a small area first to check for reactions.
Some popular brands include Bar Keepers Friend, Bon Ami, and Weiman. These often use gentle abrasives and can save time.
Credit: www.foodrepublic.com
Method 10: Freezing Method
If the burnt sugar is thick and hard, freezing can make it brittle and easier to break off.
- Let the pan cool completely.
- Place it in the freezer for 1–2 hours.
- Use a wooden spoon to tap and chip off the hardened sugar.
This method is especially useful for glass or ceramic pans that can handle temperature changes.
Comparing Cleaning Methods
To help you choose, here’s a quick comparison of the most popular techniques:
| Method | Effectiveness | Pan Safety | Time Needed |
|---|---|---|---|
| Boiling Water | Good | All pan types | 15–30 mins |
| Baking Soda | Excellent for mild to moderate burns | Safe for most | 30–45 mins |
| Vinegar & Baking Soda | Very good for stainless steel | Avoid on cast iron/copper | 20–40 mins |
| Dishwasher Tablet | Excellent for tough jobs | Stainless/oven-safe only | 1–2 hrs |
| Oven Cleaner | Extreme cases | Stainless/aluminum only | 30–60 mins |
Non-obvious insight: Sometimes, combining two methods (like soaking, then baking soda paste) is more effective than repeating the same one many times.
Credit: www.reddit.com
How To Clean Burnt Sugar From Different Pan Types
Stainless Steel
Stainless steel is durable but can scratch easily. Use boiling water, vinegar, and baking soda methods. Avoid steel wool, which leaves permanent marks.
Nonstick
Nonstick pans require gentle care. Use soaking, baking soda paste, and non-abrasive sponges. Never use oven cleaner, vinegar, or metal tools.
Cast Iron
For cast iron, use boiling water and a wooden scraper. After cleaning, dry the pan completely and rub with a thin layer of oil to prevent rust. Never soak cast iron for long periods.
Copper
Copper pans are beautiful but delicate. Use baking soda paste and gentle scrubbing. Avoid acidic solutions and harsh chemicals.
Ceramic Or Glass
These can handle soaking, boiling, and even the freezing method. Avoid metal tools to prevent scratches.
Tools And Products That Help
You don’t need fancy equipment, but a few tools can make cleaning easier:
- Wooden spoon or spatula: Won’t scratch any surface.
- Non-scratch sponge or brush: Safe for all pans.
- Baking soda: Natural cleaner and gentle abrasive.
- White vinegar: Dissolves sugar and loosens residue.
- Dishwasher tablet: For heavy-duty cleaning.
- Rubber gloves: Protect your hands.
- Paper towels or microfiber cloth: For drying and polishing.
If you clean pans often, consider a pan scraper or specialty cleaning paste for stubborn spots.
Common Mistakes To Avoid
Many people damage their pans or waste time because of these mistakes:
- Using metal utensils: Scratches pan surfaces and can void warranties.
- Scrubbing nonstick pans with abrasives: Damages the coating, making food stick more in the future.
- Soaking cast iron too long: Causes rust and removes seasoning.
- Mixing cleaning chemicals: Can create dangerous fumes.
- Trying to clean pans while hot: Risk of burns and warping the pan.
- Skipping the soak: Trying to scrub right away is harder and less effective.
- Not rinsing well: Cleaning residues can affect food taste later.
Always check your pan’s care guide if you’re unsure.
Preventing Burnt Sugar In The Future
Prevention saves time and effort. Here’s how to avoid burnt sugar messes:
- Use a heavy-bottomed pan: Distributes heat evenly, reducing hot spots.
- Cook on low to medium heat: High heat burns sugar quickly.
- Stir constantly: Especially for caramel, candy, or sauces.
- Watch closely: Sugar can go from golden to burnt in seconds.
- Use a thermometer: For precise temperature control.
- Grease the pan: A thin layer of oil or butter can help sugar release more easily.
- Soak immediately: After cooking with sugar, fill the pan with water before it cools.
Extra tip: If you’re making candy or caramel, keep a bowl of ice water nearby. If things go wrong, you can quickly stop the cooking process.
When To Give Up And Replace The Pan
Sometimes, no cleaning method will restore your pan. If the surface is permanently blackened, warped, or pitted, it may be time for a new one. Nonstick pans with peeling coatings are unsafe for cooking.
If you cook with sugar often, consider investing in a pan just for sweets or candy. Some pans are designed to handle high heat and sticky messes better than others.
Environmental And Health Considerations
Burnt sugar is not toxic, but burnt residue left in pans can affect the taste of future meals. Some cleaning chemicals are strong—always rinse thoroughly and ventilate your kitchen.
Whenever possible, choose natural cleaners like baking soda, vinegar, and lemon. They’re safer for your family and the environment.
If you use commercial or chemical cleaners, dispose of rinse water responsibly, especially if you’re on a septic system.

Credit: www.reddit.com
Real-world Examples And Case Studies
Example 1: Sarah made caramel in a stainless steel pot and forgot it on the stove. The sugar burned black and hard. She tried scrubbing but only scratched the pan. Using the boiling water and baking soda paste method, she soaked and gently scrubbed. It took two rounds, but her pot was shiny again.
Example 2: Mike used a nonstick frying pan for syrup. He used a steel wool pad, which scratched the surface. The next time he cooked, everything stuck. He learned to use only a soft sponge and baking soda paste, saving his replacement pan from damage.
Example 3: Linda always puts her cast iron pan in the dishwasher after cleaning. It rusted and lost its seasoning. Now, she uses boiling water, a wooden scraper, and re-seasons her pan after cleaning.
Example 4: A professional baker uses only copper pans for caramel but never uses vinegar or harsh chemicals. She relies on soaking and gentle baking soda paste to keep her pans spotless.
These examples show that patience and the right method make all the difference.
Frequently Asked Questions
What Is The Fastest Way To Remove Burnt Sugar From A Pan?
The boiling water method is usually the quickest for fresh burns. Fill the pan with water, boil for 10–15 minutes, then scrape gently with a wooden or silicone utensil. For stubborn spots, add baking soda or a little dish soap to boost cleaning power.
Can I Use Steel Wool To Clean Burnt Sugar?
Avoid steel wool on nonstick or delicate pans. It can scratch and damage the surface. For stainless steel or cast iron, steel wool works but use it as a last resort. Always try gentler methods first to prevent permanent damage.
Is Burnt Sugar Toxic If Left In The Pan?
Burnt sugar is not toxic, but it can affect the taste and smell of future meals. It’s best to remove it completely. If the pan smells burnt after cleaning, rinse again with vinegar or baking soda and air dry.
How Can I Clean Burnt Sugar From A Nonstick Pan?
Use soaking, a thick baking soda paste, and a non-abrasive sponge. Never use vinegar, steel wool, or oven cleaner on nonstick surfaces. If the coating is damaged, consider replacing the pan for safety.
Where Can I Find More Information About Cleaning Cookware Safely?
For more tips and guidelines, visit the Wikipedia page on Cookware and Bakeware.
—
With the right approach, even the worst burnt sugar mess can be cleaned up. Remember to match your cleaning method to your pan type, use patience, and avoid shortcuts that could ruin your cookware. Clean pans last longer and make your cooking more enjoyable.
Next time you make caramel or sweet sauces, you’ll be ready—no fear of a sticky disaster.