Vinyl flooring is popular for homes, offices, and commercial spaces because it’s affordable, looks good, and is easy to clean. But even the best vinyl floors can develop bubbles—those raised spots that ruin a smooth look and sometimes make a popping sound when you walk on them. If you see bubbles in your vinyl flooring, you’re not alone. Many people face this problem, and it can happen to new or old floors.
Fixing vinyl flooring bubbles is important. If you ignore them, they might get bigger, peel, or even crack. This means you might have to replace your floor sooner than expected, costing more money and time. The good news is, with a bit of knowledge and the right tools, you can often fix these bubbles yourself.
In some cases, you might need professional help, but most bubbles are repairable with simple steps.
This article explains everything you need to know about how to fix vinyl flooring bubbles. You’ll learn why bubbles happen, how to spot their causes, step-by-step repair methods for different bubble types, and tips to prevent them from coming back. If you want your floor to look smooth again, keep reading. You’ll find practical advice, common mistakes to avoid, and answers to the top questions about vinyl flooring bubbles.
What Causes Bubbles In Vinyl Flooring?
Understanding what causes bubbles is the first step to fixing and preventing them. Bubbles in vinyl flooring usually happen because of problems during installation, issues with the subfloor, or changes in the room environment.
1. Poor Adhesive Application
If the glue or adhesive is not spread evenly when installing the vinyl, air pockets can get trapped. Over time, these pockets become visible bubbles.
2. Moisture Problems
Moisture is a common enemy of vinyl. If water leaks from below the floor (from a wet subfloor, spilled water, or high humidity), it can lift the vinyl and make bubbles.
3. Temperature Fluctuations
Vinyl expands and contracts with heat and cold. If the room temperature changes quickly or often, the flooring might not have enough space to move, causing it to bubble.
4. Heavy Furniture Or Traffic
Dragging heavy furniture or lots of walking in one area can loosen the glue. This makes the vinyl lose grip and bubble up.
5. Installation Over Uneven Subfloors
If the subfloor (the surface under the vinyl) is not flat or has debris, the vinyl can’t stick properly. This leads to uneven spots and bubbling.
6. Low-quality Vinyl
Cheap or very thin vinyl is more likely to bubble. Quality matters because better materials resist problems longer.
7. Air Trapped During Installation
Sometimes, installers do not press the vinyl down well, leaving small air pockets. These might not show up right away but will become bubbles after a few weeks.
Non-obvious Insight
Many homeowners think moisture only comes from spills, but often it rises from below if there’s no proper vapor barrier. Always check if your vinyl floor has a moisture-proof layer, especially in basements.
How To Identify Different Types Of Vinyl Flooring Bubbles
Not all bubbles are the same. Knowing what kind you have helps you choose the right repair method.
1. Surface Bubbles
These are shallow and feel soft. They usually happen right after installation and are often due to trapped air.
2. Deep Bubbles
These feel firmer and are harder to press down. They usually come from moisture or serious adhesive problems.
3. Edge Bubbles
These bubbles form near the walls or seams. They suggest the vinyl is expanding but doesn’t have enough room.
4. Random Isolated Bubbles
These are single bubbles in random spots. They might be from a small bit of dirt or glue missed during installation.
Extra Tip
If you see bubbles forming in a pattern (like a line or cluster), it often means the whole floor may have a bigger issue—like a moisture leak under the vinyl.
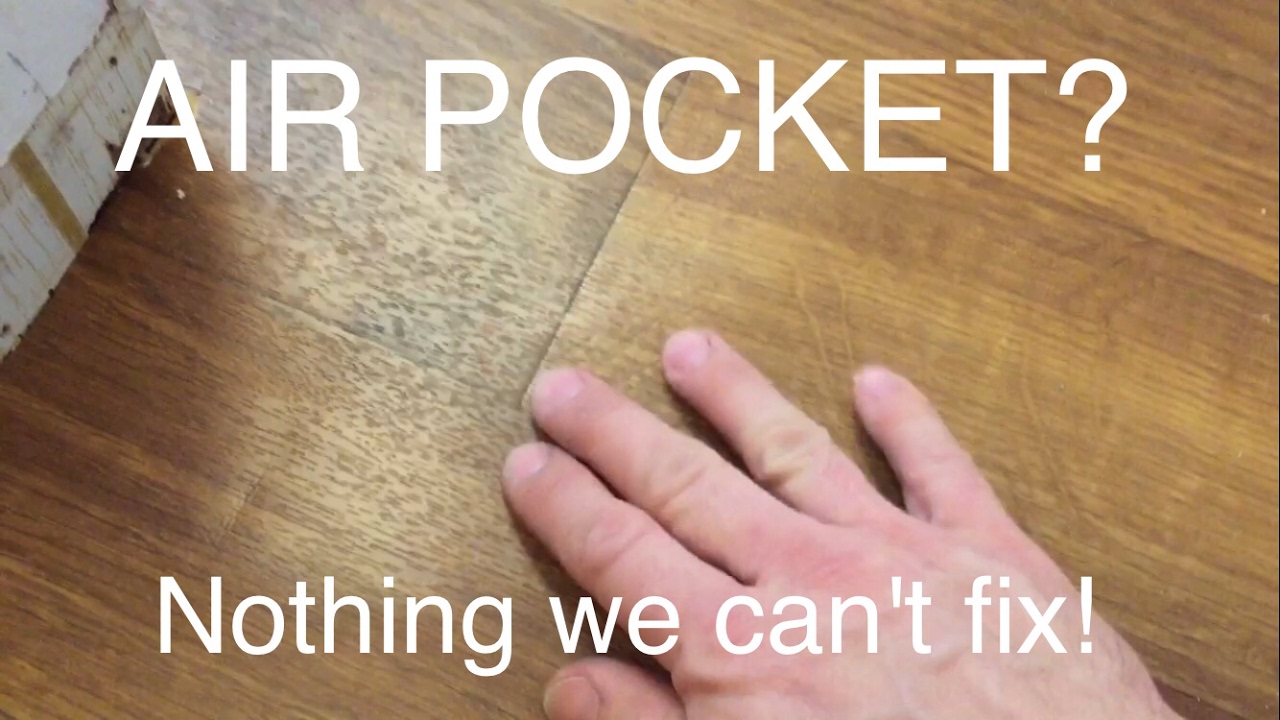
Credit: www.youtube.com
Tools And Materials You Need To Fix Vinyl Flooring Bubbles
Before you start, gather your supplies. Having the right tools makes the process smoother and prevents damage.
- Utility knife or razor blade
- Syringe or glue injector (small squeeze bottle works too)
- Flooring roller or rolling pin
- Clean cloth or sponge
- Weights (books, bricks, or heavy objects)
- Vinyl adhesive (make sure it matches your floor type)
- Hair dryer or heat gun
- Mild detergent and water
- Painter’s tape (optional)
- Putty knife
If you’re working on a large area or have never done repairs before, consider getting a vinyl floor repair kit. These kits often include adhesive, spreaders, and instructions.
Step-by-step Guide: How To Fix Vinyl Flooring Bubbles
Let’s break down the repair process for each type of bubble. Read through the steps before starting, and choose the one that matches your bubble problem.
Fixing Surface Bubbles (air Pockets)
Surface bubbles are often the easiest to fix. Here’s how to deal with them:
1. Clean The Area
Wipe the bubble and surrounding area with a damp cloth. Let it dry fully. Dirt can stop glue from sticking.
2. Heat The Bubble
Use a hair dryer or heat gun on a low setting. Move it slowly over the bubble for about 2–3 minutes. The heat softens the vinyl and adhesive.
3. Press Down And Roll
Use your hands (wear gloves if hot) to press the bubble down. Then, use a rolling pin or floor roller to push out the air toward the edge.
4. Weigh It Down
Place a heavy object (like a stack of books) on the spot for a few hours. This helps the vinyl stick flat.
Example
If you installed a new plank and see a small bubble the next day, this method usually removes it without cutting the vinyl.
Repairing Deep Bubbles (moisture Or Adhesive Failure)
Deep bubbles need a different approach. You’ll need to inject adhesive under the vinyl.
1. Cut A Small Slit
Use a sharp utility knife to make a small X or straight cut in the center of the bubble. Don’t cut too deep—just through the vinyl.
2. Lift The Edges Gently
Pry up the edges of the cut with a putty knife. Be careful not to tear the vinyl.
3. Dry The Subfloor (if Wet)
If you see moisture under the vinyl, dry it with a hair dryer. Make sure it’s completely dry before moving on.
4. Inject Adhesive
Fill a syringe with vinyl adhesive and inject it under the lifted edges. Spread the glue as far as possible.
5. Press, Roll, And Clean
Press the vinyl down firmly, roll out any air, and wipe away extra glue.
6. Tape The Cut (optional)
Use painter’s tape to keep the cut closed while the glue dries. Remove the tape after 24 hours.
Example
If your kitchen vinyl has a stubborn bubble that won’t flatten with heat, this method helps glue it back down.
Fixing Edge Bubbles
Edge bubbles often appear where the floor meets the wall or at seams.
1. Check For Expansion Gaps
There should be a small gap (about 1/4 inch) between the vinyl and the wall. If not, trim the edge with a utility knife.
2. Release Tension
If the vinyl is pushing up, gently lift and stretch it toward the wall, then press it back down.
3. Apply Adhesive
Use a small brush or syringe to put adhesive under the edge. Press and roll.
4. Weigh Down The Edge
Use weights along the wall for at least 12 hours.
Example
If you see bubbles only along one wall after a hot day, check if furniture is blocking the vinyl from moving.
Fixing Random Isolated Bubbles
For single bubbles not on seams or edges, use a pin or needle.
1. Sterilize A Needle Or Pin
Heat the tip for a few seconds to kill germs.
2. Puncture The Bubble
Insert the needle at an angle and press out the air.
3. Heat And Roll
Warm the spot with a hair dryer, then roll out flat.
4. Weigh It Down
Place a small weight for 6–8 hours.
Non-obvious Insight
Don’t use too much heat or a large pin. Too much heat melts vinyl, and a big hole can be more visible than the bubble.
Preventing Vinyl Flooring Bubbles In The Future
Once you fix the bubbles, you don’t want them to return. Prevention is better (and cheaper) than repair.
1. Prepare The Subfloor Properly
- Make sure the subfloor is dry, clean, and flat.
- Remove dust, debris, and old glue before installation.
- Use a moisture barrier if installing over concrete.
2. Use The Right Adhesive
- Buy adhesive recommended by the vinyl manufacturer.
- Follow mixing and spreading instructions carefully.
3. Allow For Expansion
- Leave a small gap at walls and fixed objects.
- Don’t press vinyl too tightly against walls.
4. Control Room Temperature And Humidity
- Keep the room at a steady temperature (65–85°F is ideal for vinyl).
- Avoid installing vinyl during extreme weather changes.
5. Roll The Floor After Installation
- Use a 100-pound roller or heavy rolling pin to press out air.
- Roll in different directions for best results.
6. Wait Before Moving Furniture
- Let the adhesive cure (usually 24–48 hours) before placing heavy items.
Extra Tip
If you’re installing vinyl in a basement, always test for moisture first. Even a little dampness can cause big problems later.
Comparing Vinyl Flooring Bubble Causes, Fixes, And Prevention
To make things clear, here’s a comparison of bubble causes, how to fix them, and how to prevent them.
| Bubble Cause | Repair Method | Prevention |
|---|---|---|
| Poor adhesive | Inject glue, roll flat | Use correct adhesive, press firmly |
| Moisture | Dry area, inject glue, seal | Moisture barrier, dry subfloor |
| Temperature changes | Trim edges, allow expansion | Expansion gap, control climate |
| Heavy traffic | Re-glue, roll, weigh down | Use floor protectors, avoid dragging |
| Subfloor debris | Lift, clean, re-glue | Clean subfloor before install |

Credit: www.youtube.com
When To Repair, Replace, Or Call A Professional
Sometimes, DIY repairs aren’t enough. Here’s how to decide what’s best for your vinyl floor.
Repair
- Small bubbles (under 2 inches)
- Surface bubbles with no damage
- Edge bubbles in one room
Replace
- Large bubbles in many places
- Torn or cracked vinyl
- Bubbles with mold or water damage
Call A Professional
- You can’t find the cause of bubbles
- Subfloor is very wet or damaged
- Commercial spaces with warranty requirements
Example
If your laundry room has a musty smell and bubbles everywhere, you likely have a moisture problem and should call a pro.
Costs Of Fixing Vinyl Flooring Bubbles
Knowing the expected costs helps you plan repairs.
Diy Costs
- Adhesive: $10–$20
- Syringe or injector: $5–$10
- Utility knife: $5–$15
- Roller or rolling pin: $15–$30
Total: $35–$75 (for Most Small Repairs)
Professional Repair
- Service call: $75–$150
- Labor: $50–$100 per hour
- Materials: $20–$50
Total: $125–$300 for simple jobs; more if large areas are involved.
Full Replacement
- New vinyl flooring: $2–$7 per sq. Foot (materials)
- Removal and installation: $2–$5 per sq. Foot (labor)
For a 200 sq. ft. room: $800–$2,400 or more.
Common Mistakes To Avoid
Even experienced DIYers can make errors when fixing vinyl flooring bubbles. Here are the most frequent mistakes and how to avoid them.
Using Too Much Heat
A hair dryer works well, but a heat gun on high can melt or discolor vinyl. Always start with low heat.
Skipping Subfloor Checks
Fixing the bubble without checking for moisture or dirt means the problem can return quickly.
Overusing Adhesive
Too much glue makes the floor lumpy and can ooze out, attracting dirt.
Rushing The Process
Not letting adhesive cure or weights sit long enough means the bubble may come back.
Ignoring Expansion Gaps
Pushing the vinyl too close to the wall leaves no space for movement, causing new bubbles.
Extra Tip
Always test repairs on a hidden area if you’re unsure. This way, mistakes are less visible.
How To Fix Bubbles In Different Types Of Vinyl Flooring
Vinyl flooring comes in several types: sheet vinyl, luxury vinyl planks (LVP), and vinyl tiles. Each type needs a slightly different approach.
| Type | Main Bubble Problem | Best Fix |
|---|---|---|
| Sheet vinyl | Large surface bubbles | Heat and roll; inject adhesive for deep bubbles |
| Luxury vinyl plank | Edge lifting, isolated bubbles | Trim edges, replace damaged planks if needed |
| Vinyl tile | Bubbles at seams or corners | Re-glue or replace affected tiles |
Example
If you have LVP with a locking system, you may need to remove planks to fix subfloor problems, not just inject glue.
How To Spot Hidden Problems Under Vinyl Flooring
Sometimes, bubbles are just a symptom of a bigger problem under your floor. Here’s how to check:
- Look for Discoloration
- Stains or dark spots can mean water damage.
- Check for a Musty Smell
- This often means mold or mildew under the vinyl.
- Feel for Soft Spots
- If the floor feels spongy, the subfloor may be rotting.
- Watch for Spreading Bubbles
- More bubbles appearing over time means a growing issue below.
Non-obvious Insight
Hidden leaks from appliances, pipes, or even humidifiers can cause recurring bubbles. Check all possible sources, not just the visible floor.
Step-by-step: Replacing A Damaged Vinyl Section
If a bubble can’t be fixed, you may need to replace a small section. Here’s how:
- Cut Out the Damaged Area
- Use a sharp knife to make a square or rectangle around the bubble.
- Lift the Vinyl
- Carefully peel up the damaged piece.
- Prepare the Subfloor
- Clean and dry the area. Sand if needed.
- Cut a Replacement Piece
- Use the old piece as a template to cut new vinyl.
- Apply Adhesive
- Spread glue evenly with a putty knife.
- Fit and Press Down
- Place the new piece, press firmly, and roll.
- Seal the Edges
- Wipe away extra glue and weigh down for 24 hours.
Example
If your floor has a torn bubble after moving a fridge, replacing just that area saves money and time.
Maintaining Your Vinyl Floor After Repairs
Proper care keeps your floor looking good and prevents future bubbles.
- Clean up spills quickly.
- Sweep or vacuum regularly to remove grit.
- Use mats at doors to catch dirt and water.
- Avoid dragging heavy furniture.
- Check for leaks, especially in kitchens and bathrooms.
Comparing Diy Vs. Professional Vinyl Floor Repairs
Which is right for you? Here’s a simple comparison.
| Factor | DIY | Professional |
|---|---|---|
| Cost | Low | High |
| Time | 1–2 hours (small repair) | 1–2 hours (plus scheduling) |
| Skill Needed | Basic DIY | Expert |
| Result | Good (with care) | Excellent |
| Warranty | No | Often Yes |
If you’re confident with tools and have a small bubble, DIY is fine. For big issues, a pro is worth the extra cost.
Credit: www.hometalk.com
Frequently Asked Questions
What Is The Most Common Cause Of Bubbles In Vinyl Flooring?
The most common cause is trapped air or moisture under the vinyl during installation. Poor adhesive and subfloor prep also make bubbles more likely.
Can I Fix Vinyl Flooring Bubbles Without Cutting The Vinyl?
Yes, for surface bubbles (air pockets), you can use heat and a roller to flatten them. But for deeper bubbles, you often need to cut or inject glue.
Will Bubbles In Vinyl Flooring Go Away On Their Own?
No. Bubbles usually get worse over time if not fixed. They may spread, and the vinyl can crack or peel.
Is It Safe To Use A Heat Gun On Vinyl Flooring Bubbles?
It’s safer to use a hair dryer. If you use a heat gun, keep it on low and move it constantly. Too much heat can melt or discolor vinyl.
When Should I Replace My Vinyl Floor Instead Of Repairing Bubbles?
Replace your floor if you see large, spreading bubbles, mold or water damage, or if the vinyl is old and brittle. If repairs don’t last or the subfloor is bad, replacement is best.
Taking care of vinyl flooring bubbles right away keeps your floor looking great and saves money. With the steps above, you can tackle most bubble problems yourself. For more details on vinyl flooring, check out this Wikipedia page on vinyl composition tile. With the right approach, your vinyl floor will stay smooth, safe, and beautiful for years.