Slipping in the bathroom is a common problem that can lead to serious injuries. Wet floors, smooth tiles, and soap residue create a risky environment, especially for children, elderly people, and those with mobility issues. Making your bathroom floor non slippery is not just about comfort—it’s about safety. Whether you live alone or with family, preventing slips should be a top priority. This guide covers every practical way to reduce slipperiness, from simple daily habits to advanced renovation solutions. You’ll learn both quick fixes and long-term strategies, with real examples, common mistakes to avoid, and expert tips to make your bathroom a safer place.
Why Bathroom Floors Become Slippery
Many people do not realize how easily a bathroom floor can become dangerous. The main reasons are:
- Water: Even a small amount creates a slick surface.
- Soap and shampoo: These leave a thin, invisible film that’s even more slippery than water alone.
- Tile material: Glossy or polished tiles reflect light but offer little grip.
- Poor drainage: Water puddles and does not dry quickly.
- Mold or mildew: Grows in damp areas, adding a slimy layer.
Understanding these factors helps you choose the right solution for your bathroom.
Quick Fixes: Immediate Actions For Safety
Some changes can make your bathroom safer within minutes. These do not require construction skills or expensive materials.
1. Wipe Water Spills Right Away
Always dry the floor after showers or using the sink. Keep a separate towel for the floor and hang it to dry after use. This simple habit prevents most accidents.
2. Remove Soap Residue Regularly
Soap scum forms quickly, especially in high humidity. Use a mop or sponge with a mild cleaner to remove it at least once a week. Avoid skipping corners—they build up the most residue.
3. Keep The Floor Clutter-free
Place shampoos, bottles, and brushes in caddies or on shelves. Items left on the floor can hide slippery patches and cause tripping.
Non-slip Mats And Rugs
Adding a non-slip bathroom mat is one of the fastest ways to improve safety. However, not all mats are equal. Here’s how to choose and use them effectively.
Choosing The Right Non-slip Mat
Look for these features:
- Rubber backing: Grips tiles and resists sliding.
- Waterproof material: Dries quickly and resists mold.
- Machine washable: Easier to keep clean.
- Low profile: Reduces the chance of tripping.
Avoid cotton mats without rubber backing. They absorb water but can slide unexpectedly.
Placement Tips
Put mats:
- Outside the shower or tub
- In front of the sink
- Near the toilet (if floors often get wet there)
Check mats regularly for curling edges and replace them if they stop gripping well.
Example Comparison Of Popular Mat Types
| Type | Material | Slip Resistance | Ease of Cleaning |
|---|---|---|---|
| Rubber-backed fabric | Microfiber + Rubber | High | Machine washable |
| PVC plastic mat | PVC | Medium | Rinse with water |
| Bamboo slat mat | Bamboo + Silicone grip | Medium | Wipe clean |
Anti-slip Coatings And Treatments
For a more permanent solution, consider applying an anti-slip coating to your bathroom floor. These treatments create a textured surface that increases grip without changing the look of your tiles much.
How Anti-slip Coatings Work
Most coatings use a special formula that reacts with the tile or stone, creating microscopic bumps. These are invisible but increase friction. Some products come as paints or sprays, while others are wipe-on liquids.
Application Steps
- Clean the floor completely—remove all dirt, soap, and oil.
- Dry the floor fully before applying the coating.
- Use a roller or brush to apply the product evenly.
- Let it dry as directed (usually 2-4 hours).
- Avoid walking on the floor until fully cured.
Reapply every 1-2 years or as directed by the manufacturer.
Pros And Cons
| Pros | Cons |
|---|---|
| Long-lasting effect | Can be hard to remove if you change your mind |
| Works on most tile types | May slightly dull glossy tiles |
| Invisible after drying | Professional installation may cost more |
Non-obvious insight: Many people forget to clean the floor with a degreaser before applying coatings. Any leftover oil or soap will block the coating from bonding, making it useless.
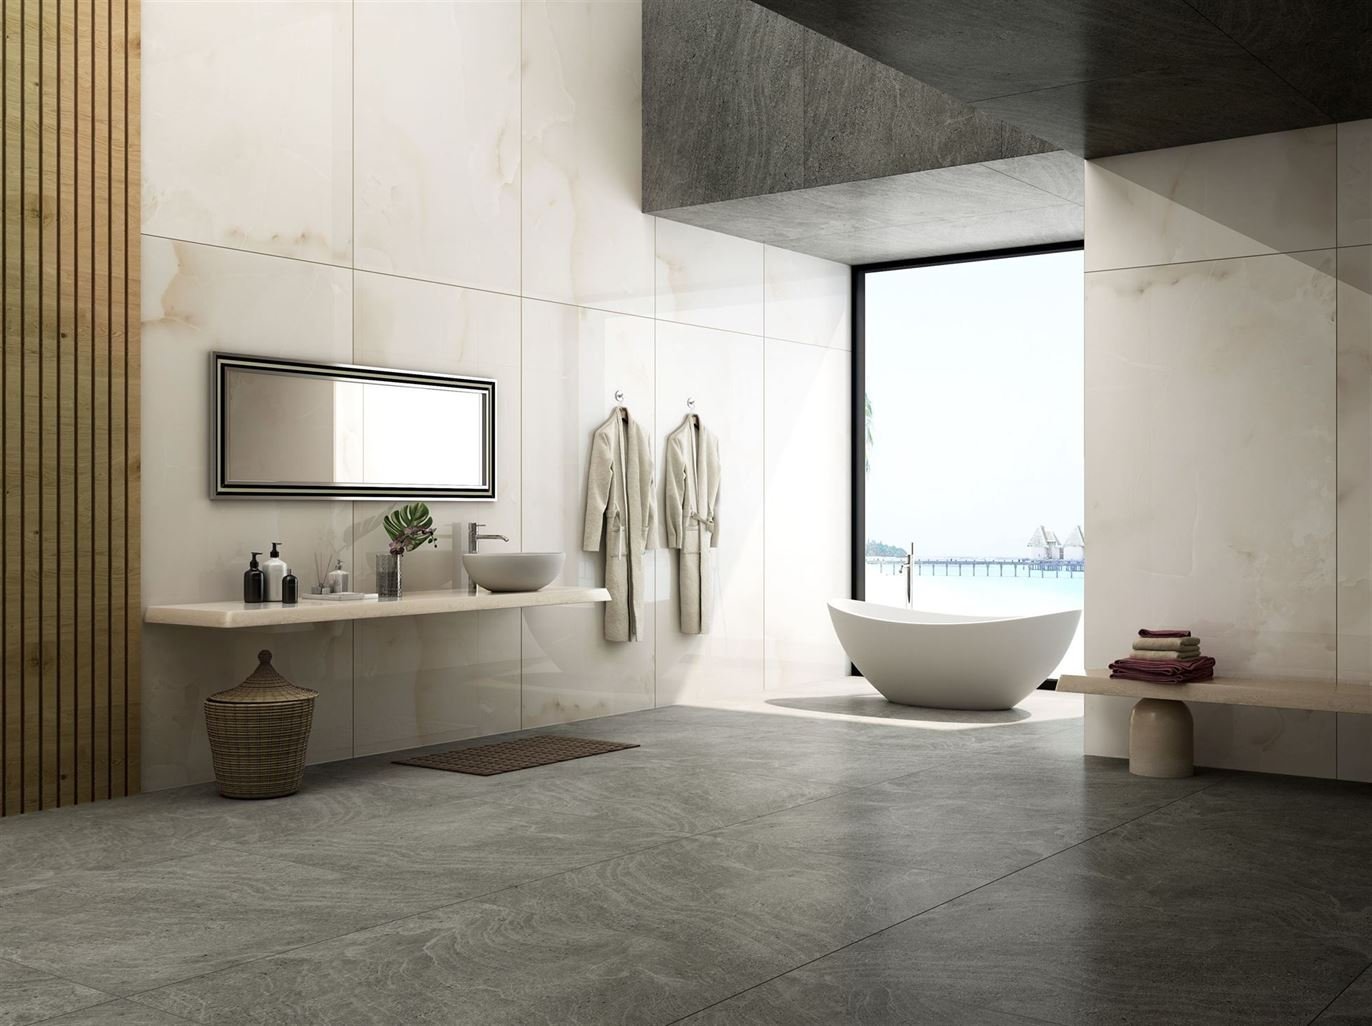
Credit: www.lioliceramica.com
Upgrade To Non-slip Tiles
If you are renovating or building a new bathroom, choose non-slip tiles from the start. These tiles have a textured or matte finish, increasing friction even when wet.
Types Of Non-slip Tiles
- Porcelain with matte finish: Good grip, looks modern.
- Textured ceramic: Small bumps or patterns built into the surface.
- Pebble or stone tiles: Natural grip but require more cleaning.
Check the COF rating (Coefficient of Friction). For bathrooms, a COF of 0.6 or higher is best.
Installation Tips
- Choose small tiles for shower floors. More grout lines mean more grip.
- Avoid glossy finishes.
- Ask your tile supplier for samples and test them when wet before buying.
Practical example: Many hotels use small, rough-surfaced tiles in showers for exactly this reason—less chance of guests slipping.
Add Anti-slip Strips Or Stickers
Anti-slip strips or stickers are a quick and affordable way to add grip. These are especially useful for renters who can’t change flooring or for specific trouble spots.
Where To Use Strips And Stickers
- In the tub or shower
- On the main walking path across the bathroom
- Near the sink where water often drips
Choose strips made for wet environments—they stick better and last longer.
Application Tips
- Clean and dry the area.
- Peel and stick firmly—press out air bubbles.
- Replace every 6-12 months or if they start peeling.
Non-obvious insight: Place strips diagonally across the shower or tub floor. This covers the main standing area and gives better grip than just straight lines.
Improve Bathroom Ventilation
Humidity keeps floors wet longer and encourages mold, which makes surfaces slimy and slippery.
How To Improve Ventilation
- Install or upgrade an exhaust fan. Run it during and for 10-15 minutes after bathing.
- Open windows when possible.
- Use a squeegee to wipe down tiles and glass after showers.
Good ventilation keeps floors dry and reduces the need for constant cleaning.
Install Grab Bars And Handrails
While not directly making the floor less slippery, grab bars offer support if you lose balance. They are important for elderly people or anyone with mobility issues.
Where To Place Grab Bars
- Next to the shower or tub entrance
- Inside the shower on the wall
- Near the toilet
Choose bars with a textured grip. Install them into wall studs to support body weight safely.
Use Proper Cleaning Products
Some cleaning products leave a slippery film behind. Choose bathroom cleaners that do not contain wax or silicone.
Safe Cleaning Habits
- Rinse the floor with clean water after using any cleaner.
- Avoid using floor polish or multipurpose sprays on bathroom tiles.
- Use vinegar and water to remove soap scum naturally.
Common mistake: Using too much cleaning product can create a buildup, making the floor more slippery over time.
Wear Non-slip Footwear
If your bathroom is especially risky (for example, elderly family members or people with disabilities), consider wearing non-slip bathroom slippers.
Features To Look For
- Rubber soles with tread patterns
- Quick-dry material
- Easy to put on and take off
Practical tip: Keep a pair just for the bathroom and wash them regularly to remove soap and mold.
Fix Drainage Problems
Water pooling on the floor is a major cause of slipping. Check your bathroom’s drainage:
- Make sure the floor slopes gently toward the drain.
- Clean hair and debris from drains weekly.
- If water always puddles in one spot, consider hiring a plumber to adjust the slope.
Non-obvious insight: Even a small dip in the floor (less than 1/8 inch) can trap water. A professional can fix this with self-leveling compounds if needed.
Replace Or Adjust Shower Curtains And Doors
Water escaping from the shower creates slippery spots. Shower curtains should be long enough to reach inside the tub or shower base but not so long that they bunch up on the floor. For glass shower doors, make sure seals are intact.
Preventing Water Escape
- Use weighted curtains or add magnets to keep them in place.
- Check and replace rubber seals on doors regularly.
- Wipe up any water right after showering.
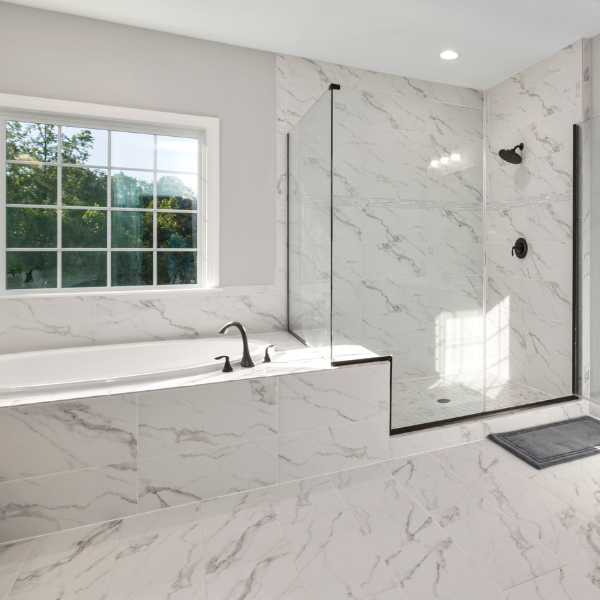
Credit: www.countryfloors.com
Lighting And Visibility
Slips happen more often in poor light. Install bright, even lighting in the bathroom. Use LED bulbs for clear visibility and energy savings.
- Place lights near the shower, sink, and main pathways.
- Use nightlights for safe bathroom visits at night.
- Make sure there are no dark corners where water can collect unseen.
Teach Safe Habits To Everyone
Sometimes, the best safety measure is good habits. Teach family members:
- Don’t run in the bathroom.
- Step carefully when getting out of the shower.
- Always use bath mats and grab bars.
Real-life example: In homes with small children, use pictures or signs to remind them not to play with water on the floor.
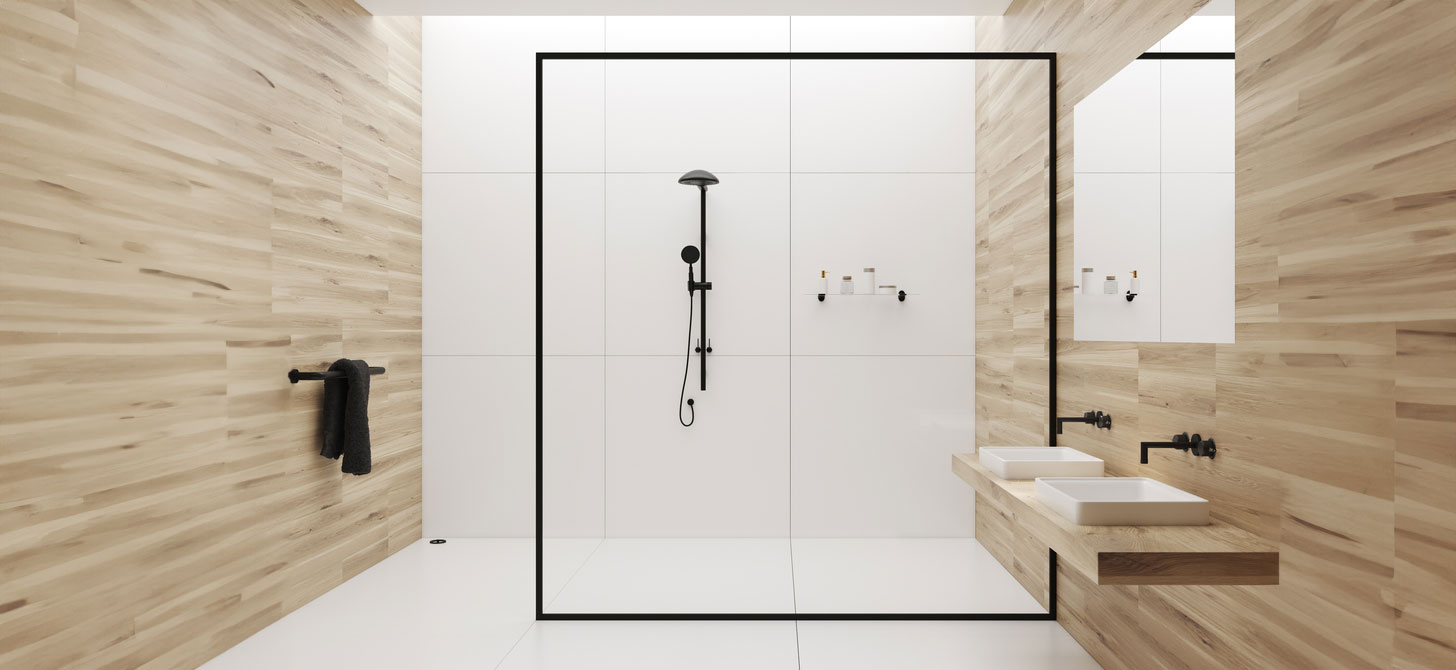
Credit: www.ccl-wetrooms.co.uk
Renovation: Advanced Solutions
If you are planning a full renovation, there are advanced methods to create a non-slippery bathroom floor.
Heated Flooring
Heated floors dry water faster, reducing slippery patches. While expensive, they add comfort and safety.
Epoxy Coatings
Epoxy with anti-slip additives can be applied over tiles. This creates a seamless, easy-to-clean, and grippy surface. Professional installation is best for lasting results.
Floor-level Showers
Walk-in showers with a gradual slope and non-slip tiles are safer than traditional tubs.
Cost vs. Benefit Comparison
| Solution | Estimated Cost | Longevity | Difficulty |
|---|---|---|---|
| Anti-slip coating | $50-200 | 1-3 years | Medium |
| Non-slip tiles (new floor) | $500-2000+ | 10+ years | High |
| Heated flooring | $1000-3000+ | 10+ years | High |
| Anti-slip mats | $10-50 each | 1-2 years | Easy |
Expert advice: Combine several solutions for best results. For example, use non-slip tiles in a new shower and add anti-slip mats for extra safety.
Regular Maintenance: Keeping Floors Safe Over Time
Making your bathroom floor non-slippery is not a one-time task. Regular maintenance is essential.
- Check mats and stickers weekly. Replace if worn.
- Clean tiles and grout. Mold and soap scum make surfaces slick.
- Inspect grab bars and rails. Tighten any loose screws.
- Monitor drainage. Clear any blockages quickly.
Non-obvious insight: Even the best anti-slip solutions can fail if not cleaned. Dirt and oil build up over coatings and mats, reducing their effectiveness.
Mistakes To Avoid
Many people try to make their bathroom floor safer but end up making it worse. Here are some mistakes to watch out for:
- Using the wrong cleaner. Some products create a shiny film that looks nice but is very slippery.
- Overusing mats. Too many mats can overlap and slide on each other.
- Ignoring small leaks. Even tiny drips can create slippery spots if left for days.
- Choosing style over safety. Glossy tiles look great but are dangerous when wet.
- Assuming one solution is enough. Layer your safety measures for the best protection.
Real-world Example: Transforming A Slippery Bathroom
Maria, a mother of two, noticed her children slipping in the bathroom after every bath. She took these steps:
- Replaced her cotton bath mat with a rubber-backed one.
- Cleaned the floor with vinegar and water weekly.
- Added anti-slip strips to the tub.
- Taught her kids to dry their feet before stepping out.
- Installed a brighter LED light.
After these changes, slips stopped completely—even with energetic children.
When To Call A Professional
Some problems need expert help:
- Water always pools, even after cleaning drains.
- Tiles are very slippery even when dry.
- You want to install new flooring or heated systems.
- Mold keeps returning despite cleaning.
Professionals can fix slopes, recommend the best tiles, and ensure all solutions are installed safely.
Extra Tips For Seniors And People With Disabilities
- Install a shower seat for sitting while washing.
- Use handheld showerheads to control water direction.
- Add contrasting colors on the floor to show wet areas clearly.
These changes make the bathroom safer and more comfortable for everyone.
Useful Resources
If you want more technical information about flooring safety standards, visit the Wikipedia page on slip-resistant flooring.
Frequently Asked Questions
What Is The Best Way To Make A Bathroom Floor Non-slippery?
The best way is to combine methods: use non-slip mats, clean the floor regularly with non-wax cleaners, and add anti-slip coatings or strips. For long-term safety, consider upgrading to non-slip tiles.
Are Anti-slip Coatings Safe For All Tile Types?
Most anti-slip coatings work on ceramic, porcelain, and stone tiles. Always check the product label and test a small area first. Some coatings may not bond well to very glossy surfaces.
How Often Should I Replace Anti-slip Mats Or Stickers?
Replace bathroom mats every 1-2 years or when they lose grip. Anti-slip stickers should be changed every 6-12 months, especially if they start to peel or lose texture.
Can I Make My Existing Tiles Less Slippery Without Renovation?
Yes, you can use anti-slip coatings, add mats, or apply anti-slip stickers. Regular cleaning to remove soap and oil is also important. Renovation is only needed if these steps do not work.
What Should I Do If Someone Slips And Falls In The Bathroom?
Help the person up carefully if there are no signs of serious injury. If they hit their head or cannot stand, call for medical help. Keep the floor dry and make safety improvements to prevent future accidents.
Making your bathroom floor non slippery is possible with the right mix of habits, products, and sometimes renovations. Invest in safety—one small change can prevent a big accident.