Changing the color of your bedroom furniture is one of the most effective ways to refresh your space without spending a fortune. Whether you want a modern look, a cozy feel, or just want to cover up old scratches, updating the color can transform the entire room.
Many people think this is a complicated job, but with the right steps, materials, and tips, anyone can achieve professional-looking results at home. This guide walks you through the complete process, from choosing the right color to protecting your finished furniture, so you can enjoy a bedroom that feels brand new.
Why Change The Color Of Bedroom Furniture?
People decide to change their furniture color for many reasons. Sometimes, the old finish is outdated or damaged. Other times, you want the furniture to match a new color scheme or reflect your personal style. Changing color can also increase the value of furniture, especially if you’re thinking of selling it.
Plus, it’s a sustainable choice that keeps old pieces out of landfills.
Refreshing furniture is also a creative process. It lets you add a personal touch to your space, experiment with new trends, or simply breathe new life into items you already own. And for those who rent or move often, painting furniture is a flexible way to adjust your décor without buying new pieces every time.
Choosing The Right Color And Finish
Selecting the best color is the first important step. The color of your bedroom furniture should fit the mood you want in your space. For example, light colors like white, soft gray, or pastels can make a room feel calm and spacious. Bold colors such as navy blue, emerald green, or deep red can add personality and drama.
Think about these factors:
1. Room Size And Light
Lighter furniture colors reflect more light and make small rooms appear bigger. If your bedroom is large or gets a lot of natural sunlight, you can use darker colors without making the space feel closed in.
2. Existing Décor
Consider your walls, bedding, and flooring. Choose a color that complements or contrasts nicely with these elements. For example, white furniture looks clean against colorful walls, while dark wood can add warmth to a neutral room.
3. Finish Type
The finish also affects the look and feel. Matte finishes are soft and modern, while glossy finishes are more traditional and reflect more light. Satin finishes offer a balance, with a slight sheen that’s easy to clean.
4. Trends Vs. Timeless
Trendy colors are fun but can quickly look dated. If you want a look that lasts, stick to classic shades like white, black, navy, or natural wood tones.
5. Test First
Always test your chosen color on a small, hidden area before committing. Colors can look different depending on lighting and material.
Types Of Furniture Paints And Stains
There are many types of paints and stains you can use on bedroom furniture. Each has unique benefits and challenges.
Latex Paint
Latex paint is water-based, easy to clean up, and low in odor. It dries quickly and is available in many colors and finishes. It’s best for wood and MDF furniture.
Chalk Paint
Chalk paint is popular for its matte finish and vintage look. It sticks to most surfaces with little prep work. It’s a great choice for beginners and works well on wood, laminate, and metal.
Acrylic Paint
Acrylic paint is water-based like latex but has a thicker texture. It’s good for detail work or furniture with intricate carvings.
Milk Paint
Milk paint is made from natural ingredients. It provides a slightly rustic, old-fashioned look. It’s perfect if you want an eco-friendly option.
Oil-based Paint
Oil-based paint is very durable but takes longer to dry and has a strong smell. It’s best for high-use furniture like dressers and nightstands.
Gel Stain
Gel stain is thicker than liquid stain and sits on top of the wood rather than soaking in. It’s useful for changing the color of existing stained furniture without a lot of sanding.
Spray Paint
Spray paint offers a smooth, even finish and works well for small pieces or metal furniture. It dries fast but requires good ventilation.
Comparing Paints And Stains
Here’s a quick comparison to help you choose the right product:
| Type | Best For | Prep Needed | Finish | Dry Time | Durability |
|---|---|---|---|---|---|
| Latex Paint | Wood, MDF | Medium | Matte, Satin, Gloss | Quick | Good |
| Chalk Paint | Most surfaces | Low | Matte | Moderate | Medium |
| Acrylic Paint | Wood, Detail work | Medium | Matte/Satin | Quick | Medium |
| Milk Paint | Wood, Eco-friendly | Medium | Matte | Quick | Good |
| Oil-Based Paint | High-use items | High | Gloss/Satin | Slow | Very High |
| Gel Stain | Stained wood | Low | Gloss/Satin | Moderate | Very High |
| Spray Paint | Metal/Small pieces | Low | Gloss/Satin/Matte | Quick | Medium |
Supplies And Tools Needed
Before you begin, gather all the necessary tools and materials. This will save time and help you avoid mistakes.
- Paint or stain (see above)
- Primer (if needed)
- Paintbrushes (synthetic for latex/acrylic, natural for oil-based)
- Foam rollers (for large, flat surfaces)
- Sandpaper (medium and fine grit, 120-220)
- Tack cloth or microfiber cloth
- Drop cloths or old sheets
- Painter’s tape (for protecting edges)
- Screwdriver (for removing hardware)
- Mask and gloves
- Stir sticks
- Paint tray
- Sealer or topcoat (polyurethane, wax, or clear acrylic)
For spray painting, you’ll also need:
- Spray primer
- Spray paint
- Well-ventilated workspace
If your furniture is damaged, you might also need wood filler, putty knife, or clamps.
Preparing The Furniture
Preparation is the most important step for a smooth, long-lasting finish. Many beginners skip or rush this stage and end up with peeling or uneven paint. Take your time with these steps:
1. Clean The Furniture
Dirt, dust, and grease can keep paint from sticking. Use a mild cleaner or a mix of water and vinegar to wipe all surfaces. For sticky or greasy spots, a small amount of dish soap works well. Let the furniture dry completely.
2. Remove Hardware
Take off all handles, knobs, or hinges. Place screws and hardware in a labeled bag so you don’t lose them. This makes painting easier and avoids getting paint on metal parts.
3. Fill Holes And Repair Damage
Check for dents, scratches, or holes. Fill them with wood filler and let it dry as directed. Sand smooth so the surface is even.
4. Sand The Surface
Sanding helps paint stick and removes old gloss. Use medium (120-grit) sandpaper to rough up the surface, then fine (220-grit) for a smooth finish. Always sand in the direction of the wood grain.
For furniture with a heavy finish or glossy surface, sanding is even more important. Some paints like chalk or milk paint require less sanding, but a light pass still helps.
5. Remove Dust
After sanding, use a tack cloth or damp microfiber cloth to wipe away all dust. Even a small amount can ruin your finish.
6. Protect Surroundings
Lay down drop cloths to protect floors. Use painter’s tape on edges you don’t want to paint, like inside drawers or the back of a dresser.
7. Prime (if Needed)
Primer helps paint stick and blocks stains from coming through. Use a primer suited to your paint (water-based for latex, oil-based for oil). If you’re painting a dark color over a light one, or vice versa, primer can save coats of paint.
Painting Or Staining Your Furniture
Once the furniture is clean, sanded, and primed, you’re ready to apply color. The method depends on the paint or stain you choose.
Painting
- Stir paint well before starting. This mixes the color evenly.
- Apply thin, even coats. Use a brush for corners and edges, and a roller for flat surfaces. Thin coats dry faster and are less likely to drip.
- Let each coat dry completely before adding another. Check the paint can for drying times—usually 2-4 hours.
- Sand lightly between coats with fine sandpaper for a smoother finish. Remove dust after sanding.
- Apply a second or third coat as needed for full coverage.
Staining
- Stir stain, but don’t shake (shaking creates bubbles).
- Use a brush or lint-free cloth to apply stain in the direction of the wood grain.
- Let stain soak in for the time listed on the can (usually 5–15 minutes), then wipe off extra with a clean cloth.
- Repeat for darker color. Multiple thin coats are better than one thick one.
- Let dry completely before sealing.
Spray Painting
- Shake spray can well before use.
- Hold can about 10-12 inches away from the surface.
- Spray in light, even strokes back and forth. Don’t spray too much in one spot to avoid drips.
- Let dry and add more coats as needed.
- Work in a ventilated area. Wear a mask to protect from fumes.
Special Techniques
- Distressing: Use sandpaper to gently rub edges and corners after painting for a vintage look.
- Ombre: Blend two or more colors for a gradient effect.
- Stenciling: Use stencils to add patterns or designs before the final coat.
Sealing And Protecting Your Finish
Paint and stain need protection from scratches and spills. Use a clear sealer or topcoat suited for your paint type.
Water-based Polyurethane
This dries fast, has low odor, and doesn’t yellow over time. It’s great for light-colored paints.
Oil-based Polyurethane
Very durable but can yellow over time. Use for dark paints or stained wood.
Wax
Best for chalk or milk painted furniture. Rub on with a cloth and buff for a soft sheen.
Acrylic Sealer
Dries clear and works for most paint types. Good for furniture that won’t get heavy use.
Apply sealer in thin, even coats. Let each coat dry completely before using the furniture. Most sealers need at least 2-3 days to fully cure.
Mistakes To Avoid
Many first-time painters make the same mistakes. Here’s what to watch out for:
- Skipping Sanding: Even if paint says “no sanding needed,” a quick sand helps prevent peeling.
- Painting Over Dirt: Any grease or dust will cause the paint to bubble or chip.
- Thick Coats: Thick layers take longer to dry and are more likely to drip.
- Not Letting Paint Dry: Rushing between coats leads to tacky, uneven finishes.
- Forgetting Sealer: Paint without a topcoat is easy to scratch and stain.
A less obvious mistake is not testing the paint on a hidden area first. Some woods react with certain paints, causing unexpected color changes. Another is not checking the weather—humidity or cold can make paint dry slowly or unevenly.
Credit: savvyinthesuburbs.com
How Long Does It Take?
Changing the color of bedroom furniture isn’t a quick job, but planning helps. Here’s a general timeline:
| Step | Time Needed | Notes |
|---|---|---|
| Cleaning & Prep | 1-2 hours | Depends on furniture size/condition |
| Sanding | 1-2 hours | More for old finishes |
| Priming | 1 hour (+ drying) | Optional, but recommended |
| Painting/Staining | 2-4 hours (multiple coats) | Allow drying between coats |
| Sealing | 1 hour (+ curing) | Most sealers need 24–72 hours to cure |
| Reassembly | 30 minutes | Reattach hardware |
On average, a single dresser or bed frame takes a weekend to complete, including drying time.
Caring For Painted Furniture
Once your furniture looks new, keep it looking great:
- Clean with a damp, soft cloth. Avoid harsh chemicals.
- Use coasters or mats to protect surfaces from spills.
- Avoid dragging heavy items across painted tops.
- Touch up chips right away to prevent peeling.
- Keep out of direct sunlight to avoid fading.
If you used a wax or oil finish, buff it every few months to keep the shine.
Credit: www.confessionsofaserialdiyer.com
Real-life Examples And Inspiration
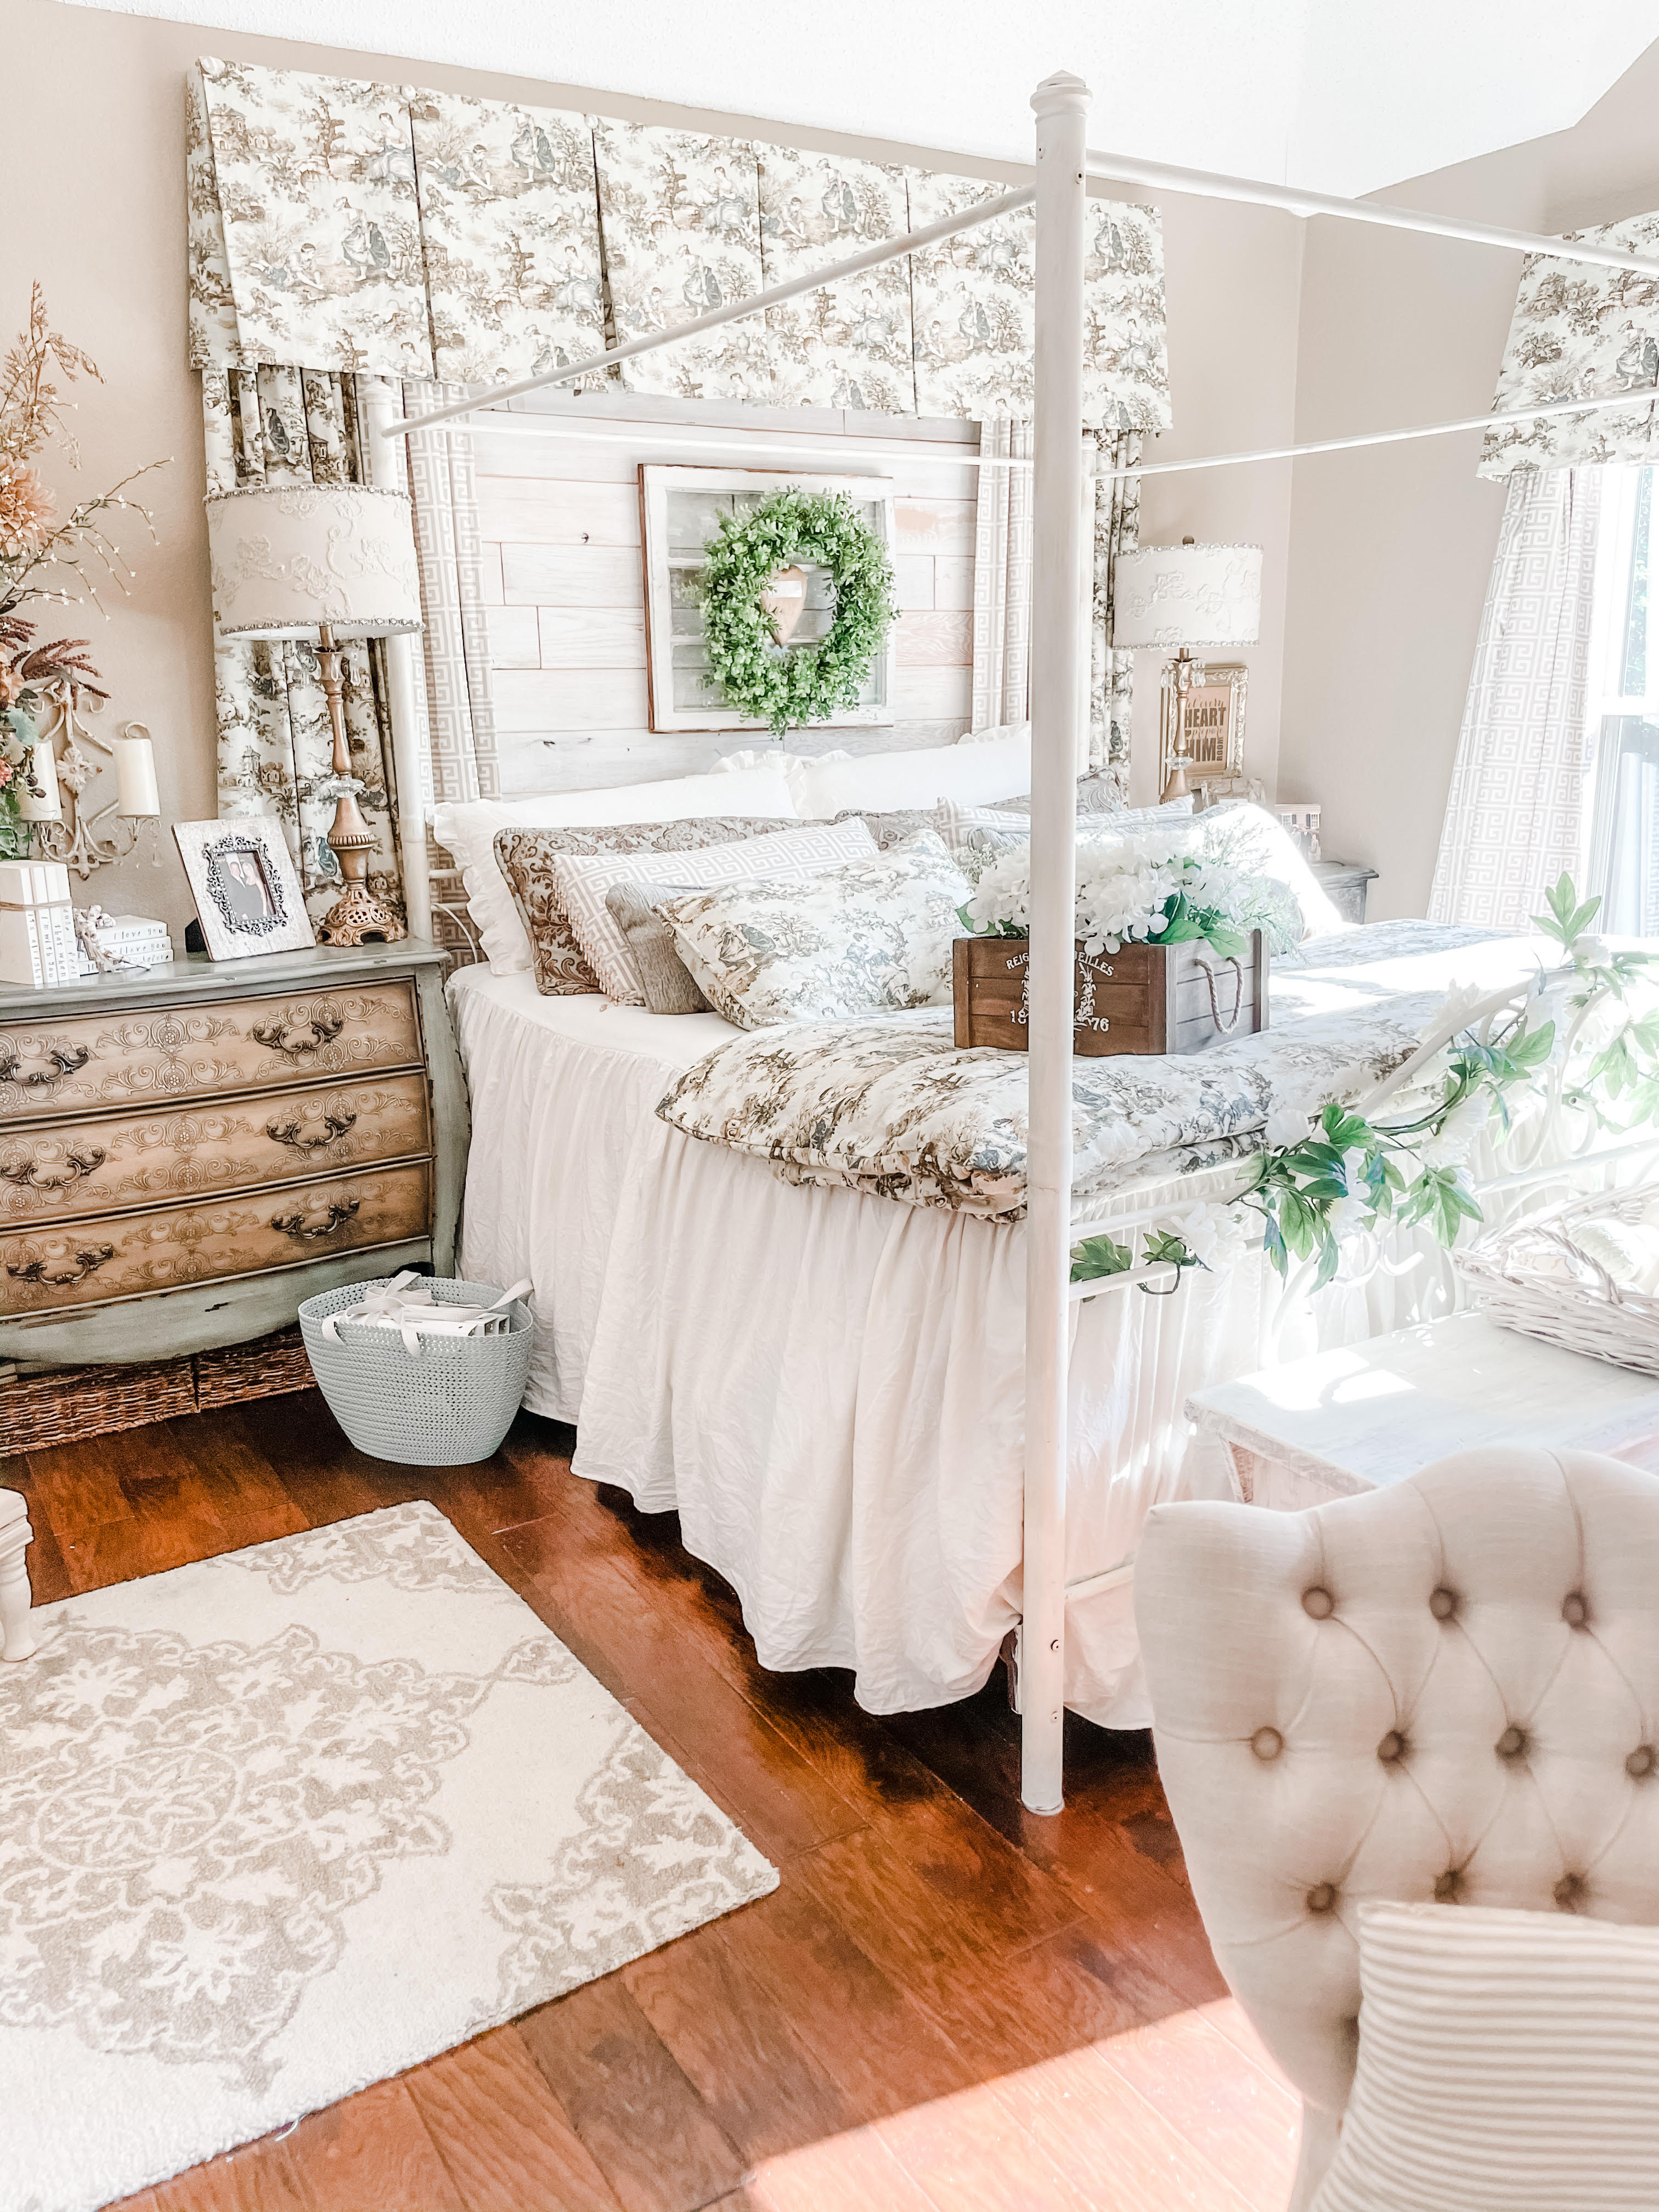
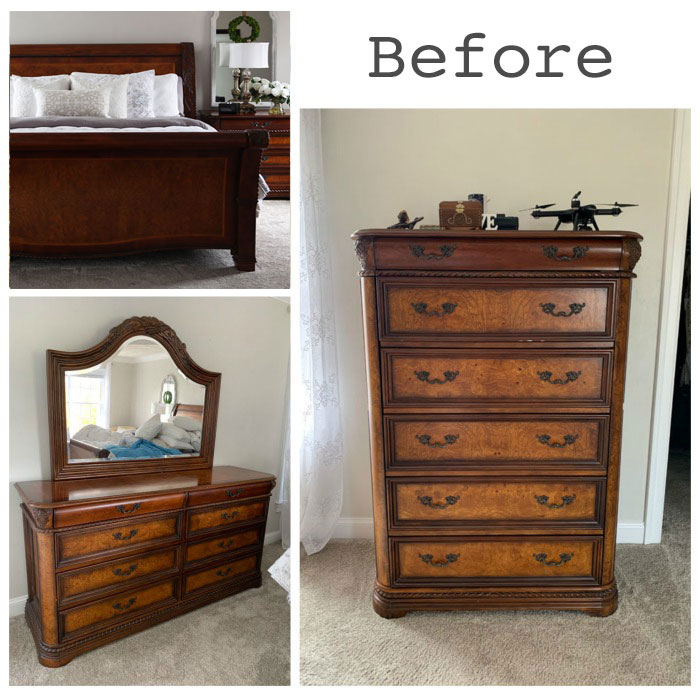
Many people have successfully changed their bedroom furniture color and loved the results. For example, some have turned old brown dressers into sleek white pieces that brighten up the room. Others have painted mismatched nightstands the same bold color for a coordinated look.
Some creative decorators use two-tone effects—painting the frame one color and the drawers another for a playful touch.
Here are some popular color combinations:
- White + Gold: Elegant and modern
- Navy + Brass: Rich and classic
- Soft Gray + White: Calm and airy
- Emerald + Black: Dramatic and trendy
For more inspiration, you can check out guides from sources like Better Homes & Gardens.
Non-obvious Tips For A Professional Look
- Use a foam roller for the final coat. This gives a super-smooth, brush-free finish.
- Let paint cure, not just dry. Paint can feel dry in hours but takes days to fully harden. Avoid heavy use or placing objects on top until cured.
- Elevate the furniture on blocks or cans while painting. This lets you reach edges and prevents sticking to your drop cloth.
- Label drawers and hardware. If painting multiple pieces, labeling saves time during reassembly.
- Work in good lighting. Shadows can hide drips or missed spots.

Credit: www.youtube.com
Frequently Asked Questions
How Do I Paint Laminate Or Fake Wood Furniture?
Laminate needs special care. Clean well, then sand lightly to remove shine. Use a high-adhesion primer before painting. Avoid water-based paints unless the primer is strong. Always seal the finish for best results.
Can I Paint Furniture Without Sanding?
Some paints, like chalk or mineral paint, say sanding isn’t needed. But even a quick sanding improves adhesion and helps the finish last longer. If the furniture is glossy or damaged, sanding is a must.
What Should I Do If The Paint Is Peeling After Drying?
Peeling usually means the surface was dirty or not sanded enough. Scrape off loose paint, sand the area, clean, and repaint. Use a good primer to help the new paint stick.
Is It Better To Spray Paint Or Brush Paint Bedroom Furniture?
Spray paint is faster for small or detailed items and gives a smooth finish. Brush painting works better for large surfaces and gives more control. For a flawless finish, some people use both—spray for details, brush for flat areas.
How Do I Fix Brush Marks In My Painted Furniture?
Lightly sand the area with fine sandpaper, clean off dust, and repaint with a foam roller. Adding a small amount of water or paint conditioner can help paint level out and reduce brush marks.
Changing the color of your bedroom furniture is a rewarding project that can completely transform your space. With the right preparation, materials, and care, you can achieve a beautiful, durable finish that reflects your style and personality. Whether you want a subtle update or a bold statement, following these steps will help you avoid common mistakes and enjoy your “new” furniture for years to come.