Changing a window to a door is a project that can transform your home. It can bring in more light, create better access to your yard, or simply modernize your living space. But it’s not as simple as removing a window and installing a door.
This process involves planning, construction skills, and sometimes even dealing with permits and building codes. If you’re considering this upgrade, it’s important to understand every step, potential challenges, and the best practices for a successful result.
Many homeowners imagine opening up their wall, adding a beautiful new door, and stepping out to a patio or garden. But behind this dream are real-world challenges: structural changes, weatherproofing, safety, and making sure the final look matches your home’s style. This guide will walk you through every stage, from deciding if your window is in the right place for a door to finishing touches that make the new door look like it’s always been there.
By the end, you’ll know what’s involved, what mistakes to avoid, and how to make smart choices—whether you’re doing it yourself or hiring a professional. Let’s get started on the journey from window to door.
Assessing The Feasibility
Before you start, you need to know if it’s even possible to turn your window into a door. Not every window is suitable for this kind of transformation.
Structural Considerations
The most important question is: Is the wall load-bearing? A load-bearing wall supports the weight of your home. If you cut a big opening, you could weaken the structure. You may need to add a header (a strong beam above the new door) to carry the load. In some cases, you’ll need a structural engineer to create a safe plan.
Non-load-bearing walls are easier to work with, but you still need to check for plumbing, electrical lines, and HVAC ducts. Relocating these can add cost and complexity.
Space And Location
Measure the width and height of your window. Standard doors need an opening at least 80 inches tall and 32 inches wide. If your window is smaller, you’ll need to cut more wall. Also, check what’s outside. Is there a deck or steps, or will you need to add them for safe access?
Permits And Building Codes
Most cities require a permit to cut a new door, especially if you’re changing a structural wall. Rules vary, so contact your local building department before starting. They may require inspections at several stages.
Non-obvious insight: Even if you already have a window, the door will need a threshold (bottom frame) to keep out water. The wall under the window may not be built to handle this, so some rebuilding is often needed.
Planning Your Project
A successful window-to-door conversion starts with clear planning. Rushing in can lead to mistakes, wasted money, and safety risks.
Choosing The Right Door
Think about the style (French doors, sliding glass, single exterior), the material (wood, fiberglass, steel), and energy efficiency. Doors with insulated glass can help keep your home comfortable.
Measuring And Sizing
The new door should fit the opening, or you must plan for framing changes. Measure the window and space around it:
- Rough opening: The total space in the wall, including framing.
- Net opening: The actual hole after you remove the window.
Doors come in standard sizes, but custom options are available if your opening is unusual.
Budgeting
Costs can vary widely. Here’s a basic breakdown:
| Item | Estimated Cost (USD) |
|---|---|
| Basic exterior door | $200–$1,000 |
| Labor (if hiring pro) | $500–$2,500 |
| Permits | $50–$500 |
| Materials (framing, trim, paint) | $100–$600 |
| Structural engineer (if needed) | $300–$1,000 |
Unexpected costs often come up, such as finding electrical wires or water damage. It’s smart to set aside an extra 15–20% for surprises.
Tools And Materials
You’ll need:
- Hammer, pry bar, and saws (reciprocating saw or circular saw)
- Level and measuring tape
- Drill and screws
- Framing lumber for the header and sides
- Door and hardware
- Flashing and waterproofing materials
- Insulation, caulk, and foam sealant
Pro tip: If you’re not confident with power tools or structural changes, it’s safer to hire a contractor.
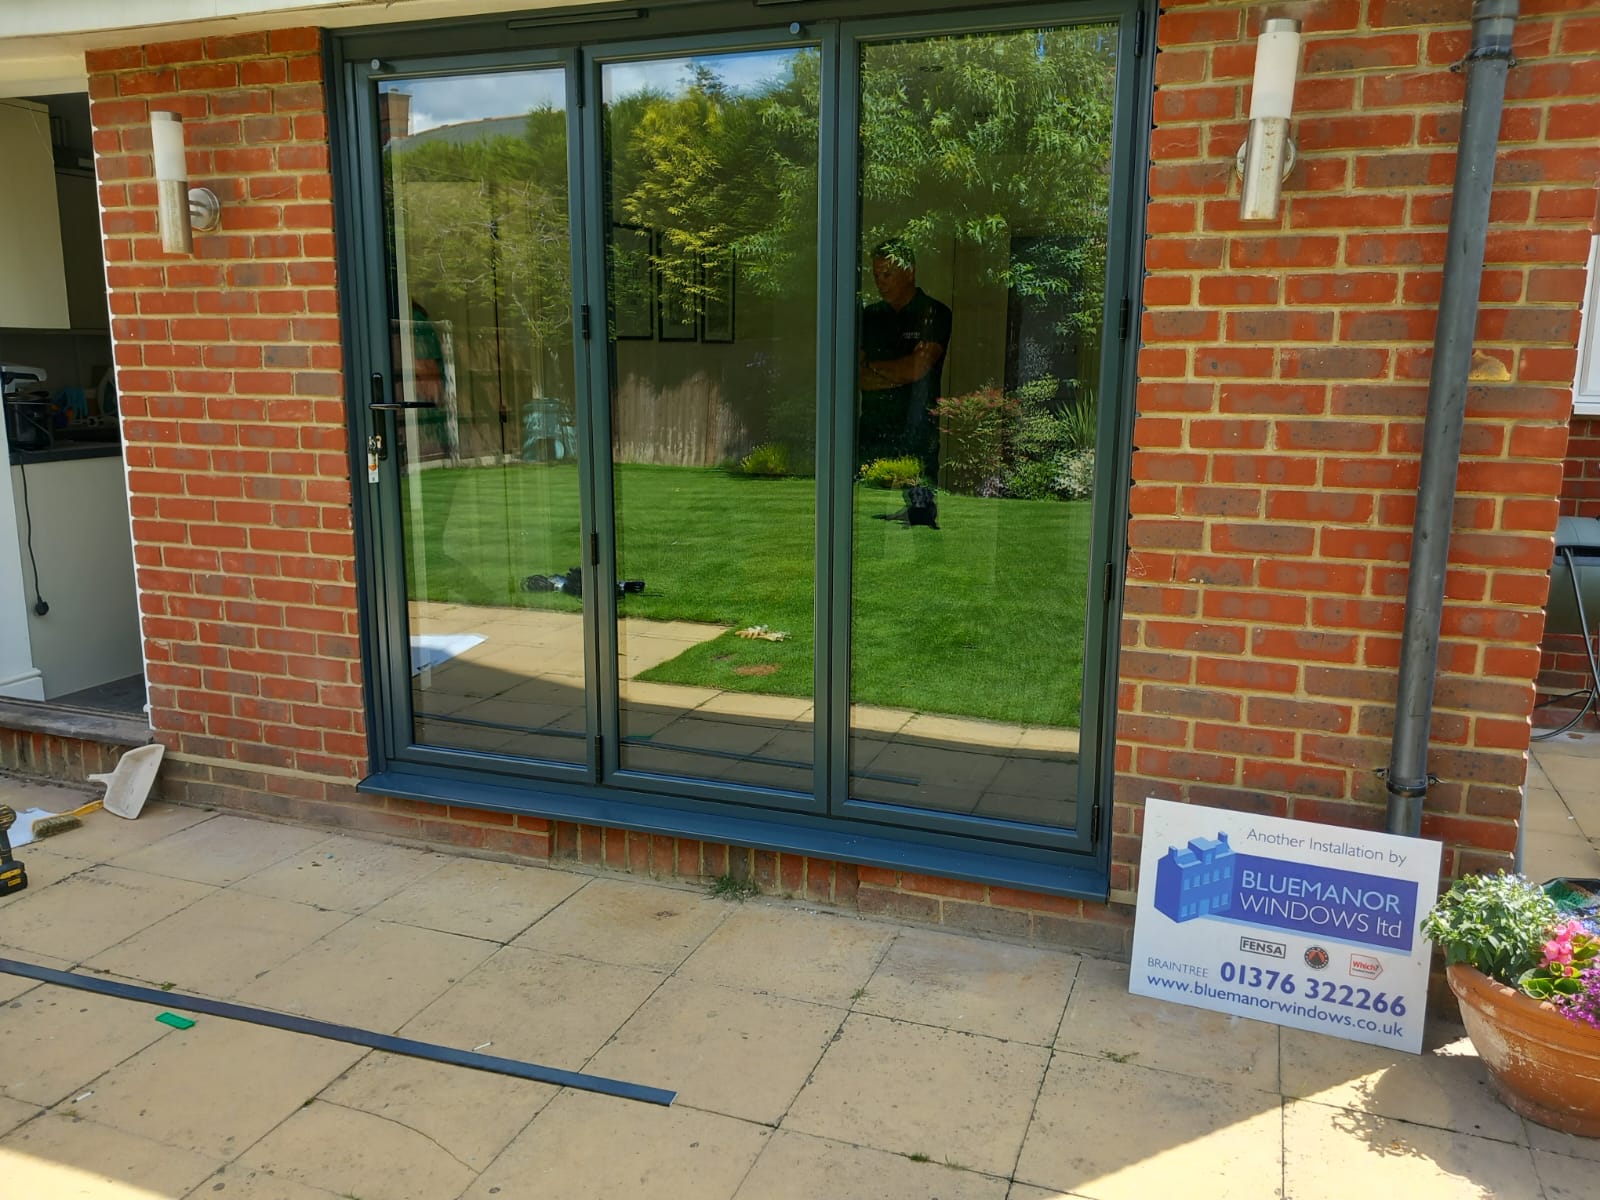
Credit: www.bluemanorwindows.co.uk
Preparing For Construction
Once your plan is in place, prepare your home for the work.
Safety First
Wear safety glasses, gloves, and a dust mask. If you suspect asbestos (in old siding) or lead paint (homes built before 1978), get professional testing. These materials are dangerous to disturb.
Protecting Your Home
Cover floors and furniture with plastic sheets. Remove curtains, blinds, and anything near the window. If you’re removing siding or exterior materials, plan for weather—don’t start if rain is expected.
Utility Checks
Shut off power to any outlets or switches in the wall. If you find plumbing or wires, stop and plan for a licensed electrician or plumber to help.
Removing The Existing Window
This step needs care to avoid damaging the wall or outside siding.
- Remove the window sash (glass part) first.
- Use a utility knife to cut through caulk or paint around the frame.
- Pry the window frame out gently. Remove nails or screws as needed.
- Pull out old insulation and clear the opening.
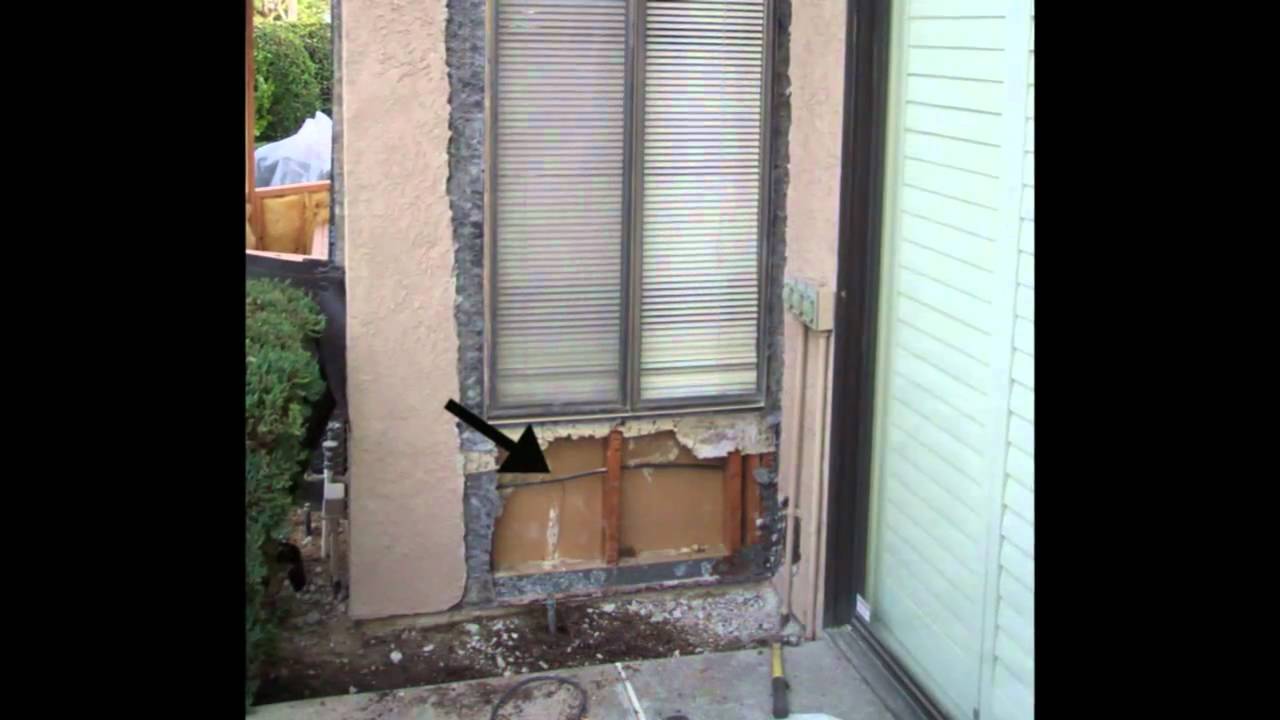
If the window is close to the ground, there may not be much wall left below. If not, you’ll need to remove the wall under the window to make a full door opening.
Non-obvious insight: Many walls have extra framing under windows (called a “sill plate” and “cripple studs”). You’ll need to cut these out for the door, but leave the side framing until you’re ready to rebuild.
Cutting The Door Opening
This is where the real transformation happens, but it’s also the riskiest step.
Marking And Cutting
- Mark the size of your door on the wall, centered where the window was.
- Use a stud finder to locate the wall studs.
- Cut drywall or plaster inside the lines. Remove it to see the framing.
- Carefully cut through wall studs and remove the lower portion of the wall.
If the wall is load-bearing, you must support the structure with temporary posts (called “shoring”) before cutting any studs.
Installing The Header
A header is a strong horizontal beam that carries the weight above the door.
- Measure and cut the header from engineered lumber or two 2x8s or 2x10s (check code).
- Install jack studs on each side to support the header.
- Place the header above the opening, then secure with nails or screws.
This step often requires two people due to the weight.
Framing The New Door Opening
Now, build the door’s rough opening to the right size.
Sill And Threshold
At the bottom, install a treated sill plate (wood that won’t rot). It must be level and strong enough to support foot traffic.
Side And Top Framing
Add king studs (full-length) and trimmer studs (shorter, supporting the header) on each side. The finished opening should match the door manufacturer’s specifications, usually 1/2 to 1 inch bigger than the door itself for adjustment.
Exterior Adjustments
Outside, you may need to cut siding or brick to match the new opening. Use a circular saw with the right blade for your siding material. Seal any gaps with flashing tape to keep out water.
Common mistake: Not making the opening square and level. This leads to doors that stick or won’t close. Use a level and measuring tape often.
Installing The Door
It’s time to see the project take shape.
- Dry fit the door: Place it in the opening without fasteners to check fit.
- Apply flashing tape along the sill and sides to block water.
- Place the door into the opening from outside. Shim around the frame to keep it level and plumb (perfectly vertical).
- Secure the frame with screws through the sides, following the door instructions.
- Check that the door swings or slides smoothly.
- Fill gaps around the frame with expanding foam insulation.
Weatherproofing
Install flashing above the door, tuck it under the siding, and caulk all seams. This step prevents leaks and drafts.
Pro tip: Use exterior-grade caulk and materials rated for your climate.
Interior And Exterior Finishing
With the door in place, it’s time for finishing touches.
Interior
- Replace drywall around the new opening.
- Tape, mud, and sand for a smooth finish.
- Paint to match your room.
- Install interior trim and baseboards.
Exterior
- Patch siding or brick as needed.
- Add exterior trim and paint.
- Seal edges with caulk to prevent water entry.
Non-obvious insight: Matching old siding or brick can be difficult. Save pieces from the window removal, or take a sample to a building supply store for a close match.
Adding Steps, Deck, Or Landing
If your door opens above ground level, you’ll need safe access.
- Building codes often require a landing or step outside the door.
- For doors higher than 8 inches above the ground, add steps or a small deck.
- Use treated lumber or masonry for durability.
Check local codes for railing and landing size requirements.
Clean Up And Final Checks
Remove all debris, old framing, and protective coverings. Test the door several times. Make sure locks and hardware work. Check for drafts and leaks by feeling for air movement on a windy day or using a smoke pencil.
Pro tip: Wait a few days before final caulking, as the door may settle slightly.
Comparing Window To Door Conversions: Diy Vs. Professional
It’s important to decide whether to do the work yourself or hire a pro. Here’s a quick side-by-side comparison.
| Factor | DIY | Professional |
|---|---|---|
| Cost | Lower | Higher |
| Time | Several weekends | 1–3 days |
| Skill needed | High (framing, door install) | Expert |
| Permit/Code handling | Must do yourself | Handled by contractor |
| Warranty | None | Usually included |
| Risk of mistakes | Higher | Lower |
Common Mistakes And How To Avoid Them
Changing a window to a door can go wrong if you skip steps or miss details.
- Skipping permits: This can lead to fines or trouble when selling your house.
- Ignoring structural needs: Removing a load-bearing wall without the right support is dangerous.
- Poor weatherproofing: Bad flashing or caulking leads to leaks and rot.
- Not matching materials: Mismatched trim or siding looks unprofessional.
- Wrong door size: Doors that don’t fit are hard to fix later.
Pro tip: Always double-check measurements, and keep all receipts and permit papers.

Credit: www.youtube.com
Real-world Examples
Many homeowners have tackled this project with great results. For example, one family in Oregon replaced a large living room window with a set of French doors, adding a small deck outside. This not only improved their view but also increased their home’s value by $10,000, according to their appraisal.
In another case, a homeowner in Texas turned a basement window into a door for backyard access. The biggest challenge was dealing with the thick concrete foundation, which required a contractor with a special saw.
Insight: The best results come from careful planning and not rushing. Allow time for unexpected problems, especially in older homes.
Maintenance Tips After Conversion
Once your new door is installed, regular maintenance will protect your investment.
- Check caulk and weatherstripping every year.
- Paint or seal wood trim to prevent rot.
- Inspect the threshold for water damage.
- Oil hinges and locks to keep them working smoothly.
If you notice sticking, drafts, or leaks, fix them quickly to avoid bigger problems.
Sustainability And Energy Efficiency
A new door can improve your home’s energy use, especially if you choose a high-quality, insulated model. Look for Energy Star-rated doors. These keep your home warmer in winter and cooler in summer, reducing your heating and cooling bills.
Use low-VOC caulks and paints to protect indoor air quality. Recycle old window materials if possible. Some cities offer rebates for energy-efficient upgrades—check with your local utility company.
When To Call A Professional
Some projects are best left to the experts. Call a professional if:
- The wall is load-bearing and you’re unsure how to add a header.
- There is major electrical, plumbing, or HVAC in the wall.
- Your home has brick or stone siding that’s hard to cut.
- You feel unsafe at any step.
Professional installers can finish the job quickly and often include warranties for their work.
Resources For Further Help
If you want more technical details, the International Residential Code (IRC) sets the rules for residential construction in the US. You can also find step-by-step guides on the Family Handyman website.
Frequently Asked Questions
How Do I Know If My Wall Is Load-bearing?
A load-bearing wall usually runs perpendicular to the floor joists above. You can check your attic or basement for joist direction. If in doubt, consult a structural engineer before cutting.
Do I Need A Permit To Change A Window To A Door?
In most cases, yes. Permits are required for structural changes and new door installations. Check with your local building department before starting.
How Long Does It Take To Change A Window To A Door?
A skilled team can complete the job in 1–3 days. DIY projects often take a few weekends, depending on your experience and unexpected issues.
What Is The Best Type Of Door For This Project?
Choose a door that fits your climate, style, and budget. Fiberglass and steel are good for weather resistance; wood looks classic but needs more care. French doors add elegance, while sliding doors save space.
Can I Do This Project Myself?
If you have strong carpentry skills, the right tools, and understand building codes, you can do it yourself. For load-bearing walls or complex situations, it’s safest to hire a professional.
Changing a window to a door is a big project, but with smart planning and careful work, it can greatly improve your home. Take your time, know your limits, and enjoy the new space you create.
Credit: www.youtube.com