Building shelves in your laundry room is one of the most practical home improvements you can make. Whether you have a small closet or a spacious room, adding shelves brings instant order and efficiency. You’ll find lost space, make cleaning easier, and finally give every detergent bottle and basket a home.
But where do you start if you’re not a professional carpenter? You don’t need to be. With the right planning and step-by-step guidance, you can build shelves that are strong, look great, and fit your laundry room perfectly.
This guide walks you through every part of the process, from designing your layout to picking materials, using the right tools, and safely installing your shelves. You’ll learn how to avoid common mistakes, get tips for tricky situations, and see how small changes can make a big difference.
Even if you’ve never built anything before, you’ll find the confidence and information you need to create laundry room shelves you’ll be proud of.
Why Build Laundry Room Shelves?
Laundry rooms are often overlooked, but they play a big role in daily life. Shelves make these spaces more useful and less cluttered. If you only have a washer and dryer sitting on the floor, you’re missing valuable storage. Here’s why shelves are worth your time:
- Maximize vertical space: Using your wall space lets you store more without taking up floor space.
- Stay organized: Keep detergents, baskets, and cleaning products easy to find.
- Reduce clutter: Shelves make it easier to keep things tidy.
- Customize your space: Build shelves to fit your exact needs and style.
- Increase home value: A well-organized laundry room is a plus for future buyers.
Many people don’t realize how much easier laundry day becomes when everything has a place. You’ll spend less time searching for supplies and more time enjoying a clean, organized space.
Planning Your Laundry Room Shelves
Before you pick up a tool, planning is key. Good planning prevents wasted time, money, and frustration later. Start with these steps:
Measure Your Space
Use a tape measure to note:
- Wall width and height: Record the space available above and beside your washer and dryer.
- Depth: Make sure shelves won’t block doors or movement.
- Obstacles: Outlets, water lines, and vents can affect shelf placement.
Write down these numbers. Double-check them—many beginners measure once and cut wrong, causing wasted materials.
Decide What To Store
Make a list of items you want on your shelves. Common laundry room items include:
- Detergents and softeners
- Cleaning sprays
- Laundry baskets or bins
- Towels and rags
- Small tools or sewing kits
Estimate how much space each group needs. For example, tall detergent bottles may need a 12- to 15-inch shelf height, while baskets need deeper, wider shelves.
Sketch Your Layout
Draw a simple diagram. Mark shelf heights, lengths, and where you want supports. Seeing your plan on paper helps you spot problems early.
Sample Shelf Height Guide
| Item | Recommended Shelf Height | Recommended Shelf Depth |
|---|---|---|
| Laundry Detergent Bottles | 12–15 inches | 10–12 inches |
| Cleaning Sprays | 10–12 inches | 8–10 inches |
| Laundry Baskets/Bins | 15–18 inches | 14–18 inches |
| Towels | 10–12 inches | 12–14 inches |
Set Your Budget
Shelves can be affordable or expensive, depending on materials and size. Basic wood and brackets cost less than custom cabinets or metal systems. Plan for:
- Wood or shelving material
- Brackets or supports
- Screws, anchors, and fasteners
- Paint or finish (optional)
- Tools (if you don’t own them)
Expect to spend anywhere from $40 for small DIY shelves to $200 or more for large, custom designs.
Choose A Shelf Style
There are several ways to build laundry room shelves. Consider these common options:
- Floating shelves: Clean, modern look. Good for light to medium loads.
- Brackets and boards: Sturdy and flexible. Supports heavy items.
- Wire shelving: Inexpensive, allows airflow, but items can tip.
- Cabinet-style shelves: For those who want closed storage.
Compare the pros and cons:
| Shelf Type | Pros | Cons |
|---|---|---|
| Floating Shelves | Modern look, no visible brackets | Limited weight capacity, harder to install |
| Brackets & Boards | Strong, easy to customize or adjust | Brackets are visible, may look less sleek |
| Wire Shelving | Cheap, easy to install, good airflow | Items can tip, harder to clean, not as attractive |
| Cabinet-Style | Hides clutter, looks built-in | Most expensive, complex to build |
Gathering Materials And Tools
Once your plan is ready, gather everything you need. Choosing the right materials and tools makes your project smoother.
Materials
- Shelf boards: Solid wood, plywood, MDF, or melamine. Choose at least 3/4-inch thick for strength.
- Brackets: L-shaped metal, heavy-duty, or decorative styles.
- Wall anchors: For drywall or plaster installations.
- Screws: 2-inch wood screws are common.
- Paint or stain (optional): For a finished look.
- Primer (if painting raw wood).
Tools
- Tape measure
- Level (2- or 4-foot)
- Stud finder
- Drill and drill bits
- Screwdriver
- Saw (hand saw, circular saw, or miter saw)
- Sandpaper
- Pencil
- Safety gear (goggles, gloves)
Not all tools are required for every project. If you buy pre-cut shelves, you may not need a saw.
Non-obvious tip: If you rent tools from a hardware store, you can access high-quality saws or drills without buying them. This saves money for one-time projects.
Preparing The Space
Before you build, get your laundry room ready. Clear out the area where you’ll work. Remove any existing shelves or items on the walls. If painting or doing messy work, cover your washer, dryer, and floor with drop cloths.
Check the wall for hidden pipes or wires using a stud finder with a live-wire feature. Mark studs, as attaching shelves directly to studs gives the strongest support.
Beginner mistake: Skipping this step can lead to drilling into pipes or weakly attached shelves that eventually fail.
Cutting And Finishing Shelf Boards
If you’re using pre-cut shelves, skip to the next section. If not, measure and cut your boards carefully.
Steps To Cut Boards
- Mark your cut lines: Use your tape measure and pencil. Double-check the length.
- Clamp the board: Use a workbench or sawhorses.
- Cut with a saw: Use slow, steady pressure for a smooth edge.
- Sand the edges: Smooth rough spots with sandpaper.
Finishing
- For a polished look, apply primer and two coats of paint or stain.
- Allow each coat to dry fully before adding the next.
- Paint or stain the underside too, since this shows when you look up.
Non-obvious insight: Sealing all sides of the board (including edges) helps prevent warping from laundry room moisture.
Installing The Shelf Brackets
Brackets provide main support for your shelves. Proper placement is crucial for safety and durability.
How To Install Brackets
- Find studs: Use a stud finder and mark stud locations with a pencil.
- Mark bracket positions: Hold a level across the wall and mark where each bracket will go. Keep brackets about 16–24 inches apart.
- Drill pilot holes: This helps screws go in straight and prevents splitting.
- Attach brackets: Use screws long enough to go into the studs (at least 2 inches).
- Check for level: Brackets should be perfectly horizontal.
If you can’t attach to a stud, use heavy-duty wall anchors rated for at least 50 pounds each.
Bracket Spacing Guide
| Shelf Length | Recommended Number of Brackets | Max Weight Capacity |
|---|---|---|
| 2–3 feet | 2 | 75–100 lbs |
| 4–6 feet | 3 | 125–150 lbs |
| Over 6 feet | 4+ | Varies |
Pro tip: Always use more brackets than you think you need. Laundry products are heavy, and shelves that sag or pull out of the wall are common beginner mistakes.
Mounting And Securing The Shelves
Once brackets are up, it’s time to add your shelves.
Step-by-step Shelf Installation
- Place the shelf on brackets: Make sure it fits and is flush with the wall.
- Check for level: Use your level again.
- Attach shelf to brackets: Most brackets have screw holes in the top. Use short screws (so they don’t poke through the shelf).
- Test for strength: Gently press down to be sure it feels solid.
If using floating shelves, follow the manufacturer’s instructions. These often involve hidden supports installed first, then sliding the shelf over the hardware.
Customizing And Organizing Your Shelves
Installing shelves is just the first step. Customizing your shelves for your routine makes them even more useful.
Popular Customization Ideas
- Add baskets or bins: Store small items, keep things tidy.
- Use clear containers: Easily see when supplies are low.
- Label shelves or bins: Helps everyone in the family know where things go.
- Install hooks below shelves: Hang cleaning brushes, dusters, or even a foldable drying rack.
- Add a rod: Install a tension rod below a shelf for hanging clothes right out of the dryer.
Organizing Tips
- Store most-used items at eye level: Detergents and softeners should be easy to reach.
- Use upper shelves for extras: Place backup supplies or seasonal items higher up.
- Keep heavy items low: Baskets or bulk containers are safer on lower shelves.
- Don’t overload: Stick to the recommended weight for your brackets and wall anchors.
Example: If you do laundry for a family, dedicate a bin or basket to each member. This streamlines folding and putting away clothes.
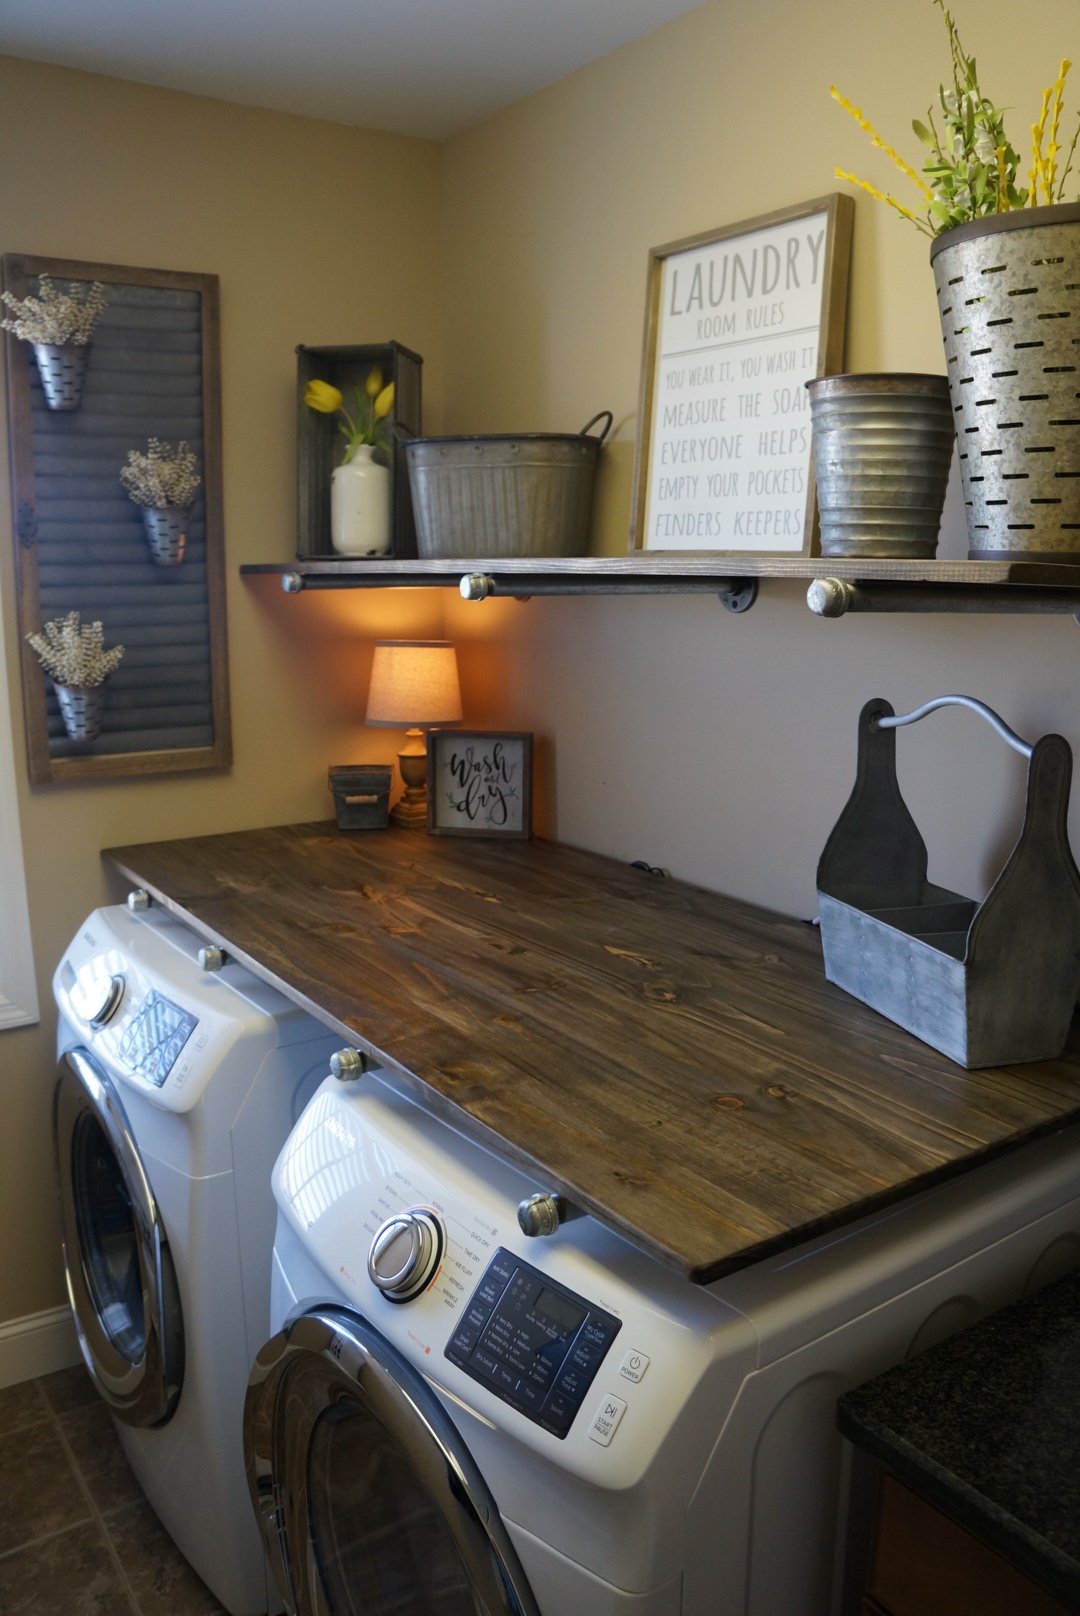
Credit: www.wilshirecollections.com
Safety Tips And Common Mistakes
Building and installing shelves is safe if you follow a few key rules.
Important Safety Tips
- Always wear safety glasses when cutting or drilling.
- Turn off power at the breaker if drilling near electrical outlets.
- Use a sturdy ladder or step stool—never stand on the washer or dryer.
- Lift shelves with your legs, not your back.
Common Mistakes To Avoid
- Not measuring properly: Double-check every measurement.
- Skipping stud attachment: Weak shelves can pull out of drywall.
- Using weak materials: Thin boards sag over time.
- Overloading shelves: Know your weight limits.
- Ignoring wall pipes/wires: Use a stud finder with wire/pipeline detection.
Experience-based insight: Many first-time DIYers only check for studs in a few spots. Pipes or wires are often hidden in laundry rooms, so always check the full area before drilling.
Adapting Shelves For Small Or Unusual Spaces
Not all laundry rooms are big or have perfect walls. If you have a small closet, sloped ceiling, or odd corners, you can still build useful shelves.
Ideas For Small Laundry Rooms
- Use shallower shelves (as little as 6–8 inches deep).
- Install shelves above the door for infrequently used items.
- Use vertical “ladder” shelves along a narrow wall.
- Add a pull-out shelf or drawer for folding space.
Dealing With Obstacles
- Cut notches in shelf boards for pipes or outlets.
- Use adjustable bracket systems for uneven walls.
- Consider wire shelving if wall space is tight.
Non-obvious tip: For basement laundry rooms with concrete walls, use masonry anchors or freestanding shelving units. Standard drywall anchors will not hold in concrete.
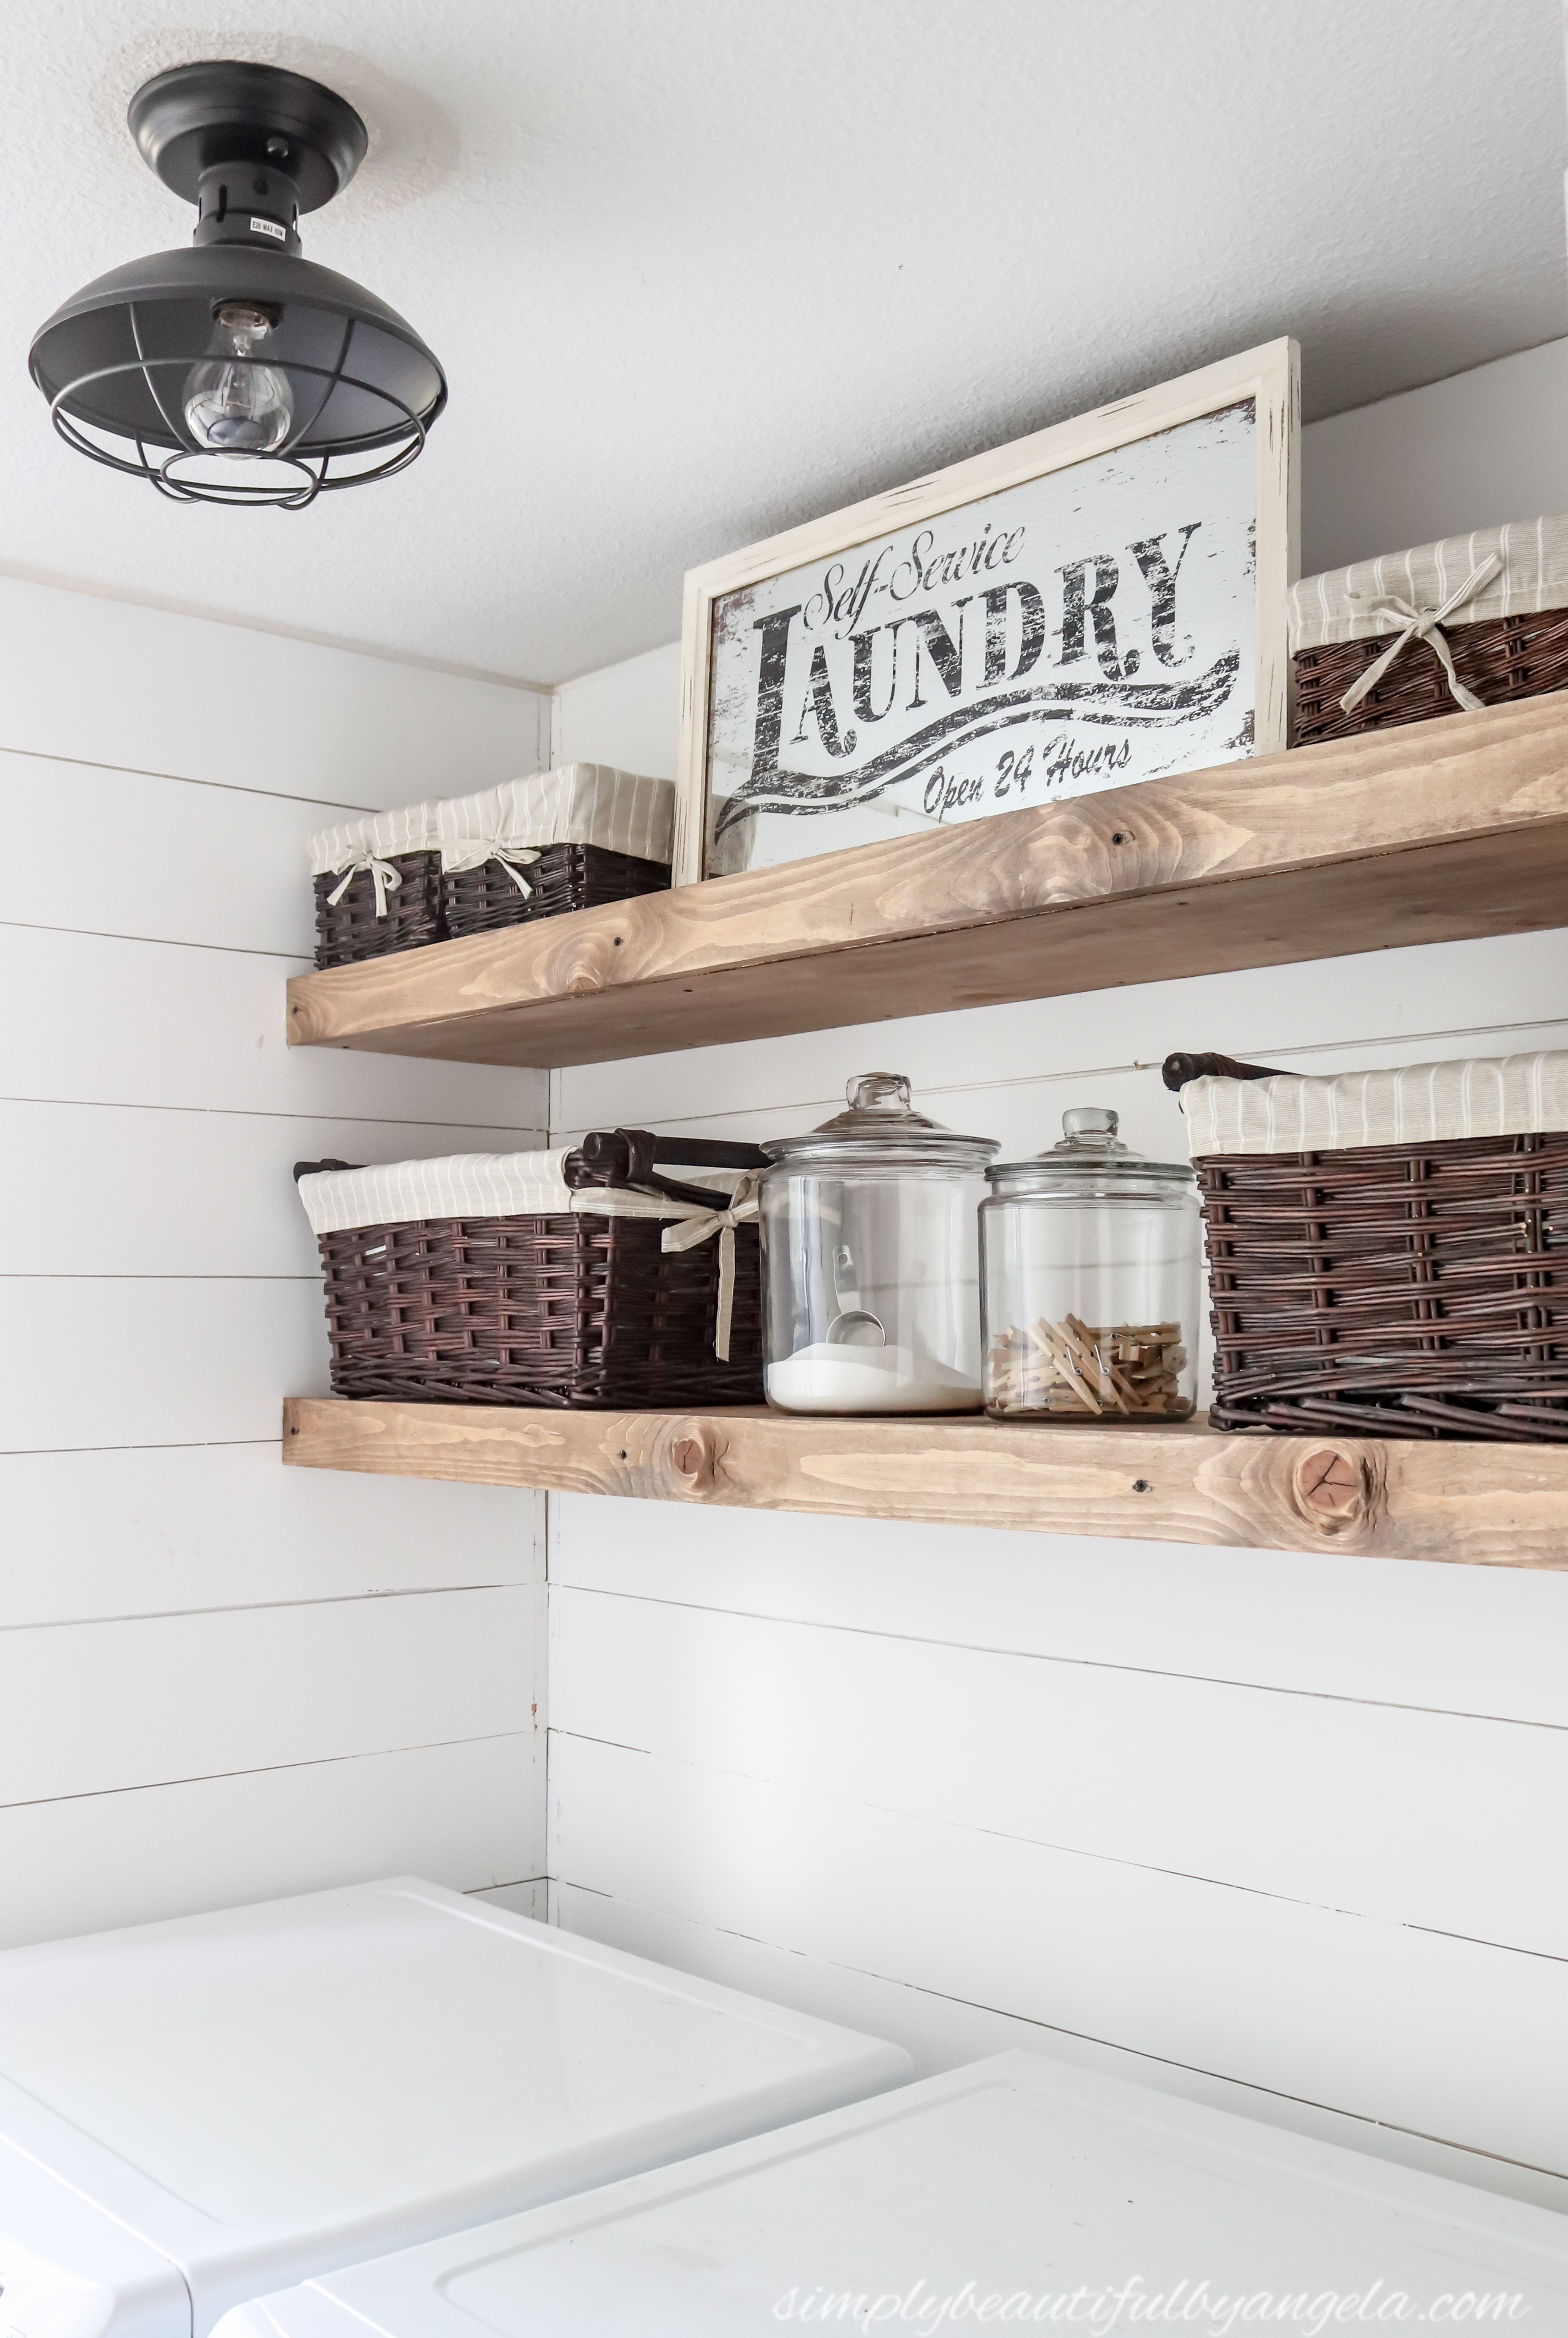
Credit: simplybeautifulbyangela.com
Painting And Finishing Touches
A good paint or finish helps your shelves last longer and look better.
Painting Tips
- Use a semi-gloss or satin paint—these wipe clean easily.
- Apply primer first, especially on bare wood.
- Allow shelves to dry at least 24 hours before placing items.
Decorative Upgrades
- Add peel-and-stick wallpaper to the back wall for color.
- Install under-shelf LED lights for better visibility.
- Attach a small bulletin board for notes or stain-removal tips.
These small details can make your laundry room feel as finished and inviting as any other room.
Maintenance And Longevity
Well-built shelves last for years with simple care.
- Wipe shelves regularly to prevent dust and detergent buildup.
- Check brackets and screws once a year—tighten if needed.
- Repaint or reseal if you see chips or water damage.
- Avoid putting wet items directly on wood shelves to prevent warping.
If you ever remodel or move, sturdy shelves can be removed and reused in other parts of your home.
Real-world Examples
Case Study 1: A family of five added three 6-foot shelves above their washer and dryer using heavy-duty brackets. They gained space for all detergents, cleaning supplies, and a row of bins for each family member’s socks and small items. Laundry day became smoother, and the room stayed organized.
Case Study 2: A single renter in a small apartment used floating shelves above a stackable washer/dryer. By choosing 10-inch-deep shelves, they fit all essentials without blocking the closet door. They used baskets for sorting, keeping the space neat and easy to clean.
For more inspiration and advanced options, you can visit resources like Family Handyman.
Frequently Asked Questions
How High Should Laundry Room Shelves Be Installed?
Install the first shelf about 16–18 inches above your washer or dryer. This gives enough space to operate the machines and reach items. Upper shelves can be spaced 12–15 inches apart, depending on what you plan to store.
What Is The Best Material For Laundry Room Shelves?
Solid wood and plywood are popular for their strength and durability. Melamine-coated boards are good for easy cleaning. Avoid particle board in damp rooms, as it can swell over time.
Can I Install Shelves Without Drilling Into Studs?
Yes, but you must use heavy-duty wall anchors rated for the weight you plan to store. For heavy loads, attaching to studs is always safest.
How Much Weight Can Laundry Room Shelves Hold?
A shelf attached to studs with sturdy brackets can often hold 100 pounds or more. Always check the weight rating of your brackets and anchors, and never exceed the lowest-rated part.
How Do I Prevent My Shelves From Sagging?
Use thicker boards (at least 3/4 inch), keep brackets no more than 24 inches apart, and avoid overloading. If shelves are long (over 4 feet), add extra brackets in the center.
Building your own laundry room shelves is a smart, rewarding project. With clear planning, careful installation, and a few custom touches, your laundry space can be both beautiful and highly functional. Enjoy the extra storage and the sense of accomplishment every time you do laundry.
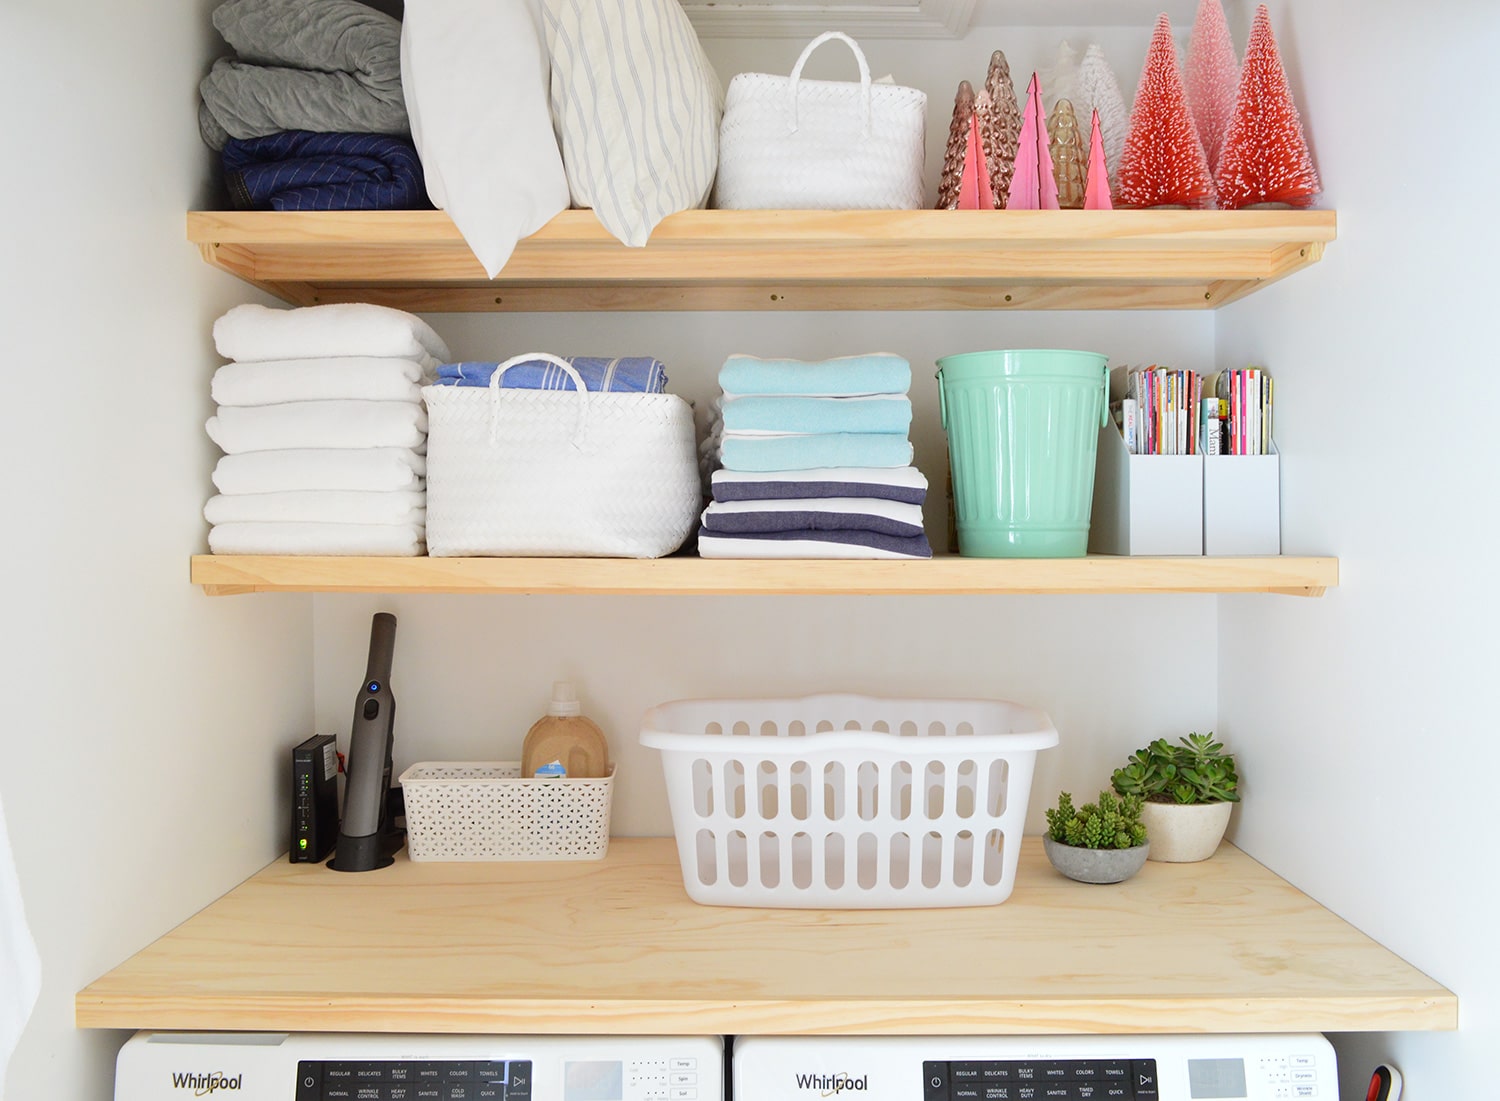
Credit: www.younghouselove.com