Building an insulated exterior door is a smart investment for any homeowner. A well-insulated door helps keep your home warm in winter and cool in summer. It also saves on energy bills and blocks out unwanted noise. Many people don’t realize that even a small gap or poor material choice can lead to big energy losses.
If you’re interested in DIY projects, creating your own insulated door lets you pick the best materials, customize the design, and ensure top-notch performance. In this guide, you’ll learn every step of the process, from choosing materials to final installation.
Whether you’re upgrading an old entry or building from scratch, you’ll gain practical tips, avoid common mistakes, and understand exactly what makes a door truly energy efficient.
Understanding Insulated Exterior Doors
Before you start building, it’s important to understand what makes a door insulated. An insulated exterior door is more than just a thick slab. It combines several layers and materials to reduce the transfer of heat, cold, and sound. The core is usually made from materials like rigid foam, polystyrene, or polyurethane. These are sandwiched between solid outer layers such as wood, fiberglass, or steel.
The frame, seals, and even the way the door fits into its opening all play a role in insulation. Small mistakes here can ruin the door’s effectiveness. For example, even the best core won’t help if air leaks around the edges. Some factory-made doors have an R-value (a measure of insulation) between R-5 and R-11, but DIY doors can often match or beat these numbers if built carefully.
Planning And Design
Every successful project starts with a plan. This section helps you decide on the door’s size, style, materials, and insulation method.
Measuring The Door Opening
Begin by measuring your current door or the rough opening where the door will go. Measure:
- Width: Inside edge to inside edge of the frame
- Height: From the threshold (bottom) to the top frame
- Depth: Thickness of the wall or frame
Double-check all measurements. Even a 1/8-inch mistake can cause problems later.
Choosing A Door Style
Think about:
- Swing direction (inward or outward)
- Number of panels (single or double)
- Window inserts (add light but reduce insulation)
- Surface design (flat, raised panels, or custom)
Simple flat designs are easiest to build and seal. Adding glass inserts needs extra steps for insulation.
Selecting Materials
The most common materials for insulated exterior doors are:
- Solid wood: Classic look but less insulating unless combined with foam
- Plywood: Affordable and easy to work with
- Steel: Very strong but needs a thermal break to prevent heat loss
- Fiberglass: Durable and resists weather
For the insulation core, consider:
- Polyurethane foam: R-6 to R-7 per inch, great for energy savings
- Polystyrene foam: Slightly lower R-value but easy to handle
- Mineral wool: Good for soundproofing but heavier
Choose based on your climate, budget, and tools.
Tools And Materials Needed
Gather everything you need before starting. Missing tools slow down progress and lead to mistakes.
Essential Tools
- Circular saw or table saw
- Drill/driver
- Tape measure
- Carpenter’s square
- Clamps
- Utility knife
- Caulking gun
- Paint brushes or rollers
- Screwdrivers
- Chisel
Materials
- Outer panels (plywood, wood, steel, or fiberglass sheets)
- Insulation boards (polyurethane or polystyrene)
- Wood for frame (usually 2×4 lumber)
- Weatherstripping
- Construction adhesive
- Screws and nails
- Sealant or caulk
- Hinges (heavy-duty)
- Lockset and handle
- Paint or stain
- Vapor barrier (optional but recommended in humid climates)
Buying a bit extra is wise; mistakes happen and it’s easier than making a second trip.
Building The Door Core
This is the heart of your insulated door. Getting the core right is key for energy savings and stability.
Framing The Door
- Cut the Stiles and Rails: The stiles are the vertical pieces; rails are the horizontal. For a standard door (36″x80″), use 2x4s.
- Lay Out the Frame: Use your carpenter’s square to make sure everything is perfectly straight.
- Assemble the Frame: Attach stiles and rails with screws or dowels. Check for squareness—if the frame isn’t square, the door won’t hang right.
Adding Insulation
- Cut Insulation Boards: Use a utility knife to fit panels snugly inside the frame.
- Glue in Place: Apply construction adhesive on the frame. Lay the foam panels and press down.
- Seal Gaps: Use spray foam or caulk to fill any spaces around the insulation. Tiny gaps can let in cold air.
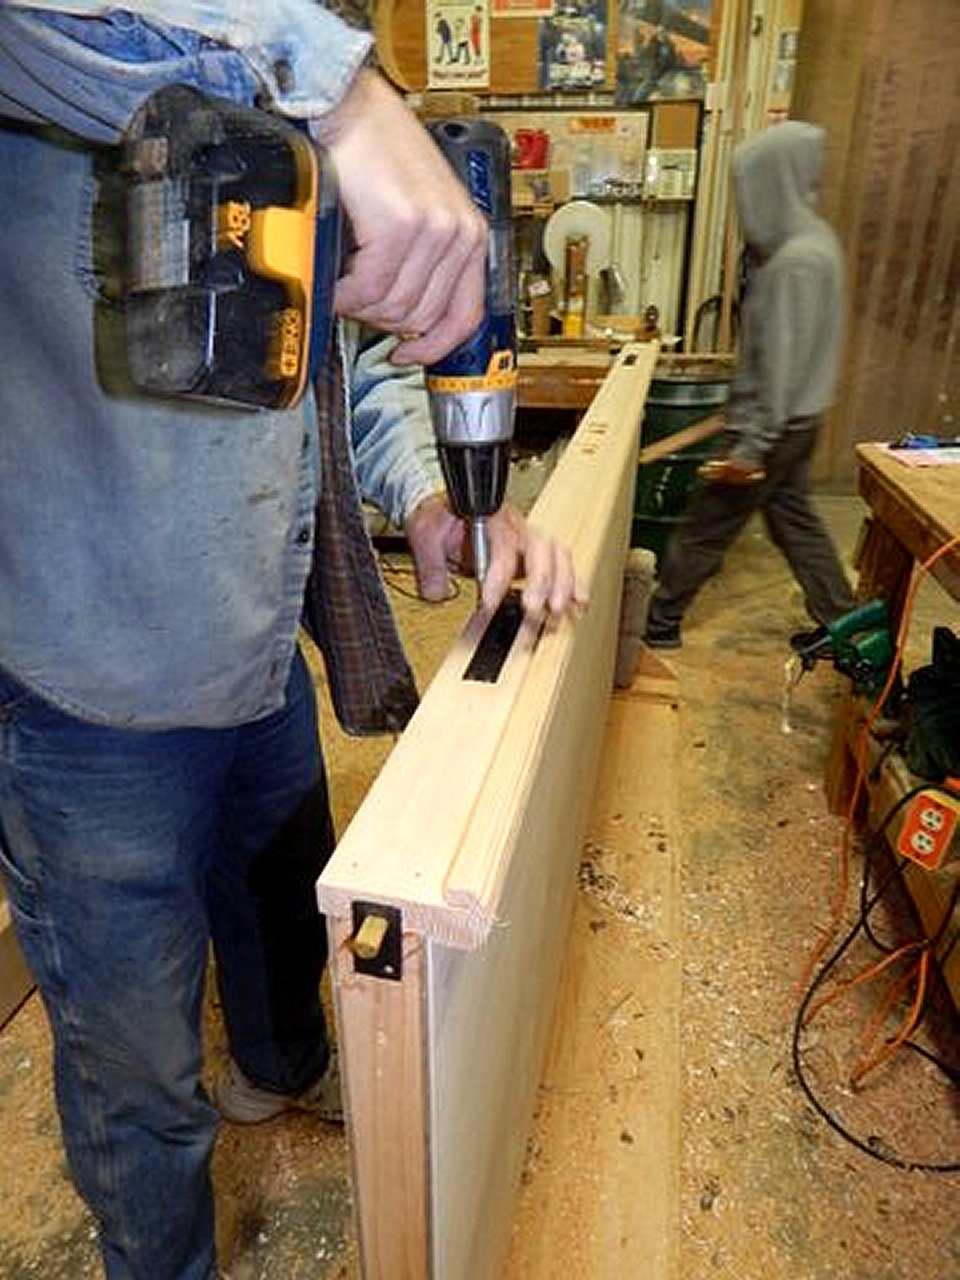
Attaching The Outer Skins
- Cut Plywood Panels: These form the outside faces of your door. They should match the frame size.
- Glue and Clamp: Apply adhesive to the frame and insulation, press on the panels, and clamp tightly.
- Screw Down: Use screws around the edge for a secure hold. Make sure screw heads are flush or slightly sunk.
This “sandwich” gives your door strength and insulation.
Weatherproofing And Sealing
Many DIY doors fail because of poor sealing. Air and moisture leaks can undo all your work. Take your time on this step.
Applying A Vapor Barrier
If you live in a humid climate, add a vapor barrier (plastic sheeting) between the insulation and outer skins. This keeps moisture from soaking the insulation, which would reduce its R-value and may cause mold.
Sealing The Edges
- Caulk all seams on the outside and inside edges.
- Fill screw holes with wood filler, then sand smooth.
- Check for gaps: Shine a bright light behind the door and look for leaks.
Installing Weatherstripping
Good weatherstripping is essential. There are several types:
- Foam tape: Easy to apply, good for small gaps
- V-strip (tension seal): Great for door jambs, lasts long
- Door sweeps: Attach at the bottom to block drafts
Install weatherstripping after painting or staining. Replace worn-out strips every few years.
Hanging The Door
Even the best-built door won’t work unless it’s hung properly. This part requires patience and attention to detail.
Fitting The Hinges
- Mark hinge locations: Usually, three heavy-duty hinges are enough for a standard door.
- Mortise the edges: Use a chisel to create shallow recesses for the hinges so they sit flush.
- Attach hinges: Use long screws that go deep into the frame for strength.
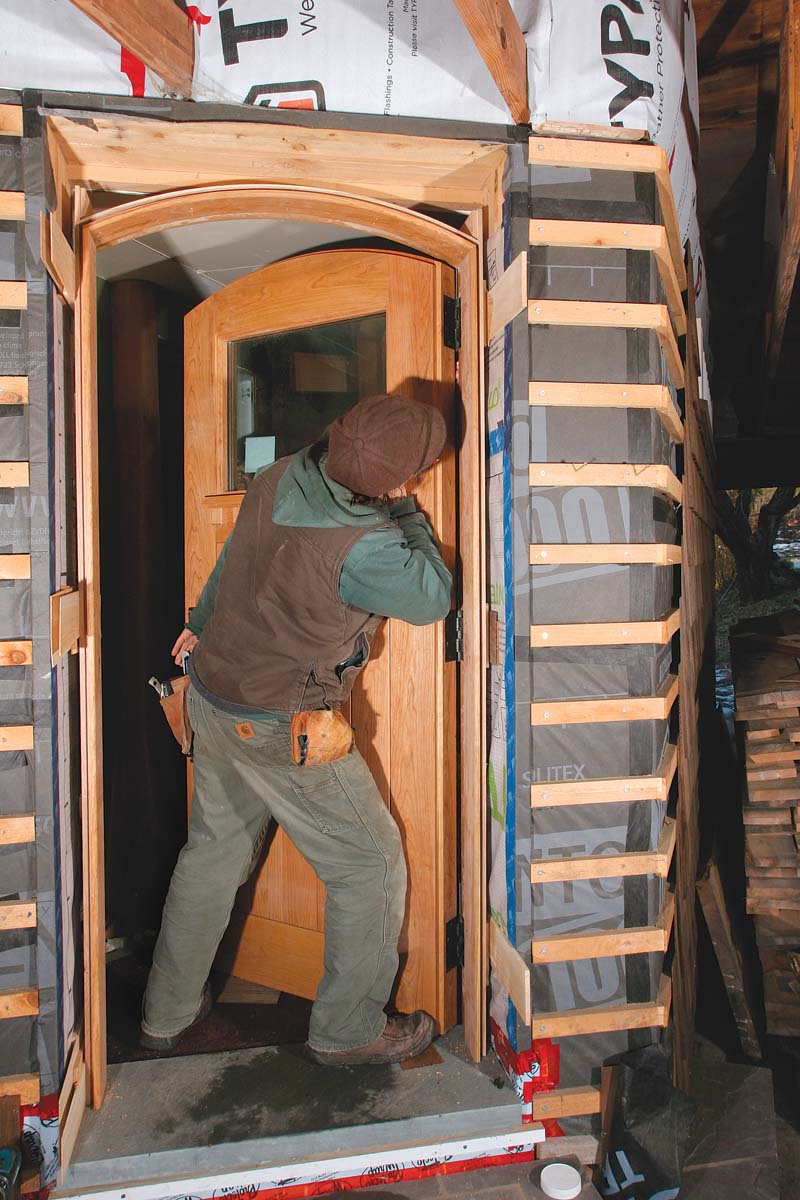
Placing The Door In The Opening
- Dry fit first: Check that the door swings freely and fits snugly.
- Adjust if needed: Plane the edges or sand down high spots.
- Install shims: Place shims behind hinges for a perfect fit.
- Secure with screws: Tighten all screws but don’t overtighten—wood can split.
Installing The Lockset
Follow the instructions for your specific lock. Drill carefully—holes must be precise for a tight, secure fit.

Credit: theyearofmud.com
Finishing The Surface
Your door is now solid and well-insulated, but it needs a protective finish to handle weather and look good.
Sanding And Smoothing
Start with medium-grit sandpaper (120) and finish with fine (220). Sand all surfaces, including edges and corners.
Painting Or Staining
- Prime first: Use a weather-resistant primer, especially on wood.
- Apply paint or stain: Use exterior-grade products. Two coats are better than one.
- Seal edges: Pay extra attention to the top and bottom, which get the most moisture.
Adding Decorative Elements
You can add trim, molding, or even a window insert. If adding glass, use insulated glass units (double or triple pane) and seal all edges with caulk.
Comparing Insulated Door Materials
Choosing the right materials has a big impact on insulation, weight, and durability. Here’s a comparison to help you decide:
| Material | R-value (per inch) | Durability | Cost | Maintenance |
|---|---|---|---|---|
| Solid Wood | R-2 to R-3 | Good | High | Regular refinishing |
| Plywood + Foam | R-5 to R-7 | Good | Medium | Low |
| Steel + Foam Core | R-6 to R-8 | Very High | Medium | Low |
| Fiberglass + Foam | R-6 to R-7 | Very High | Medium | Very Low |
Plywood with foam is a popular DIY choice. It balances insulation, cost, and ease of construction.
Common Mistakes And How To Avoid Them
Building an insulated exterior door isn’t hard, but small errors can ruin the final result. Here are mistakes beginners often make:
- Poor measurements: Measure twice, cut once. Doors that are too big or small require major fixes.
- Weak frame joints: Use strong joinery and screws, not just nails or glue.
- Inadequate sealing: Unsealed seams let in air and water. Always use caulk and weatherstripping.
- Skipping vapor barrier: Especially risky in humid areas. Wet insulation loses effectiveness fast.
- Forgetting the threshold: The gap under the door is a common air leak. Always use a door sweep or threshold seal.
- Using the wrong insulation: Not all foam boards are equal. Check the R-value and moisture resistance.
- Poor hinge placement: Hinges must be properly mortised and aligned. Misplaced hinges cause sticking or sagging.
- Rushing the finish: Incomplete paint or stain lets water damage the door. Be patient and apply multiple coats.
Experienced builders check each step before moving on. It’s better to fix mistakes early than redo everything later.
Improving Door Insulation: Advanced Tips
If you want to boost your door’s performance beyond the basics, consider these advanced ideas:
- Add a thermal break: In steel doors, a thin layer of plastic or wood between outer and inner metal layers stops heat transfer.
- Use triple-pane glass: If installing a window, triple-pane units insulate much better than double or single pane.
- Magnetic weatherstripping: Works like refrigerator seals, providing a tighter closure than foam.
- Smart locks: Some smart locks have better sealing, and they prevent accidental air leaks by ensuring the door is always closed.
- Bottom drop seals: These automatically drop a gasket when the door closes, sealing the gap at the bottom.
These extras cost more but can cut energy bills and increase comfort.
Credit: singcore.com
Cost And Energy Savings
You might wonder if building your own insulated door is worth the time and money. Here’s a breakdown.
Cost Estimate
- Materials: $150–$350 (depending on size, insulation, and finish)
- Tools: Most people already own the basic tools, but expect $50–$100 extra if you need to buy
- Labor: DIY labor is “free,” but expect to spend 1–2 days
A custom insulated door typically costs $500–$1500 to buy pre-made. Building yourself can save 50–80%.
Energy Savings
According to the U.S. Department of Energy, a well-insulated exterior door can reduce heat loss by up to 30% compared to old wooden doors. For a typical home, this means savings of $40–$80 per year on heating and cooling. Over ten years, that’s $400–$800—paying for your door and then some.
Installation Vs. Pre-made Doors
DIY isn’t for everyone. Here’s a quick comparison to help you decide:
| Factor | DIY Door | Pre-Made Door |
|---|---|---|
| Cost | Lower | Higher |
| Customization | Full control | Limited |
| Time | 1–2 days | 1–2 hours |
| Quality Control | High (if careful) | Factory standards |
| Skill Needed | Intermediate DIY | Minimal |
If you enjoy hands-on work, DIY doors are rewarding. If you want speed, pre-made doors are better.
Maintenance And Longevity
Insulated doors need less care than old wooden doors, but some maintenance is still needed:
- Inspect weatherstripping every year. Replace if cracked or loose.
- Repaint or restain every 3–5 years. Sun and rain break down finishes.
- Check the sweep at the bottom for wear.
- Lubricate hinges once a year to prevent squeaks and sticking.
Proper maintenance extends the door’s life to 20 years or more. If you see swelling, warping, or mold, fix these quickly to avoid bigger problems.
Real-world Example
Let’s look at a real DIYer’s experience. Jessica in Minnesota built her own insulated plywood and foam door for $190. She used polyurethane foam panels, two sheets of exterior plywood, and heavy-duty weatherstripping. Her old door let in cold air and ice formed inside during winter.
After installing her new door, Jessica noticed her home was quieter, and the entryway stayed 10°F warmer during January. Her heating bill dropped by $9 per month. She said the trickiest part was sealing the bottom edge—she tried three sweeps before finding one that blocked all drafts. Her tip: “Spend extra time on weatherstripping, it makes all the difference.”
Credit: www.finehomebuilding.com
When To Call A Professional
Building your own insulated exterior door is a great project, but it’s not for everyone. Call a pro if:
- The opening is an unusual size or shape
- You want decorative glass inserts with complex seals
- The door will be used in a high-security location
- You have little experience with tools or carpentry
A skilled carpenter can build a custom insulated door in less time and offer a warranty. For most homeowners, though, a basic insulated door is very doable with patience and careful work.
Frequently Asked Questions
What Is The Best Insulation For An Exterior Door?
Polyurethane foam is usually the best. It has a high R-value, is moisture resistant, and is easy to cut and fit. Polystyrene is also good and more affordable, but slightly less insulating.
How Thick Should An Insulated Exterior Door Be?
Most exterior doors are 1¾ inches thick. This allows space for a strong frame and enough insulation. Thicker doors insulate better but need heavier hinges and may not fit standard frames.
Can I Add Insulation To An Old Door?
Yes, but it’s tricky. You can remove inner panels and add foam, then cover with plywood. However, results are often less effective than building a new insulated door from scratch.
How Do I Know If My Door Is Insulated Enough?
Check for drafts with a candle or smoke. If the flame moves near the edges, more weatherstripping is needed. Doors with R-values of 5 or higher are usually well-insulated.
What’s The Difference Between An Insulated Door And A Regular Door?
Insulated doors have a foam or other thermal core that blocks heat, cold, and noise. Regular doors are usually solid wood or hollow, which lose more energy and let in more sound.
Building an insulated exterior door is a rewarding project that saves money, boosts comfort, and adds value to your home. With careful planning and attention to detail, you can create a door that rivals or even beats factory-made options. For more technical details and standards, check resources like the U.S. Department of Energy. With the right materials and patience, your new door will serve you well for decades.