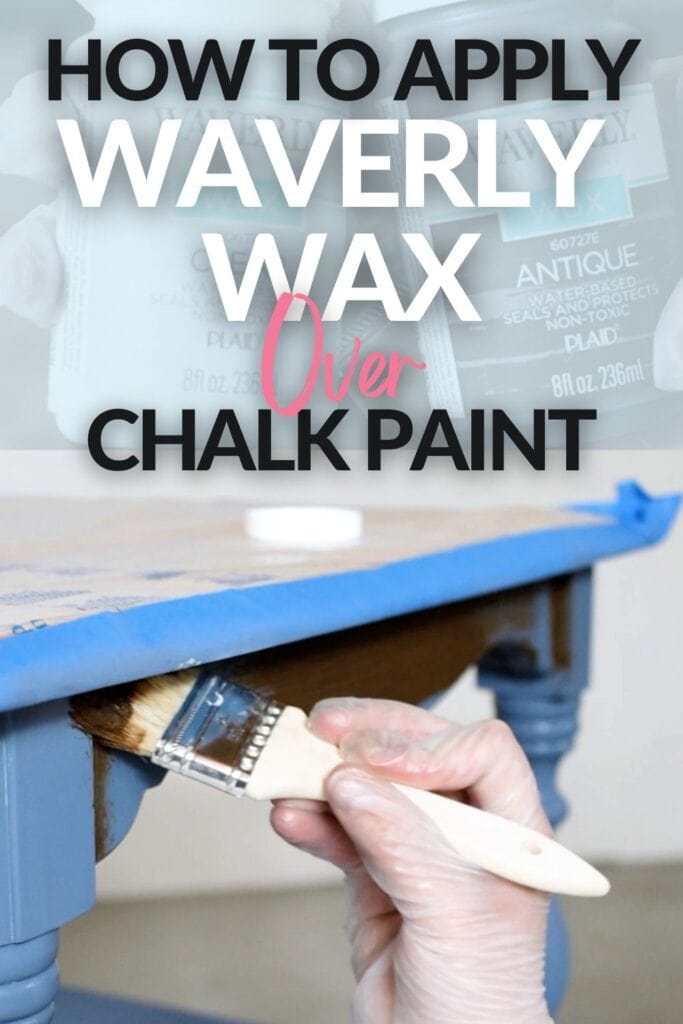
Waverly Clear Wax is a favorite among crafters, furniture upcyclers, and DIY enthusiasts. It brings out the beauty in chalk-painted furniture, giving surfaces a silky, smooth finish that protects against everyday wear. But as simple as waxing might sound, there are important details that can make the difference between a professional result and one that looks unfinished.
If you want to use Waverly Clear Wax for the first time—or just want to improve your technique—this guide will walk you through every step, share practical tips, and help you avoid common mistakes.
Understanding Waverly Clear Wax
Waverly Clear Wax is a protective top coat designed mainly for chalk paint projects. It creates a water-resistant layer that protects surfaces from scratches, stains, and moisture. Unlike polyurethane or varnish, wax gives a soft, natural sheen rather than a hard, glossy finish.
One thing that makes Waverly Clear Wax stand out is its ease of use. The formula is creamy and easy to spread, making it friendly for beginners and experienced users alike. It’s also non-yellowing, so your white and light-colored projects stay true over time.
Key Benefits
- Protects painted surfaces from dirt, moisture, and minor scratches
- Creates a subtle satin finish (not shiny)
- Easy to apply and buff by hand
- Works well with Waverly Chalk Paint and similar chalk-style paints
Where To Use
Waverly Clear Wax is ideal for:
- Furniture (tables, chairs, dressers)
- Decorative boxes and trays
- Picture frames and shelves
- Wooden signs and small crafts
Not all surfaces are suitable. Avoid using on outdoor furniture or surfaces exposed to heavy water (like kitchen counters) unless you’re ready to re-wax often.
What You Need Before You Start
Preparation is essential. Having the right tools and materials can make the process smoother and the results better.
Supplies Checklist
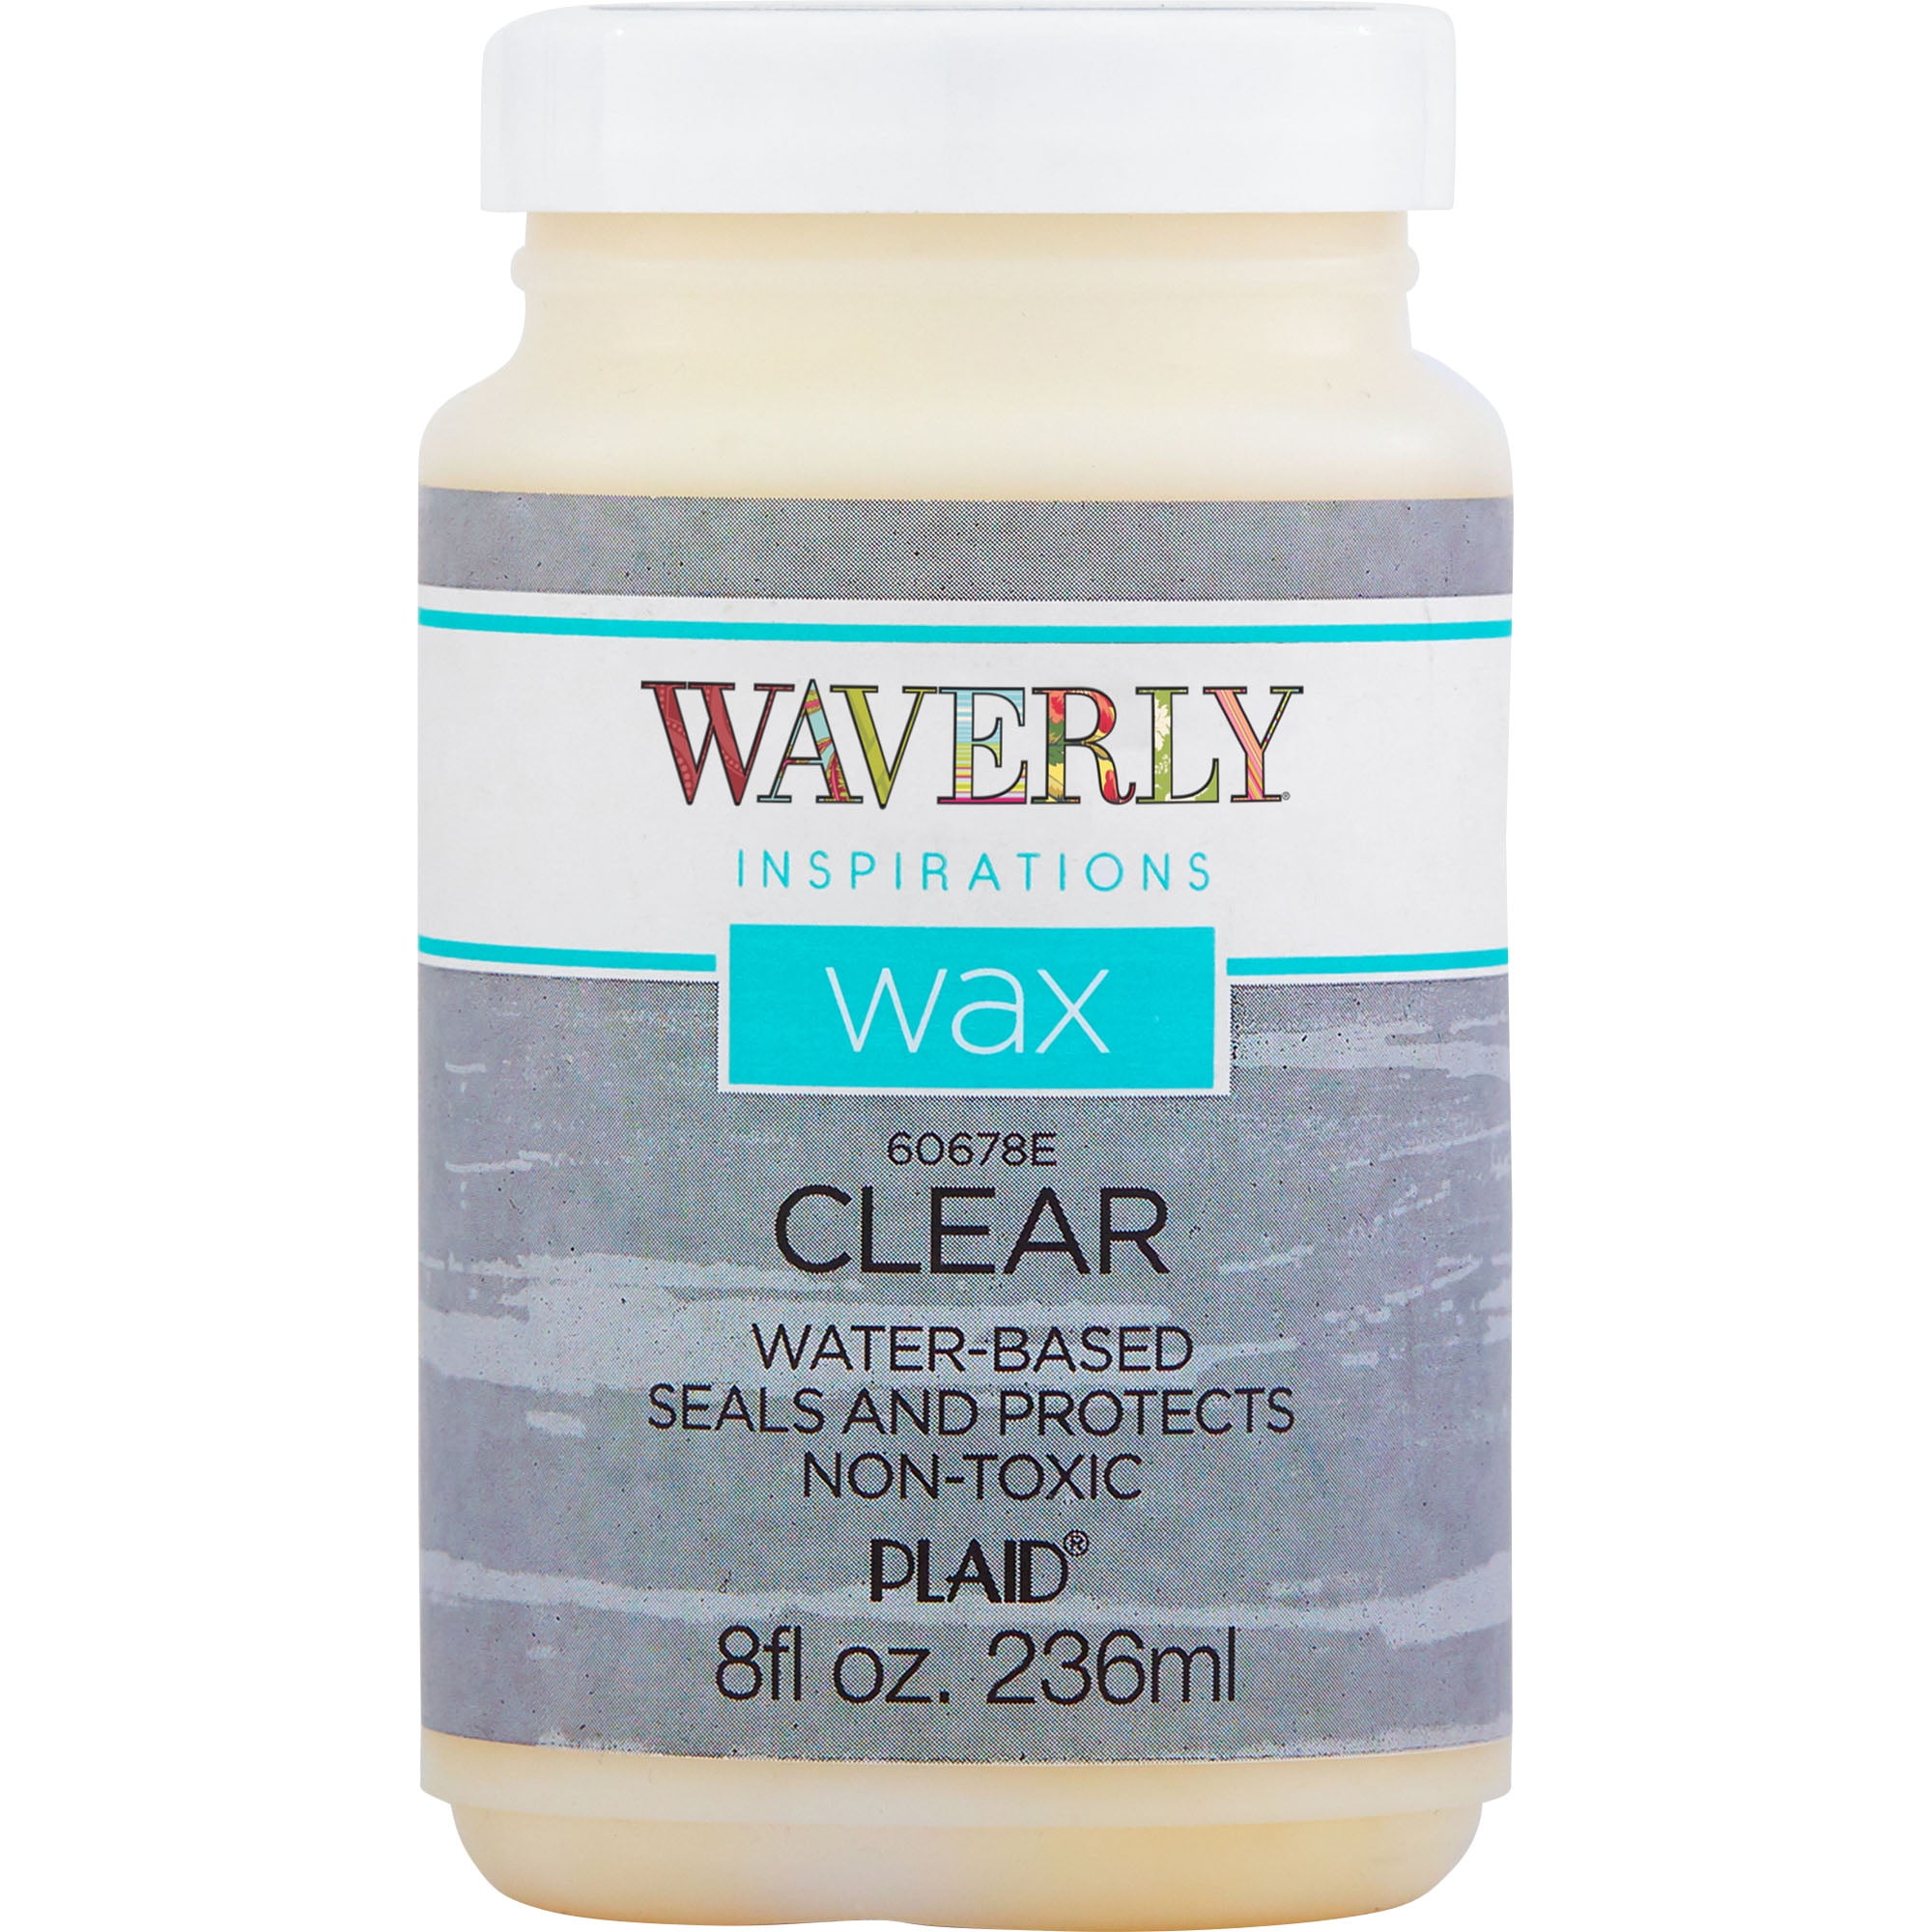
- Waverly Clear Wax: Available in 8 oz jars at major craft stores and online.
- Chalk-painted item: Make sure your paint is fully dry—at least 24 hours.
- Wax brush or lint-free cloth: Wax brushes offer even coverage. A soft, clean cloth is a good alternative.
- Clean, dry rags: For buffing the wax to a soft sheen.
- Mild soap and water: To clean surfaces before waxing.
- Fine-grit sandpaper (optional): For smoothing rough spots or distressing.
- Gloves (optional): To keep your hands clean.
Preparing Your Workspace
- Work in a well-ventilated area. Wax has a mild odor, and good airflow helps it cure.
- Protect your floor or table with an old sheet or plastic.
- Make sure your project is dust-free. Any dirt or debris can get trapped under the wax.
Non-obvious insight: Don’t use paper towels for applying or buffing wax—they can leave fibers behind or scratch the surface.
Surface Preparation: The Foundation Of A Good Finish
You can’t get a smooth, beautiful finish if your surface isn’t prepared properly. Here’s how to do it right.
Cleaning
Even if your piece looks clean, wipe it down with a damp cloth and mild soap. Dust and oils can prevent wax from bonding well.
Sanding
- If you want a distressed look, lightly sand edges and corners before waxing.
- For a perfectly smooth finish, gently sand the entire surface with 320-grit sandpaper after painting.
Remove all sanding dust with a tack cloth or a clean, damp rag.
Dry Paint Is Key
Patience pays off here. Chalk paint can feel dry to the touch in an hour or two, but it’s best to wait at least 24 hours before waxing. Thicker coats, humid conditions, or darker colors may need more time.
Practical tip: If you apply wax too soon, it can pull up paint or cause streaks. Wait longer if you’re unsure.
How To Apply Waverly Clear Wax: Step-by-step
Now, let’s walk through the waxing process. Each step is important for a great result.
1. Stir The Wax
Waverly Clear Wax can separate slightly, especially if it’s been sitting. Open the jar and stir well with a clean stick or spoon. Do not shake the jar—air bubbles can affect the finish.
2. Load Your Applicator
Dip your wax brush or cloth into the wax. Pick up a small amount—about the size of a dime. You don’t need much; too much wax can make the surface sticky.
If using a brush, swirl it in the wax and tap off any extra. If using a cloth, fold it into a small pad, dip the edge, and rub off excess on the jar rim.
3. Apply In Thin Layers
Work in small sections, about 1-2 square feet at a time. Rub the wax onto the surface using a circular or back-and-forth motion. Make sure to work the wax into all the details and crevices.
Thin, even coats are best. If you see thick, white patches, you’re using too much. Spread it out until the surface looks slightly damp but not glossy.
4. Remove Excess Wax
Right after applying, use a clean, lint-free rag to wipe off extra wax. Buff lightly in the direction of the wood grain or paint strokes. The surface should feel smooth, not sticky or greasy.
5. Let It Set
Allow the wax to dry (cure) for 1-2 hours before touching. In humid weather, it may take a little longer.
6. Buff To A Soft Sheen
Once the wax has set, use a clean, dry rag to buff the surface. Rub gently in circles or along the grain. This step brings out the soft, satin glow that wax is known for.
Non-obvious insight: If you want a higher shine, wait 24 hours and buff again with a fresh cloth. The more you buff, the more lustrous the finish.
7. Add More Coats (if Needed)
For high-traffic surfaces (like tabletops or chair seats), apply a second thin coat after the first is fully cured (at least 24 hours). Repeat the process: apply, wipe, let cure, and buff.
8. Final Cure Time
Wax dries to the touch quickly but reaches full hardness in about 21 days. Be gentle with your project during this time—avoid placing heavy or wet items on it.
Credit: arayofsunlight.com
Application Methods Compared
There are two main ways to apply Waverly Clear Wax: with a brush or a cloth. Each has its strengths.
| Method | Best For | Pros | Cons |
|---|---|---|---|
| Wax Brush | Detailed and textured surfaces, large furniture | Even coverage, reaches crevices, less hand fatigue | Brush must be cleaned, higher cost |
| Cloth | Flat surfaces, small projects | Low cost, easy to control, no special tools needed | Can leave streaks, harder to work into details |
For most beginners, a cloth is easiest to start with, but if you plan to wax many pieces, investing in a good wax brush pays off.
Common Mistakes And How To Avoid Them
Many waxing problems are easy to fix—if you know what to look for.
Using Too Much Wax
A thick coat doesn’t give better protection. Instead, it can leave a tacky, uneven finish.
Solution: Always apply thin coats and buff away excess.
Not Buffing Enough
If you skip buffing, the finish can look dull and feel sticky.
Solution: Buff well after each coat, using a clean cloth.
Waxing Over Wet Paint
Waxing before the paint is fully dry can cause smearing or peeling.
Solution: Wait at least 24 hours after painting.
Skipping Surface Prep
Dust, oils, or old finish can prevent wax from sticking.
Solution: Always clean and lightly sand your surface first.
Using The Wrong Rag
Paper towels or synthetic cloths can scratch or leave fibers.
Solution: Use a soft, lint-free cotton rag.
How Waverly Clear Wax Compares To Other Waxes
People often ask how Waverly stacks up against other brands. Here’s a comparison with two popular alternatives: Annie Sloan Clear Wax and Minwax Paste Finishing Wax.
| Feature | Waverly Clear Wax | Annie Sloan Clear Wax | Minwax Paste Wax |
|---|---|---|---|
| Ease of Use | Very easy | Moderate | Moderate |
| Odor | Low | Low | Strong |
| Finish | Soft satin | Soft satin | Glossy |
| Price | Low | High | Low |
| Color Options | Clear only | Clear, dark, white | Clear, dark |
Waverly Clear Wax is an excellent choice for those who want simplicity, low odor, and a soft finish at a budget-friendly price.
How To Maintain And Clean Waxed Surfaces
Waxed furniture is easy to care for, but a few simple habits will keep it looking its best.
Regular Cleaning
- Dust with a soft cloth. Avoid harsh dusters or rough sponges.
- For sticky spills, use a slightly damp cloth and mild soap. Do not soak the surface.
- Never use ammonia or bleach-based cleaners—they can strip wax.
Refreshing The Wax
Every 6-12 months, depending on use, you may want to re-wax high-traffic areas. Clean the surface, let dry, and apply a thin new coat.
Repairing Small Scratches
Light scratches or dull spots can be fixed by rubbing a little wax into the area and buffing.
Non-obvious insight: If you see white rings from water or cups, gently warm the area with a hairdryer and buff with wax—this often removes the mark.
Advanced Techniques And Creative Uses
Waverly Clear Wax isn’t just for sealing. You can use it to create layered finishes, highlight details, or combine it with other waxes for unique looks.
Creating A Distressed Look
- Paint your piece and let dry.
- Sand edges and corners for a worn look.
- Wax as usual. The wax deepens color on sanded areas, giving an authentic vintage effect.
Highlighting Details
After applying clear wax, use Waverly Antique Wax or another dark wax to accent carvings or edges. Apply sparingly and blend with a little clear wax for a subtle look.
Mixing With Pigments
Advanced users sometimes mix a tiny bit of chalk paint into clear wax to create a tinted wax. This technique can soften bold colors or add visual depth.
Sealing Decoupage Or Transfers
Waverly Clear Wax can be used over paper decoupage or image transfers to seal and protect them. Make sure all glue is dry before waxing.
Storage And Shelf Life
To keep your Waverly Clear Wax fresh:
- Tightly close the jar after each use.
- Store in a cool, dry place away from direct sunlight.
- If the wax becomes hard or separates, gently stir. Do not add water or solvents.
Unopened, wax lasts several years. Once opened, try to use within 12-18 months for best results.
Credit: www.youtube.com
Safety Tips When Using Wax
Although Waverly Clear Wax is low in VOCs and odor, it’s still smart to work safely.
- Keep away from children and pets.
- Avoid open flames or smoking when waxing.
- Wash hands after use, even if you wore gloves.
- If you feel dizzy or notice headaches, work in a better-ventilated area.
For detailed safety info, see the manufacturer’s instructions or the Safety Data Sheet.
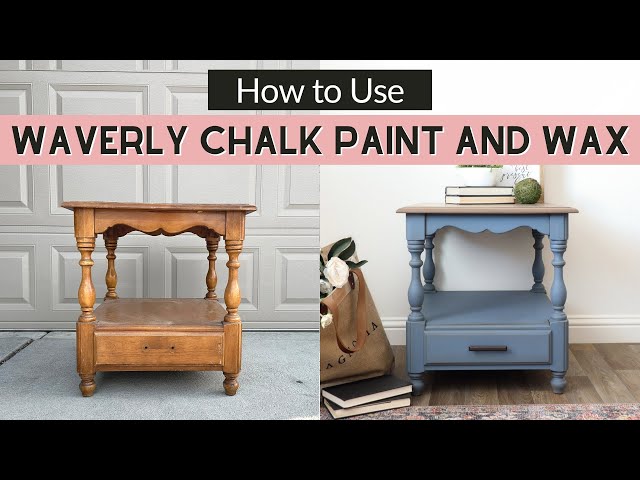
Real-life Example: Waxing A Chalk-painted Chair
Let’s see how this process works in a real project.
Project: Chalk-painted dining chair
- Painted the chair with two coats of Waverly Chalk Paint. Let dry 24 hours.
- Lightly sanded the seat and arms with 320-grit sandpaper.
- Wiped off all dust with a damp rag.
- Opened a new jar of Waverly Clear Wax, stirred well.
- Used a round wax brush to apply a thin coat, working wax into spindles and carvings.
- Immediately wiped off extra wax with a soft cotton cloth.
- Waited 2 hours, then buffed with a clean rag for a soft glow.
- Let the chair cure for 2 weeks before using daily.
Result: The chair has a silky, smooth finish that resists fingerprints and wipes clean easily.
How To Fix Common Waxing Problems
If things don’t go as planned, don’t worry. Most issues with Waverly Clear Wax are easy to fix.
Sticky Or Tacky Surface
This usually means too much wax was used or it wasn’t buffed enough.
- Let the surface air out for a few days.
- Buff again with a clean, dry cloth.
- If still sticky, wipe with a rag dampened with odorless mineral spirits to remove excess, then re-wax lightly.
Streaks Or Cloudy Finish
Streaks can happen if wax is not evenly spread.
- Reapply a small amount of wax to the area.
- Work it in well, then buff thoroughly.
Scratches Or Dull Spots
Just rub a little wax into the area, let set, and buff.
Paint Lifting
If paint comes up during waxing, it wasn’t dry enough. Wait longer next time and touch up paint as needed.
Environmental Impact And Disposal
Waverly Clear Wax is water-based and low VOC, making it safer for indoor use and the environment compared to traditional solvent waxes.
- Dispose of used rags in a sealed bag.
- Don’t pour leftover wax down the drain.
- Recycle the container if possible.
For further information on safe disposal and product details, visit the Wikipedia page on waxes.
Credit: www.walmart.com
Frequently Asked Questions
How Long Does Waverly Clear Wax Take To Cure Completely?
Waverly Clear Wax dries to the touch in 1-2 hours but takes about 21 days to fully cure. During this time, avoid placing heavy or wet items on the surface.
Can I Use Waverly Clear Wax Over Other Paints?
Yes, it works best over chalk-style paints but can also be used on matte latex paint. Avoid using over glossy or oil-based paints without proper prep.
How Often Should I Reapply Waverly Clear Wax?
For most furniture, every 6-12 months is enough. High-traffic areas may need touch-ups sooner. Clean before reapplying.
What Do I Do If I Applied Too Much Wax?
Buff with a clean cloth. If the surface is still sticky after a few days, lightly wipe with a rag dampened with odorless mineral spirits and rebuff.
Is Waverly Clear Wax Food Safe?
No, Waverly Clear Wax is not certified food safe. Do not use on surfaces that come into direct contact with food, like cutting boards.
Applying Waverly Clear Wax doesn’t have to be intimidating. With the right preparation and technique, you can protect your painted pieces, add beautiful sheen, and enjoy your projects for years to come. Take your time, work in thin layers, and you’ll be amazed at the smooth, professional finish you can achieve—even on your first try.