
Applying floor marking tape may look simple, but doing it right can make a big difference in safety, workflow, and appearance. Whether in a warehouse, factory, hospital, or school, the way you use floor tape tells people where to walk, where to store things, and what areas to avoid. Many beginners think just sticking tape down is enough. But there’s more to it: picking the right tape, preparing the floor, and applying it carefully matter a lot. This guide will show you the full process, step by step, with clear advice and expert tips you won’t find elsewhere.
Why Floor Marking Tape Matters
Floor marking tape is not only for looks. It’s a tool for communication and safety. In busy workplaces, clear floor markings reduce accidents. They show safe walkways, forklift lanes, and danger zones. In schools or hospitals, tape helps manage foot traffic and organize spaces.
According to the Occupational Safety and Health Administration (OSHA), using floor marking tape can help companies lower workplace injuries by up to 20%. This is possible because tape makes movement patterns clear, reducing confusion and collisions.
Using tape is also much faster than painting lines, and it can be removed or changed easily if your layout changes. But to get these benefits, you need to do it right.
Understanding Different Types Of Floor Marking Tape
There are many floor marking tapes. Each type has its own use, strength, and cost. Before buying, you should understand the main options:
| Type of Tape | Main Use | Durability | Cost |
|---|---|---|---|
| PVC Vinyl Tape | General marking, walkways | Medium | Low |
| Heavy Duty Vinyl | Forklift lanes, high traffic | High | Medium |
| Glow-in-the-Dark | Emergency exits, dark areas | Medium | High |
| Reflective Tape | Low-light areas, safety zones | High | High |
| Printed Tape | Messages, hazards | Medium | Medium |
Non-obvious insight: Many people choose the cheapest tape, but in heavy-traffic areas, cheap tape will peel off quickly, costing more time and money in the long run.
Planning Your Floor Marking Layout
Rushing into applying tape is a common mistake. Planning saves you from wasted time and messy results. Here’s how to plan:
- Map the Area: Get a floor plan or make a sketch. Mark where you need lines, arrows, or zones.
- Decide Colors and Symbols: OSHA suggests using colors for different purposes. For example, yellow for walkways, red for danger, green for safety.
- Measure Twice: Use a tape measure to check the length of each line. This tells you how much tape to buy.
- Consider Workflow: Make sure your markings help people, not confuse them. For example, don’t cross walkways and forklift lanes unless needed.
- Test with Temporary Tape: Before final application, try marking with painter’s tape to see if your plan works in real life.
Expert tip: Talk to workers who use the space. They often see issues you might miss, like blind corners or crowded spots.
Tools And Materials You Will Need
Applying floor marking tape is easier with the right tools:
- Floor marking tape (choose type and color based on your plan)
- Measuring tape (long enough for your space)
- Chalk line or laser line (for straight lines)
- Utility knife or scissors (for cutting tape)
- Broom or vacuum (for cleaning)
- Degreaser or floor cleaner (to remove oil, dust)
- Rags or mop
- Roller or squeegee (to press tape down evenly)
- Pencil or marker (for marks and notes)
- Knee pads (for comfort on large jobs)
- Personal protective equipment (PPE) if needed
Non-obvious insight: Many skips the cleaning, but even small dust or oil spots can make tape peel off within days.
Preparing The Floor Surface
A clean, dry surface is key to strong tape adhesion. Here’s how to prepare:
1. Clear The Area
Remove all items from the floor: pallets, boxes, racks, and debris. This gives you space to work and avoids accidents.
2. Sweep Or Vacuum
Dust, dirt, and small debris will make tape stick poorly. Sweep or vacuum thoroughly. Use a broom with stiff bristles for textured floors.
3. Clean With Degreaser
If there is oil, grease, or chemical residue, use a degreaser. Mop or scrub, then rinse with clean water. Let it dry fully.
4. Dry The Floor
Moisture under tape causes bubbles and peeling. Wait until the floor is fully dry. For concrete, this can take several hours.
5. Inspect The Surface
Check for cracks, holes, or loose concrete. Repair them before applying tape. Uneven surfaces can make tape lift or wear out faster.
Expert tip: On smooth concrete, tape sticks best. On rough surfaces, choose a heavy-duty tape with extra-strong adhesive.
Step-by-step Guide To Applying Floor Marking Tape
Follow these steps for the best results:
1. Mark The Line
Use a chalk line or laser to mark where the tape should go. For curves, use a flexible ruler or lay out the tape loosely as a guide.
2. Cut The Tape
Cut the needed length, adding a few extra inches for adjustments.
3. Peel And Stick
Peel off a few inches of the tape’s backing. Stick the end firmly at the starting point. Slowly peel and press the tape as you move along the line, keeping it taut and straight.
4. Press Down
Use a roller or squeegee to press the tape down. Start at the center and move outward to remove air bubbles.
5. Overlap At Corners
For sharp corners, cut the tape at an angle and overlap a small section. This prevents gaps or peeling at stress points.
6. Check Alignment
Step back and check if the line is straight and smooth. Adjust before pressing down fully.
7. Trim Excess
Cut off any extra tape at the end with a utility knife.
8. Seal Edges (optional)
For high-traffic areas, use a small roller to go over the edges. This makes the tape last longer.
Pro tip: In cold weather, gently heat the tape with a hairdryer before pressing. Warm tape sticks better to cold concrete.
Applying Tape For Different Purposes
Floor marking tape is used in many ways. Here’s how to apply it for common needs:
Walkways
- Use bright colors like yellow or green.
- Lines should be at least 2 inches wide for visibility.
- Place tape 3-4 feet apart for two-way foot traffic.
Equipment Zones
- Use solid boxes or L-shapes to show where equipment should be stored.
- Mark the outline slightly larger than the item for easy fit.
Hazard Areas
- Use red or striped tape.
- Add printed tape with messages like “Caution” or “Danger.”
Directional Arrows
- Use arrow-shaped tape or cut arrows from standard tape.
- Place arrows at intervals for long pathways.
Forklift Lanes
- Heavy-duty tape is a must.
- Make lines at least 4 inches wide.
- Use reflective tape if lighting is poor.
Emergency Exits
- Use green or glow-in-the-dark tape.
- Mark both the path and the exit door base.
Example: In a warehouse, yellow lines show walking paths, red boxes show fire extinguisher spots, and green tape marks emergency exits. This color system helps everyone, even new workers, understand the layout fast.
Common Mistakes To Avoid
Many tape jobs fail because of avoidable errors. Here’s what to watch out for:
- Poor Surface Prep: Skipping cleaning or drying makes tape peel off quickly.
- Cheap Tape in Busy Areas: Weak tape breaks down under forklifts or carts.
- Crooked Lines: Not using a chalk line leads to messy, unprofessional results.
- Ignoring Workflow: Tape that blocks doors or crosses busy lanes causes confusion.
- Not Pressing Tape Firmly: Air bubbles allow water and dirt under the tape, making it lift.
- Applying in Wrong Conditions: Tape sticks poorly in very cold or humid weather.
- Not Replacing Worn Tape: Damaged tape sends the wrong message and causes safety issues.
Non-obvious insight: Floor tape is not “set it and forget it.” Check every few months and replace worn sections right away.
Maintaining Floor Marking Tape
Good tape can last 1-2 years in moderate traffic, but only with some care:
- Clean regularly: Sweep or mop over tape lines to remove dirt.
- Check for damage: Look for peeling, fading, or cuts.
- Replace as needed: Remove damaged tape and apply new sections.
- Avoid dragging pallets: Heavy objects dragged over tape will shorten its life.
- Choose the right tape: For wet or oily areas, use tape designed for harsh conditions.
Expert tip: Keep a small supply of extra tape for quick repairs, rather than waiting for a big problem.
Comparing Tape Application Vs. Painted Lines
Many wonder if floor marking tape or painted lines are better. Here’s a quick comparison:
| Feature | Floor Marking Tape | Painted Lines |
|---|---|---|
| Installation Time | Fast (minutes) | Slow (hours to dry) |
| Durability | Medium to High | High |
| Flexibility | Easy to change | Hard to change |
| Cost | Low to Medium | Medium to High |
| Surface Needs | Clean, dry | May need prepping, priming |
| Best For | Changing layouts, temporary zones | Permanent layouts |
Key takeaway: Tape is ideal for changing layouts and fast projects. Painted lines are better for permanent, high-wear areas but need more prep and drying time.
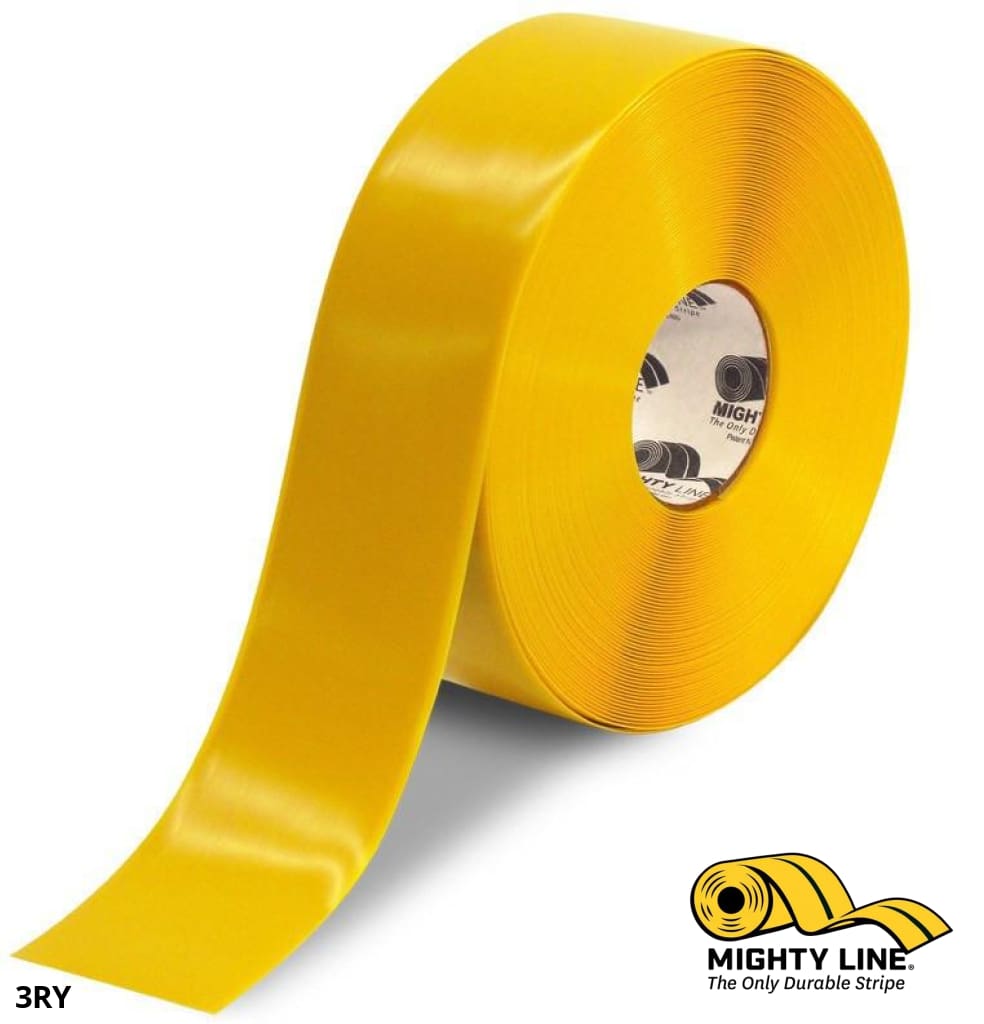
Credit: mightylinetape.com
Choosing The Right Tape For Your Needs
Not all tape is equal. Here’s how to choose:
Consider Traffic
- Light traffic: Standard PVC vinyl is fine.
- Medium traffic: Use heavy-duty vinyl.
- Heavy traffic: Pick tape made for forklifts or carts.
Think About Visibility
- Low light: Use reflective or glow tape.
- Busy areas: Wider tape (4 inches) stands out more.
Special Requirements
- Chemical resistance: Some tapes resist oil, acids, and cleaners.
- Outdoor use: Only some tapes handle sunlight, rain, or snow.
Budget
- Cheap tape costs less up front but often needs frequent replacement.
- Investing in quality tape saves money over time.
Pro tip: Ask suppliers for samples to test before buying a large amount.
Application In Different Industries
Floor marking tape is used far beyond warehouses. Here are some examples:
Manufacturing
- Organizes workstations and storage areas.
- Marks out hazard zones and machine clearance.
Warehouses
- Shows forklift lanes, footpaths, and storage spots.
- Helps with lean management systems like 5S.
Hospitals
- Guides people to emergency exits and departments.
- Marks clean and contaminated zones.
Schools
- Keeps students in lines.
- Marks sports courts and play zones.
Retail
- Directs customer flow.
- Highlights sale areas or customer service desks.
Interesting fact: The use of floor marking tape grew by 35% in public spaces during the COVID-19 pandemic, mainly for social distancing cues.
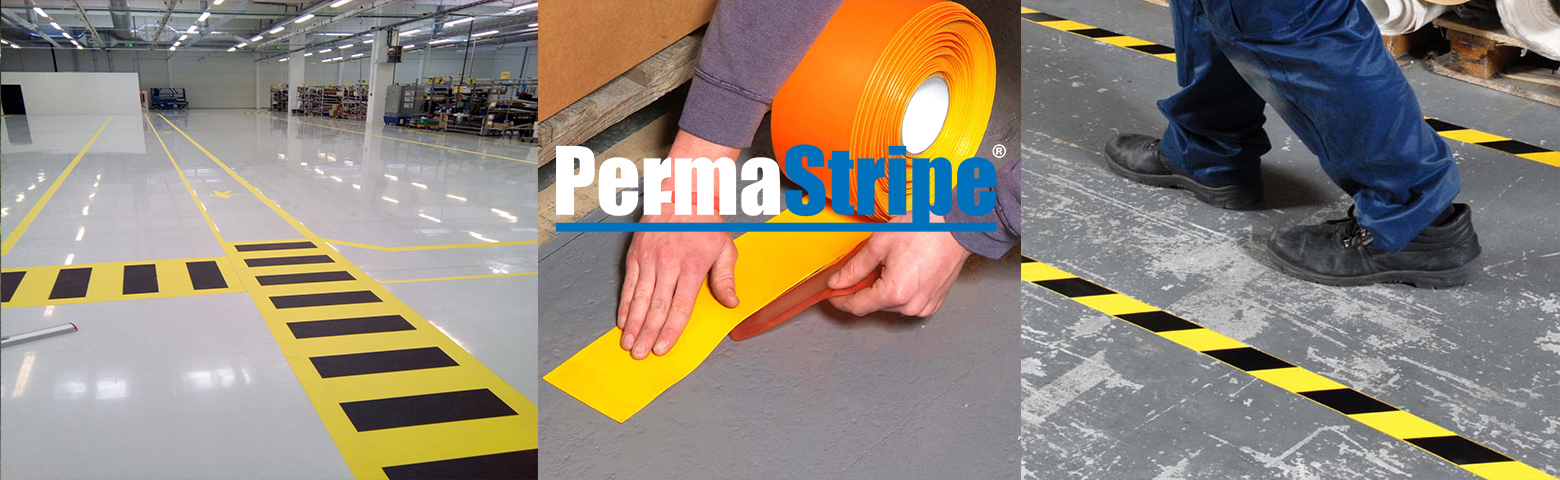
Credit: permastripe.us
Safety And Compliance Considerations
Using tape is not just about looks—it’s about meeting safety rules.
- OSHA standards: The agency suggests using color codes and clear markings.
- ADA compliance: Markings should help people with disabilities, using high-contrast tape for visibility.
- Fire codes: Do not block exits or fire equipment with tape lines.
External resource: For more on OSHA’s guidelines, check the OSHA official website.
Troubleshooting Problems With Floor Marking Tape
If your tape isn’t sticking or is peeling, here’s how to fix common issues:
Tape Peeling Quickly
- Possible causes: Dirty or oily floor, humid conditions, poor-quality tape.
- Fix: Clean better, use stronger tape, apply when dry and above 50°F.
Tape Not Visible Enough
- Possible causes: Wrong color, too narrow, faded tape.
- Fix: Use brighter or wider tape, replace faded sections.
Tape Lifting At Edges
- Possible causes: Not pressed down enough, uneven surface.
- Fix: Use a roller, fix the floor, seal edges if needed.
Tape Won’t Stick To Rough Concrete
- Possible causes: Surface too rough, wrong adhesive.
- Fix: Choose heavy-duty tape, test small section first.
Expert tip: Always check the first few feet after application. If tape peels, stop and solve the problem before doing more.

Credit: www.youtube.com
Real-world Example: Applying Tape In A Busy Warehouse
Let’s look at a real example to bring the process together:
A large warehouse needed clear walkways and forklift lanes. The manager made a plan with workers, choosing yellow for walkways and red for hazard areas. After cleaning and drying the floor, they used a chalk line to mark paths. Heavy-duty tape was applied with a roller. The team checked the lines for a week, then added arrows and boxes for equipment zones. The result: fewer accidents, faster movement, and a more organized space.
Environmental Impact And Disposal
While tape helps safety, consider the environment:
- Most floor tapes are made of plastic, which is not biodegradable.
- Some brands now offer recyclable or low-impact options.
- Remove old tape carefully and dispose of according to local regulations.
- Avoid burning tape, as it can release harmful chemicals.
Sustainability tip: If your layout changes often, use reusable corner markers instead of full tape lines.
Frequently Asked Questions
What Is The Best Way To Remove Old Floor Marking Tape?
Start by peeling from one end slowly. Use a scraper or putty knife for stuck sections. If residue remains, apply a commercial adhesive remover or rubbing alcohol. Clean the floor before adding new tape.
How Long Does Floor Marking Tape Last?
Quality tape can last from 1 to 2 years, depending on traffic and cleaning. In busy areas with forklifts, it may need replacing every 6-12 months.
Can I Apply Floor Marking Tape To Wet Or Cold Floors?
No. Tape sticks best to clean, dry surfaces at temperatures above 50°F (10°C). Cold or damp floors will cause poor adhesion and early peeling.
How Wide Should Floor Marking Tape Be?
For walkways, use at least 2 inches wide. For forklift lanes or high-traffic areas, 4 inches or wider is better for visibility and durability.
Is Floor Marking Tape Safe For All Floor Types?
Most tape is safe for sealed concrete, vinyl, tile, and some wood floors. Test a small area first, especially on delicate or painted surfaces, to check for damage or poor adhesion.
Applying floor marking tape the right way brings lasting safety and order to any space. When you plan carefully, use the right tools, and follow expert steps, your markings will look professional and last longer. Remember, it’s not just tape—it’s a silent guide that keeps people safe and workspaces efficient.