Upholstering a bed frame is one of those home projects that can dramatically change your bedroom without a full renovation. Many people think it’s too difficult or expensive, but with the right guidance, tools, and a bit of patience, almost anyone can do it.
Whether you want to revive an old wooden bed or simply add a touch of luxury, learning how to upholster a bed frame is a valuable skill. This article will walk you through every stage, from planning to the finishing touches, so you can create a beautiful, custom look that suits your style and budget.
Why Upholster A Bed Frame?
A bed frame is often the centerpiece of a bedroom. When it looks worn or outdated, the entire room can feel tired. Upholstering a bed frame adds warmth, texture, and personality. It can cover scratches, dents, or old paint and let you introduce new colors and fabrics without buying a new bed.
Plus, upholstered bed frames can make a room feel cozier and more inviting.
Another big advantage is the cost. Buying a new upholstered bed is expensive. Doing it yourself can save hundreds of dollars, and you get to choose the exact fabric and style you want. Many people don’t realize that you can even add extra padding to make the headboard more comfortable for reading or watching TV.
Choosing The Right Bed Frame
Not every bed frame is suitable for upholstery, but most common types can be upgraded with fabric and foam. The best frames for upholstery are:
- Wooden bed frames: Solid and easy to staple into.
- Metal bed frames with wooden headboards/footboards: The wood parts can be upholstered.
- Platform beds: Offer a modern look and broad surfaces for fabric.
If your bed frame is entirely metal, you’ll need to attach wood panels first. Check that your frame is sturdy and does not wobble; upholstery adds weight. Fix any loose joints or cracks before starting. If you plan to upholster the footboard and side rails, make sure you can remove them easily or work with them in place.
Planning Your Project
Proper planning saves time and prevents mistakes. Consider these key factors before you begin:
- Style: Decide if you want a classic tufted headboard, a smooth modern look, or something bold with patterns. Look at examples online for inspiration.
- Fabric choice: Choose fabric that matches your room and stands up to daily use. Durable options include cotton, velvet, linen, or faux leather. Avoid thin or delicate fabrics.
- Padding: Most upholstered beds have foam padding under the fabric for comfort and shape. High-density foam is best for headboards.
- Color and texture: Lighter colors brighten a room but show stains more. Textured fabrics hide marks but can be harder to clean.
- Budget: Set a realistic budget. Most DIY projects cost $100-$400, depending on size and materials.
Measure your bed frame carefully. Write down the dimensions of the headboard, footboard, and side rails so you buy enough fabric and foam.
Tools And Materials Needed
Having the right tools makes upholstering much easier. Here’s a checklist:
- Staple gun (manual or electric)
- Staples (5/16″ or 3/8″ work well)
- Fabric scissors or rotary cutter
- Measuring tape
- High-density foam (1-2 inches thick for headboards)
- Batting (polyester or cotton)
- Upholstery fabric
- Spray adhesive (for foam)
- Screwdriver and pliers (for disassembly and removing old hardware)
- Chalk or fabric marker (for marking cuts)
- Sewing machine (optional, for seams or piping)
- Hammer (for securing tacks or nails)
- Decorative trim or nailhead strips (optional)
If you’re upholstering a king-size bed, you may need extra fabric and foam. Always buy about 10-20% more material than your measurements to allow for mistakes and pattern alignment.
Removing Old Upholstery Or Preparing The Frame
If your bed frame has old fabric, remove it completely using pliers and a flathead screwdriver. Take out all staples and nails. If you’re starting with a bare wood or MDF frame, wipe it clean and sand any rough spots.
Fill cracks or dents with wood filler and let it dry.
For metal frames, attach thin plywood panels where you want to add upholstery. Secure the panels with screws; check that all edges are smooth to avoid tearing the new fabric.
Cutting Foam And Batting
This step sets the comfort level for your upholstered bed. Use your tape measure to mark the foam to fit each section (headboard, footboard, side rails). Cut the foam with a sharp knife or electric carving knife for clean edges.
Spray adhesive helps hold the foam in place while you work. Press the foam onto the bed frame or plywood, smoothing out air bubbles. Next, lay batting over the foam. Batting softens corners and gives a plush look. Cut it about 3–4 inches larger than the foam so you can wrap it around the edges.
Attaching The Batting
Wrap the batting tightly around the foam and frame. Pull it snug, but not so tight that it compresses the foam. Staple the batting to the back of the frame or panel, starting at the center and working outward. Place staples every 2–3 inches for a smooth surface.
Trim away extra batting as you go.
Corners can be tricky. Fold them like you’re wrapping a present—keep them neat and avoid big lumps. Check that the batting is even before moving to the next step.
Cutting And Attaching The Upholstery Fabric
Lay your fabric flat, right side down. Place the bed frame or panel on top. Cut the fabric with at least 4–6 inches extra on all sides to allow for wrapping and stapling.
If your fabric has a pattern, make sure it’s straight before cutting. Use chalk or a fabric marker to guide you. For velvet or directional fabrics, keep the nap running the same way for all panels.
Begin stapling at the center of each side, pulling the fabric tight but not so much that it distorts the foam. Work outwards, alternating sides to keep the fabric even. For corners, fold the fabric smoothly and staple securely.
Take your time here: wrinkles or loose spots will show. For tufted designs, mark tuft points and cut small holes in the foam. After stapling, add buttons using strong thread or twine pulled through to the back.
Upholstering The Headboard
The headboard is usually the focal point, so spend extra care here. If you want a simple look, follow the basic steps above. For a more luxurious touch, consider these options:
Tufting
Tufting adds depth and elegance. Classic “diamond” tufting uses buttons and deep folds. To tuft a headboard:
- Mark tuft points in a grid (usually 6–12 inches apart).
- Drill small holes through the headboard at each point.
- Upholster with foam, batting, and fabric as normal.
- Use a long upholstery needle and strong thread to pull buttons through the fabric and foam, securing at the back.
Piping Or Decorative Trim
Sew or glue piping along the edges for a finished look. Nailhead trim also adds style—space the nails evenly and tap them in with a hammer.
Examples
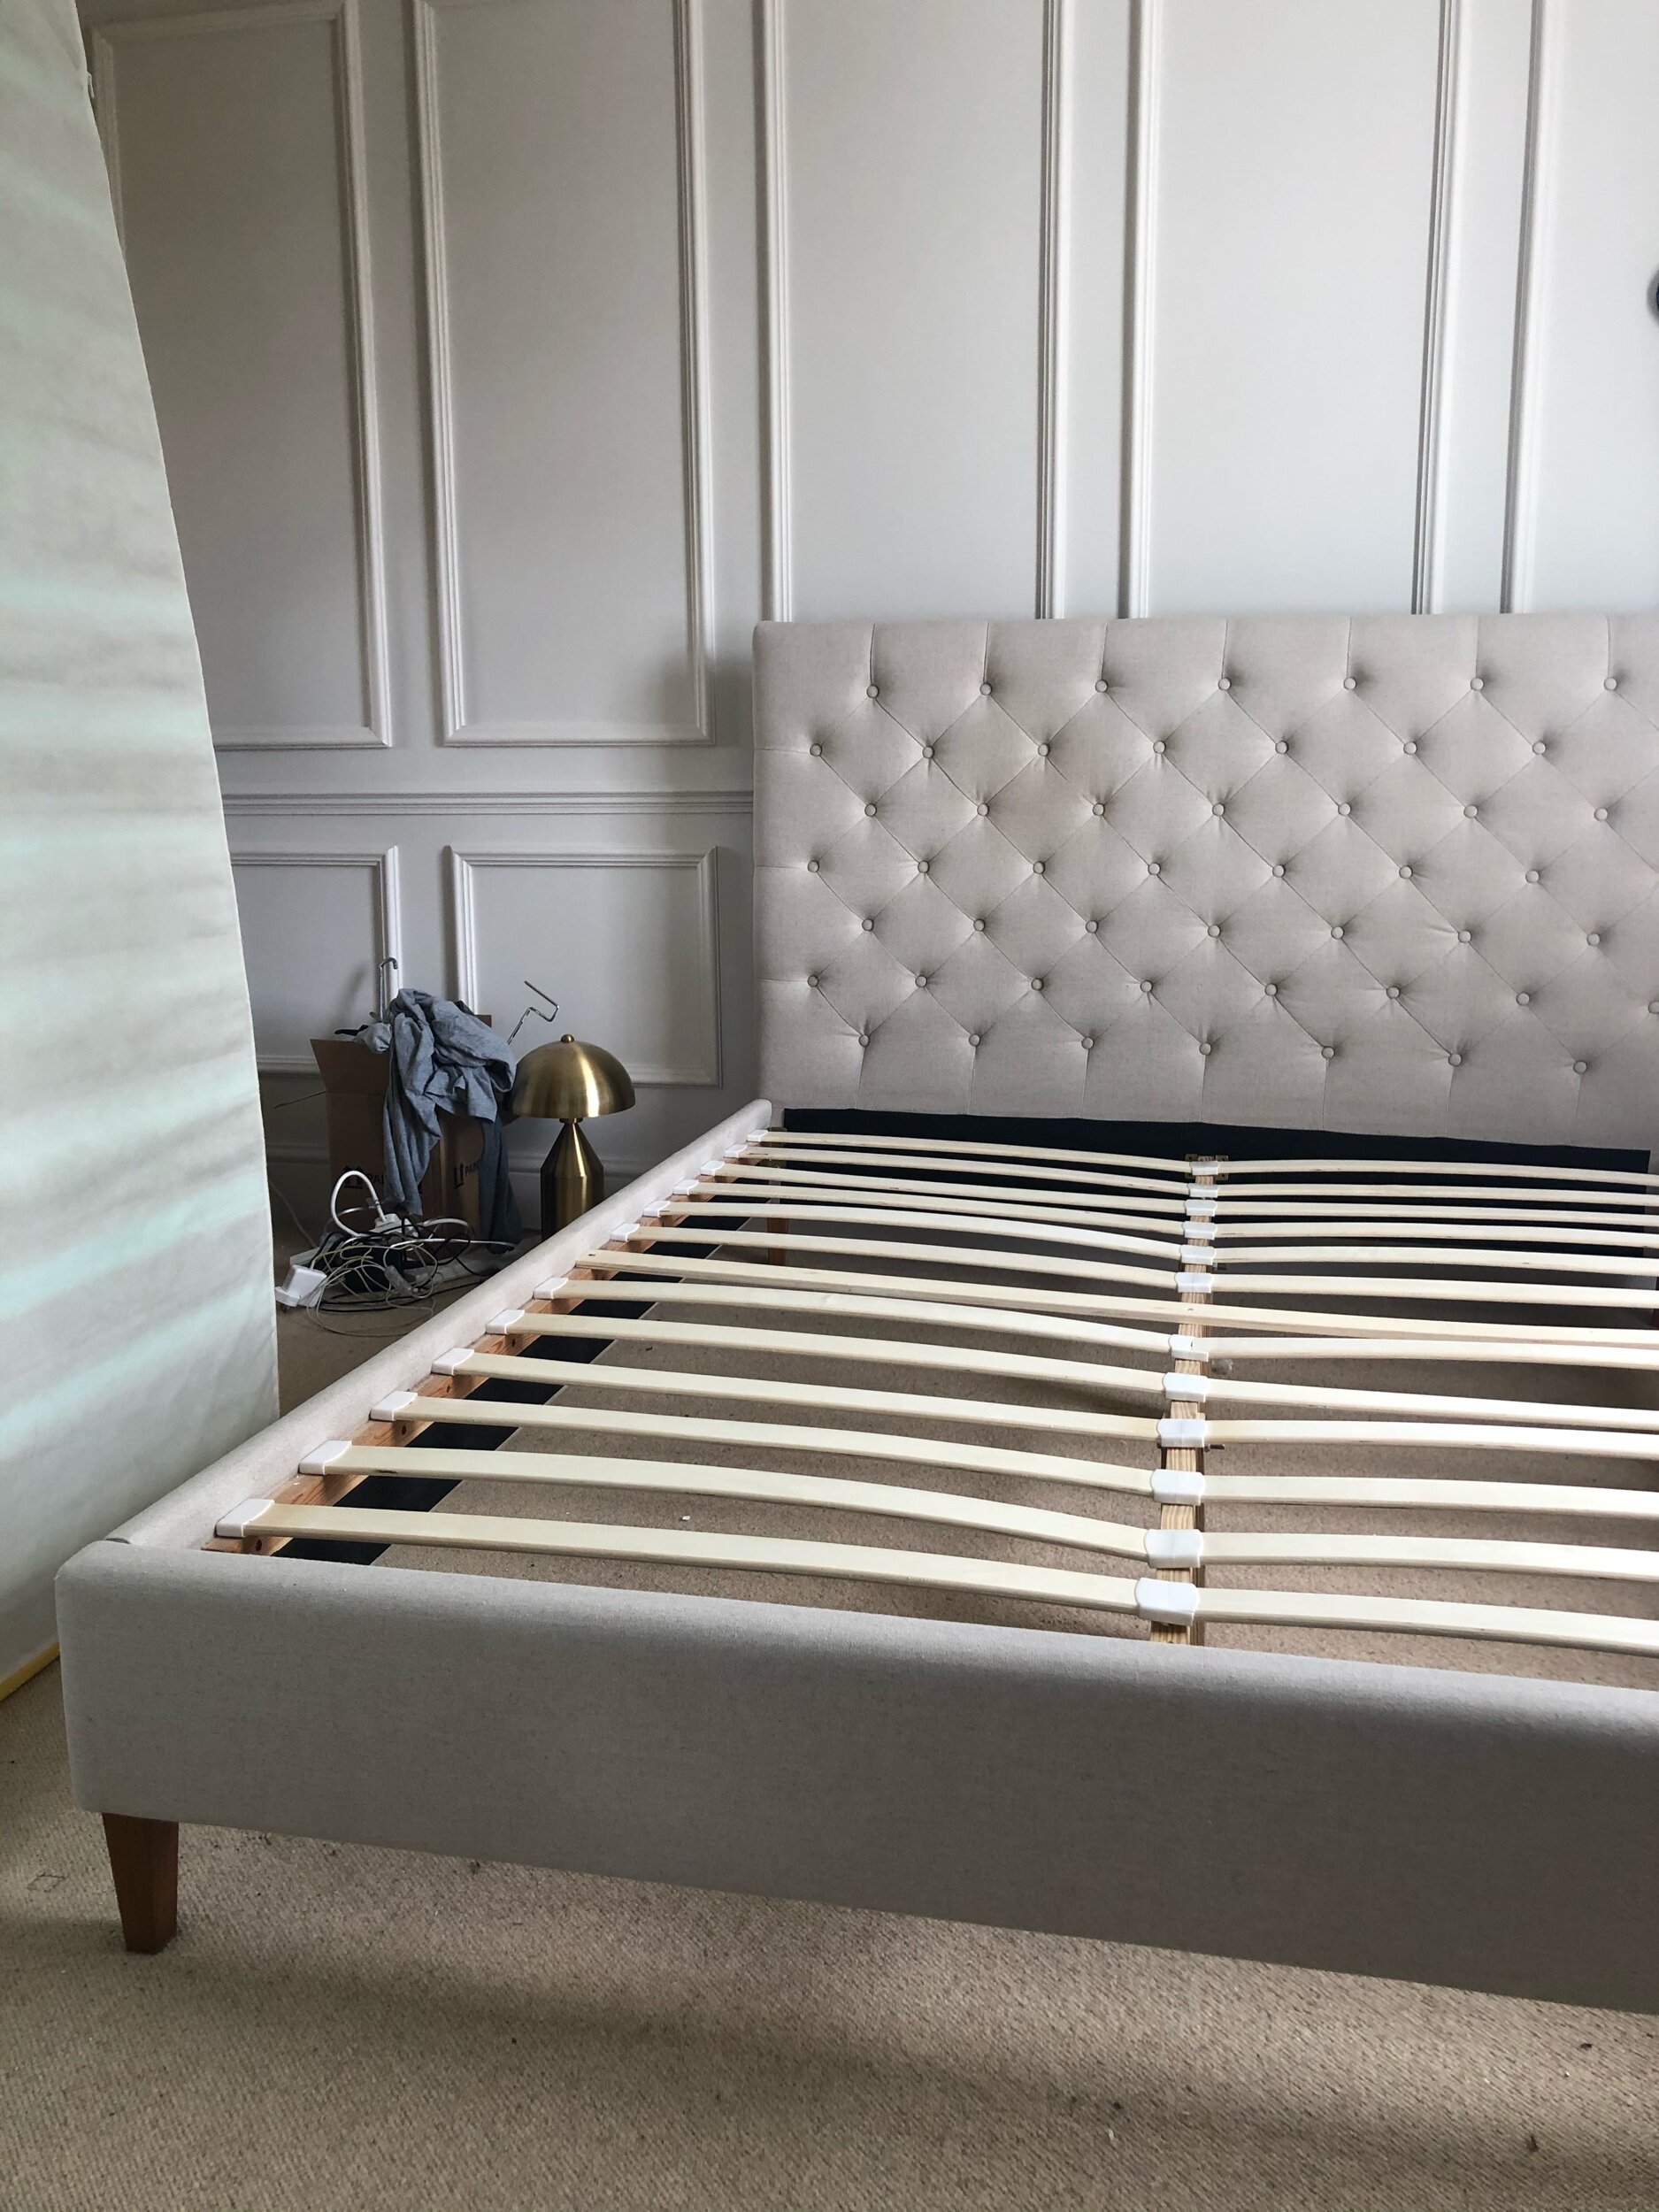
A velvet tufted headboard in deep blue creates a hotel-like feel. For a modern look, use clean lines and a smooth linen fabric in a neutral color.
Upholstering The Footboard And Side Rails
These parts are often simpler, but they add a professional finish. Repeat the same process: foam, batting, and fabric. For side rails, you may need to remove them from the bed to work flat on the floor.
If your side rails are thin, use thinner foam (½–1 inch) to avoid making the bed look bulky. For very long rails, enlist a helper to keep fabric smooth while you staple.
Reassembling The Bed Frame
Let the fabric “relax” for a few hours after stapling. This helps reduce new wrinkles. Trim away extra fabric and check that all staples are secure.
Reattach the side rails, headboard, and footboard. Tighten all screws and bolts. If you added a lot of padding, check that the mattress still fits properly. For platform beds, test that the slats or base still sit flush.
Wipe down the fabric with a lint roller or vacuum to remove dust and threads before placing the mattress.
Comparing Diy Vs. Professional Upholstery
Is it better to hire a pro or do it yourself? Here’s a quick comparison:
| Factor | DIY Upholstery | Professional Upholstery |
|---|---|---|
| Cost | $100–$400 (materials) | $500–$1,500+ |
| Time Required | 6–12 hours | 2–4 weeks (waiting period) |
| Customization | Full control | Some limits (depends on shop) |
| Skill Needed | Beginner–Intermediate | Expert |
| Finish Quality | Varies (DIY look possible) | High, consistent |
Most people find DIY upholstery rewarding and cost-effective, especially for simple designs.

Credit: www.youtube.com
Common Mistakes To Avoid
Many first-time upholsterers make the same errors. Here’s how to sidestep them:
- Not measuring correctly: Always double-check measurements for each panel.
- Choosing thin or weak fabric: Upholstery fabrics last longer and resist wear.
- Stapling too loosely: This leads to saggy or wrinkled fabric.
- Ignoring corners: Take your time to fold and staple corners neatly.
- Skipping batting: Batting smooths foam edges and prevents a lumpy look.
- Not aligning patterns: For patterned fabric, match lines and motifs for a seamless effect.
- Using too thick foam on rails: This can prevent the mattress from sitting properly.
A non-obvious tip: If you’re worried about mistakes, practice on a small wooden board first using your intended materials. This builds confidence and lets you see how the fabric behaves.
Caring For Your Upholstered Bed Frame
A well-upholstered bed frame should last for years with simple maintenance.
- Vacuum regularly with a brush attachment to remove dust.
- Spot clean stains right away using a mild soap and water, or a fabric-specific cleaner.
- For velvet or textured fabrics, brush gently to restore the nap.
- Avoid placing the bed in direct sunlight, which can fade colors.
- If fabric loosens over time, use a staple gun to retighten areas.
A non-obvious insight: Add a thin layer of clear plastic or cotton muslin under your upholstery fabric if you have pets. This adds a barrier for fur and minor spills.

Credit: www.melanielissackinteriors.com
Adding Personal Touches
Upholstering a bed frame gives you a blank canvas. Here are ways to make your project unique:
- Contrast piping: Use a different color for trim.
- Button tufting: Try crystal or fabric-covered buttons.
- Mix fabrics: Use velvet for the headboard and linen for the rails.
- Add nailhead trim: Outline shapes or create geometric designs.
Some people even use removable slipcovers for easy washing—great for kids’ rooms.
Example: Timeline For Upholstering A Queen-size Bed
To help with planning, here’s an example timeline for a typical queen-size bed:
| Step | Estimated Time |
|---|---|
| Disassembly & Prep | 1–2 hours |
| Cutting Foam & Batting | 1 hour |
| Upholstering Headboard | 2–3 hours |
| Upholstering Footboard & Rails | 2–3 hours |
| Reassembly & Cleanup | 1 hour |
| Total | 7–10 hours |
Remember, it’s better to work over several days than rush and make mistakes.
When To Consider Professional Help
While DIY is rewarding, some cases are better left to professionals:
- Very large or antique beds
- Curved or carved headboards
- Leather upholstery (requires special tools)
- If you want a flawless, showroom-quality finish
A professional can also advise on fire-retardant materials, which are required in some places. For more details on upholstery safety and materials, see the Upholstery Wikipedia page.
Environmental And Health Considerations
Some foam and adhesives release volatile organic compounds (VOCs). Choose low-VOC or formaldehyde-free products if air quality is important to you. Natural fabrics (like cotton or linen) are more eco-friendly than synthetics.
Recycle old foam and fabric where possible. Many cities have special recycling programs for furniture materials.
Budgeting And Cost-saving Tips
Upholstering a bed frame can be affordable. Here’s how to stretch your budget:
- Buy fabric on sale or use remnants for smaller panels.
- Use an old mattress pad as batting.
- Reuse foam from an old couch or chair (if clean).
- Borrow tools from friends or neighbors.
- Choose simple designs that need fewer materials.
Some people underestimate the number of staples or the cost of trim. Buy these items in bulk to save money.
Safety Tips
Always work in a well-ventilated area, especially when using spray adhesive. Wear gloves to protect your hands from sharp staples and tools. Keep small children and pets away from the workspace.
When lifting heavy frames or panels, ask for help to avoid injury. Store tools and supplies safely between work sessions.
Credit: www.melanielissackinteriors.com
Frequently Asked Questions
How Much Fabric Do I Need To Upholster A Bed Frame?
Measure each section (headboard, footboard, side rails) and add at least 6 inches to all sides for wrapping. For a queen-size headboard, you’ll usually need 2–3 yards of 54-inch wide fabric. Side rails and footboards require 1–2 yards each, depending on size.
Can I Upholster A Bed Frame Without Removing The Old Fabric?
It’s possible, but not recommended. The new fabric may not sit smoothly, and old foam or batting can cause odors or lumps. Removing old materials ensures a clean, professional result.
What Type Of Foam Is Best For Upholstering A Bed Frame?
High-density upholstery foam (1–2 inches thick) gives the best comfort and shape. For headboards, use at least 1-inch foam. For side rails and footboards, ½–1 inch is usually enough.
How Do I Clean An Upholstered Bed Frame?
Vacuum regularly with a soft brush. Spot clean with mild soap and water, testing in a hidden area first. For stubborn stains, use an upholstery cleaner suitable for your fabric type.
Is It Possible To Reupholster A Metal Bed Frame?
Yes, but you’ll need to attach wood or plywood panels to the metal frame with screws. Once secured, you can add foam, batting, and fabric as you would on a wooden frame.
Giving your bed frame a new look through upholstery is a project that rewards both your creativity and your wallet. With the right tools, clear steps, and a bit of patience, you can transform a tired bed into a custom piece that reflects your personal style.
Don’t be afraid to experiment with colors and textures. The skills you learn here can be used on chairs, benches, or even wall panels in the future. Enjoy your new bedroom centerpiece!