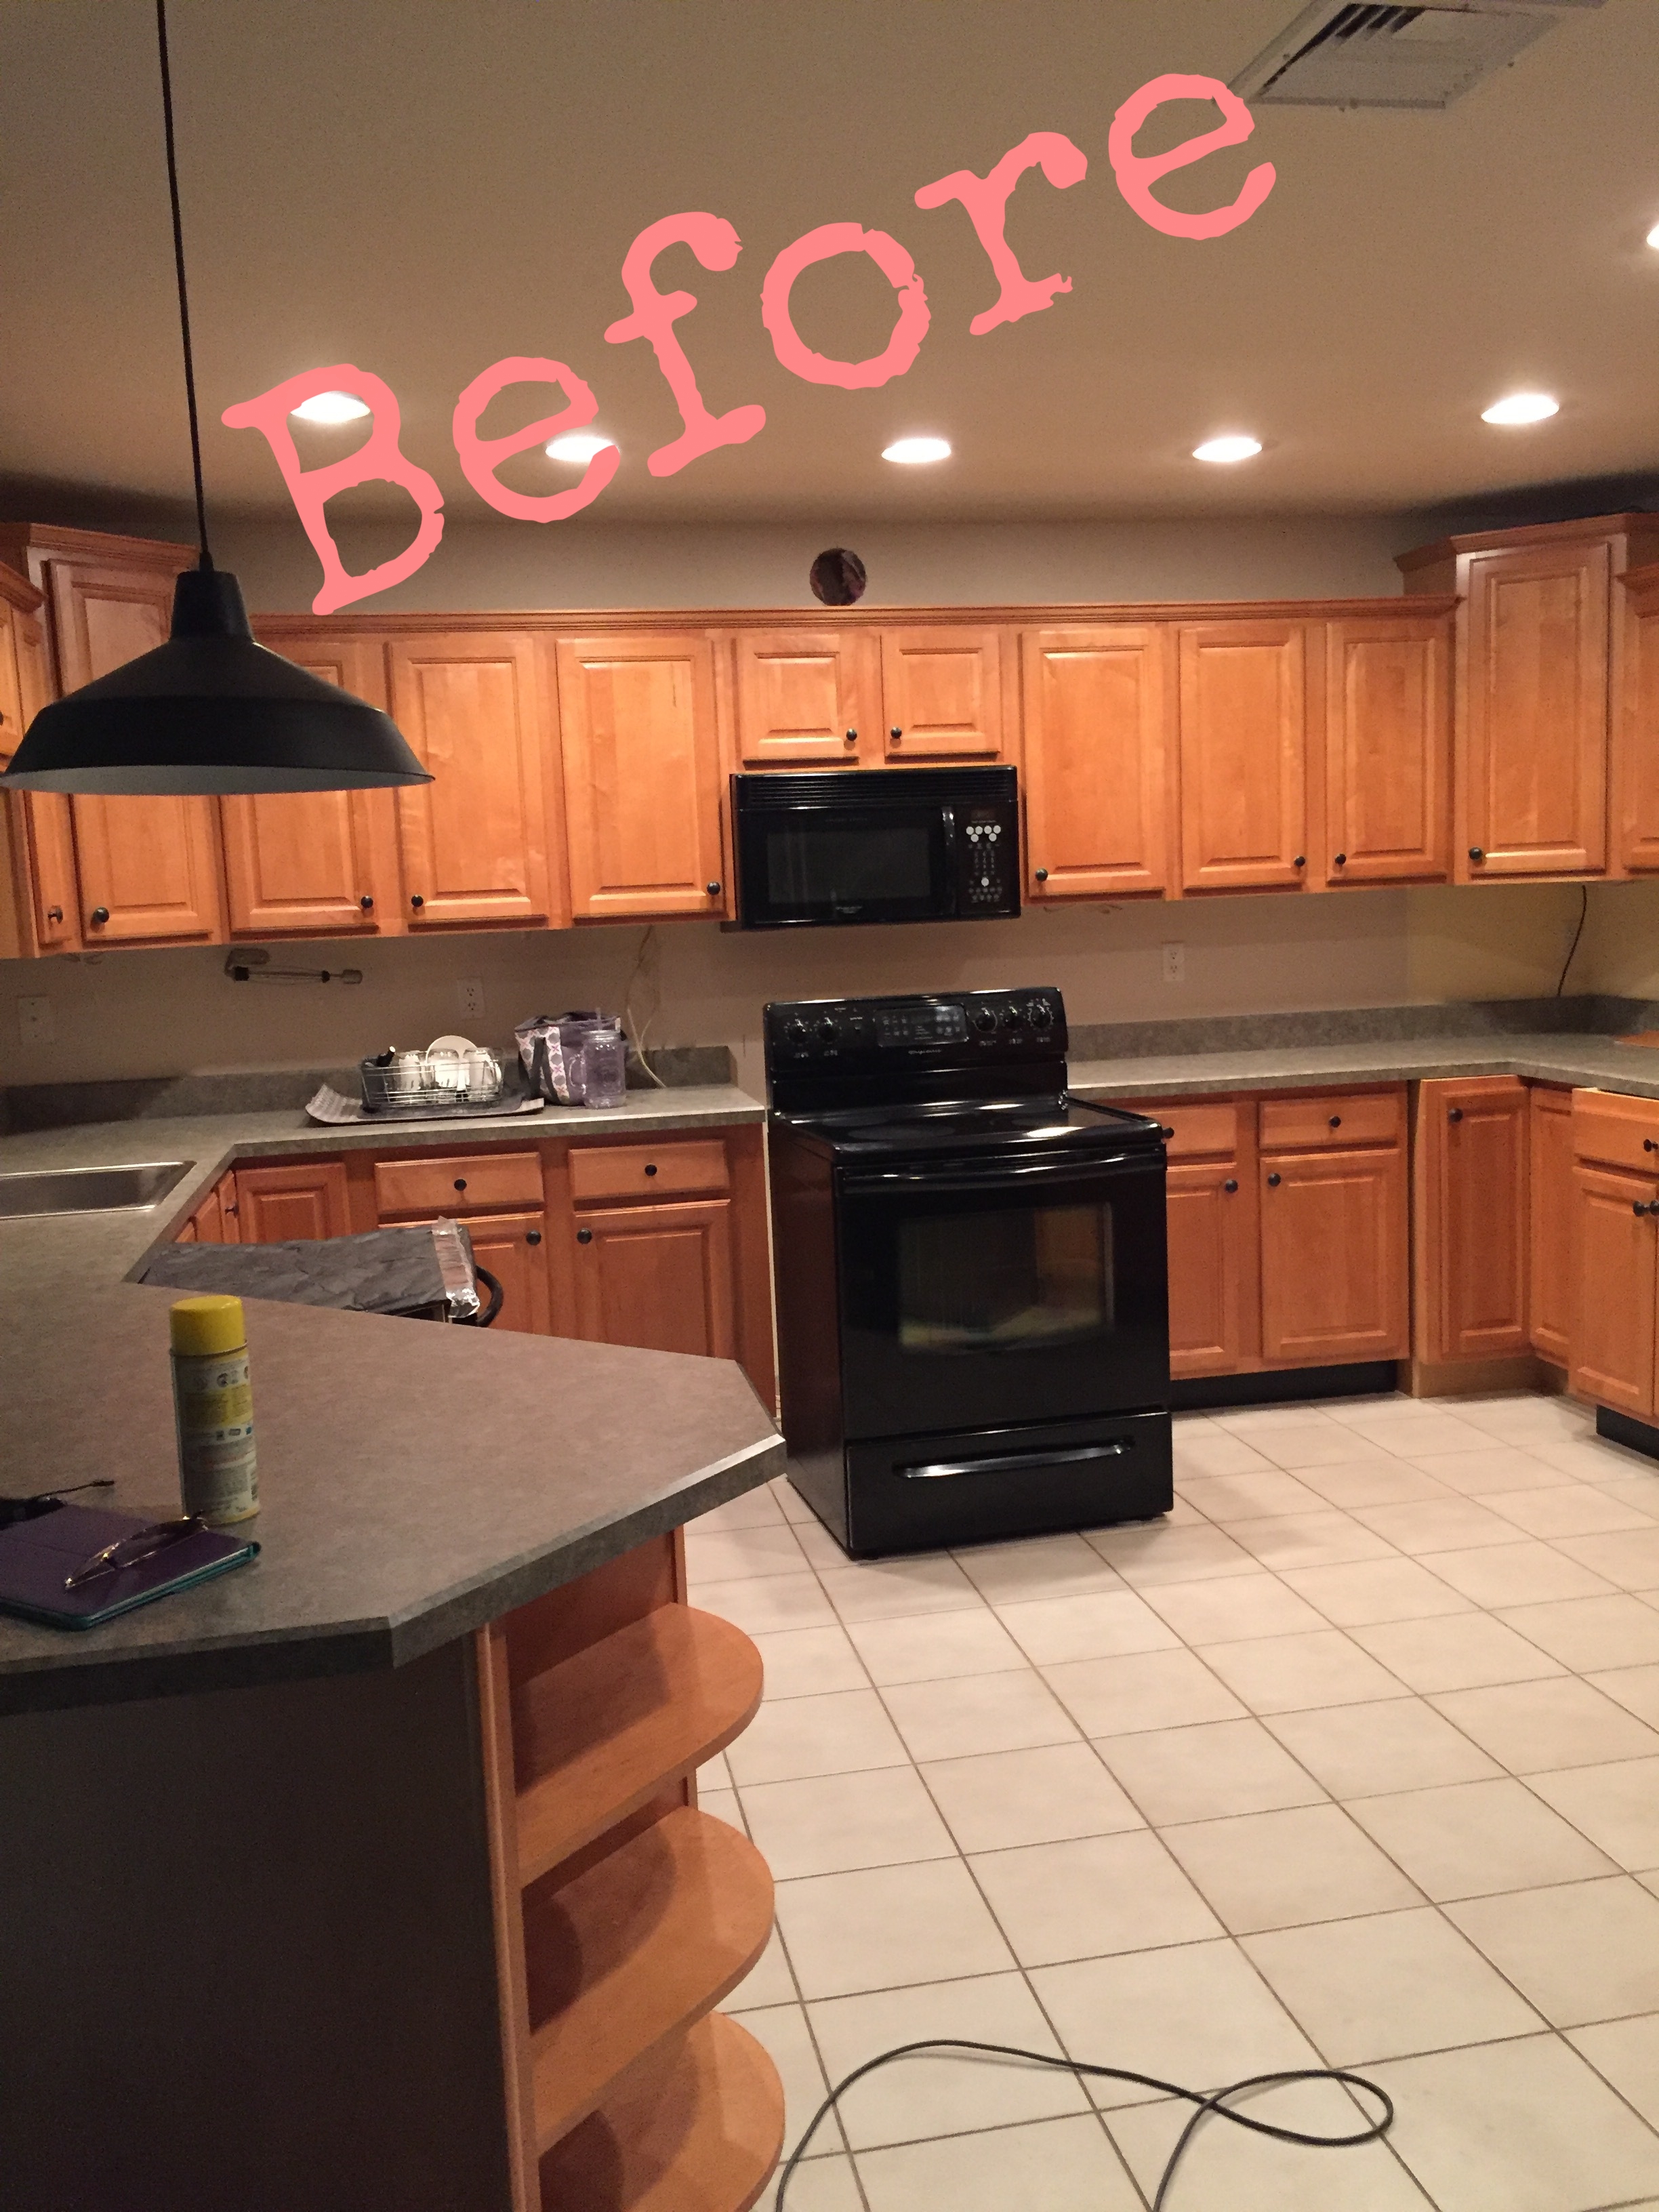
Many homeowners dream of a fresh, stylish kitchen but feel stuck with old, outdated floor tiles. Ripping out old tiles is expensive, messy, and takes a lot of time. The good news? You don’t always need to remove the tiles to update your kitchen floor.
Today, new materials and methods let you give your kitchen a modern look in just a few days—without the dust, hassle, and high costs of demolition.
Maybe your floor is structurally sound but looks old-fashioned. Or perhaps you rent and can’t do major work. Whether you want to add value before selling or simply enjoy a new style, there are practical solutions for every situation. You’ll discover creative ways to cover, paint, or refinish your tiles, and learn the steps, materials, and tips to get the best results.
This guide will show you how to update kitchen floor tiles without removing them, and help you avoid beginner mistakes so your floor upgrade lasts.
Why Update Kitchen Floor Tiles Without Removing Them?
There are many reasons homeowners choose to cover or refresh their kitchen tiles rather than remove them.
- Save Money: Demolition, waste removal, and new tile installation can cost thousands of dollars. Covering or refinishing tiles is much cheaper.
- Less Mess and Disruption: Removing tiles creates dust and noise, and your kitchen may be unusable for days. Most alternative methods can be done with less mess and faster results.
- Preserve Existing Structure: In older homes, removing tiles may reveal hidden damage or require more repairs. Leaving tiles in place avoids these risks.
- Rental Properties: Many renters want to improve their kitchen’s look without breaking their lease or making permanent changes.
- Eco-Friendly: Reusing existing materials reduces landfill waste and saves resources.
Many people don’t realize how durable and attractive modern overlay products can be. With the right method, your old tiles can look completely new—sometimes even better than replacement tiles.
Main Methods To Update Kitchen Floor Tiles
You have several good options for updating your kitchen floor tiles without removing them. The best choice depends on your budget, skill level, and the look you want. Here are the most popular methods:
1. Painting Floor Tiles
Painting is the simplest and most affordable way to refresh old tiles. You can change the color, add patterns, or even mimic expensive materials like stone or wood.
How To Paint Kitchen Floor Tiles
- Clean Thoroughly: Remove all grease and dirt with a degreasing cleaner. Tiles must be spotless for paint to stick.
- Repair Damage: Fill cracks or chips with tile filler and sand smooth.
- Sand the Tiles: Lightly sand to help the primer grip the surface.
- Prime: Use a good tile primer designed for non-porous surfaces.
- Paint: Apply floor tile paint with a roller or brush. Two to three thin coats are best.
- Seal: Finish with a clear, water-based polyurethane for durability.
What Paint To Use
- Epoxy Paint: Very durable and water-resistant.
- Chalk Paint: Good for matte finishes and quick projects.
- Porcelain/Tile Paint: Specially made for glazed surfaces.
Pros And Cons
| Pros | Cons |
|---|---|
| Low cost, easy DIY, quick results | Can wear in high-traffic spots, may need touch-ups |
| Wide range of colors and styles | Prep is key for long-lasting results |
Non-obvious insight: Skipping the primer is a common mistake. Even if your paint says “all-in-one,” using a separate primer makes the result last much longer.
2. Peel And Stick Floor Tiles
Peel and stick tiles are self-adhesive vinyl or composite tiles that go directly over your old floor. They’re available in many colors and patterns, and you can cut them with a utility knife.
Installation Steps
- Clean and Dry Floor: Any dust or grease will stop the adhesive from sticking.
- Plan Layout: Mark the center of the room for even placement.
- Peel and Stick: Remove backing and press tiles firmly in place.
- Trim Edges: Use a sharp knife for a perfect fit.
Types Of Peel And Stick Tiles
- Vinyl: Flexible, water-resistant, budget-friendly.
- Stone-Look: Thicker, with realistic textures.
- High-Traffic Grade: Designed for kitchens and busy areas.
Durability Comparison
| Type | Durability | Water Resistance | Style Options |
|---|---|---|---|
| Standard Vinyl | 3-5 years | Good | Many |
| Luxury Vinyl | 5-10 years | Excellent | Many |
| Stone/Composite | 10+ years | Excellent | Fewer |
Non-obvious insight: Peel and stick tiles work best on smooth, even tile floors. Deep grout lines or very uneven tiles may show through or cause problems with adhesion.
3. Vinyl Sheet Flooring
Vinyl sheets are rolled products that cover the entire floor. They’re waterproof, easy to clean, and come in realistic stone, wood, or patterned styles. Modern vinyl sheets can be installed with or without glue.
How To Install Over Tile
- Check Floor Level: Fill deep grout lines or dips with a floor leveler.
- Cut Vinyl to Size: Leave a small gap at walls for expansion.
- Lay Vinyl: Roll out and adjust position.
- Secure Edges: Use double-sided tape or glue only at the perimeter.
When To Choose Vinyl Sheets
Vinyl sheets are a great choice for covering large areas quickly. They are also more seamless than peel and stick tiles, so they look more like a single floor.
Expert tip: For best results, use a “loose lay” vinyl designed for floating installation. These are heavier and less likely to shift.
4. Floating Laminate Or Engineered Wood
Floating floors lock together over your existing tile with no glue or nails. Laminate and engineered wood are the most popular choices. They give the look of real wood or stone at a fraction of the cost.
Steps To Install
- Level the Surface: Fill grout lines so the subfloor is flat.
- Lay Underlayment: This thin layer reduces sound and adds moisture protection.
- Snap Planks Together: Start in a corner and work across the room.
- Install Trim: Finish with baseboards or quarter round molding.
Comparison: Laminate Vs Engineered Wood
| Feature | Laminate | Engineered Wood |
|---|---|---|
| Look & Feel | Photo print, textured surface | Real wood layer |
| Water Resistance | Good, but not waterproof | Better than solid wood |
| Price | Lower | Higher |
| Resale Value | Fair | Good |
Non-obvious insight: Floating floors add height to your floor. Check that doors can still open and appliances fit before you start.
5. Tile Stickers And Decals
For a quick and stylish upgrade, tile stickers or decals can cover individual tiles with bold patterns or colors. They’re easy to install and remove—perfect for renters or anyone wanting a temporary change.
How To Use Tile Stickers
- Clean Tiles: Stickers won’t adhere to oily or dirty tiles.
- Align Carefully: Use a level or straight edge for perfect placement.
- Smooth Out Bubbles: Use a squeegee or credit card.
Pros
- No damage to original tiles
- Easy to change or remove
- Huge variety of designs
Non-obvious insight: Stickers are best for low-traffic spots. In busy kitchens, use waterproof, “floor-rated” decals for longer life.
6. Microcement Overlay
Microcement is a thin, cement-based coating that gives a modern, seamless look. It’s troweled on over tiles and creates a surface that looks like poured concrete.
Installation Process
- Deep Clean and Sand: Tiles must be clean and slightly rough.
- Apply Primer: Specialized primer helps microcement bond.
- Layer Microcement: Two to three thin coats with a trowel.
- Seal: Use a strong sealer to prevent stains and moisture.
Benefits
- Seamless, modern look
- Custom colors and textures
- Durable and water-resistant
Expert tip: Microcement is not a beginner DIY project. For kitchens, professional installation is usually best.
7. Floating Interlocking Floor Mats
Interlocking floor mats are made from vinyl, rubber, or foam. They snap together easily and can cover tiles quickly. They’re popular for temporary or budget makeovers.
When To Use
- Renters who want to avoid glue
- Covering damaged tiles fast
- Creating a soft, safe surface (e.g., for kids)
Drawbacks
- Not as stylish as other options
- May shift or separate over time
Non-obvious insight: Rubber or heavy-duty vinyl mats can be surprisingly durable if installed tightly and trimmed to fit walls.
8. Carpet Tiles
If you want a warmer kitchen floor, carpet tiles are a flexible solution. They come in squares that stick together without glue, and you can mix colors for patterns.
How To Install
- Clean and Dry Tiles
- Lay Out Design: Try different layouts before sticking tiles down.
- Press in Place: Most use a peel-and-stick backing.
Expert tip: Use only low-pile, water-resistant carpet tiles for kitchens. Regular carpet tiles stain and wear out quickly.
Preparing Your Floor For Overlays
No matter which method you choose, good preparation is the key to a beautiful, long-lasting result. Many people skip these steps, but they make all the difference.
Cleanliness Is Critical
All surfaces must be completely clean. Old grease or soap scum will stop adhesives, paint, or overlays from sticking. Use a degreaser, rinse well, and let dry overnight.
Leveling And Smoothing
High or uneven grout lines will show through thin overlays like vinyl or microcement. Fill grout lines with a floor leveler or use a self-leveling compound for best results. Sand smooth after it dries.
Repairing Damaged Tiles
Cracked or loose tiles will ruin your new floor. Remove any tiles that are too damaged and fill holes. Small chips can be filled with tile filler or patching compound.
Dryness And Moisture Check
Moisture can cause adhesives to fail or lead to mold. Make sure your floor is dry. If you see any signs of leaks or water, fix them before you begin.
Non-obvious insight: Even a tiny bit of leftover moisture can cause vinyl or sticker overlays to peel up at the edges after a few weeks.
Tools And Materials Needed
The exact tools depend on your chosen method, but some are useful for nearly all kitchen floor updates:
- Heavy-duty cleaner and degreaser
- Scrub brush and mop
- Sandpaper or sanding block
- Level and straightedge
- Trowel (for microcement or leveling compounds)
- Utility knife
- Measuring tape
- Rubber mallet (for floating floors)
- Painter’s tape (for painting or sticker alignment)
- Protective gear (gloves, mask for sanding)
For paint or overlays, buy only products rated for floor use. Wall paints or normal stickers will not last under kitchen traffic.
Credit: www.thedecorformula.com
Step-by-step Guide: Updating Your Tiles
While each method is unique, here’s a general overview to help you plan your project:
- Choose Your Method: Decide which overlay or finish fits your style, skill, and budget.
- Gather Materials: Make a checklist and buy extra in case of mistakes.
- Prepare the Surface: Clean, repair, and level tiles.
- Test a Small Area: Try your chosen material in a hidden corner to check adhesion and appearance.
- Install or Apply: Follow instructions for your material. Take your time to avoid mistakes.
- Let It Cure: Many overlays need 24–72 hours to fully set before heavy use.
- Finish Edges and Details: Add trim, baseboards, or sealers as needed.
Maintenance Tips For Overlaid Kitchen Floors
Once you update your kitchen floor tiles, proper care will keep them looking great for years.
- Use Gentle Cleaners: Avoid harsh chemicals that can damage paint, vinyl, or stickers.
- Wipe Spills Quickly: Overlays are water-resistant, not waterproof. Standing water can seep into edges.
- Protect High-Traffic Areas: Use mats or rugs in front of sinks or stoves.
- Avoid Dragging Heavy Items: Dragging chairs or appliances can scratch or lift overlays.
- Reapply Sealers: For painted or microcement floors, reseal every 1–2 years.
Non-obvious insight: Small scratches in painted or vinyl overlays can often be touched up with matching paint or a patch, extending the floor’s life without a full redo.
Credit: acekitchen.co.uk
Mistakes To Avoid
Beginners often make the same errors when updating kitchen tiles. Knowing these can save you money and frustration.
- Skipping Surface Prep: Most overlays fail because of poor cleaning or leveling.
- Wrong Product Choice: Not all paints, adhesives, or overlays are meant for kitchens. Always check ratings.
- Ignoring Floor Height: Adding overlays can block doors or dishwashers. Measure before you start.
- Not Allowing Proper Cure Time: Using the floor too soon can ruin your finish.
- Using Regular Stickers: Only buy floor-rated stickers or decals—wall types will peel up fast.
How To Choose The Best Method For Your Kitchen
Not sure which method is right for you? Consider these factors:
- Budget: Painting or stickers cost less, but may not last as long as vinyl or floating floors.
- Skill Level: Some methods are easy DIY, while others (like microcement) need a pro.
- Style Goals: Want a modern, seamless look? Try microcement or vinyl sheets. Prefer patterns? Go for paint or stickers.
- Rental or Permanent: Peel and stick, stickers, or interlocking mats can be removed without damage.
- Traffic Level: Busy family kitchens need durable, water-resistant options like luxury vinyl or floating laminate.
Real-world example: A family with young kids chose luxury vinyl planks over their tiles because it’s durable, waterproof, and soft underfoot. A renter used tile stickers for a quick color upgrade, then removed them before moving out.
Cost Comparison Of Different Methods
The price of updating kitchen tiles varies by method. Here’s a rough cost estimate (for a 100 sq. ft kitchen):
| Method | Material Cost | DIY Difficulty | Expected Lifespan |
|---|---|---|---|
| Painting Tiles | $50–$150 | Easy | 2–5 years |
| Peel & Stick Tiles | $100–$300 | Easy | 3–10 years |
| Vinyl Sheet Flooring | $150–$400 | Moderate | 10–15 years |
| Laminate/Engineered Wood | $200–$700 | Moderate | 10–20 years |
| Tile Stickers | $30–$150 | Very easy | 1–3 years |
| Microcement | $600–$1,200 | Hard/Pro | 10–20 years |
| Interlocking Mats | $100–$300 | Very easy | 3–5 years |
| Carpet Tiles | $100–$400 | Easy | 5–8 years |
Non-obvious insight: Material cost is only one part of the total price. DIY labor saves money, but hiring a pro (especially for microcement or floating floors) can ensure a longer-lasting, more attractive result.
Real-life Examples Of Kitchen Tile Updates
Hearing about real experiences can make your decision easier.
- Sarah (Homeowner): “We painted our kitchen tiles white with an epoxy paint. The floor looks brand new and it’s easy to clean. After two years, only one small spot needed a touch-up.”
- James (Renter): “I used black and white checkered peel-and-stick tiles. The process took half a day and my landlord was fine with it because they’re removable.”
- Alex (DIY Enthusiast): “We tried microcement. The floor looks amazing, but it was a lot of work. I’d hire a pro next time.”
- Emily (Family Home): “Luxury vinyl planks completely changed our kitchen. They’re soft and quiet, and cleaning is so much easier.”

Credit: www.youtube.com
Where To Buy Materials
Most local hardware stores and home centers carry everything you need for overlays, paint, and adhesives. For more unique styles or sizes, online retailers offer a wide selection.
- Home improvement stores: Home Depot, Lowe’s, Menards
- Online: Amazon, Wayfair, specialty flooring sites
- Specialty shops: Flooring showrooms, tile and vinyl suppliers
Expert tip: Always buy 10% more material than you need for mistakes and future repairs.
If you want to learn more about the latest flooring materials, visit the Floor Covering Institute for in-depth research and industry news.
Frequently Asked Questions
How Long Do Overlay Methods Last Compared To New Tile?
High-quality overlays like luxury vinyl planks or microcement can last 10–20 years with good care. Paint and stickers are less durable, usually lasting 2–5 years in a busy kitchen. The key is proper preparation and using products designed for floors.
Can I Put New Flooring Over Cracked Or Loose Tiles?
You should repair or remove any cracked or loose tiles first. Overlays need a stable, flat surface to last. Small chips can be filled, but large damage will cause problems.
Will These Methods Affect My Home’s Resale Value?
Most buyers appreciate a clean, modern kitchen floor—even if it’s not real tile. High-quality overlays like vinyl planks or laminate can boost value, while stickers or paint are better for quick fixes than long-term investments.
Are These Methods Safe For Homes With Kids And Pets?
Yes, most overlays are safe, especially if you use low-VOC paints and adhesives. Vinyl, laminate, and engineered wood are durable and easy to clean. Avoid soft foam mats in kitchens with pets, as they can be damaged by claws.
Do I Need To Remove Baseboards Before Updating My Kitchen Floor?
It’s not always necessary. For floating floors or vinyl sheets, removing baseboards gives a cleaner look, but you can often install new trim or quarter round to cover edges if you want to avoid removing them.
Updating kitchen floor tiles without removing them is a smart, creative way to get a new look with less mess and cost. With the right method and a little care, your kitchen can feel fresh and modern for years to come.