Restaining a kitchen table is a rewarding way to breathe new life into your furniture. Over time, tables get scratched, faded, or stained, especially when used daily. Instead of buying a new one, restaining can give your table a fresh look while letting you keep the piece you love.
This process is more than just applying a new color—it’s about careful preparation, choosing the right products, and using the right methods to get a durable and beautiful finish. Many people are surprised at how much difference a well-executed restain can make.
You don’t have to be a woodworking expert to do this project, but you do need patience, attention to detail, and the right information. In this guide, you’ll learn every step, from start to finish, with tips and insights that most beginners overlook.
Whether your table is solid wood or veneer, you’ll discover what works best, how to avoid common mistakes, and how to achieve a professional look—even if it’s your first time.
Why Restain A Kitchen Table?
Restaining is not just about changing color; it also protects the wood, covers old damage, and can match your changing style. Kitchen tables are usually high-traffic pieces. They deal with spills, hot dishes, and scratches. Over the years, their finish breaks down, and the wood may become vulnerable to moisture or stains.
Restaining refreshes the protective layer, making cleaning easier and helping your table last longer.
Another reason is the cost. A good wood kitchen table is expensive. Restaining it yourself is budget-friendly, often costing less than 10% of buying a new one. Plus, you can customize the look—go lighter, darker, or try a new color.
Tools And Materials Needed
To do the job well, you need the right tools and materials. Here’s a list of what you’ll need:
- Drop cloth or old sheet
- Screwdriver (for removing legs or hardware)
- Sandpaper (80, 120, 220 grit)
- Sanding block or orbital sander
- Tack cloth or vacuum with brush attachment
- Wood filler (if repairing deep scratches)
- Putty knife
- Stain (oil-based or water-based)
- Wood conditioner (for soft woods like pine)
- Brushes (foam or bristle)
- Lint-free rags
- Protective gloves
- Safety goggles and mask
- Polyurethane or other topcoat
- Paint stir sticks
- Painter’s tape
- Bucket of water (for water-based projects)
- Mineral spirits (for oil-based projects)
Most of these items are reusable for future projects. If you don’t have an orbital sander, you can rent one or use elbow grease with a sanding block. For tables with intricate details, hand sanding is often the best approach.
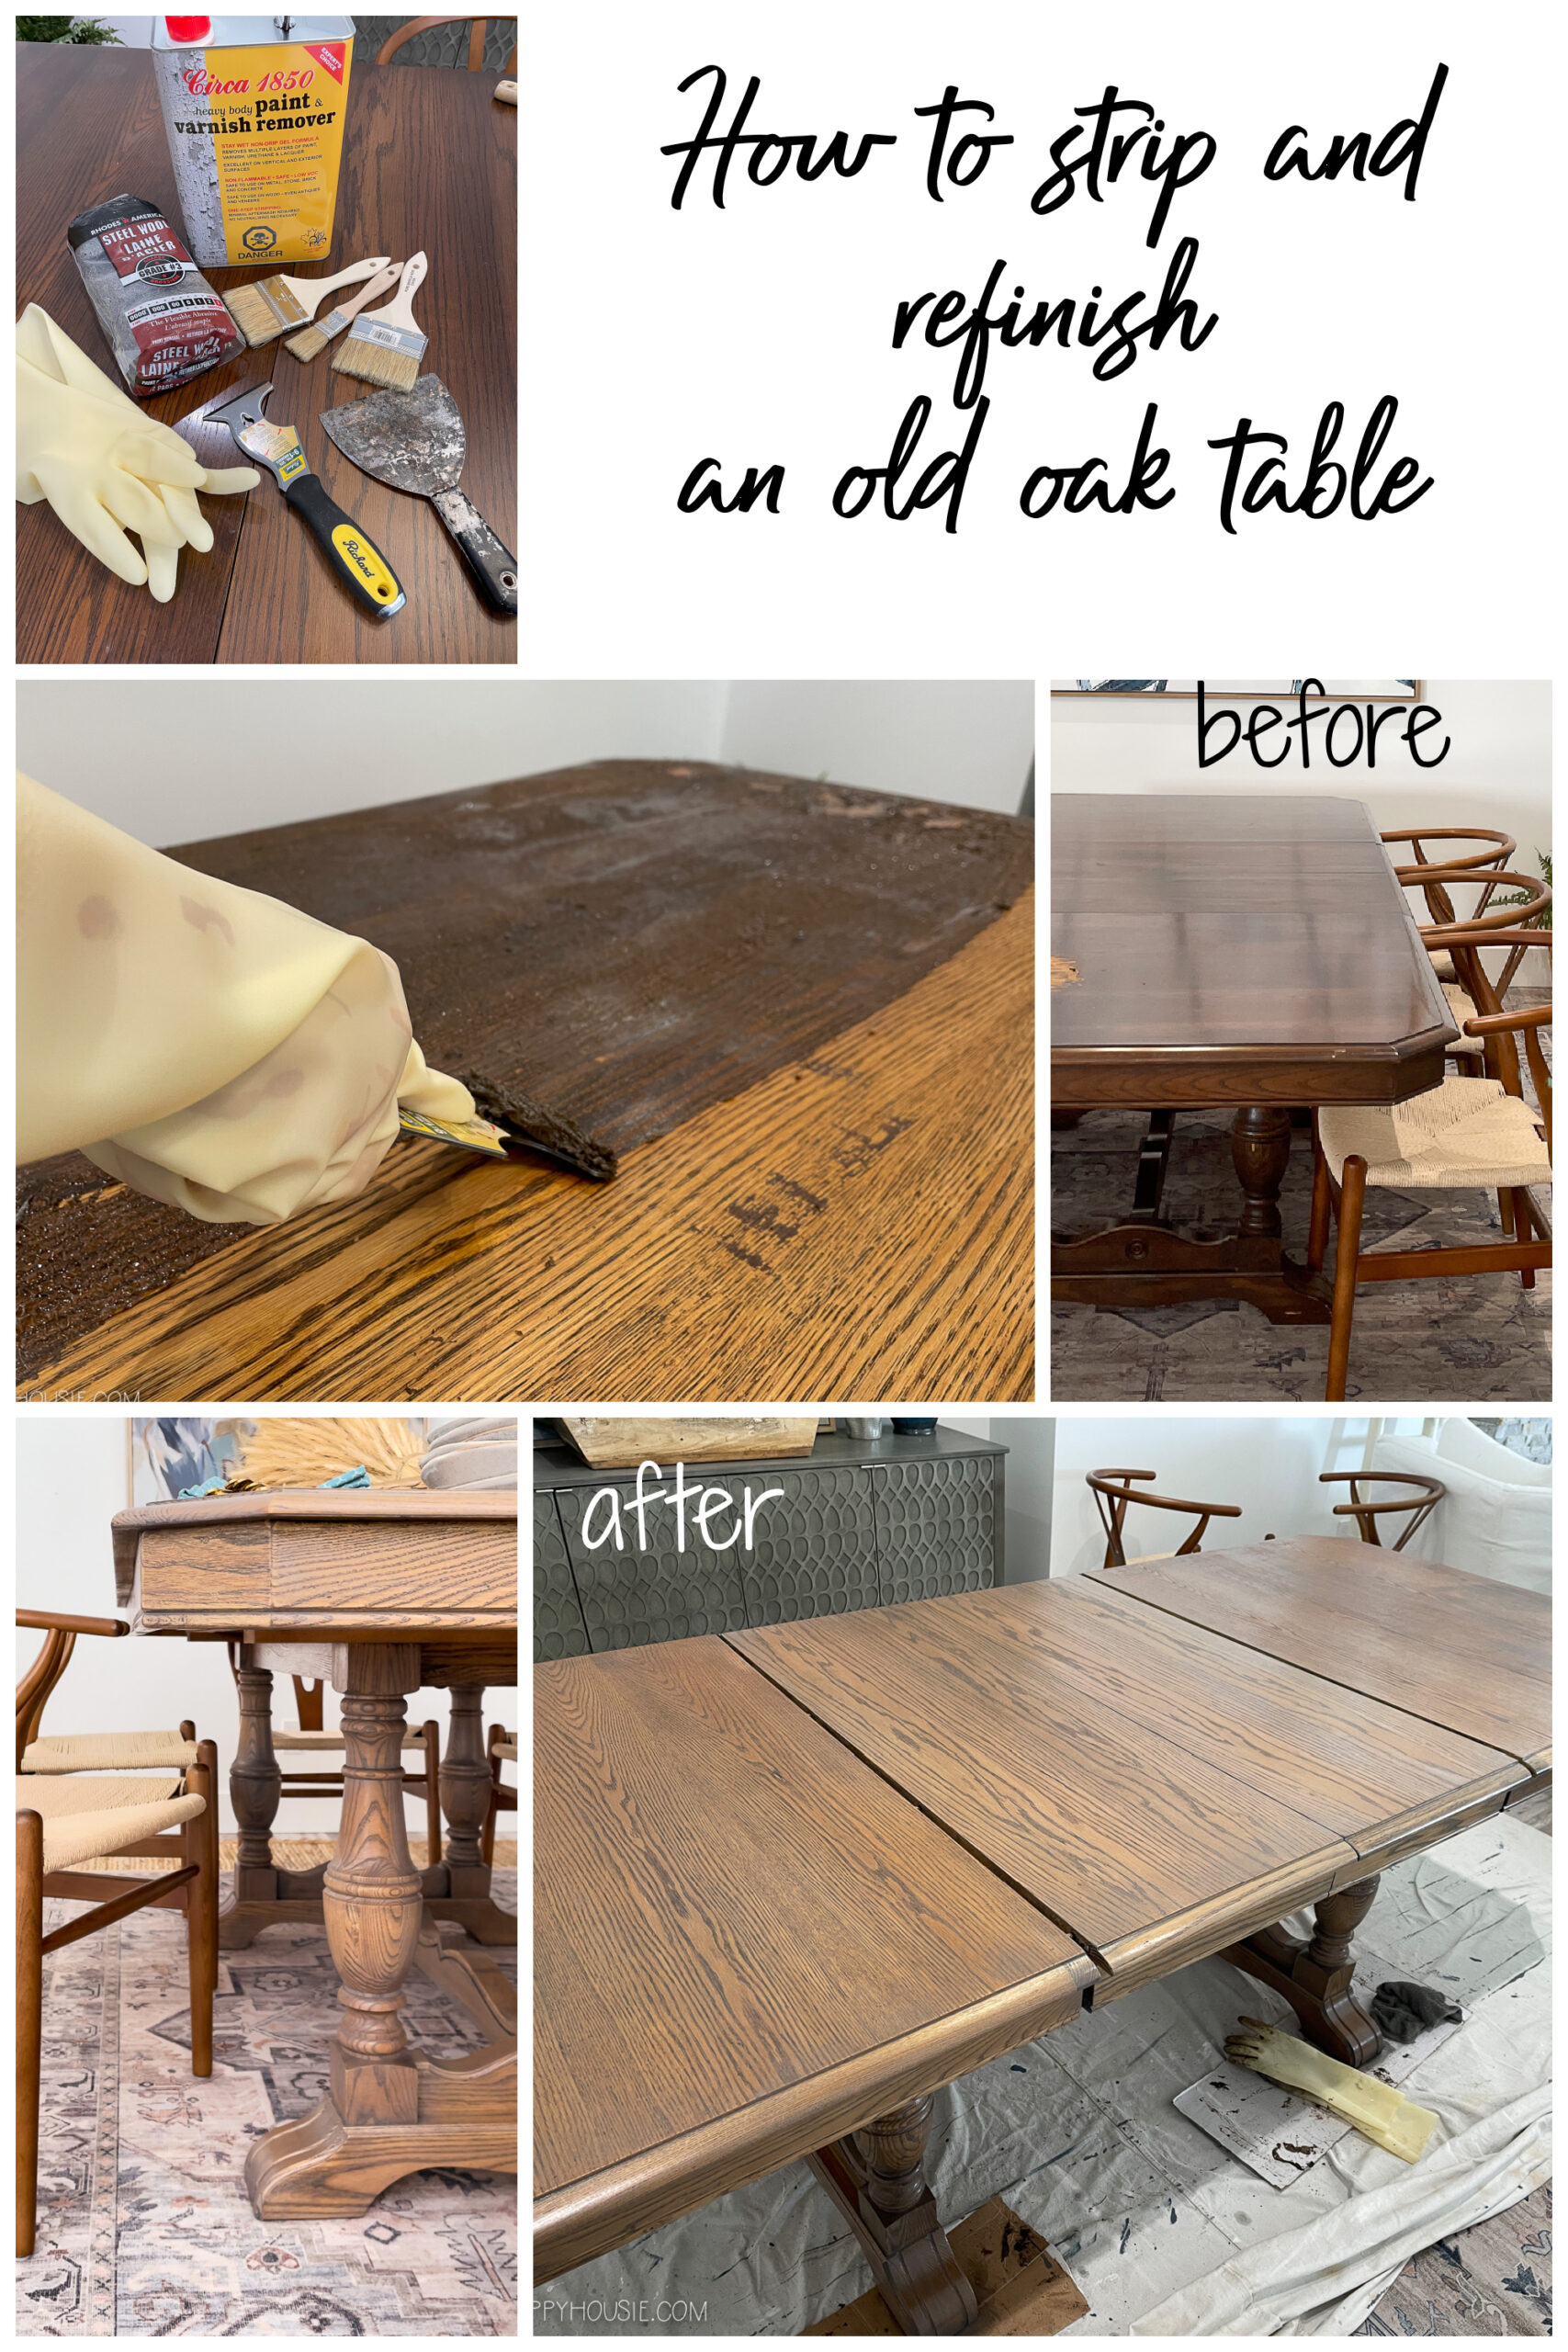
Credit: www.thehappyhousie.com
Choosing The Right Stain And Finish
Not all stains are the same. Your choice will affect the final color, durability, and even how easy the process is. Here’s a quick comparison:
| Type of Stain | Pros | Cons | Best For |
|---|---|---|---|
| Oil-Based | Deep color, long working time, durable | Strong smell, longer drying | High-traffic tables |
| Water-Based | Low odor, fast drying, easy cleanup | Can raise grain, dries quickly (less blending time) | Quick jobs, indoor use |
| Gel Stain | Good for vertical surfaces, hides uneven grain | Thick, less natural look | Veneer, damaged wood |
When choosing color, test the stain on a hidden part or a spare piece of similar wood. Wood species and previous stains can affect how the color turns out. For durability, polyurethane is the most common topcoat, but other options like lacquer, shellac, or water-based finishes are available.
Non-obvious insight: Don’t pick a stain based only on the label sample. Your table’s wood and sanding method can change the final look. Always test first.
Preparation: Getting Your Table Ready
Proper prep is what separates a stunning result from a patchy or sticky finish. Here’s how to get your table ready:
- Clear and Clean: Remove everything from the table. Wipe it down with a damp cloth to remove dust and sticky residues.
- Disassemble if Possible: If your table’s legs or hardware can be removed, do it. It’s much easier to stain a tabletop that’s off its base.
- Protect Surroundings: Spread a drop cloth under your work area to catch dust and drips. Staining is messy—plan for cleanup before you start.
- Inspect for Damage: Look for deep scratches, gouges, or water rings. Fill any damage with wood filler, let it dry, and sand smooth.
Don’t skip this inspection. Stain highlights flaws rather than hiding them. Fix problems now for a cleaner final look.
Stripping Old Finish (if Needed)
If your table has a thick or glossy finish, you may need to strip it before sanding. Here’s what to know:
- Use a chemical stripper for heavy varnish or paint. Apply with a brush, wait as directed, then scrape off with a putty knife.
- Wear gloves, goggles, and work in a well-ventilated area—strippers are harsh.
- After stripping, wipe the surface with mineral spirits (for oil-based strippers) or water (for water-based strippers).
- Let the table dry fully before moving to sanding.
If the old finish is thin or mostly worn off, you might skip this step and go straight to sanding. Testing a small area with sandpaper will tell you if the finish comes off easily.
Non-obvious insight: If your table is veneer (thin wood layer over another material), avoid aggressive sanding or stripping. Veneer can be sanded through easily—work gently and stop as soon as the old finish is gone.
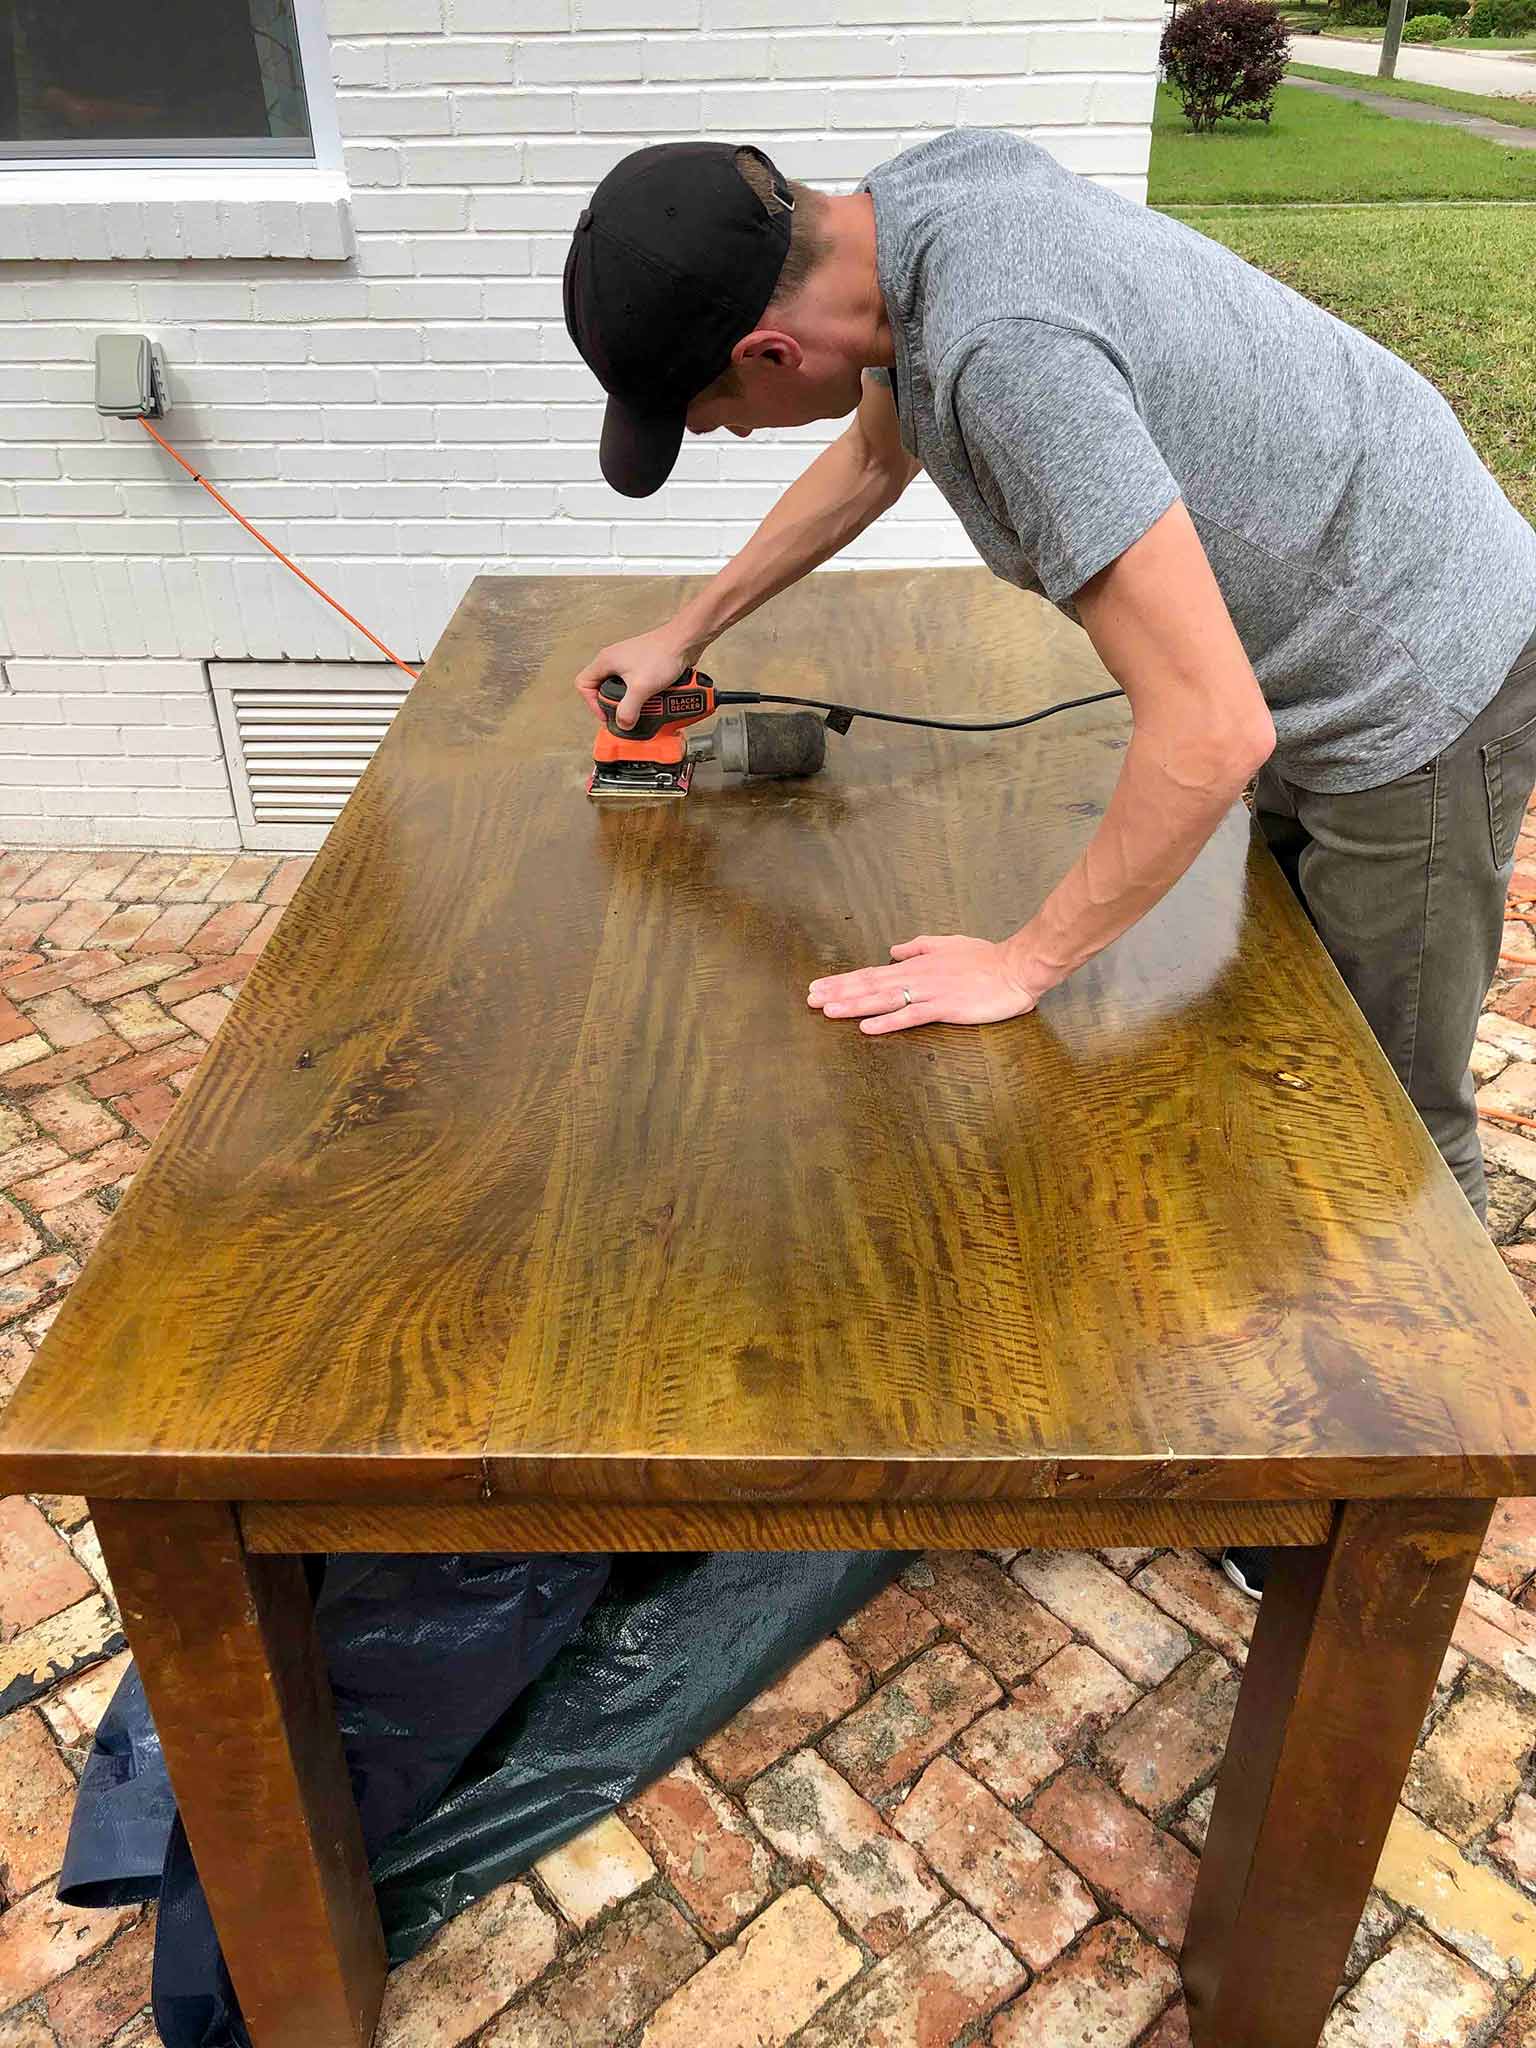
Sanding: The Key To A Smooth Finish
Sanding is the most important part. It removes old stain, smooths damage, and prepares the surface for new color. Follow these steps:
- Start with 80 or 100 grit to strip off the finish and stains.
- Move to 120 grit for smoothing, removing deep scratches from the rough sandpaper.
- Finish with 220 grit for a silky surface ready to accept stain.
Always sand in the direction of the wood grain. Sanding against the grain creates scratches that show up after staining.
Use a sanding block for flat surfaces and hand-sand curves or carved details. Wipe with a tack cloth or vacuum between grits to remove dust.
If your table is large, an orbital sander saves time and effort. For small tables, hand sanding works well.
Cleaning After Sanding
This step is easy to underestimate. Even tiny dust particles can spoil your finish. Here’s how to clean properly:
- Use a vacuum with a brush attachment to remove most dust.
- Wipe every surface with a tack cloth—these are sticky rags that pick up fine particles.
- For water-based stains, you can also use a slightly damp cloth as a final wipe (but let the wood dry completely before staining).
Check for missed spots by looking at the wood under a strong light. Any dull or shiny patches may need more sanding.
Applying Pre-stain Wood Conditioner
Some woods, like pine, fir, or cherry, absorb stain unevenly and can look blotchy. A pre-stain wood conditioner helps the stain soak in evenly.
- Apply with a brush or rag, following the product directions.
- Let it sit for the recommended time (usually 5-15 minutes), then wipe off any excess.
- Stain within two hours for best results.
This step is often skipped by beginners, but it makes a big difference in the final look. Even hardwoods can benefit, especially if you’re after a flawless finish.
Staining The Table: Step-by-step
Now for the fun part—applying your new color. Here’s how to do it like a pro:
- Stir the stain thoroughly before and during use. Pigments settle at the bottom, so mix often for even color.
- Apply with a brush or lint-free rag. For large flat areas, rags give the most control and help avoid brush marks.
- Work in manageable sections, always following the grain. Apply a generous but not dripping coat.
- Let it sit for 5-15 minutes (check the can for timing), then wipe off extra stain with a clean rag. The longer you leave it, the deeper the color.
- Check for streaks or missed spots. Blend with a rag while the stain is wet.
- Repeat coats for a darker look, letting each coat dry as directed.
Be patient. It’s better to apply two or three light coats than one heavy one. Heavy coats can dry unevenly or stay sticky.
If you’re using gel stain (common for veneer), apply with a rag or foam brush and wipe gently. Gel stain sits more on the surface and is great for hiding uneven areas.
Drying And Curing
After staining, let your table dry in a dust-free area. Drying times vary:
- Oil-based stains: 8-24 hours
- Water-based stains: 2-4 hours
Check the can for your specific product. Avoid touching or placing anything on the table until it’s fully dry.
If you live in a humid climate, allow extra time. Rushing to the next step can lead to smudges, fingerprints, or a tacky feel.
Applying The Topcoat
A good protective finish is crucial for kitchen tables. It seals the stain and resists water, heat, and scratches. Here’s a comparison of common options:
| Finish Type | Durability | Sheen Levels | Best Uses | Notes |
|---|---|---|---|---|
| Oil-Based Polyurethane | Excellent | Satin, Semi-gloss, Gloss | High-traffic tables | Ambers over time, slow drying |
| Water-Based Polyurethane | Very good | Matte, Satin, Gloss | Indoor, light wood colors | Stays clear, fast drying |
| Lacquer | Good | High gloss | Modern looks | Spray application, strong fumes |
| Wax | Low | Soft sheen | Rustic or antique looks | Needs regular reapplication |
For kitchen tables, polyurethane is usually the best choice. Satin or semi-gloss offers a good balance between appearance and practicality.
How to Apply Polyurethane:
- Stir, don’t shake the can to avoid bubbles.
- Use a high-quality brush or foam applicator. Apply thin, even coats.
- Let dry completely (check the label for time).
- Lightly sand between coats with 220-grit sandpaper for a smooth finish. Wipe away dust.
- Apply 2-3 coats for best durability.
Don’t rush. Each coat adds protection. The final coat should dry for at least 24-48 hours before using the table.
Reassembling And Final Touches
Once everything is dry, it’s time to put your table back together:
- Reattach legs and hardware carefully to avoid scratching the new finish.
- Remove painter’s tape if you used any to protect areas from stain or finish.
- Inspect the finish for drips, bubbles, or rough spots. If you find any, you can lightly sand and apply a final thin coat.
Let the table cure for several days before placing heavy items or hot dishes on it. Full hardness can take up to a week for oil-based finishes.
Credit: thathomebirdlife.com
Maintenance Tips To Keep Your Table Looking New
After all your hard work, you want your table to stay beautiful. Here’s how:
- Clean spills quickly to prevent water rings or stains.
- Use placemats and coasters to protect from heat and scratches.
- Avoid harsh cleaners—use a damp cloth or mild soap and water.
- Buff with a soft cloth regularly to keep the finish shiny.
- Reapply a maintenance coat of finish every few years, depending on wear.
A well-cared-for table can last for decades with just a little attention.
Common Mistakes And How To Avoid Them
Even experienced DIYers can make mistakes. Here are some of the most common, and how to prevent them:
- Skipping sanding: The new finish will not stick well and may flake off.
- Not cleaning dust: Dust in the finish looks cloudy or rough.
- Applying thick coats: Thick stain or poly dries unevenly and can stay sticky.
- Rushing drying times: Leads to fingerprints, smudges, or dull spots.
- Choosing the wrong finish: Some finishes are not durable enough for kitchen tables.
Expert tip: If something goes wrong, most issues can be fixed by sanding lightly and applying another coat. Don’t panic—wood is forgiving if you’re patient.
Real-world Example: Restaining A 10-year-old Oak Table
To show how the process looks in practice, here’s a real example:
Sarah had a solid oak table that had seen years of family meals, homework, and spills. The surface was scratched and dull, but the wood was still strong.
- She removed the legs and sanded the entire top, starting with 80 grit and ending with 220.
- After cleaning, she applied a wood conditioner, then a water-based stain in “Walnut.”
- Sarah let it dry for four hours, then applied three thin coats of water-based polyurethane, sanding lightly between coats.
- After reassembling, the table looked brand new—at a cost of $60 and a weekend of work.
Key takeaway: Most kitchen tables can be completely transformed in just a few days, even by beginners.
Pros And Cons Of Restaining Vs. Painting
Some people wonder if they should restain or paint their table. Here’s a quick comparison:
| Feature | Restaining | Painting |
|---|---|---|
| Natural wood look | Preserved | Covered |
| Durability | High (with poly) | High (with proper prep) |
| Color options | Limited to wood tones | Unlimited |
| Skill required | Medium | Medium |
| Touch-up ease | Easy with stain marker | Easy with matching paint |
Restaining is best if you want to keep the wood’s natural beauty, while painting allows for any color but hides the grain.

Credit: www.thriftydecorchick.com
Troubleshooting: Fixing Issues After Staining
Even with care, problems can happen. Here’s how to fix the most common ones:
- Sticky finish: Wipe with mineral spirits (for oil-based) or sand lightly and recoat.
- Blotchy color: Apply a glaze or tinted topcoat to even out the look.
- Scratches after finishing: Lightly sand and add another coat of finish.
- Cloudy finish: This is usually from moisture or dust. Sand back and reapply the topcoat.
Patience is your best tool. If you’re not happy with the result, you can always sand back and try again.
Safety Tips
Staining and finishing use chemicals that can be hazardous. Here’s how to stay safe:
- Always work in a well-ventilated area.
- Wear protective gloves and safety goggles.
- Use a mask to avoid breathing dust or fumes.
- Store rags with oil-based products in a metal container with a tight lid—they can self-ignite.
- Keep products away from children and pets.
For more detailed safety information, you can visit the Occupational Safety and Health Administration.
Frequently Asked Questions
How Long Does It Take To Restain A Kitchen Table?
It usually takes 2-3 days. Day one is for prep and sanding, day two for staining, and day three for applying finish coats and drying. Some finishes need extra drying time before heavy use.
Can I Restain A Table Without Sanding?
Light sanding is almost always needed for the new stain to bond well. Skipping sanding can lead to peeling or uneven color. For a very quick refresh, you can use a “stain and poly in one” over an existing finish, but results are less durable.
What Is The Best Stain For Kitchen Tables?
Oil-based stains are the most durable and offer deep, rich color. For a quick job or low odor, water-based stains are good too. The best choice depends on your wood, color preference, and how much time you have.
How Do I Know If My Table Is Solid Wood Or Veneer?
Check the edge of the tabletop. Solid wood shows continuous grain that wraps around edges. Veneer has a thin wood layer on top of a different material—often visible at the edges or underneath. Veneer requires more careful sanding.
How Soon Can I Use My Table After Restaining?
You can use the table gently after 48 hours, but avoid heavy use or placing hot items for at least one week. This gives the finish time to cure fully and reach maximum hardness.
Restaining your kitchen table is a project that pays off in both beauty and function. With the right tools, patience, and this step-by-step guide, you can enjoy a table that looks and feels brand new—made by your own hands.