Chipped laminate furniture can ruin the look of your home or office. A small chip on a desk or cabinet edge can catch your eye every time you walk by. Many people think they need to buy new furniture when this happens.
But the truth is, you can repair chipped laminate furniture at home with the right tools and a bit of patience.
This guide will help you understand everything about repairing chips in laminate furniture. You will learn what causes chips, how to pick repair materials, and step-by-step methods to fix damage. We will also cover how to get a smooth finish, repaint or touch up color, and protect your furniture from future damage.
Even if you have never repaired furniture before, this article will make the process clear and simple.
You will also find expert tips, practical advice, and answers to common questions about laminate repair. By the end, you will feel confident to handle chips in desks, cabinets, tables, or shelves yourself.
Understanding Laminate Furniture And Its Challenges
Laminate furniture is popular because it’s affordable, lightweight, and comes in many styles. Laminate is made by pressing together layers of paper or plastic with resin. This is placed over a core material like particleboard or MDF (medium-density fiberboard). The result is a smooth, durable surface.
But laminate is not as strong as solid wood. It can chip or peel if it is hit by something hard, if heavy things are dropped on it, or if it gets wet for a long time. Edges and corners are the most common places for chips.
Why Do Chips Happen?
- Impact damage: Dropping heavy items or hitting furniture with sharp objects can break the surface.
- Moisture: Water can seep into small cracks, making the laminate swell and peel.
- Aging: Over time, glue holding the laminate can weaken, especially in humid or hot areas.
- Improper moving: Dragging or bumping furniture during moves can chip the edges.
Knowing the cause helps you prevent future damage and pick the right repair method.
Tools And Materials Needed For Repair
You do not need expensive tools to fix chipped laminate. Most repair kits and supplies are available at hardware stores or online. Here is what you will need:
- Laminate repair paste or wood filler: For filling chips and gaps.
- Putty knife or plastic scraper: To apply and smooth filler.
- Fine-grit sandpaper (220–320 grit): For smoothing repaired areas.
- Clean rags or microfiber cloth: For wiping dust and debris.
- Matching paint or laminate touch-up marker: To blend the repair with the rest of the furniture.
- Clear sealant or topcoat: For extra protection.
- Painter’s tape: To protect areas around the chip.
- Super glue or wood glue: For reattaching loose laminate pieces.
- Utility knife: To trim damaged edges.
- Small brush: For detailed paint or sealant work.
Some chips may also need a laminate patch or edge banding. These are strips of laminate you can glue over larger damaged areas.
Practical Tips For Choosing Materials
- Color match matters: Choose filler and paint that match the color and sheen of your furniture. Some kits offer custom color mixing.
- Quality of filler: High-quality filler resists shrinking and cracking over time.
- Test before full repair: Try filler and paint on a hidden part of the furniture first.
Preparing The Damaged Area
Good preparation is key to a smooth, lasting repair. Rushing this step often leads to visible bumps or uneven color.
Step-by-step Prep
- Clean the area: Wipe the chipped area with a damp cloth to remove dust, grease, and loose debris. Let it dry completely.
- Trim ragged edges: Use a utility knife to cut away loose or jagged laminate. Do not cut into the core.
- Sand lightly: Use fine sandpaper to smooth the edges of the chip. This helps filler stick better.
- Protect nearby surfaces: Place painter’s tape around the repair area to avoid accidental scratches or extra paint.
Many beginners skip cleaning or sanding, but these steps help the repair blend in and last longer.
Repairing Small Chips And Scratches
Small chips (less than 1/2 inch) or shallow scratches are the easiest to fix. You can use laminate repair paste, wood filler, or even a wax repair stick.
How To Fix Small Chips
- Apply filler: Squeeze a small amount of laminate paste or wood filler into the chip. Overfill slightly, as it may shrink when drying.
- Smooth the surface: Use a putty knife to level the filler. Wipe away excess right away.
- Let it dry: Most fillers need 1–2 hours to dry. Check the package for exact times.
- Sand gently: Once dry, sand the area until it is flat and even with the rest of the surface.
- Touch up color: Use a matching touch-up marker or paint to hide the repair. Apply in thin layers for best results.
- Seal the area: Brush on a thin layer of clear sealant or topcoat to protect the repair.
Example
A chipped desk corner, about the size of a pencil tip, can be filled and touched up in less than 30 minutes (plus drying time). No one will notice the repair if you match the color well.
Common Mistakes To Avoid
- Using too much filler, which can cause bumps.
- Not letting the filler dry fully before sanding.
- Skipping sealant, which makes the repair less durable.

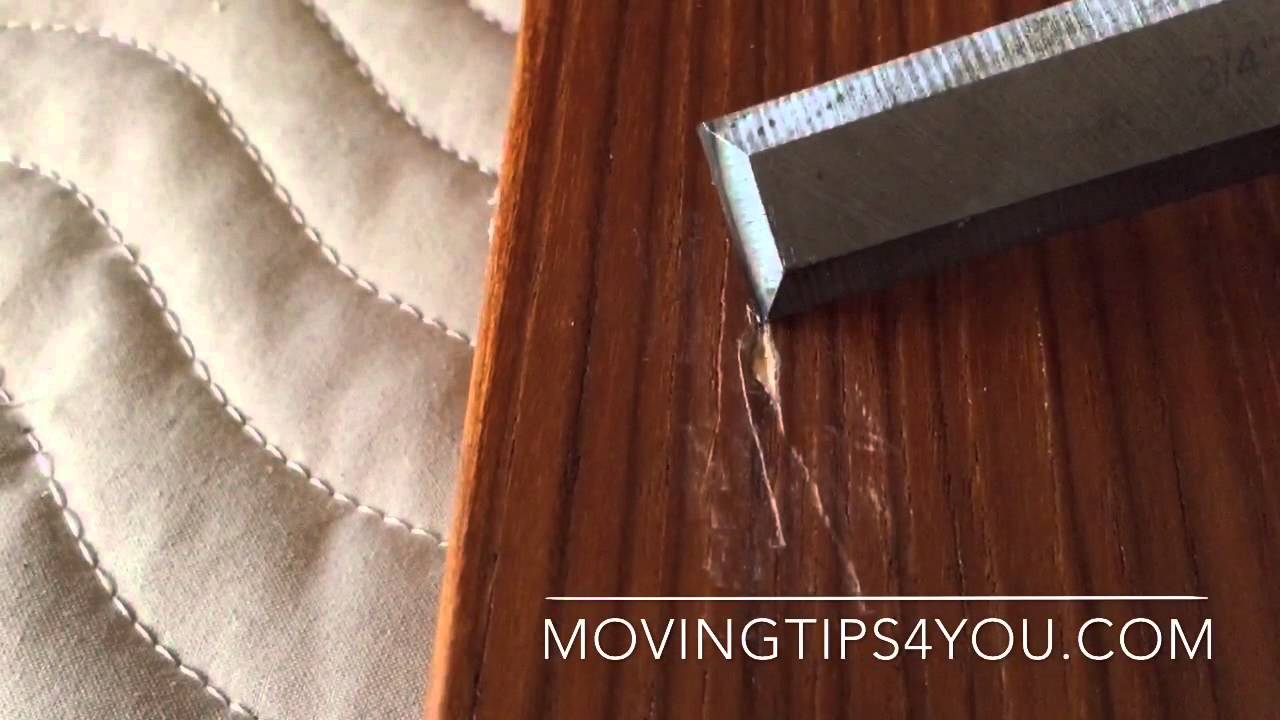
Credit: salvagedinspirations.com
Repairing Large Chips And Broken Corners
Large chips (over 1/2 inch), missing laminate, or broken corners require more work. You may need to use laminate patches or edge banding for a strong, invisible fix.
Fixing Large Chips: Step-by-step
- Assess the damage: If a chunk of the core is missing, you will need to fill that first.
- Build up the core: Use wood filler or epoxy putty to fill large holes or rebuild corners. Shape with a putty knife.
- Let it harden: Drying time is longer—up to 24 hours for deep repairs.
- Sand smooth: Once the filler is hard, sand until the surface is level.
- Apply a laminate patch (if needed): Cut a piece of matching laminate slightly larger than the damaged area. Glue it in place with super glue or contact cement.
- Trim and sand edges: Use a utility knife to trim excess patch, then sand edges for a seamless look.
- Color match and seal: Use paint or a touch-up marker on patch edges. Apply a clear topcoat for protection.
Example
A cabinet corner that broke off during a move can be rebuilt with epoxy putty, then covered with a laminate patch. With careful color matching, the corner will look almost new.
Edge Banding For Damaged Edges
For chips along the edge, use edge banding. This is a thin strip of laminate you can iron or glue onto the edge.
- Cut to size: Measure and cut the banding to fit.
- Apply adhesive: Use iron-on or glue, following the banding instructions.
- Trim edges: Carefully trim any overhang.
- Sand and finish: Sand lightly and touch up color if needed.
Non-obvious Insight
Many beginners forget to round and sand the filler before it dries fully. Shaping the putty while it is still soft makes sanding much easier and gives a more natural look.
Matching Color And Texture
A great repair is not just strong—it is invisible. Matching color and texture is often the hardest part, but it makes a huge difference in the final result.
Tips For Color Matching
- Test before applying: Try your paint or marker on a hidden area.
- Layer colors: For wood grain laminate, use more than one color marker or paint. Start with a base, add lines or dots to mimic grain.
- Matte vs. glossy finish: Match the sheen of your laminate. Use a matte or gloss topcoat to finish.
Texture Tricks
- Use a sponge or cloth: Dab the painted area lightly to mimic the texture of the surrounding laminate.
- Imitate wood grain: Draw thin lines with a fine brush if your laminate has a wood pattern.
Key Fact
Some repair kits include grain tools and blending pencils. These let you add lines and color changes for a perfect match.
Sealing And Protecting The Repair
Sealing the repaired area is important, especially on high-use furniture like desks or kitchen cabinets. This keeps moisture out and prevents new chips.
How To Seal
- Choose the right sealant: Use clear acrylic or polyurethane, depending on your laminate finish.
- Apply in thin layers: Brush on one or two light coats. Let each dry fully.
- Buff if needed: If the surface is glossy, buff gently with a soft cloth for shine.
Why Seal?
- Moisture protection: Sealing prevents water from getting into filler or the core.
- Easier cleaning: Sealed repairs can be wiped clean without damage.
- Longer-lasting fix: Repairs stay strong and invisible for years.
Preventing Future Chips
After fixing your furniture, you want to keep it looking good. Small changes in how you use and move furniture can prevent chips.
Practical Tips
- Use furniture pads: Put felt pads under items that sit on laminate surfaces.
- Avoid dragging items: Lift things instead of sliding them across laminate.
- Control moisture: Wipe up spills quickly. Use coasters for drinks.
- Add edge guards: Soft guards protect sharp corners or edges, especially in homes with kids.
- Move furniture carefully: Lift, do not drag, when rearranging rooms.
Non-obvious Insight
Many people forget about sunlight damage. Direct sunlight can dry out and weaken glue, leading to loose or peeling laminate. Use curtains or blinds to protect furniture in sunny rooms.
Repairing Water-damaged Laminate
Sometimes, chips are caused or made worse by water. Swollen or bubbled laminate needs special care.
What To Do For Water Damage
- Dry the area fully: Use a fan or hair dryer to remove moisture.
- Cut away loose laminate: Use a utility knife to remove bubbled or peeling pieces.
- Fill the core: If the core is swollen, sand it flat before filling gaps with wood filler.
- Patch and seal: Follow the same steps as for large chips, but make sure the area is completely dry first.
Key Fact
Never cover up wet or swollen laminate with filler or paint. The repair will fail, and mold could grow inside.
Comparing Repair Methods
Different chips need different solutions. Here is a comparison of common repair methods:
| Repair Method | Best For | Cost | Skill Needed | Durability |
|---|---|---|---|---|
| Laminate repair paste | Small chips & scratches | Low | Beginner | Moderate |
| Wood filler & paint | Large chips, corners | Medium | Intermediate | High |
| Laminate patch | Missing laminate | Medium | Intermediate | High |
| Edge banding | Damaged edges | Low | Beginner | Moderate |
Cost And Time: Diy Vs. Professional Repair
Is it cheaper to fix laminate furniture yourself or to call a professional? Here is a comparison:
| Repair Type | DIY Cost | Professional Cost | Typical Time Needed |
|---|---|---|---|
| Small chip | $10–$25 | $50–$100 | 30–60 minutes |
| Large chip / corner repair | $20–$50 | $100–$200 | 2–4 hours (including drying) |
| Edge banding | $10–$20 | $60–$120 | 1–2 hours |
DIY is much cheaper, but it does require patience and care. Professionals can color match perfectly, but you pay more.
Common Problems And How To Fix Them
Even with good instructions, things can go wrong. Here are some common problems and how to solve them:
The Repair Is Too Noticeable
- Try blending with more paint or using a grain tool.
- Apply another thin layer of filler and resand before repainting.
Filler Shrinks Or Cracks
- Use high-quality filler and overfill slightly.
- Let each layer dry before adding more.
Color Does Not Match
- Mix two or more colors to get a better match.
- Use a clear coat to adjust sheen.
Edges Are Rough
- Sand with finer paper (320–400 grit).
- Wipe with a damp cloth to remove dust before sealing.
When To Replace, Not Repair
Some damage is too severe to fix at home. Consider replacing the furniture if:
- The core is rotten or moldy: Water damage that has gone deep can be dangerous.
- Large sections are missing: If more than 25% of the surface is gone, a new piece is often cheaper.
- Joint or frame damage: If the structure is weak, repairs may not hold.
Best Products For Laminate Repair
With many products on the market, it can be confusing to choose. Here are some top-rated options:
- Minwax Wood Filler: Good for filling large chips and corners.
- Varathane Fill Stick: Easy for small scratches and chips.
- Rust-Oleum Cabinet Transformations Kit: Includes paint, filler, and topcoat for a full makeover.
- Rejuvenate Laminate Repair Markers: For fast touch-ups.
- Edge banding tape (iron-on type): For long edges.
Not all brands are the same. Look for products with good reviews and easy instructions.
Real-life Example: Repairing A Chipped Desk
Let’s walk through a repair on a common piece: a chipped desk edge.
- Clean and sand: Wipe the chip, sand rough edges.
- Apply filler: Use wood filler to rebuild the chipped spot. Shape with a knife.
- Let dry and sand: Wait 2 hours, then sand flat.
- Touch up paint: Use a matching marker or paint, blend with a sponge.
- Seal: Apply clear acrylic topcoat.
- Buff and use: After 24 hours, the desk is ready to use.
A repair like this costs less than $20 and only takes a few hours, but makes the desk look nearly new.
Environmental Impact: Repair Vs. Replace
Repairing laminate furniture saves money and helps the planet. Manufacturing new furniture uses energy and creates waste. Fixing chips keeps furniture out of landfills.
According to the Environmental Protection Agency (EPA), over 9 million tons of furniture are thrown away each year in the US. Repairing instead of replacing reduces this waste and lowers your carbon footprint.
For more information on sustainable furniture practices, visit the EPA’s facts and figures page.
Credit: www.youtube.com
Quick Reference: Step-by-step Checklist
Here is a summary you can use for any chip repair:
- Clean and dry the area.
- Trim and sand rough edges.
- Fill with laminate paste or wood filler.
- Let dry, then sand smooth.
- Apply touch-up paint or marker.
- Seal with clear topcoat.
- Buff if needed.
Frequently Asked Questions
How Do I Fix A Chipped Laminate Table Edge?
Start by cleaning the area. Use wood filler or a repair paste to fill the chip, let it dry, and sand flat. For large edge chips, add edge banding tape. Finish with matching paint and a clear sealant.
Can I Use Super Glue For Laminate Repair?
Super glue works well for reattaching loose pieces of laminate. For filling chips or gaps, use wood filler or laminate paste instead. Super glue alone is not strong enough for gaps.
How Do I Color Match A Repair On Dark Laminate?
Use a repair kit with several color options. Mix small amounts to match the color. Test on a hidden area before applying. For wood grain, use two or more shades and draw lines for a natural look.
What If My Repair Keeps Cracking?
This usually means the filler was too thin or dried too fast. Try applying in thinner layers and letting each dry fully. High-quality fillers resist cracking better.
Is It Worth Repairing Or Should I Buy New Furniture?
If the damage is small or medium, repairing is cheaper and better for the environment. If the core is damaged or a large area is missing, replacement may be the best option.
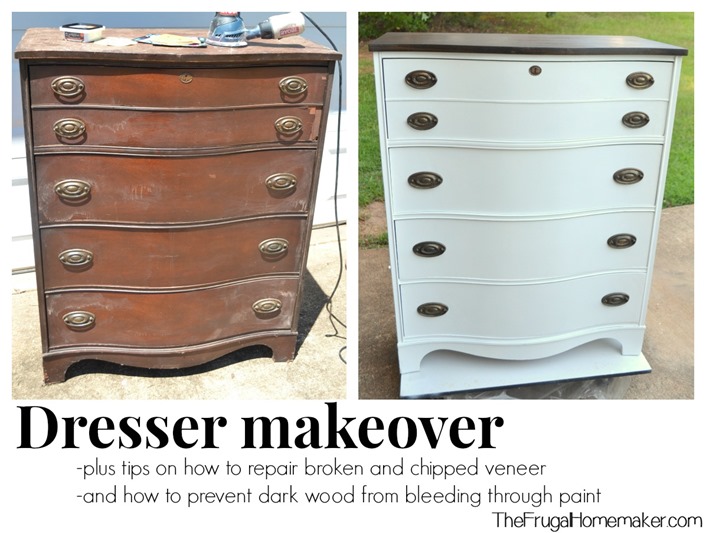
Credit: thefrugalhomemaker.com
Final Thoughts
Repairing chipped laminate furniture is a practical way to save money and keep your home looking great. With simple tools, the right materials, and careful attention to detail, you can fix chips, scratches, and even large breaks. Taking time to match color and texture makes your repair invisible to most people.
Remember, good preparation and patience are the keys to success. Practice on a small area if you are new to repairs. Over time, you will get better and your furniture will last much longer.
By repairing instead of replacing, you also help the environment. So, the next time you spot a chip, grab your repair kit and start fixing with confidence.