
Luxury vinyl plank (LVP) flooring is a popular choice for homes and businesses. It looks like real wood, feels comfortable underfoot, and is durable. But even the toughest floors are not immune to scratches. Moving furniture, pet claws, and daily foot traffic can leave marks that catch your eye, especially on a shiny surface.
If you have LVP flooring and notice scratches, you might wonder if you need to replace planks or live with the damage. The good news is that most scratches can be fixed with the right approach.
This article will walk you through everything you need to know about removing scratches from LVP flooring. You’ll learn about different scratch types, repair methods, products to use, and mistakes to avoid. Whether you have light scuffs or deeper gouges, you’ll find solutions that fit your situation. Let’s dive in and help your floors look their best again.
Understanding Lvp Flooring And Scratches
Before you start fixing scratches, it’s important to understand what makes LVP flooring unique. LVP is made from several layers, usually including a wear layer, a printed design layer, and a rigid core. The top wear layer protects against stains and small scratches, but it’s not invincible.
Why Scratches Happen
Common reasons for scratches on LVP flooring include:
- Dragging furniture without pads
- Pet claws (especially dogs)
- Small stones or dirt caught in shoes
- Heavy foot traffic in busy areas
- Toys with hard or rough wheels
Some LVP floors are more scratch-resistant than others. Thicker wear layers and higher-quality materials offer better protection. However, even premium brands can show marks over time.
Types Of Scratches
Not all scratches are the same. Identifying the type helps you choose the right fix.
- Surface scuffs: Light marks that only affect the top layer. Often caused by shoes or moving objects.
- Light scratches: Slightly deeper than scuffs but do not reach the printed design layer.
- Deep scratches/gouges: Cuts that go through the wear layer into the design or core. Usually caused by sharp objects or heavy impacts.
Knowing the difference will guide your repair process. Surface scuffs are easier to fix, while deep gouges may require more work.
What To Do Before You Start Repairs
Jumping straight into repair is tempting, but preparation matters. A few simple steps can make your work easier and the results better.
Clean The Area Thoroughly
Dirt or grit can make scratches worse if you rub them in. Here’s what to do:
- Sweep or vacuum to remove loose debris.
- Mop with a damp cloth and a gentle vinyl-safe cleaner.
- Dry the area completely with a soft towel.
Never use abrasive cleaners, bleach, or strong chemicals. They can damage the wear layer and make scratches stand out more.
Inspect The Damage Closely
Use a flashlight to see the scratch from different angles. Try to feel the scratch with your fingernail. If your nail catches, it’s deeper than a surface scuff. This helps you decide if you need a simple polish or a more involved repair.
Gather The Right Tools And Materials
Having the right supplies on hand makes the process smoother. Common tools and products include:
- Microfiber cloths
- Vinyl floor cleaner
- Scratch repair pens or markers (matched to your floor color)
- Floor polish or wax (vinyl-safe)
- Touch-up kits (putty, wax sticks)
- Fine sandpaper (optional, for deeper repairs)
- Putty knife or plastic scraper
- Floor roller (for major repairs)
Check your floor warranty before using any product. Some brands recommend or restrict certain chemicals or methods.
Credit: www.reddit.com
Removing Surface Scuffs And Light Scratches
Most LVP scratches are not deep. These minor marks are common in entryways, kitchens, and living areas. With the right method, you can usually remove or hide them completely.
Step 1: Clean And Dry The Floor
Start by cleaning as described earlier. Even a thin layer of dust can interfere with repairs.
Step 2: Use A Vinyl Floor Polish
Many vinyl floor polishes are designed to fill in and hide small scratches. They also add shine, making damage less noticeable.
How to use:
- Shake the polish bottle well.
- Apply a small amount to a microfiber cloth.
- Rub gently over the scratch in a circular motion.
- Let it dry according to product instructions (usually 10–20 minutes).
- Buff lightly with a clean, dry cloth.
Some popular options include Bona, Rejuvenate, and Quick Shine. Always test on a hidden area first.
Step 3: Try A Repair Pen Or Marker
If polish isn’t enough, a repair pen matched to your floor color can work wonders. These pens deposit pigment into the scratch, making it blend in.
- Press the tip into the scratch and draw along the mark.
- Wipe away excess immediately.
- Let dry before walking on the area.
Repair pens are inexpensive and widely available. They’re best for scratches that aren’t too deep.
Step 4: Use A Wax Stick
For scratches slightly deeper than surface scuffs, a wax stick can fill the groove.
- Rub the stick over the scratch until it’s filled.
- Smooth the area with a plastic scraper.
- Buff gently with a cloth.
Wax sticks come in many colors. Match as closely as possible to your LVP shade for best results.
Extra Insight: Layering Techniques
A trick many beginners miss is layering products. For example, use a repair pen first, then apply polish or wax. This combination often hides scratches much better than using just one method.
Common Mistake: Over-buffing
Buffing too hard can remove the finish and make the scratch stand out. Always use a light touch and soft cloth.
Fixing Deep Scratches And Gouges
Some scratches cut through the wear layer into the printed design or core. These require more attention. You may not be able to make them “disappear,” but you can make them much less noticeable.
Step 1: Clean And Assess The Damage
Clean as before. If the scratch is very deep, check if the plank is loose or damaged. Major gouges may require plank replacement, but most can be repaired.
Step 2: Fill With Vinyl Floor Putty
Vinyl floor putty is a soft filler designed for deep gouges.
- Choose a putty that matches your floor color.
- Use a putty knife to press the filler into the scratch.
- Level the surface with the knife.
- Let it dry fully (usually 2–4 hours).
- Buff lightly with a cloth.
Many brands sell putty kits with several colors. You can mix putties to get a closer match.
Step 3: Sand And Refinish (if Needed)
If the filled area feels rough or uneven, use fine sandpaper (400-grit or higher). Sand gently to smooth, then wipe clean with a damp cloth.
Important: Never sand beyond the repaired area, as you can damage the printed design layer.
Step 4: Apply Touch-up Paint Or Marker
After filling and sanding, use a touch-up marker to match the color exactly. This final step helps the repair blend in with the rest of the floor.
Step 5: Seal With Polish Or Wax
Finish by sealing the repair with a vinyl-safe polish or wax. This protects the area and restores shine.
Extra Insight: Multiple Layer Repairs
For deep scratches, it’s sometimes best to repair in thin layers. Fill partway, let dry, and repeat. This prevents cracks or sinkage in the putty.
Common Mistake: Using Wood Fillers
Some people use wood putty or fillers meant for hardwood. These don’t flex the same way as vinyl and can crack or fall out. Always use products labeled for vinyl or resilient floors.

Credit: www.1877floorguy.com
When To Replace A Plank
Not all scratches can be repaired. If a plank has multiple deep gouges, water damage, or chipped edges, replacement might be the best option.
Signs A Plank Needs Replacement
- The damage is very deep, exposing the core.
- The scratch runs the full length of the plank.
- The plank feels loose or makes noise when stepped on.
- Repairs do not blend well after multiple attempts.
Replacing a plank is a bigger job but can restore your floor’s look and value.
How To Replace A Scratched Lvp Plank
Most modern LVP is installed as a “floating floor,” making plank replacement easier.
- Identify the damaged plank.
- Remove baseboards (if needed) near the plank.
- Carefully unlock and lift planks from the nearest wall to the damaged one.
- Replace the damaged plank with a new one.
- Reinstall planks and baseboards.
If your floor is glued down, removing a plank is more difficult. You may need to cut out the damaged piece and glue in a new one. In this case, professional help is often worth the cost.
Diy Vs. Professional Repair
Many LVP scratches can be fixed as a DIY project. Repair kits and products are affordable and easy to use. However, there are times when calling a pro makes sense.
When Diy Is Best
- Small scuffs and light scratches
- Scratches in low-traffic areas
- When you have leftover planks or repair kits that match your floor
When To Call A Professional
- Deep gouges affecting many planks
- Scratches in glued-down installations
- Water damage or warping
- If you’re unsure about matching colors or finishes
Professionals can blend repairs seamlessly and have access to specialized tools. The cost varies but usually ranges from $100 to $300 per repair area.
Products And Tools Comparison
Choosing the right product can make a big difference. Here’s a quick comparison of popular scratch repair tools and their ideal use:
| Product | Best For | Ease of Use | Average Cost |
|---|---|---|---|
| Repair Pen/Marker | Light scratches, color matching | Very Easy | $6–$12 |
| Wax Stick | Surface scratches, minor gouges | Easy | $8–$18 |
| Vinyl Floor Putty | Deep gouges, large areas | Moderate | $15–$30 |
| Vinyl Polish | Scuffs, adding shine | Very Easy | $10–$20 |
Preventing Future Scratches On Lvp Flooring
Prevention is often easier than repair. A few simple habits can protect your floors and save time and money.
Use Furniture Pads And Rugs
- Place felt pads under chair and table legs.
- Add area rugs or runners in high-traffic zones.
- Avoid rubber-backed mats, as they can discolor LVP.
Keep Floors Clean
- Sweep or vacuum regularly to remove dirt and grit.
- Use a doormat at entrances.
- Mop with a damp (not wet) mop and a mild cleaner.
Trim Pet Nails
Pets are a common cause of scratches. Trim their nails often and use mats in areas where they play.
Move Furniture Carefully
- Lift furniture instead of dragging it.
- Use sliders or cardboard under heavy items.
Extra Insight: Rotating Furniture
Many people forget to rotate furniture and rugs every few months. This prevents “traffic lanes” and uneven wear, which can make scratches more visible in certain areas.
How Lvp Scratch Resistance Compares To Other Floors
If you’re considering LVP or have other floors at home, you might wonder how its scratch resistance measures up.
| Floor Type | Scratch Resistance | Repair Difficulty | Common Causes of Scratches |
|---|---|---|---|
| LVP | High (varies by wear layer) | Easy–Moderate | Furniture, pets, grit |
| Hardwood | Medium–Low | Moderate–Hard (requires sanding/refinishing) | Heels, pets, furniture |
| Laminate | Medium | Moderate (replace plank for deep scratches) | Furniture, grit |
| Ceramic Tile | Very High | Hard (requires tile replacement) | Hard objects, tools |
LVP performs well for most homes, especially when you use protective measures.
How To Choose The Right Repair Kit
There are many repair kits on the market. Picking the right one ensures the color matches and the repair lasts.
Factors To Consider
- Color match: Most kits come in several shades. Choose the closest to your floor or buy a kit with mixable colors.
- Type of damage: Light scratches need pens or wax; deep gouges need putty.
- Brand compatibility: Some LVP manufacturers sell repair kits designed for their products.
- Ease of use: Read reviews or watch videos if you’re new to DIY repairs.
Popular Repair Kit Brands
- Rejuvenate All Floors Restorer
- WearMax Scratch Concealer
- Varathane Fill Stick
- Minwax Blend-Fil Pencil
Check your floor’s brand for recommendations. Some kits are even covered by your warranty.
Real-life Examples: Scratch Removal In Action
Let’s look at a few scenarios to see how these steps work in real homes.
Example 1: Minor Pet Scratches
A homeowner noticed light scratches near her dog’s water bowl. She cleaned the area, used a repair pen, and applied polish. The scratches became nearly invisible.
Example 2: Deep Gouge From Furniture
A heavy sofa left a deep gouge when moved without pads. The owner filled the groove with vinyl putty, sanded lightly, and colored the repair with a marker. After sealing with polish, the spot blended well with the rest of the floor.
Example 3: Scuffs In A High-traffic Hallway
Shoes left scuffs in a busy hallway. A quick application of vinyl polish restored the shine and removed the marks in minutes.
These real-world examples show that most LVP scratches can be fixed at home with patience and the right tools.
Mistakes To Avoid When Repairing Lvp Scratches
Even with the best intentions, mistakes can happen. Knowing what to avoid saves time and prevents more damage.
- Using harsh cleaners or abrasive pads: These can make scratches worse and dull the finish.
- Choosing the wrong color: A poor color match can draw more attention to the repair.
- Skipping cleaning: Dirt left in the scratch can prevent fillers from bonding.
- Overfilling gouges: Too much putty can create a raised spot.
- Not letting repairs dry fully: Walking on a fresh repair can ruin your work.
Patience and careful attention to detail pay off.
How To Maintain Lvp Floors After Scratch Repair
After repairing scratches, proper maintenance keeps your floor looking great.
- Mop with a vinyl-safe cleaner every week or as needed.
- Avoid waxes or polishes not labeled for vinyl, as they can build up and cause dullness.
- Reapply polish to high-traffic areas every few months.
- Inspect for new scratches and fix them early.
Consistent care prevents small problems from becoming big issues.
Cost Comparison: Diy Vs. Professional Repair
Budget is often a concern. Here’s a cost breakdown:
| Repair Type | DIY Cost | Professional Cost | Time Needed |
|---|---|---|---|
| Light scratch repair | $10–$30 | $80–$150 | 30–60 minutes |
| Deep gouge repair | $20–$50 | $120–$250 | 1–2 hours |
| Plank replacement | $30–$60 per plank | $200–$350 per plank | 2–4 hours |
DIY methods are much cheaper, but professionals can handle complex or large-scale repairs faster and with less risk.
Finding Quality Resources And Advice
For more details on LVP floor care, you can check out this helpful guide from the Home Depot. It covers cleaning, maintenance, and more.
Frequently Asked Questions
How Do I Know If A Scratch On My Lvp Floor Is Too Deep To Repair?
If your fingernail catches in the scratch or you see a different color or material below the surface, it’s likely a deep gouge. Deep scratches that expose the core or run the length of a plank often require plank replacement for the best results.
Can I Use Regular Wood Floor Repair Kits On Lvp?
No, you should use products specifically made for vinyl flooring. Wood fillers do not flex like vinyl and can crack or fall out over time.
Is It Safe To Use A Magic Eraser On Lvp Scratches?
Magic erasers can sometimes remove surface scuffs but may dull the finish if used too aggressively. Always test on a hidden area first and use gentle pressure.
How Often Can I Use Vinyl Polish Or Wax On My Lvp Floor?
Most manufacturers recommend polishing every 2–3 months in high-traffic areas. Over-polishing can cause buildup and make floors slippery, so follow product instructions carefully.
Will Repairing Scratches Void My Lvp Floor Warranty?
Most warranties cover manufacturing defects, not normal wear and tear or DIY repairs. Always check your floor’s warranty terms and use approved products to avoid issues.
LVP flooring is a smart investment, and scratches are part of life in a busy home. With the right methods, you can keep your floors looking beautiful for years. Remember: start small, use the right products, and don’t be afraid to ask a professional if you need help.
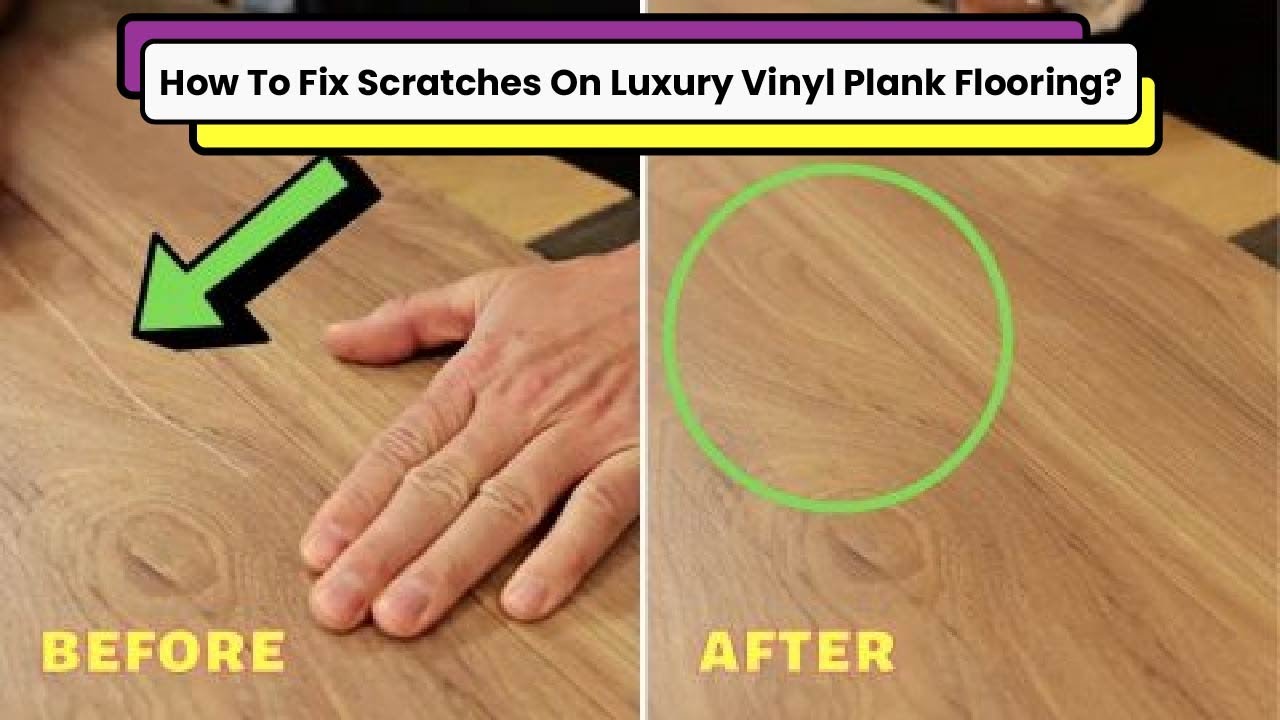
Credit: www.youtube.com