Removing a CCTV camera from the ceiling might seem like a simple task, but there’s more to it than just unscrewing a few bolts. If you do it wrong, you could damage the camera, the ceiling, or even the wiring—leading to extra repair costs or safety risks. Whether you’re upgrading your security system, relocating cameras, or just removing an old unit, knowing the right steps will make the process smooth and safe.
This guide will walk you through every detail, from the tools you’ll need to handling tricky situations like stuck mounts or hidden wiring. You’ll also learn how to avoid common mistakes, protect your ceiling, and make sure everything is safe—both for you and your property.
If you’re a first-timer, don’t worry. The process is straightforward when you know what to look for and how to prepare.
Understanding Your Cctv System
Before you start, it’s important to know what kind of CCTV camera you have and how it’s connected. There are several camera types and installation methods, each with its own removal process.
Types Of Cctv Cameras
- Dome cameras: These are round, often mounted directly on the ceiling. They have a low profile and sometimes a smoked cover.
- Bullet cameras: Shaped like a tube, they’re often attached with a bracket.
- PTZ cameras: These can pan, tilt, and zoom, and are often larger with more complex mounts.
- Mini cameras: Small, hidden cameras that can be tricky to spot and remove.
Wired Vs. Wireless Cameras
- Wired cameras: Connected with cables for power and video. Wires may be visible or hidden inside the ceiling.
- Wireless cameras: Use Wi-Fi for video but may still need a power cable.
Knowing your camera type helps you guess how it’s mounted and what tools you’ll need.
Safety First: Prepare Before You Remove
Working with electronics and ceilings can be risky. Take these steps to keep yourself and your property safe.
- Turn off the power: Never touch a camera or wires while the system is on. Find the power source and switch it off. If possible, unplug the camera or turn off the power at the breaker box.
- Use the right safety gear: Wear gloves and safety glasses, especially if you’re dealing with dust or ceiling debris.
- Have a sturdy ladder: Make sure your ladder is in good condition and placed on a flat surface.
- Check for live wires: Use a voltage tester if you’re unsure. Some cameras are connected to the building’s electrical system.
- Clear the area: Remove furniture or obstacles under the camera to avoid accidents.
Tools And Materials You’ll Need
Gather everything before you start. This saves time and reduces the risk of mistakes.
- Screwdrivers: Phillips and flathead (different mounts use different screws)
- Drill or power driver (if screws are tight)
- Wire cutters or scissors
- Voltage tester
- Flashlight (for dark corners)
- Zip ties or electrical tape (for securing loose wires)
- Pencil (to mark screw positions if reinstalling)
- Protective gloves and goggles
- Ladder (height depends on your ceiling)
- Small bag or container (for screws and small parts)
Step-by-step Guide: How To Remove Cctv Camera From Ceiling
Now, let’s break down the removal process. Follow these steps for a safe and clean removal.
1. Identify The Camera Mount
Look at how your camera is attached. Most ceiling cameras use:
- Screws: Usually under a cover or ring.
- Brackets: For larger or heavier cameras.
- Clips or adhesive pads: For lightweight mini cameras.
If you see a plastic or metal cover, gently twist or pry it off to reveal screws.
2. Power Down The Camera
Never skip this step. Find the power adapter for the camera. If it’s hardwired, turn off the circuit breaker. Use a voltage tester to ensure no electricity is running to the camera.
3. Remove The Cover Or Dome
If your camera has a dome or cover, gently twist or unscrew it. Some models have small tabs or release buttons. Go slowly; forcing the cover can crack it or damage the internal parts.
4. Unscrew The Camera From The Ceiling
Using the right screwdriver, remove the screws holding the camera base or bracket. Support the camera with one hand while you remove the last screw so it doesn’t fall.
5. Disconnect The Wires
Carefully pull the camera down to expose the wires. Depending on the type:
- Plug connectors: Unplug them.
- Screw terminals: Loosen the screws and remove the wires.
- Twisted wires: Untwist or use wire cutters.
If you plan to reuse the camera, avoid cutting wires. Instead, gently disconnect them.
6. Remove The Mounting Bracket (if Needed)
If you’re not reinstalling another camera, remove the mounting bracket. Unscrew it and keep the screws in a bag.
7. Secure Or Cap The Wires
Never leave bare wires exposed. Cap them with wire nuts or wrap with electrical tape. If the wires are not needed, push them back into the ceiling hole.
8. Clean Up And Inspect
Check the ceiling for damage or leftover parts. Fill small holes with putty if you want a clean finish. Make sure all tools and screws are collected.
Dealing With Common Challenges
Every ceiling and camera setup is a bit different. Here’s how to handle some tricky situations:
Stuck Or Stripped Screws
If screws won’t budge:
- Use a drop of penetrating oil.
- Try a larger screwdriver.
- Use a screw extractor bit with your drill.
Hidden Or Hardwired Cables
Some wires run inside the ceiling. If you can’t see where they go:
- Gently pull the wire until you find a connector.
- Never yank; this can damage the wiring.
- If unsure, consult an electrician—especially with hardwired power.
Removing Cameras From Drop Ceilings
With ceiling tiles, be careful not to break the tile.
- Support the tile as you unscrew the camera.
- Remove the tile if needed, then work on a flat surface.
Dealing With Old Or Rusty Mounts
Spray a bit of lubricant on old screws. If the mount is damaged, you might need pliers or a wrench.
Handling High Ceilings Or Awkward Angles
Use a taller ladder or get help. Never stretch or lean too far; falls are a common injury when working on ceilings.
What To Do After Removal
Once the camera is down, decide what you’ll do next.
Reusing The Camera
If you’re upgrading or moving the camera, store it in a safe place. Keep all screws, mounts, and cables together.
Repairing The Ceiling
Fill any holes with spackle or wall putty. Sand smooth and paint if needed. This keeps your ceiling looking neat.
Handling Old Wiring
If you’re not installing a new camera, make sure all wires are capped or removed. Never leave live wires exposed.
Disposing Of The Camera
Check local rules for electronic waste. Many cities have e-waste recycling programs.

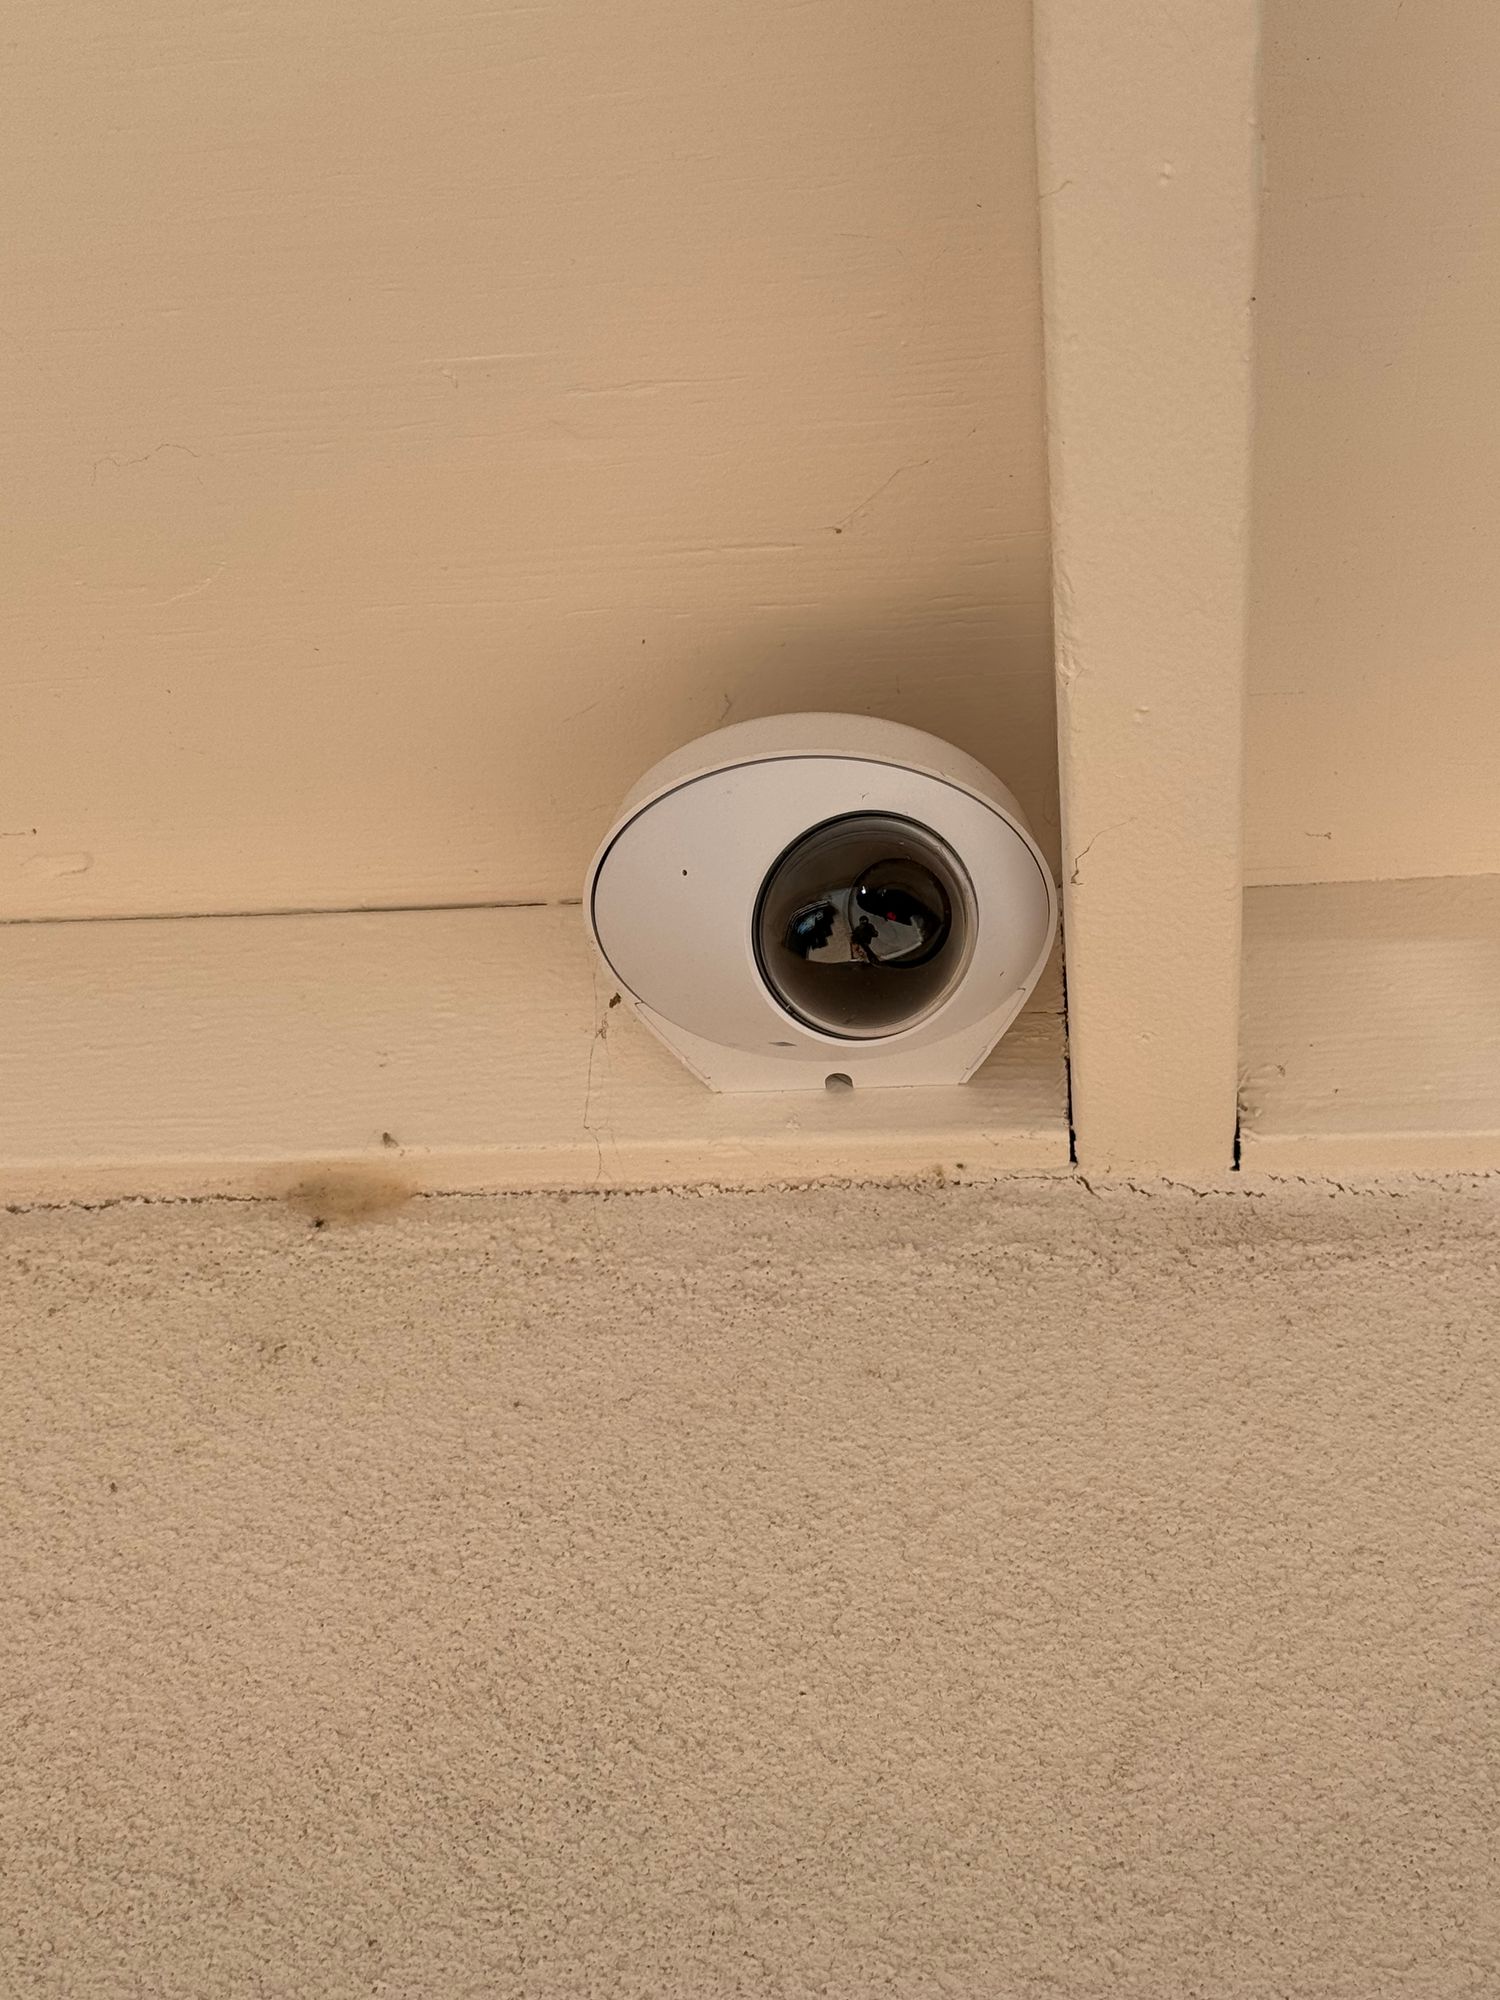
Credit: www.eufy.com
Camera Removal Process Comparison
Here’s a look at different camera types and how easy or hard they are to remove:
| Camera Type | Mounting Method | Removal Difficulty | Common Challenges |
|---|---|---|---|
| Dome | Screws under cover | Medium | Hidden screws, delicate dome |
| Bullet | Bracket with screws | Easy | Stuck screws, heavy camera |
| PTZ | Complex bracket | Hard | Multiple wires, heavy mount |
| Mini | Clips/adhesive | Easy | Sticky residue, fragile |
Mistakes To Avoid When Removing A Cctv Camera
- Forgetting to power off: This can cause electric shock or damage the system.
- Forcing the camera: Pulling or yanking can break wires or the camera.
- Losing screws or small parts: Always keep a container nearby.
- Damaging the ceiling: Use the right tools and don’t overtighten screws when reinstalling.
- Leaving wires exposed: This is a fire hazard and looks messy.
- Not labeling wires: If you plan to reinstall, label wires for easy setup.
How To Handle Wiring During Removal
Wiring is often the trickiest part. Here’s what to do:
- Take a photo of the wiring before disconnecting. This helps if you need to reinstall or troubleshoot later.
- If wires are color-coded, note which goes where.
- For old or brittle wires, handle gently to avoid breakage.
- If wires are part of a larger system, label them so you can reconnect easily.
What If The Camera Is Connected To An Alarm System?
Some CCTV cameras are linked to alarms. Removing them incorrectly can trigger the alarm or cause system errors.
- Check the security system manual.
- Disarm the alarm before starting.
- After removal, reset the alarm system as instructed.
If you’re not sure, call your security provider for help.
Can You Remove A Camera Without Damaging The Ceiling?
Yes, but only if you’re careful. Use gentle force, and avoid scraping the surface. For adhesive mounts, use a plastic scraper or dental floss to cut the adhesive without marking the ceiling.
If holes remain, fill them with spackle and touch up with paint.
Storing Or Reusing Your Cctv Camera
If you plan to reuse the camera:
- Store it in a dry, dust-free box.
- Keep all accessories together.
- Coil and tape wires to prevent tangles.
For resale, clean the camera and reset it if needed.
Legal And Privacy Considerations
In most places, it’s legal to remove a camera you own. However:
- If the property is rented, check your lease or ask the landlord.
- For business cameras, record the removal for security logs.
- Never remove cameras that belong to someone else without permission.
When To Call A Professional
While most removals are DIY-friendly, some cases need expert help:
- Hardwired cameras with complex wiring
- High or difficult ceiling locations
- Integration with alarm or fire systems
- Signs of electrical damage
A professional can remove the camera safely and patch up any wiring issues.
Credit: community.ui.com
Cost Comparison: Diy Vs. Professional Removal
If you’re deciding between doing it yourself or hiring a pro, here’s a quick cost look:
| Removal Method | Average Cost | What’s Included | Pros/Cons |
|---|---|---|---|
| DIY | $0 – $20 (tools only) | Basic tools, your time | Cheap, but risk of mistakes |
| Professional | $50 – $150 per camera | Safe removal, patching holes | More expensive, but no hassle |
Eco-friendly Disposal Of Old Cctv Cameras
CCTV cameras contain metals and electronics that shouldn’t go in the trash. For proper disposal:
- Look for local e-waste recycling programs.
- Some electronics stores accept old cameras.
- Remove any storage cards or hard drives for privacy.
Never throw electronics in your regular garbage. This protects the environment and your data.
Replacing Vs. Removing: Is It Time To Upgrade?
If you’re removing a camera, consider if you want to replace it with a newer model.
- Modern cameras often have better resolution, night vision, and wireless features.
- Upgrading can improve your security with less wiring and easier installation.
- If you’re not sure, check reviews or ask a security professional for advice.
Practical Tips For A Smooth Removal
- Work during daylight: Better visibility helps avoid mistakes.
- Have a helper: Someone can hold tools or the camera as you work.
- Keep instructions: If you still have the manual, it can help with tricky steps.
- Take your time: Rushing increases the risk of slips or dropped parts.
- Inspect for damage: If you see loose wires or cracks, be extra careful.

Credit: www.youtube.com
Example: Removing A Dome Cctv Camera
Let’s walk through a real-life example to make it clearer.
- Turn off power at the breaker.
- Climb ladder and inspect the dome.
- Twist off the plastic cover to reveal screws.
- Remove screws with a Phillips screwdriver.
- Support the camera as you remove the last screw.
- Gently pull down to expose wires.
- Unplug connectors (or unscrew terminals).
- Remove the mounting plate if not needed.
- Cap the wires and push into the ceiling.
- Clean up and patch holes.
This process works for most dome cameras, with small changes for other types.
Advanced Situations: Multiple Cameras Or Integrated Systems
If you have several cameras or a networked system:
- Remove one camera at a time.
- Document each wire and port.
- For large systems, consider hiring a pro to avoid system errors.
For integrated systems (with alarms, intercoms, or smart home setups), always consult the manual or a technician before removing any part.
Essential Dos And Don’ts
Dos:
- Do shut off power before starting.
- Do use the right tools for the job.
- Do label and store all parts for future use.
- Do check local rules for disposal.
Don’ts:
- Don’t force or yank wires.
- Don’t work on a wet or unstable surface.
- Don’t leave holes or wires exposed.
- Don’t ignore safety—falls and shocks are serious risks.
Quick Reference: Removal Process Steps
For fast recall, here’s a summary of the key steps:
| Step | What to Do | Tip |
|---|---|---|
| 1 | Turn off power | Check both plug and breaker |
| 2 | Inspect mount | Look for hidden screws or covers |
| 3 | Remove cover | Twist or unscrew gently |
| 4 | Unscrew camera | Support camera with one hand |
| 5 | Disconnect wires | Label or photo for later |
| 6 | Remove bracket | Store screws safely |
| 7 | Cap wires and clean up | Fill holes for neatness |
Two Beginner Mistakes People Often Miss
- Not checking for backup power: Some CCTV systems have battery backup. Make sure the camera isn’t still powered after unplugging.
- Missing small reset buttons or hidden clips: Many cameras have a reset or release button hidden under the dome or base. Look for these before pulling.
Where To Find More Help
If you need more details or model-specific instructions, check your camera’s brand website. Many have manuals and video guides for removal. For general background, the Wikipedia CCTV page covers different camera types and setups.
Frequently Asked Questions
How Long Does It Take To Remove A Cctv Camera From The Ceiling?
Most cameras take about 15–30 minutes if you have the right tools. Complex or older systems may need more time.
Can I Reuse My Cctv Camera After Removing It?
Yes, if you remove the camera carefully and keep all parts, you can reinstall it elsewhere or sell it. Check the manual for reset steps if needed.
Is It Safe To Remove A Camera Myself?
Yes, if you follow safety steps like turning off the power and using a sturdy ladder. For hardwired or complex systems, consider calling a professional.
What Should I Do If Wires Are Stuck In The Ceiling?
Gently pull to see if there’s a connector. If the wire won’t move, do not force it—cut it close to the ceiling and cap with electrical tape.
Do I Need To Notify Anyone Before Removing A Camera?
If you rent, ask your landlord first. For business or shared property, notify other users or your security provider to avoid system alerts.
Removing a CCTV camera from the ceiling is a practical DIY project for most people, but it pays to be careful. With the right tools, a step-by-step approach, and attention to safety, you’ll finish the job smoothly—ready for an upgrade, repair, or a cleaner ceiling.