Painting black furniture a lighter color is a project that can transform a dark, heavy piece into something fresh and modern. If you want to update your home but don’t want to buy new furniture, learning how to paint black furniture can save money and give you exactly the look you want.
However, turning something black into a light color like white, cream, or pale blue isn’t always easy. It takes careful planning, the right materials, and a methodical approach. Mistakes can lead to streaks, stains, or paint that chips off. With a little knowledge and patience, you can create a smooth, long-lasting finish that looks like it came from a high-end store.
Whether you’re updating a black dresser, table, or chair, understanding the steps is key. Many beginners think they can just paint over black with white, but this often leads to frustration. The dark color can bleed through, or the new paint may peel.
This guide will walk you through every stage, from preparation to finishing touches, with tips that professionals use but rarely share. Along the way, you’ll learn how to choose the best products, avoid common mistakes, and achieve a result you’ll be proud of.
Why Paint Black Furniture A Lighter Color?
People paint black furniture for many reasons. Sometimes, a room feels too dark, or a piece doesn’t match new decor. Lighter colors can make a space feel larger and more inviting. For example, a black bookshelf might look heavy in a small room, but painted white, it can blend in and brighten the space.
Also, lighter colors show fewer dust particles and scratches compared to black.
Another reason is style. Trends change, and what was popular five years ago may not be now. Many people want a Scandinavian or farmhouse look, which often uses light furniture. Instead of buying new pieces, painting is a smart and eco-friendly solution.
Key Challenges When Painting Black Furniture
Painting over black isn’t as simple as changing from one light color to another. Here’s why:
- Color Bleed-Through: Black paint can “bleed” into lighter paints, making the final color look dirty or gray.
- Coverage: Lighter paints, especially whites and pastels, often need more coats to cover dark colors.
- Adhesion: If the surface is glossy, new paint might not stick well and could peel off.
- Durability: Without the right steps, the finish may chip or scratch easily.
Understanding these challenges helps you avoid disappointment and ensures a beautiful, lasting result.
Materials And Tools You’ll Need
Having the right tools makes the job easier and the results better. Below is a comparison of common materials you’ll need for painting black furniture a lighter color.
| Material/Tool | Purpose | Notes |
|---|---|---|
| Sandpaper (120–220 grit) | Smooth and dull surface | Essential for adhesion |
| Degreaser/Cleaner | Remove dirt, oil, wax | Improves paint bonding |
| High-Quality Primer | Block bleed-through | Stain-blocking formulas work best |
| Paint (light color) | Topcoat color | Choose durable furniture paint |
| Paintbrushes/Rollers | Apply primer & paint | Use synthetic bristles for water-based paints |
| Tack Cloth | Pick up dust after sanding | Ensures a clean surface |
| Drop Cloths/Tape | Protect floors and edges | Essential for neatness |
| Sealer/Topcoat | Protect finish | Especially important for high-use items |
Investing in the right primer and paint is especially important. Many beginners try to save money on these, but high-quality products will make the job easier and the results longer-lasting.
Step-by-step Guide: Painting Black Furniture A Lighter Color
Now, let’s break down the process into simple, clear steps. Each step matters, so don’t rush or skip any.
1. Choose The Right Paint And Primer
Not all primers and paints are created equal, especially when you want to cover black with a light color.
- Primer: For black furniture, use a stain-blocking primer like Zinsser BIN or Kilz Original. These are specially made to prevent dark colors from bleeding through.
- Paint: Use a furniture paint with a durable finish. Acrylic latex paints are a good choice for beginners, but chalk paint is popular for a matte look and easy distressing.
Key Insight
Many people think a “paint and primer in one” will work. In reality, these are not strong enough for black-to-light transformations. Use a dedicated primer first.
2. Prepare Your Workspace
Set up in a well-ventilated area. Lay down drop cloths to protect your floors, and remove any items from the furniture, like drawers or hardware.
- Move the piece away from walls.
- Open windows or use a fan for airflow.
- Wear old clothes and gloves if possible.
3. Clean The Furniture Thoroughly
Dirt, oils, and old polish can prevent primer and paint from sticking. Use a degreaser or a mix of water and dish soap.
- Scrub all surfaces, especially handles and corners.
- Rinse with clean water and let dry completely.
Pro Tip: Even invisible oils from hands can cause paint to peel later. Don’t skip this cleaning step.
4. Remove Or Protect Hardware
Take off handles, knobs, and hinges if possible. If you can’t remove them, tape over them with painter’s tape.
- Store hardware in a labeled bag so you don’t lose screws.
5. Sand The Surface
Sanding roughens up the glossy finish of most black furniture, which helps the primer stick.
- Use 120- to 220-grit sandpaper.
- Sand all surfaces lightly—just enough to dull the shine, not remove all the paint.
- Wipe away dust with a tack cloth.
If you skip sanding, the paint may chip or peel, even if you use good primer.
6. Repair Any Damage
Fill any dents, holes, or scratches with wood filler. Let it dry, then sand smooth.
- Furniture often has small chips or cracks that are hard to see on black but become obvious with white paint.
- After repairs, wipe again with a tack cloth.
7. Prime The Furniture
Priming is the most important step when covering black furniture with a light color.
- Apply a thin, even coat of stain-blocking primer.
- Let it dry completely (follow the can instructions—usually 1–2 hours).
- For best results, apply a second coat.
Key Insight
If you see black spots or gray streaks after priming, add an extra coat. It’s better to use more primer now than extra paint later.
8. Sand Between Primer Coats
After each coat of primer dries, sand lightly with fine-grit sandpaper (220 grit) and wipe away dust.
- This step creates a super-smooth surface for painting.
- It also removes tiny bumps or hairs that get stuck in wet primer.
9. Paint With Your Chosen Color
Stir the paint well. Apply thin, even coats with a brush or roller, working in the same direction as the wood grain.
- Use a foam roller for large, flat surfaces. Use a brush for edges and details.
- Let each coat dry fully (usually 4 hours) before adding another.
You will usually need two to three coats for solid coverage over black. Don’t try to cover in one thick coat—it will drip and look uneven.
10. Inspect And Sand Between Paint Coats
Check for drips or rough spots after each coat dries. Sand lightly with 220-grit sandpaper and wipe with a tack cloth before the next coat.
- This creates a professional, smooth finish.
- Don’t skip this step if you want your furniture to look store-bought.
11. Apply A Protective Topcoat
Once the paint is dry and you’re happy with the color, add a clear sealer. This protects the paint from scratches, stains, and water.
- Use a water-based polyurethane for a durable, non-yellowing finish.
- Apply 1–2 thin coats, letting each dry fully.
Some paints, like chalk paint, require a wax topcoat. Follow the paint manufacturer’s instructions for best results.
12. Reassemble And Enjoy
Once everything is dry (usually after 24–48 hours), reattach hardware and place your furniture back in the room.
- Wait a few days before heavy use to allow the paint and topcoat to fully cure.
- Clean with a soft, damp cloth—avoid harsh cleaners.
Credit: www.thriftydecorchick.com
Comparing Primer And Paint Options
To help you choose, here’s a comparison of popular primers and paints for covering black furniture.
| Product | Type | Main Benefit | Best For |
|---|---|---|---|
| Zinsser BIN Primer | Shellac-based | Blocks toughest stains | Heavy-duty coverage |
| Kilz Original | Oil-based | Excellent adhesion | Glossy furniture |
| Behr Premium Plus Ultra | Acrylic latex paint | Durable, easy to use | DIY beginners |
| Annie Sloan Chalk Paint | Chalk paint | Matte finish, low prep | Distressed looks |
| General Finishes Milk Paint | Milk paint | Hard finish, modern colors | High-use furniture |
Non-obvious tip: Don’t mix brands of primer and paint unless the manufacturer says it’s safe. Some formulas react badly, leading to peeling or poor adhesion.
Common Mistakes And How To Avoid Them
Many people fail when painting black furniture because they make one or more of these mistakes:
- Skipping Sanding: Not sanding means the primer and paint may not stick well. The finish will chip easily.
- Using the Wrong Primer: Regular wall primer won’t block black or stains. Always use a stain-blocking formula.
- Applying Thick Coats: Thick coats take longer to dry and can cause drips or a gummy finish.
- Not Allowing Enough Dry Time: Rushing the process can ruin the finish. Always let each coat dry completely.
- Skipping Topcoat: Without a protective sealer, even the best paint job won’t last on furniture.
Experienced painters know that patience is key. Allow for extra drying time, especially in humid or cold weather.
Choosing The Right Light Color
Not all light colors cover black equally well. Pure white is popular, but off-white, light gray, and pale blue or green can be easier to work with and hide imperfections better.
Light Color Considerations
- Warm Whites: Cream or ivory can be more forgiving than pure white, which may need more coats.
- Cool Tones: Light gray or blue can hide brush marks and small flaws.
- Matte vs. Glossy: Matte finishes hide surface flaws but show dirt more easily. Satin or semi-gloss is easier to clean.
Expert tip: If you want a bright white finish, tint your primer with a little of your topcoat paint. This helps with coverage and prevents gray undertones.
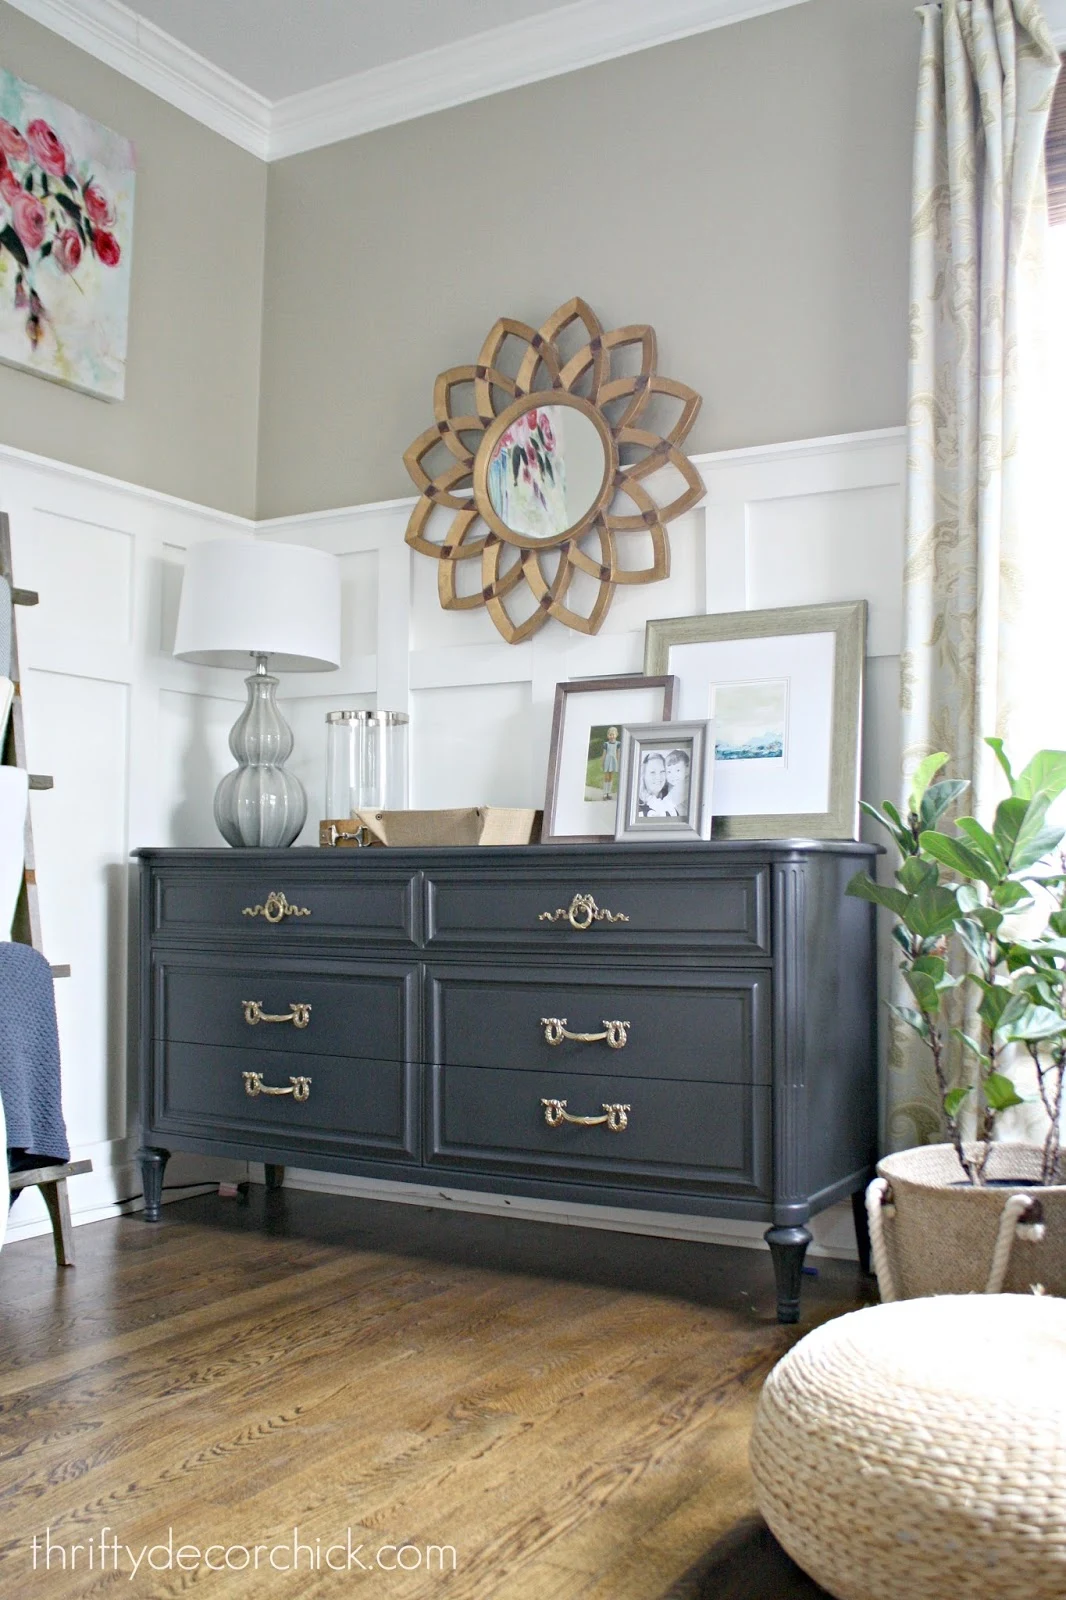
Real-life Example: Transforming A Black Dresser
Let’s look at a real example. Sarah owned a solid black dresser that felt out of place in her sunny bedroom. She decided to paint it a soft white to match her decor.
- First, she cleaned and sanded the dresser.
- She used Zinsser BIN primer, applying two coats and sanding between each.
- Afterward, she painted three thin coats of white acrylic latex paint.
- Finally, she sealed it with a water-based polyurethane.
The result was a bright, smooth dresser that made her room feel larger and more inviting. Sarah said the process took a weekend, but the transformation was worth it.
Tips For A Professional Finish
If you want your painted furniture to look like it came from a store, keep these tips in mind:
- Work in a dust-free area if possible. Dust settling on wet paint can ruin the finish.
- Use long, even strokes with your brush or roller.
- Paint with the grain, not against it.
- Don’t overload your brush—thin coats dry faster and look smoother.
- Let the piece cure for at least a week before heavy use.
How Long Does The Process Take?
Most black-to-light furniture projects take 2–3 days, not counting full curing time. Here’s a rough breakdown:
| Step | Time Needed |
|---|---|
| Cleaning & Prep | 1–2 hours |
| Sanding | 1 hour |
| Priming (2 coats + dry time) | 6–8 hours |
| Painting (2–3 coats + dry time) | 8–12 hours |
| Sealing/Topcoat | 2–4 hours |
Remember, paint and topcoat need to cure fully for maximum durability. Wait at least 7 days before heavy use.

Credit: www.recreateddesigns.com
Advanced Techniques And Custom Finishes
If you want a unique look, there are advanced methods you can try:
- Distressing: Sand edges after painting to show some black underneath for a vintage look.
- Two-Tone: Paint the body one color and the drawers another for contrast.
- Glazing: Apply a light glaze over paint for a subtle aged effect.
- Stenciling: Add patterns or designs for a custom touch.
These techniques require some practice but can make your piece truly one of a kind.
Eco-friendly Painting Tips
If you’re concerned about the environment or indoor air quality, look for:
- Low-VOC or No-VOC paints and primers: These reduce harmful fumes.
- Water-based topcoats: Safer for families and pets.
- Proper disposal: Never pour leftover paint or chemicals down the drain. Check local recycling rules.
For more on eco-friendly home improvement, see EPA Safer Choice.
Troubleshooting: What If Something Goes Wrong?
Even with care, problems can happen. Here’s how to handle common issues:
- Paint Peeling: Usually due to poor cleaning or skipping sanding. Sand the area, re-prime, and repaint.
- Stains Showing Through: Add another coat of primer before repainting.
- Sticky Finish: This means the paint hasn’t dried or cured fully. Give it more time in a warm, dry space.
- Brush Marks: Sand lightly between coats, and use a foam roller for final coats.
If a big mistake happens, don’t panic. Most errors can be fixed with extra sanding and another coat of primer and paint.
Frequently Asked Questions
How Many Coats Of Primer Do I Need On Black Furniture?
Usually, two coats of primer are necessary when painting over black. For very dark or glossy surfaces, a third coat may help. Always let each coat dry fully and sand lightly for best results.
Can I Paint Black Furniture Without Sanding?
Technically, some modern “no-sand” primers claim to stick to glossy surfaces. However, lightly sanding always improves adhesion and durability. Skipping sanding increases the risk of peeling or chipping.
What’s The Best Paint For Furniture That Gets Heavy Use?
Choose a durable acrylic latex or enamel paint. For extra protection, always use a water-based polyurethane sealer. These products resist scratches and stains better than regular wall paint.
How Long Should I Wait Before Using My Painted Furniture?
After painting and sealing, wait at least 24–48 hours before light use. For full durability, let it cure for 7 days before placing heavy objects or frequent use.
Is It Possible To Paint Laminate Or Veneer Black Furniture?
Yes, but proper prep is critical. Clean and sand the surface well, use a high-adhesion primer made for slick surfaces, and follow all other steps closely. Laminate can be tricky, but with care, you can achieve a great finish.
Painting black furniture a lighter color is a rewarding project that can save money and refresh your space. With careful planning, patience, and the right products, you can get a professional-looking result that lasts for years. Even if you’re a beginner, following these steps will help you avoid common mistakes and enjoy the process.
The effort you put in will show every time you walk into the room and see your “new” furniture looking bright and beautiful.
Credit: www.cravingsomecreativity.com