Painting your bathroom ceiling can transform the entire space. Many people overlook the ceiling, focusing only on walls and floors. However, a fresh coat of paint above you can make your bathroom look cleaner, brighter, and even larger. Tackling this task yourself might seem intimidating, but with the right approach, you can achieve a professional finish and prevent common problems like peeling, mildew, or uneven color.
When you paint a bathroom ceiling, you deal with unique challenges. Bathrooms have higher humidity, steam, and sometimes poor ventilation. This means you need to use the right materials and techniques to ensure your hard work lasts. If you rush or skip steps, paint may bubble or discolor quickly.
On the other hand, careful preparation and correct painting will save you from frequent touch-ups.
This guide will walk you through each stage, from preparing your bathroom to choosing the best paint and applying it for a flawless look. You’ll learn how to avoid mistakes that often lead to cracking or mold. Even if you’re a beginner, you’ll find practical advice and expert tips to make the job easier and results better.
Whether your ceiling is stained, flaking, or just outdated, you’ll be ready to tackle it with confidence.
Why Paint Your Bathroom Ceiling?
A freshly painted ceiling does much more than improve appearance. The bathroom is one of the most used rooms, and its ceiling faces constant moisture. Over time, this can cause mold, mildew, and staining. Old paint can peel or flake, leading to a neglected look. Painting the ceiling provides:
- Moisture protection: Specialized paints block water and steam from damaging plaster or drywall.
- Mold resistance: Modern bathroom paints contain additives to prevent fungus growth.
- A brighter, cleaner space: Lighter ceilings reflect more light, making bathrooms feel larger and more inviting.
- Better hygiene: Covering stains and mold keeps your bathroom safer and healthier.
Many homeowners are surprised to learn how quickly a new ceiling paint job can freshen up their bathroom. With the right preparation and products, you can prevent common issues and extend the life of your ceiling.
Essential Tools And Materials
Before you start, gather all the supplies you’ll need. Missing tools can lead to delays or poor results. Here’s a list of essentials for painting a bathroom ceiling:
- Paint: Use a high-quality, mold-resistant ceiling paint. Satin or semi-gloss finishes are best for moisture protection.
- Primer: Stain-blocking and mold-resistant primer ensures the paint sticks and covers stains.
- Paint roller: Choose a medium-nap roller (3/8″ to 1/2″) for smooth coverage.
- Angled paintbrush: For corners and edges.
- Extension pole: Helps reach the ceiling safely.
- Painter’s tape: To protect walls and fixtures.
- Drop cloths: Cover floors, bathtubs, and toilets.
- Putty knife: For scraping peeling paint or applying patch.
- Spackle or joint compound: Fix small holes or cracks.
- Sandpaper: Smooth rough areas (120- to 220-grit).
- Cleaning supplies: Mild detergent, water, sponge, and a mold remover if needed.
- Protective gear: Goggles, gloves, and a mask to avoid paint splatters and fumes.
Comparing Common Ceiling Paint Types
Picking the right paint is critical. Not all paints work well in humid bathrooms. Here’s a quick comparison of ceiling paint types:
| Paint Type | Moisture Resistance | Finish | Best For |
|---|---|---|---|
| Flat Ceiling Paint | Poor | Matte | Low-humidity areas |
| Satin Bathroom Paint | Good | Satin | Moderate to high humidity |
| Semi-Gloss Enamel | Excellent | Semi-gloss | Shower ceilings, high moisture |
| Specialty Mold-Resistant Paint | Excellent | Satin/Semi-gloss | Bathrooms prone to mold |
Pro tip: If your bathroom ceiling already has mold or water stains, choose a primer and paint designed specifically for mold and mildew resistance.
Preparing Your Bathroom
Preparation is the secret to a ceiling that looks great and lasts. Many beginners skip steps here, but this is where most problems start. Here’s how to get your bathroom ready:
1. Clear The Area
Remove toiletries, towels, shower curtains, and anything that could get in the way. Take down light fixtures or cover them with plastic and tape. If you can, remove vent covers or fans.
2. Protect Surfaces
Lay drop cloths over the floor, toilet, sink, and bathtub. Use painter’s tape to mask the tops of walls, tiles, and any built-in fixtures. This stops drips from making a mess and saves cleaning time later.
3. Clean The Ceiling
Dust, steam, and soap residue can stop paint from sticking. Wash the ceiling with a sponge and mild detergent. For mold or mildew, scrub with a solution of one part bleach to three parts water, then rinse well. Allow the ceiling to dry fully—this is critical for good results.
Non-obvious insight: Even small traces of soap or mold can cause new paint to peel. Don’t rush the cleaning step, and let the ceiling dry overnight if possible.
4. Repair Damage
Look for cracks, holes, or peeling paint. Scrape off loose material with a putty knife. Fill gaps with spackle or joint compound, let it dry, then sand smooth. If your ceiling has water stains, cover them with a stain-blocking primer.
5. Sand The Surface
Lightly sand the entire ceiling with 120- or 150-grit sandpaper. This removes rough spots and creates a surface paint can grip. Wipe away dust with a damp cloth.
6. Ventilate The Bathroom
Open windows or use a fan to keep air moving. Good ventilation helps paint cure and stops fumes from building up.
Choosing The Right Paint
Selecting the correct paint is crucial for a long-lasting finish. Bathrooms need moisture-resistant and mold-inhibiting formulas. Many standard ceiling paints are too porous for humid rooms.
Key Features To Look For
- Mold and mildew resistance: Essential for wet environments.
- Washable surface: Allows you to clean the ceiling without damaging paint.
- Low-VOC: Safer for indoor air quality, especially in small spaces.
Top Bathroom Ceiling Paints
Here are some excellent choices:
- Benjamin Moore Aura Bath & Spa: Designed for humidity and stains.
- Zinsser Perma-White: Mold-resistant and washable.
- Behr Premium Plus Ultra: Paint and primer in one, good for stains.
- Valspar Ultra Ceiling Paint: Excellent coverage, resists mildew.
Non-obvious insight: Always choose a satin or semi-gloss finish for bathroom ceilings. Flat paints absorb moisture and can stain or mold more easily, even if labeled for bathrooms.
Priming The Ceiling
Priming is an important step. It helps paint stick, covers stains, and blocks mold.
When To Use Primer
- If the ceiling has stains or mold patches
- Over patched or repaired areas
- When changing from dark to light color
- On bare drywall or plaster
How To Apply Primer
- Stir the primer well.
- Use a brush to cut in edges and corners.
- Roll primer on the main ceiling area, using a “W” pattern for even coverage.
- Let dry completely (follow label directions).
Don’t skip priming if your ceiling has any history of water damage or mold. This is your best defense against future problems.
Painting Techniques And Steps
Now you’re ready to paint. For best results, follow these steps:
1. Stir And Pour Paint
Mix your paint thoroughly to ensure color and finish are even. Pour paint into a roller tray.
2. Cut In The Edges
Using an angled brush, paint a 2-3 inch border along the ceiling’s edges, around vents, and next to any fixtures. This makes rolling easier and prevents missing spots.
3. Roll The Ceiling
Attach your roller to an extension pole. Starting in a corner, roll paint in overlapping “W” or “M” shapes. This spreads paint evenly and reduces roller marks. Work in small sections to maintain a wet edge, which prevents visible lines when the paint dries.
4. Apply A Second Coat
Let the first coat dry fully (usually 2-4 hours). Apply a second coat for full coverage and durability. Most bathroom ceilings need two coats for a uniform finish.
5. Remove Tape And Clean Up
While the paint is still slightly tacky, gently pull off painter’s tape. This prevents peeling. Clean brushes, rollers, and trays with soap and water if you used latex paint.
6. Let The Paint Cure
Don’t shower or create steam in the bathroom for at least 24 hours. This allows the paint to harden and resist moisture.
Common Mistakes To Avoid
Many DIYers make errors that lead to peeling, bubbling, or streaks. Here’s what to watch for:
- Skipping cleaning: Paint won’t stick to a dirty or greasy surface.
- Using the wrong paint: Regular ceiling paint can’t handle bathroom moisture.
- Ignoring repairs: Cracks and holes will show, even under new paint.
- Painting over mold: You must remove mold and use the right primer, or it will return quickly.
- Painting too thickly: Heavy coats may drip or bubble.
- Not letting paint dry: Moisture can ruin uncured paint, so keep the bathroom dry for a day.
Dealing With Special Ceiling Types
Not all bathroom ceilings are the same. Some need extra care.
Textured (popcorn) Ceilings
Textured ceilings need a gentle touch. Use a thicker-nap roller (3/4″ or more) and avoid pressing too hard, or texture can break off. Prime and paint with light, even coats.
Plaster Ceilings
Older homes may have plaster ceilings. These are more absorbent, so always prime first. Use a flexible spackling compound for repairs, as plaster can crack with age.
Ceilings With Vents Or Skylights
Carefully mask around vents and skylights. Paint can drip inside if you’re not careful. Remove vent covers if possible, or use a brush to reach tight areas.
Previously Painted Ceilings
If old paint is glossy or flaky, sand it lightly and prime before applying new paint. This ensures good adhesion and a smooth finish.
How Long Does It Take?
Painting a bathroom ceiling is usually a one-day project, but drying and curing add time. Here’s a typical timeline:
| Step | Time Needed |
|---|---|
| Preparation (cleaning, taping, repairs) | 2-3 hours |
| Priming | 1 hour (+ drying time) |
| First coat of paint | 1 hour |
| Drying (between coats) | 2-4 hours |
| Second coat of paint | 1 hour |
| Final drying/curing | 24 hours (no moisture) |
Plan your project so you don’t need to use the bathroom for several hours, especially for showers.
Cleaning Up And Maintenance
After painting, proper care will keep your ceiling looking new for years.
- Ventilate: Run the exhaust fan or open windows when showering to reduce moisture.
- Clean gently: Wipe the ceiling with a damp cloth every few months to remove dust or mold spores.
- Inspect regularly: Check for new stains or peeling. Fix small issues before they get worse.
- Touch up as needed: Save leftover paint for quick fixes.
Experience-based tip: Even high-quality paints can fail if your bathroom has poor ventilation. Consider installing a stronger exhaust fan if moisture is a recurring problem.
Cost Breakdown: Diy Vs Hiring A Pro
How much does it cost to paint a bathroom ceiling? Here’s a simple comparison:
| Expense | DIY (Approx.) | Professional (Approx.) |
|---|---|---|
| Paint & Primer | $40–$70 | Included in price |
| Tools & Supplies | $30–$60 | Included in price |
| Labor | $0 | $200–$400 |
| Total | $70–$130 | $200–$400 |
Doing it yourself saves money, but hiring a pro is faster and may come with a warranty.
Troubleshooting Paint Problems
If you notice issues after painting, here’s how to handle them:
- Bubbling paint: Usually caused by moisture. Make sure the bathroom is dry and the paint is fully cured. Scrape away bubbles, sand, prime, and repaint.
- Stains bleeding through: Apply a stain-blocking primer and repaint.
- Peeling: May happen if the surface wasn’t clean or primed. Remove loose paint, sand, prime, and apply new paint.
- Mold returns: Improve ventilation, treat affected areas with a mold remover, and repaint with a mold-resistant formula.

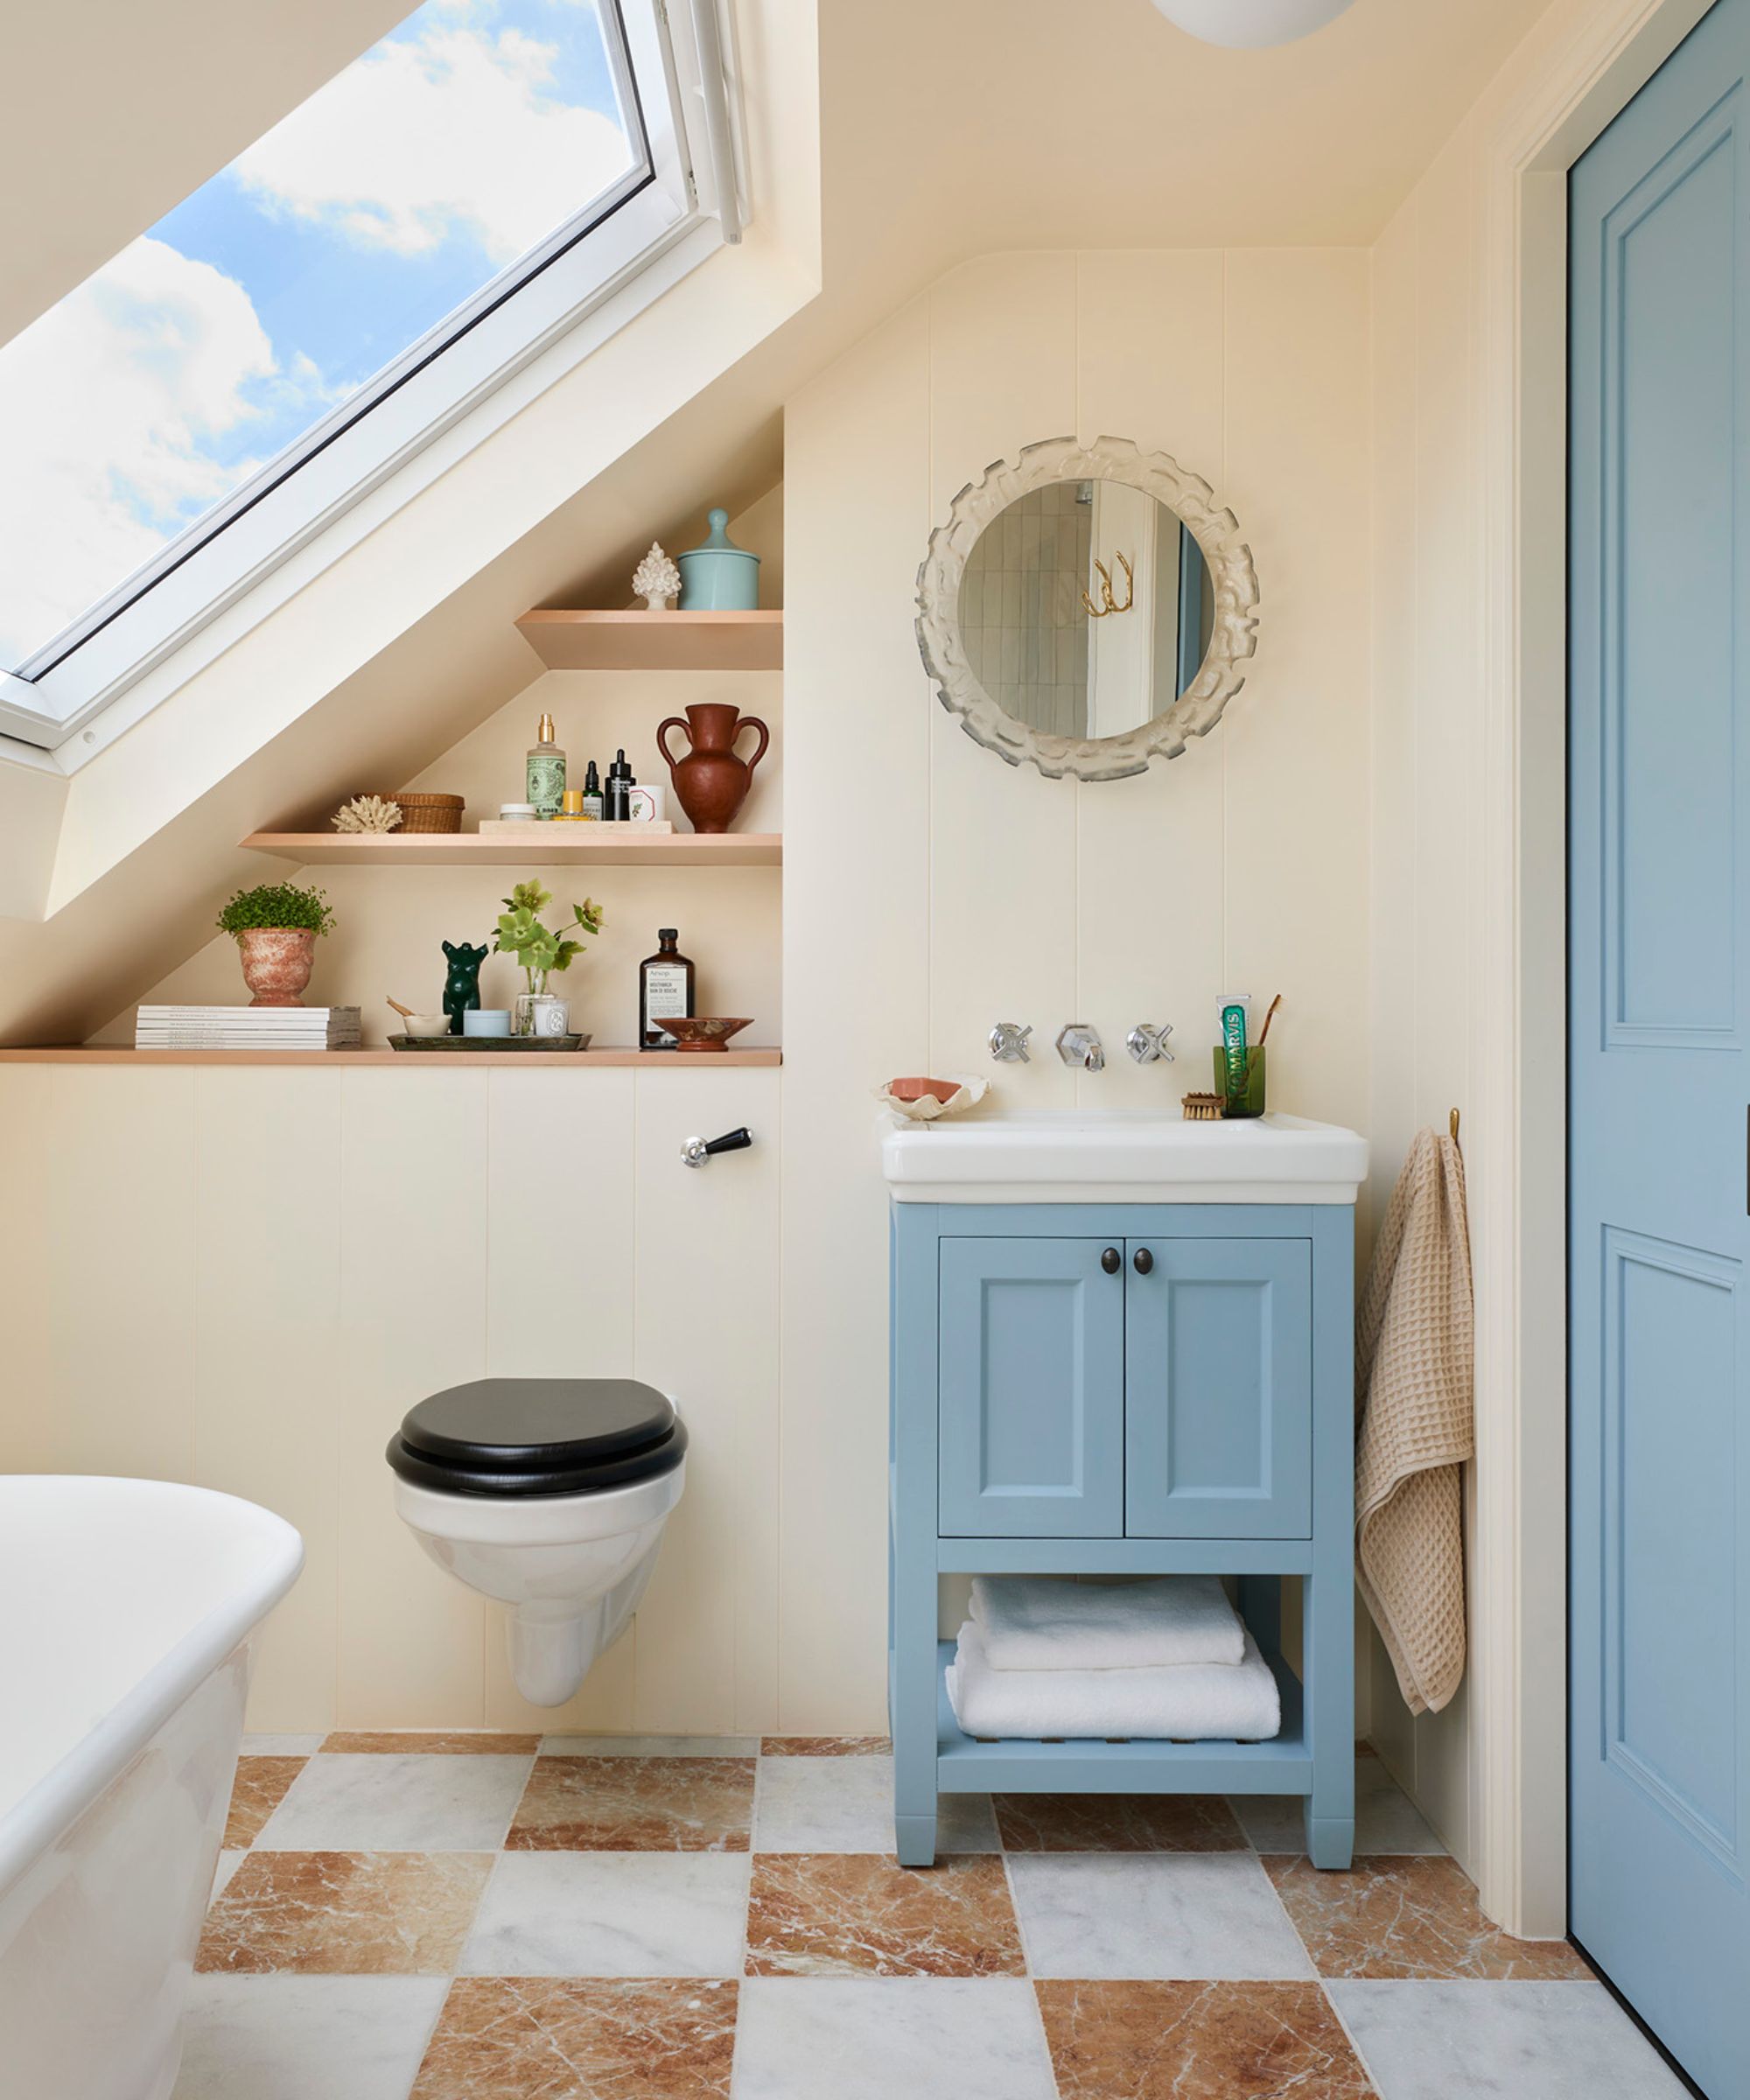
Credit: jojotastic.com
Advanced Tips For A Professional Finish
If you want your ceiling to look like it was done by an expert, try these extra steps:
- Tint your primer: Ask the paint store to tint the primer close to your ceiling color. This improves coverage and color consistency.
- Use a paint conditioner: Additives like Floetrol help latex paint go on smoother and reduce roller marks.
- Work in natural light: Paint during the day for best visibility. Shadows can hide missed spots.
- Finish with a damp roller: Lightly mist your roller with water for a smoother final coat.
Safety Precautions
Painting above your head can be messy and tiring. Here’s how to stay safe:
- Wear goggles and a mask: Protect your eyes from drips and your lungs from fumes.
- Use a stable ladder: Never stand on a slippery bathtub edge. Use a small step ladder with rubber feet.
- Take breaks: Painting overhead can strain your neck and arms. Rest every 20–30 minutes.
- Ventilate well: Even low-VOC paints have some odor. Keep windows open or fans running.

Credit: www.thriftydecorchick.com
When To Call A Professional
Some ceilings are best left to experts. Consider hiring help if:
- The ceiling has major water damage or black mold.
- You need to repair large cracks or sagging areas.
- You have a very high or complex ceiling.
- You want a specialty finish, like a custom texture or color.
A professional can handle repairs, mold remediation, and difficult jobs more safely and quickly.
Frequently Asked Questions
How Often Should I Repaint My Bathroom Ceiling?
Most bathroom ceilings need repainting every 3–5 years, depending on moisture levels and paint quality. If you notice stains, mold, or peeling, it’s time for a new coat.
What Is The Best Paint Finish For A Bathroom Ceiling?
A satin or semi-gloss finish is best. These finishes resist moisture and are easier to clean than flat paint. Avoid flat or matte finishes in bathrooms.
Can I Paint Over Mold On The Ceiling?
No. Painting over mold will not solve the problem. Always remove mold first using a bleach solution, let the area dry, and then use a mold-resistant primer and paint.
Why Is My Ceiling Paint Peeling?
Peeling often happens when the surface wasn’t cleaned or primed properly, or if you used the wrong paint. Moisture and poor ventilation can also cause peeling. Fix the underlying issue before repainting.
Where Can I Find More Information On Bathroom Paint Types?
You can learn more about specialty bathroom paints and techniques from the EPA’s Mold Resources.
A freshly painted bathroom ceiling makes a huge difference in how your space looks and feels. With the right tools, materials, and a little patience, you can get a smooth, durable finish that resists mold and moisture for years. Take your time on preparation, choose the right paint, and don’t skip drying steps.
The result will be a cleaner, brighter bathroom—and a ceiling you won’t have to think about for a long time.
Credit: www.homesandgardens.com