Hanging glass shelves can change a plain wall into something beautiful and useful. Glass shelves make rooms feel bigger and brighter. They are perfect for modern homes and offices. But, many people feel nervous about hanging glass shelves. They worry about breaking the glass or making mistakes with the wall.
In truth, anyone can hang glass shelves if they follow the right steps and take their time. This guide will show you how to do it safely, and with confidence.
You will learn how to choose the right glass shelves, pick the best wall anchors, and use the correct tools. This article explains every detail, from planning and measuring, to drilling and mounting, and finally, decorating your shelves. You will also see real tips and warnings that many beginners miss.
By the end, you will know how to hang glass shelves that are both strong and stylish, and you will avoid common mistakes that can damage your wall or the shelf.
Why Choose Glass Shelves?
Glass shelves are more than just a place to put things. They add a modern and clean look to any room. Unlike wood or metal shelves, glass does not block light. This makes small rooms seem bigger and brighter. Glass shelves are also easy to clean, and they do not stain or hold dust like some other materials.
Some people worry that glass is weak. But, most glass shelves are made from tempered glass. This type of glass is heated and cooled quickly so it becomes much stronger than normal glass. If it ever breaks, it crumbles into small, dull pieces instead of sharp shards. This makes it safer for homes with children or pets.
Glass shelves can be used in almost any room:
- In bathrooms, they hold toiletries and look clean.
- In kitchens, they show off glassware or spices.
- In living rooms, they display art or books without looking heavy.
- In offices, they keep things organized but professional.
Types Of Glass Shelves
Choosing the right kind of glass shelf is important before you start. Glass shelves come in different shapes, sizes, and thicknesses. Each type has its own use and style.
| Type of Glass Shelf | Best For | Main Feature |
|---|---|---|
| Flat Rectangular | Living rooms, offices | Simple and easy to install |
| Corner | Bathrooms, small spaces | Fits into corners, saves space |
| Curved | Modern kitchens, bedrooms | Soft edges, stylish look |
| Tiered (Stacked) | Display areas, shops | Multiple levels, more storage |
Thickness is also important. Most glass shelves are between 6 mm and 12 mm thick. Thicker glass is stronger and can hold more weight. For heavy items, choose 10 mm or 12 mm tempered glass. For light items like decorations or toiletries, 6 mm or 8 mm is usually enough.
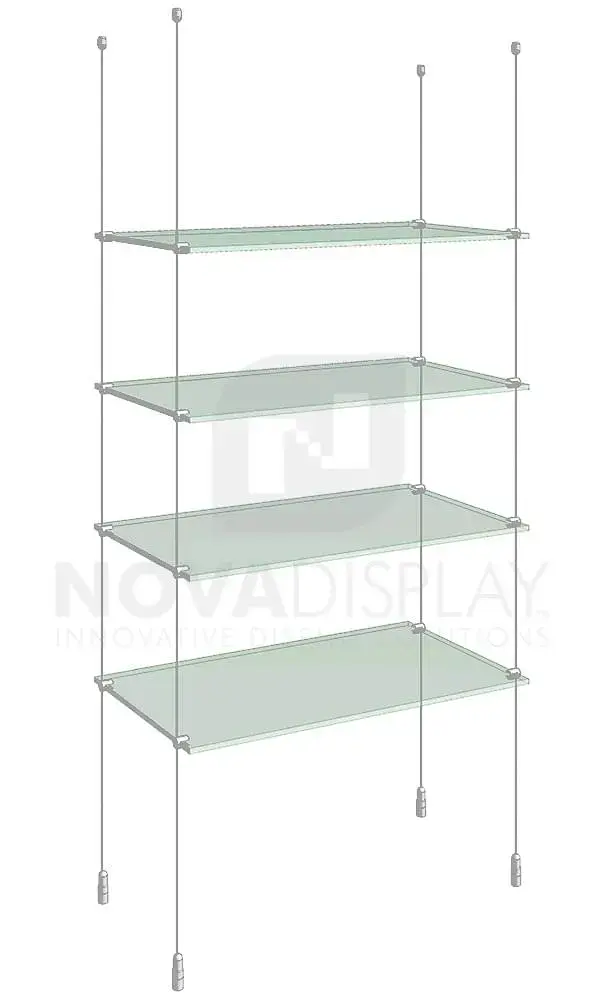
Credit: www.novadisplaysystems.com
Planning Your Glass Shelves
Planning is the key to a successful installation. Before you buy anything, think about what you want your shelves to do.
- Decide the Purpose: Will the shelves hold heavy books or just small decorations? This decides the size, thickness, and number of brackets you need.
- Choose the Location: Find a wall that can support the shelf. Avoid walls with many pipes or wires inside.
- Measure Carefully: Use a measuring tape to decide the exact length, width, and height of your shelves. Mark these spots on the wall with a pencil.
- Check the Wall Type: Most homes have drywall, but some have brick, tile, or concrete. The wall type decides what anchors and screws you must use.
- Plan Around Obstacles: Avoid placing shelves above heaters, radiators, or where doors swing open.
Many beginners forget to check if the wall is straight. Use a level to make sure your marks are even. If the shelf is not level, objects can slide off or the glass can crack over time.
Choosing The Right Brackets And Anchors
Brackets are the supports that hold the glass shelf to the wall. Anchors are the pieces that go inside the wall to keep the screws from pulling out. Picking the right kind is just as important as choosing the shelf.
Types Of Brackets
- Clip Brackets: Small clips hold the glass at the edge. They look clean and are easy to install. Best for thin glass shelves.
- Floating Brackets: These are hidden inside the shelf or behind it, so you see only the glass. They need strong walls but look very modern.
- Adjustable Brackets: You can move these up or down slightly to make the shelf level. Good for uneven walls.
- Corner Brackets: Designed to hold corner shelves tightly.
Types Of Anchors
Your wall type decides the right anchor:
- Drywall anchors: For walls made from plasterboard. Choose self-drilling anchors for best grip.
- Masonry anchors: For brick or concrete walls. Use heavy-duty plugs and longer screws.
- Tile anchors: For tiled bathrooms or kitchens. Use special anchors to avoid cracking tiles.
Never use regular screws without anchors in drywall. The shelf can fall and break.
Comparing Bracket Types
Here’s a quick guide to bracket and anchor choices:
| Bracket Type | Looks | Best For | Wall Type |
|---|---|---|---|
| Clip | Visible, minimal | Light shelves | Drywall, masonry |
| Floating | Invisible | Modern, heavy use | Solid wall only |
| Adjustable | Small, metallic | Uneven surfaces | Any wall |
| Corner | Triangle, robust | Corner shelves | Drywall, masonry |
Tools And Materials You Will Need
Having the right tools makes the job easier and safer. Here’s what you should prepare:
- Tempered glass shelf
- Brackets (at least two per shelf, sometimes more for longer shelves)
- Wall anchors and matching screws
- Drill (cordless or corded)
- Drill bits (for wood, masonry, or tile as needed)
- Screwdriver (manual or powered)
- Level
- Tape measure
- Pencil
- Stud finder (for drywall)
- Protective gloves and safety glasses
- Masking tape (helps prevent glass chipping)
- Vacuum or brush (for cleaning dust)
Some beginners miss the need for a stud finder. If you mount glass shelves in drywall, finding a stud (the strong wooden part inside the wall) gives extra support. If you can, always screw at least one bracket into a stud.
How To Hang Glass Shelves: Step-by-step
Now, let’s go through each stage of the installation. Follow these steps carefully for the best results.
1. Mark The Shelf Position
Hold the glass shelf against the wall at the height you want. Use a pencil to lightly mark the left and right edges. Set the shelf aside. Use a level to draw a straight line between your marks. This line is where the bottom of the shelf will sit.
Mark the spots for each bracket. If you use two brackets, place them about 2-4 inches from each end of the glass. For long or heavy shelves, add a third bracket in the center.
2. Check For Studs And Obstacles
Use the stud finder to see if there is a stud behind your marks. If yes, you can screw directly into the stud for a strong hold. If no, you will use wall anchors.
Also, check for wires or pipes with a wire detector if you have one. Drilling into a wire is dangerous.
3. Drill Pilot Holes
Choose the correct drill bit for your wall type:
- For drywall, use a small wood bit.
- For brick or concrete, use a masonry bit.
- For tile, use a tile bit and drill slowly to avoid cracks.
Put on your safety glasses. Drill small pilot holes where you marked for the brackets. The hole should match the size of your anchor.
Tip: Place a small piece of masking tape over the drill spot if drilling into tile or glass. This stops the drill bit from slipping.
4. Insert Wall Anchors
Push or tap the anchors into the pilot holes. They should fit snugly. For some heavy-duty anchors, you may need to screw them in. Make sure they are flush with the wall.
5. Attach Brackets
Hold each bracket over its anchor. Insert the screw and tighten with a screwdriver. Do not overtighten, as this can crack tile or damage drywall. The bracket should feel firm and not wiggle.
Use the level again to check that the tops of all brackets are even.
6. Place The Glass Shelf
Put on your gloves to avoid fingerprints or cutting your hands. Carefully place the glass shelf onto the brackets. Some brackets have a small rubber pad or grip—make sure these touch the glass, not bare metal, to avoid scratches.
If your brackets have set screws (small screws that hold the glass), tighten them gently with a screwdriver or hex key. Do not overtighten, as this can crack the glass.
7. Final Safety Check
Give the shelf a gentle push up and down. It should not move or squeak. If it does, double-check your brackets and anchors.
Clean any fingerprints or dust off the glass with a soft cloth. Step back and look at your new shelf!
Weight Limits And Safety
One of the biggest mistakes is putting too much weight on a glass shelf. Even strong, tempered glass has limits. Most 8 mm thick glass shelves can hold between 30 and 50 pounds if installed correctly. Thicker glass can handle more.
Check the shelf’s rating from the manufacturer. Never guess. The limit also depends on:
- Distance between brackets (closer means stronger)
- Wall type (studs are stronger than drywall anchors)
- Bracket strength
If you want to display heavy objects, like books or speakers, use more brackets and find studs in the wall. For light objects, you can use fewer brackets and anchors.
Never stand or sit on glass shelves. Even thick glass can break under sudden force.
Common Mistakes And How To Avoid Them
Many people make the same errors when hanging glass shelves. Here are the most common, and how you can avoid them:
- Skipping the Level: If you do not use a level, your shelf can be crooked. Objects may slide off, or the shelf may break under uneven weight.
- Wrong Anchors: Using the wrong anchor for your wall type can cause the shelf to fall. Always match the anchor to the wall (drywall, brick, tile).
- Placing Brackets Too Far Apart: The farther apart your brackets, the more the glass can bend. Put brackets no more than 24 inches apart for most shelves.
- Drilling Too Fast in Tile or Concrete: This can crack the surface. Go slow, and use the right drill bit.
- Touching Bare Glass with Metal Brackets: This can scratch or weaken the glass. Always use rubber pads or plastic grips.
- Ignoring Weight Limits: Putting too many heavy objects can cause the shelf to break. Always check the limits.
- Not Checking for Wires or Pipes: Drilling into hidden wires or pipes is dangerous. Use a detector if you are unsure.
A non-obvious tip: Always clean the wall before installing. Dust and grease can make anchors slip over time.

Credit: www.glassexperts.com
Advanced Tips For A Professional Finish
If you want your glass shelves to look like they were installed by a pro, try these advanced tips:
- Use a laser level for perfect alignment, especially if you install several shelves in a row.
- Hide bracket screws with decorative caps or covers for a cleaner look.
- Add LED strip lights under the glass to make your shelves glow. Glass conducts light well and gives a modern effect.
- Seal the edges of shelves in bathrooms with clear silicone to stop water from running behind.
- Choose frosted or tinted glass for privacy or to match your room’s style.
Many beginners overlook the importance of bracket style. If you want a “floating” look, be sure your wall is strong enough. Floating brackets give no second chances if not installed perfectly.
Another expert tip: Always check for shelf movement over time. Walls can shift, especially in old buildings. Re-tighten screws once a year.
How To Style Glass Shelves
After you hang your glass shelves, the fun part begins: decorating. Here are some ideas for different rooms:
- Bathroom: Small jars, rolled towels, candles, or plants look great. Keep items light.
- Kitchen: Glass jars, spices, or cups. Avoid heavy pots.
- Living Room: Art objects, framed photos, or a small stack of books.
- Office: Organizers, awards, or plants.
For the best look, do not crowd the shelves. Leave space between objects. Use items of different heights for interest.
If you want to display collectibles, place a small piece of museum gel under each item. This keeps them from sliding or falling.
Repair And Maintenance
Glass shelves are easy to care for, but they still need regular checks:
- Clean with a soft cloth and glass cleaner. Never use harsh chemicals or rough pads.
- Check brackets and screws every few months. Tighten if needed.
- Replace rubber pads if they wear out or become sticky.
- Check for chips or cracks. Even small cracks can grow over time. Replace damaged shelves at once.
If a shelf loosens, remove all items before checking the anchors. Sometimes, anchors can work loose in old drywall. You may need to replace them with bigger or stronger ones.
Never glue glass shelves to the wall. If you need extra grip, use special clear silicone only at the bracket, not along the whole edge.
When To Call A Professional
Most people can hang glass shelves themselves. But, sometimes it is safer to call a pro:
- If your wall is made of stone or thick concrete.
- If you need to hang very heavy or long shelves.
- If the shelves are part of a big, built-in unit.
A professional will have the right tools and experience to avoid mistakes. They can also help with custom shapes or lighting.
Environmental And Safety Concerns
Many people forget that glass shelves are recyclable. If you ever remove them, do not throw them in the trash. Take them to a recycling center.
Tempered glass is safer than normal glass, but always keep small children away during installation. Clean up all dust and small chips after drilling.
If you install shelves in a bathroom, make sure the glass is rated for wet environments. Some low-quality glass can develop spots or stains in damp air.
Cost And Value
The price of glass shelves can vary a lot. Simple shelves with basic brackets can cost as little as $20-$40. Designer shelves or custom shapes may cost $100 or more. Labor for installation, if you hire someone, is usually $50-$100 per shelf.
But, glass shelves add value to your home. They make spaces feel modern and clean. If you ever sell your house, well-installed glass shelves can impress buyers.
For more details on glass manufacturing and safety, you can visit the Wikipedia page about glass.
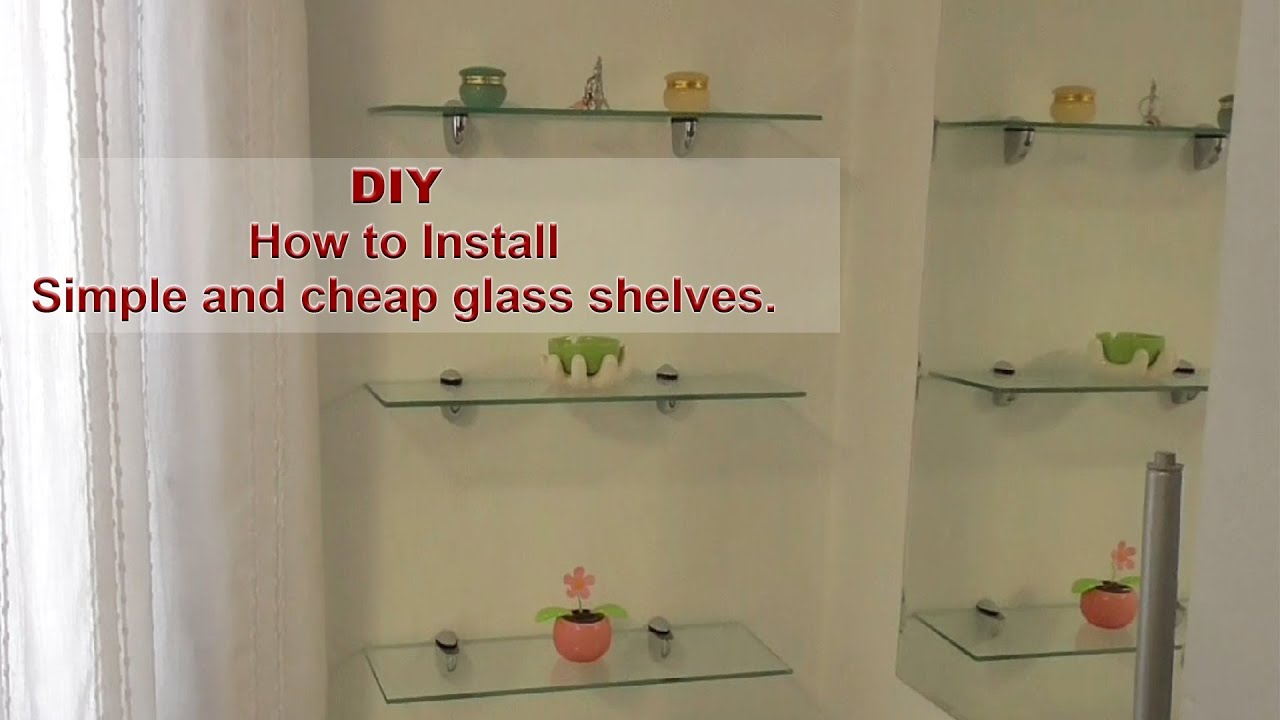
Credit: www.youtube.com
Frequently Asked Questions
How Much Weight Can A Glass Shelf Hold?
Most tempered glass shelves between 8-12 mm thick can hold 30-50 pounds if installed with the right brackets and anchors. But, always check the manufacturer’s rating. Use more brackets for longer shelves or heavier items.
Can I Install Glass Shelves On A Tiled Wall?
Yes, you can. Use a tile drill bit and go slow to avoid cracks. Use tile anchors, not regular drywall anchors. Always place a piece of tape where you drill to keep the bit from slipping.
What Is The Safest Way To Clean Glass Shelves?
Use a soft cloth and a non-abrasive glass cleaner. Avoid rough pads, bleach, or strong chemicals, which can scratch or cloud the glass. Clean both the top and bottom for a clear look.
Do Glass Shelves Need Special Brackets?
Yes. Glass shelves need brackets with rubber pads or grips. Metal-to-glass contact can cause scratches or breakage. Never use old wood shelf brackets for glass shelves.
Is Tempered Glass Necessary For Shelves?
Absolutely. Tempered glass is about four times stronger than regular glass and, if it breaks, it crumbles into small, safe pieces. Never use plain glass for shelves, as it is dangerous and likely to break.
Hanging glass shelves is a great way to add style and space to any room. With careful planning and the right tools, you can do it yourself and enjoy the results for years. Take your time, use safety gear, and don’t rush.
Your new glass shelves will be both beautiful and strong, ready to show off your favorite things.