Epoxy is more than just a shiny finish for your basement floor. It’s a protective layer that resists stains, moisture, and wear. If you want your basement to feel clean, bright, and easy to maintain, epoxy is a smart choice.
But to get that smooth, durable look, you need careful planning and step-by-step work. Many people try to rush, and end up with peeling, bubbles, or uneven color. Don’t make those mistakes. This guide will show you exactly how to epoxy a basement floor like a pro—even if you’re a beginner.
You’ll learn every detail: what materials you need, how to prepare the concrete, how to apply epoxy, and how to avoid common problems. I’ll share tips from real projects, mistakes I’ve seen, and ways to get the best results for your home. Whether your basement is used for storage, laundry, or as a finished living area, a well-epoxied floor makes it look and feel better. Let’s get started.
Why Epoxy A Basement Floor?
Epoxy is not just about looks. It’s a practical upgrade. Here’s why people choose epoxy for their basement:
- Moisture resistance: Basements often get damp. Epoxy creates a waterproof barrier that helps prevent mold and mildew.
- Durability: High-quality epoxy resists scratches, stains, and impacts from dropped tools or heavy boxes.
- Easy cleaning: Dust, dirt, and spills wipe off easily. No more dirty concrete dust.
- Improved light: Epoxy’s glossy finish reflects light, making basements feel brighter and less gloomy.
- Design options: You can choose colors, flakes, or patterns to suit your taste.
- Value: A clean, finished floor adds value if you ever sell your home.
Many people miss this: Epoxy doesn’t just hide flaws. It seals the floor and protects it for years, especially in spaces that get little sunlight and air. If your basement is prone to moisture, epoxy is one of the best long-term solutions.
What You Need: Tools And Materials
Success starts with the right materials. Don’t skimp here. Cheap tools or wrong products lead to bad results. Here’s a clear list:
Tools
- Heavy-duty broom and dustpan
- Wet/dry vacuum
- 9-inch roller frame with extension pole
- 3/8″ or 1/2″ nap roller covers (epoxy-safe)
- Angled paint brush for edges
- Plastic mixing bucket (2–5 gallons)
- Drill with paint mixing paddle
- Measuring cup (for epoxy ratio)
- Stiff putty knife or scraper
- Painter’s tape
- Nitrile gloves and safety glasses
- Respirator mask (epoxy fumes can be strong)
- Floor squeegee (for larger areas)
- Spiked shoes (optional, for walking on wet epoxy)
Materials
- High-quality epoxy floor coating kit (includes resin, hardener, sometimes color chips)
- Concrete degreaser or cleaner
- Concrete patch/repair compound
- Etching solution (muriatic acid or safer alternatives)
- Clean water
- Plastic sheeting or drop cloths (protect walls and furniture)
- Sandpaper or diamond grinder (for rough spots)
- Non-slip additive (optional, for safety)
- Epoxy primer (recommended for best adhesion)
- Topcoat/sealer (optional, for extra protection)
Common Mistakes
Beginners often buy too little epoxy or the wrong type. Measure your basement carefully. Most kits list “coverage per gallon. ” Always buy a little extra in case your floor is more porous.
Step 1: Inspect And Prepare The Basement Floor
Preparation is 80% of a good epoxy floor. Rushing this step leads to peeling and bubbles.
Inspect The Floor
- Look for cracks, chips, or holes.
- Check for damp spots or white powder (efflorescence) that show moisture problems.
- Test for existing sealers: Drop some water on the floor. If it beads up, there’s sealer that must be removed.
Patch And Repair
- Use a concrete patch compound to fill cracks and holes. Smooth with a putty knife.
- Let repairs dry completely—usually 24 hours.
Clean Thoroughly
- Sweep and vacuum all dust and debris.
- Use a degreaser for any oil or grease stains. Scrub well.
- Rinse with clean water and let dry.
Etch The Concrete
Etching opens up the pores so epoxy bonds well. This is often skipped, but it’s critical.
- Use an etching solution (many kits include this). Follow safety instructions—wear gloves and goggles.
- Pour etcher on the floor, scrub with a stiff broom, and let it fizz.
- Rinse thoroughly, several times, until water runs clear.
- Let the floor dry at least 24 hours.
Note
If your basement has a very smooth or machine-troweled surface, use a diamond grinder to roughen it. Epoxy sticks best to a slightly rough, clean surface.
Moisture Test
Tape a 2-foot square of plastic to the floor, sealing all edges. Wait 24 hours. If moisture appears under the plastic, the concrete is still damp. Do not apply epoxy until the floor is fully dry.
Step 2: Plan Your Application
You only get one chance per coat. Once epoxy is mixed, the “pot life” (working time) is limited—often 30–40 minutes. Plan ahead.
- Clear all furniture and obstacles.
- Cover walls and baseboards with plastic and tape.
- Decide your exit path. Do not paint yourself into a corner.
- Ensure the basement is well-ventilated, but avoid strong drafts that blow dust.
Room Temperature And Humidity
Epoxy works best between 60–80°F (16–27°C) and humidity below 60%. High humidity or cold slows drying and can cause cloudiness.
Here’s a quick reference for ideal conditions:
| Condition | Recommended Range | Effect on Epoxy |
|---|---|---|
| Temperature | 60–80°F (16–27°C) | Best curing, smooth finish |
| Humidity | <60% | Prevents clouding and bubbles |
| Ventilation | Open windows/doors | Reduces fumes, avoids trapped moisture |
Step 3: Apply Epoxy Primer (recommended)
Many DIYers skip primer, but it’s a game-changer. Primer improves adhesion and evens out absorption, especially on old or patchy concrete.
- Mix primer as directed.
- Pour a small amount on the floor and spread with a roller or squeegee.
- Work in small sections.
- Allow primer to dry as per manufacturer’s instructions (usually 4–8 hours).
Pro Tip
If your floor was heavily patched, primer helps hide color differences and prevents “blotchy” spots in the final coat.
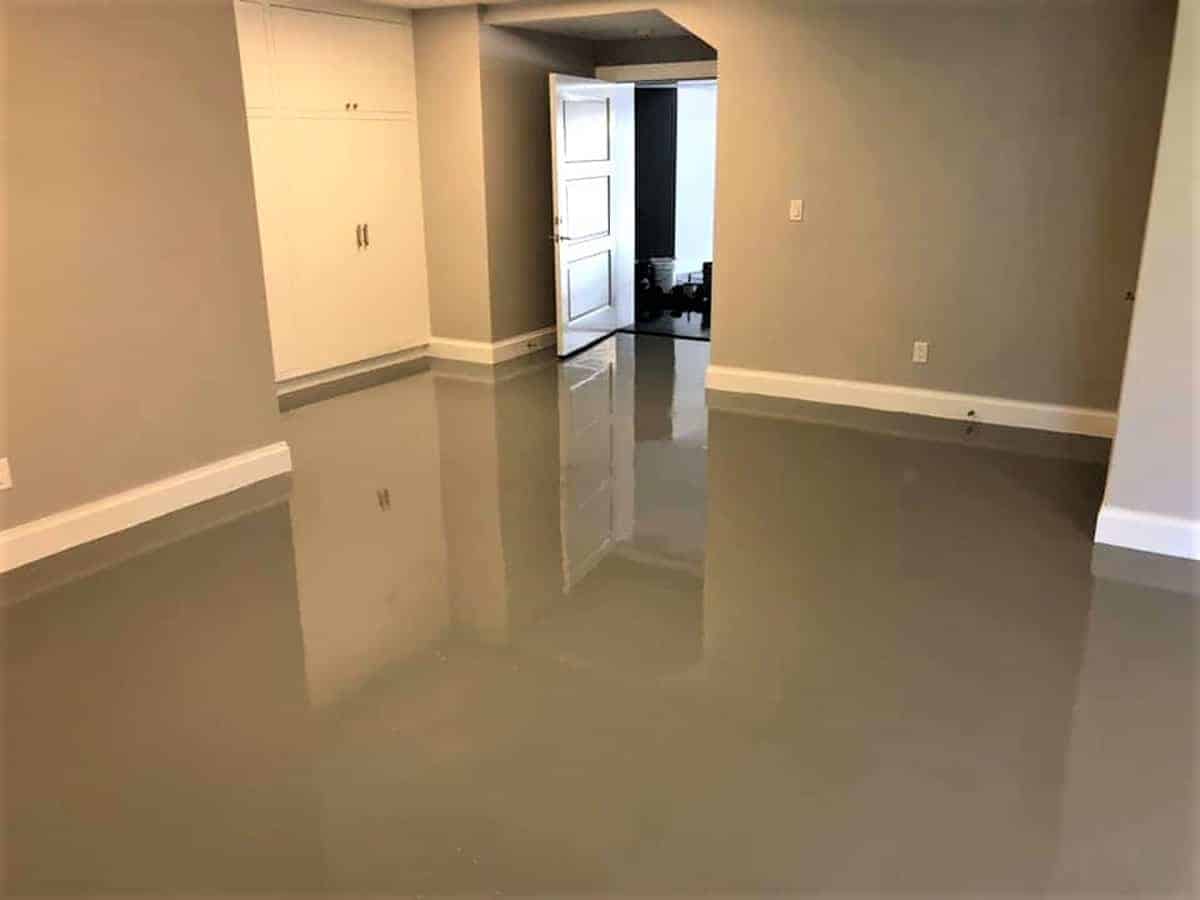
Step 4: Mix And Apply The Epoxy Coating
This is the main event. Read the instructions on your epoxy kit. Each brand is a little different.
Mixing
- Wear gloves and respirator.
- Pour resin and hardener together in the mixing bucket.
- Mix with a drill and paddle for the full time stated (often 3–5 minutes).
- Scrape the sides and bottom so there are no unmixed parts.
- If adding color or flakes, have them ready.
Application
- Start at the farthest point from your exit.
- Pour a “ribbon” of epoxy on the floor.
- Use a roller or squeegee to spread evenly, working in small areas (about 4’x4’ at a time).
- Back-roll with a clean roller to smooth out lines.
- Apply flakes or chips by tossing them onto wet epoxy, if desired.
- Maintain a wet edge to avoid lap marks.
Coverage Data
Here’s how much epoxy you’ll likely need:
| Basement Size (sq ft) | Epoxy Needed (gallons) | Typical Coverage (1 Coat) |
|---|---|---|
| 200 | 1–1.5 | 200–300 sq ft |
| 400 | 2–3 | 400–600 sq ft |
| 800 | 4–6 | 800–1200 sq ft |
Always check your product’s coverage rates.
Tips For Even Application
- Don’t rush—work steadily.
- If bubbles form, gently pop them with a roller or a heat gun.
- If you see dry areas, add a little more epoxy and roll again.
Step 5: Add Non-slip Additive (optional)
Epoxy is smooth and can get slippery when wet. For safety, especially in laundry or entry areas, add a non-slip additive. Most brands sell a powder you sprinkle onto the second coat or mix in before rolling.
- Sprinkle evenly over wet epoxy or blend in as directed.
- Back-roll to set the texture.
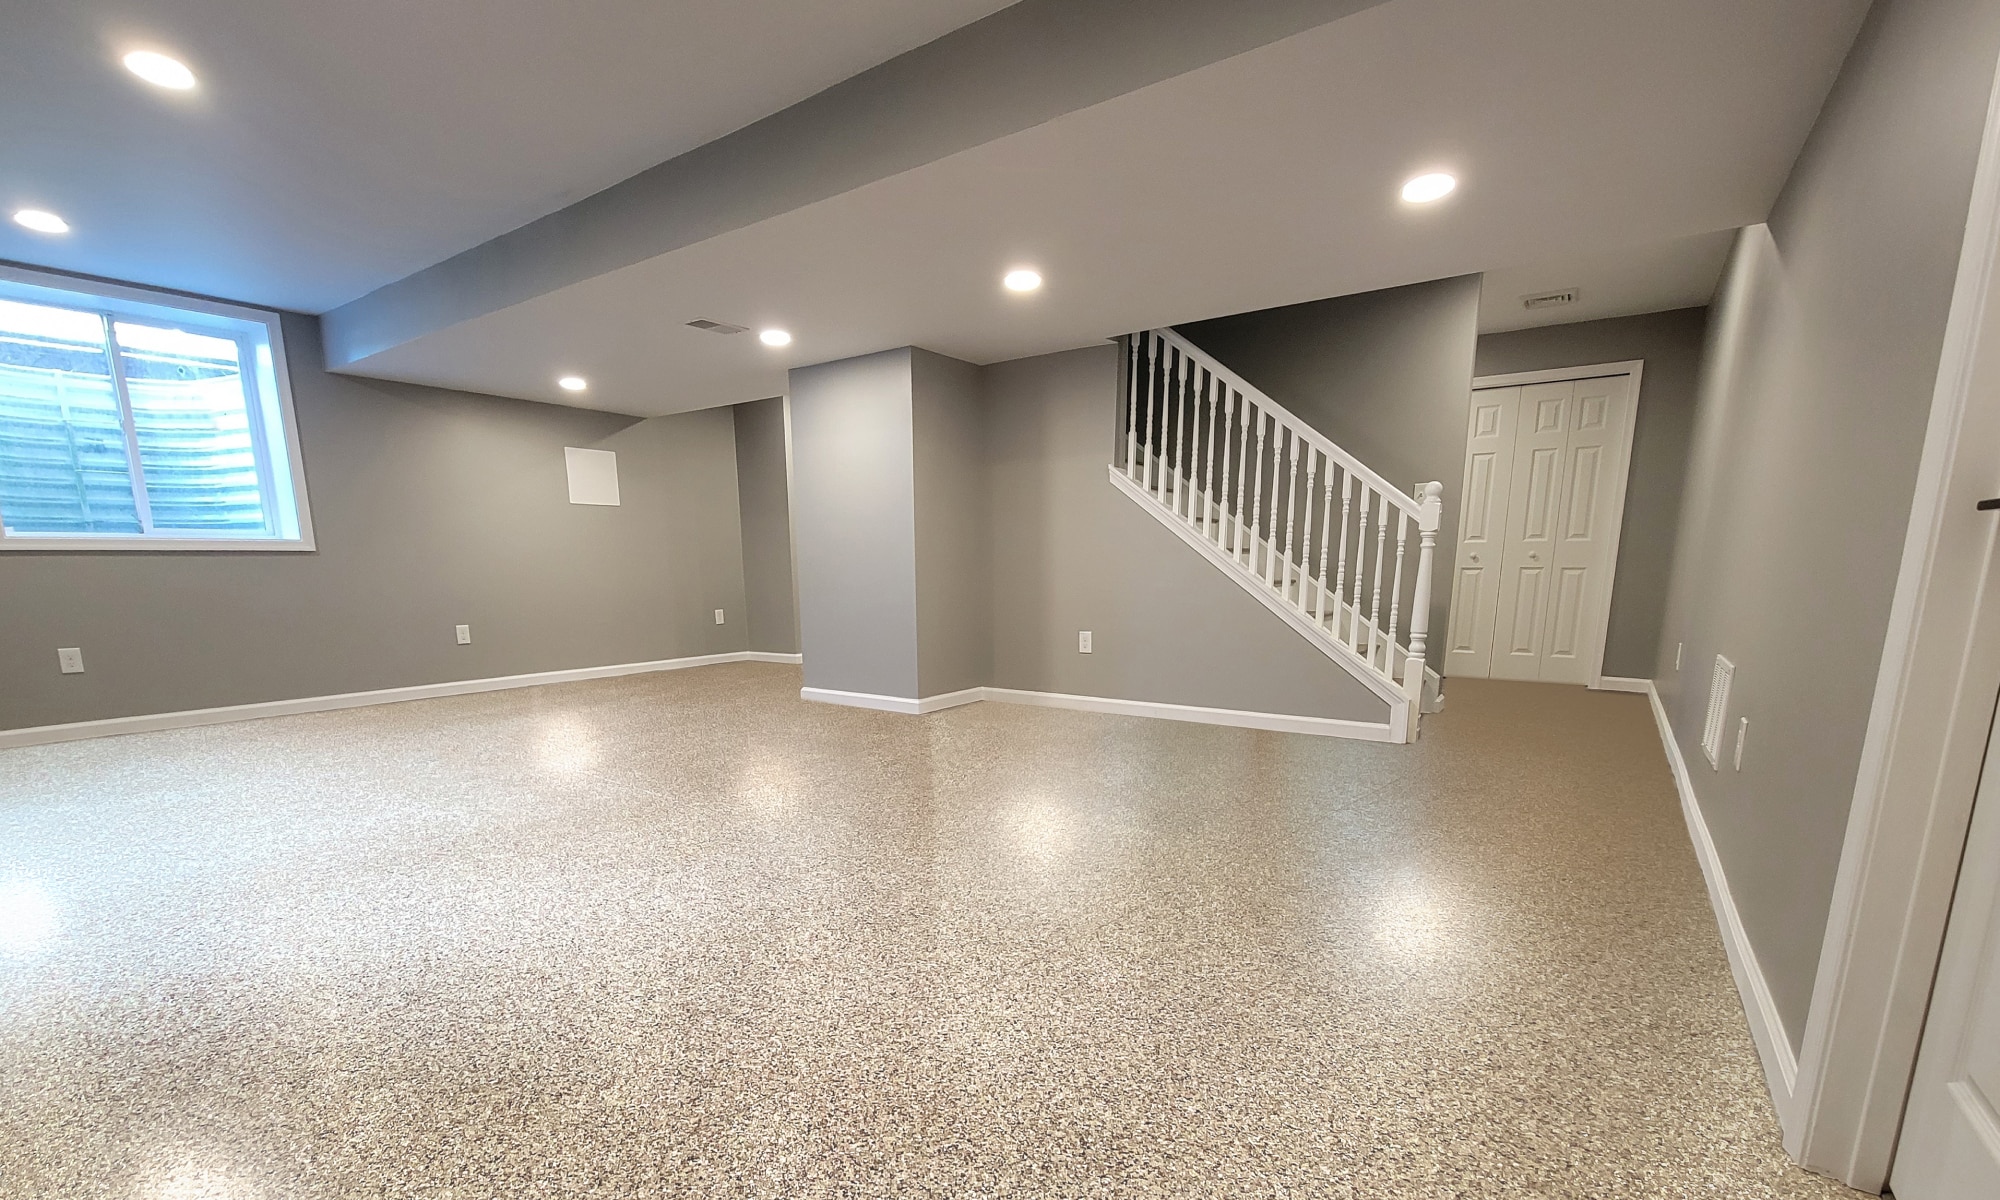
Step 6: Apply A Topcoat Or Sealer (optional But Recommended)
A clear topcoat adds scratch resistance and UV protection. It’s especially helpful if you use color flakes, as it locks them in.
- Wait for the epoxy base coat to cure (usually 12–24 hours).
- Lightly sand the surface with a pole sander for best adhesion.
- Clean up all dust with a vacuum.
- Mix and roll out the clear topcoat as you did with the base coat.

Credit: utahconcretecoating.com
Step 7: Curing And Final Steps
Epoxy needs time to fully harden. Walking on it too soon can leave marks or even ruin the finish.
- Wait at least 24 hours before light foot traffic.
- Wait 72 hours before moving heavy furniture or machines.
- Wait 7 days for full cure before major use.
Keep windows open if possible, as some odor lingers. Avoid mopping or cleaning for the first week.
Common Problems And How To Fix Them
Even with care, things can go wrong. Here’s how to handle the most common issues:
Peeling Or Lifting
- Cause: Poor prep, moisture, or applying over old sealer.
- Fix: Sand off loose epoxy, re-clean, and recoat.
Bubbles Or Pinholes
- Cause: Air trapped in concrete, or rolling too quickly.
- Fix: Sand smooth, apply another thin coat.
Uneven Color
- Cause: Incomplete mixing or applying at different times.
- Fix: Recoat for uniform color.
Cloudiness
- Cause: High humidity or moisture under epoxy.
- Fix: Let the floor dry completely, then reapply.
Slippery Surface
- Cause: No non-slip additive.
- Fix: Add non-slip topcoat or area rugs.
How To Maintain Your Epoxy Basement Floor
Epoxy is tough, but not indestructible. With a little care, it can last 10–20 years.
- Sweep or vacuum regularly.
- Mop with mild soap and water—avoid harsh chemicals.
- Wipe spills promptly, especially oil or strong chemicals.
- For scuffs, use a soft cloth or gentle cleaner.
- Avoid dragging heavy furniture—use felt pads.
One thing most people don’t realize: Epoxy can yellow over time if exposed to strong sunlight. In basements with windows, a UV-resistant topcoat helps prevent this.
Real-life Examples: What Homeowners Learned
Let’s look at a few lessons from real projects:
- Case 1: A homeowner in Ohio skipped the primer and applied epoxy directly to a patchy, old basement floor. Within a year, large sections peeled up. Solution: He stripped the bad areas, primed, and recoated. The floor has held up for 5 years since.
- Case 2: In a New York basement laundry, the owner added extra non-slip powder. It made the surface safe for wet feet and washing machine leaks.
- Case 3: A family in Minnesota used a decorative flake system. They underestimated how much area the flakes would cover, leading to patchy spots. They had to buy extra flakes and blend them in for a uniform look.
The lesson: Read all instructions, buy a little extra material, and don’t skip prep.
Cost And Time Estimates
Epoxying a basement floor is an investment, but it’s much cheaper than tile or hardwood.
- Material costs: $100–$300 for a 200–400 sq ft basement (DIY kits).
- Tools and prep: $50–$150 (if you need to buy rollers, buckets, grinder, etc. ).
- Professional installation: $4–$8 per sq ft (often $1,000+ for an average basement).
Time required:
- Prep and cleaning: 1–2 days
- Patching and drying: 1 day
- Etching and drying: 1 day
- Application: 1 day
- Curing: 2–7 days
Plan for a full weekend, plus time for drying and curing. Don’t rush between steps.
Comparing Epoxy To Other Basement Floor Options
How does epoxy stack up against other choices? Here’s a simple comparison:
| Option | Durability | Moisture Resistance | Cost (DIY per sq ft) | Maintenance |
|---|---|---|---|---|
| Epoxy | 10–20 years | Excellent | $1–$2 | Easy |
| Paint | 2–5 years | Moderate | $0.50–$1 | Easy |
| Vinyl Tile | 10–15 years | Good | $2–$3 | Easy |
| Carpet | 5–10 years | Poor | $1.50–$3 | Harder |
| Ceramic Tile | 20+ years | Good | $3–$5 | Medium |
Epoxy stands out for moisture resistance and long-term value, especially in basements where water can be a problem.
Credit: www.garagefloorcoating.com
Safety Tips
Epoxy is safe when handled properly, but you need to respect the chemicals.
- Always wear gloves, goggles, and a respirator.
- Keep children and pets out of the area until fully cured.
- Dispose of leftover resin and hardener at a hazardous waste facility.
- Ventilate well—open windows, use fans, but avoid strong direct wind on the wet floor.
If you feel lightheaded or dizzy, leave the area and get fresh air.
Non-obvious Tips For A Pro-level Finish
Many guides miss these advanced tricks:
- Double mix method: Pour mixed epoxy into a second clean bucket (“box mixing”) before application. This ensures all resin and hardener are blended.
- Edge work first: Cut in edges with a brush before rolling. This prevents missed spots at walls.
- Watch the clock: Set a timer for “pot life.” If epoxy thickens, stop and mix a fresh batch. Old, thick epoxy will not flow smoothly.
- Test a small area: Before doing the whole floor, test a small patch. This reveals issues with moisture, color, or adhesion.
- Photograph before and after: This helps you notice small missed areas or thin spots before the epoxy sets.
Credit: ohiogarageinteriors.com
When To Call A Professional
Some situations require expert help:
- Major moisture problems: If your basement always feels damp, fix the water source first. Epoxy won’t solve leaks or flooding.
- Large cracks or uneven floors: Professionals can grind, level, and repair for a flawless finish.
- High-value homes: For a showroom look, pro installers use advanced tools and can add special effects.
For most homeowners, with careful prep and patience, DIY epoxy is very achievable.
Frequently Asked Questions
How Long Does Epoxy Last On A Basement Floor?
A well-applied epoxy floor can last 10–20 years in a basement with normal use. The key to long life is proper surface prep and following all instructions. High-traffic or very damp basements may see shorter life, but most people get at least a decade of use.
Can I Epoxy Over Old Paint Or Sealer?
No, epoxy must bond to clean, bare concrete. Old paint or sealer prevents good adhesion and will lead to peeling. You’ll need to strip off all paint or sealer with a grinder or chemical stripper before applying epoxy.
Is Epoxy Flooring Slippery When Wet?
Standard epoxy is smooth and can be slippery, especially when wet. To make it safer, add a non-slip additive to the final coat. This creates a textured finish that’s much better for basements where spills are likely.
Can I Use Regular Garage Epoxy In My Basement?
Most garage epoxy kits work for basements, but check the label. Some are designed for higher temperatures and ventilation. Basements are more humid and enclosed, so choose a low-odor, water-based or basement-rated product for best results.
How Do I Clean And Maintain My Epoxy Basement Floor?
Use a soft broom or vacuum for dust. Mop with warm water and mild soap. Avoid harsh chemicals, bleach, or abrasive pads. For tough stains, a gentle degreaser works. With simple care, your floor stays bright and smooth for years.
For more technical details and safety data on epoxy, see the Wikipedia entry on Epoxy.
A basement epoxy floor is a project you can do yourself with the right tools, materials, and guidance. Take your time on prep, follow each step, and you’ll enjoy a floor that’s beautiful, tough, and easy to keep clean for many years.