When water gets on laminate wood flooring, it can quickly become a serious problem. Maybe a pipe bursts, your dishwasher overflows, or your child spills a big glass of water. At first, you might think a quick mop is enough. But laminate floors are not as water-resistant as they look. If moisture gets between or under the planks, it can cause swelling, warping, and even mold. Many homeowners discover too late that drying out laminate is more complex than with real hardwood. Acting fast and correctly can save your floor and your wallet.
This guide will walk you through every step to dry out laminate wood flooring, from the first emergency actions to long-term prevention. It explains why laminate is so vulnerable, how to spot hidden water, and what to do if damage has already begun.
You’ll find expert tips, real-life examples, and practical advice, all in clear English. Even if you are not a DIY expert, you’ll feel confident knowing exactly what to do if your laminate floor gets wet.
Why Laminate Wood Flooring Is Sensitive To Water
Laminate looks like hardwood, but it is made differently. Each plank has four layers: a wear layer, a decorative layer, a core (fiberboard) layer, and a backing layer. The core is usually high-density fiberboard (HDF). This material is strong, but it acts like a sponge when wet.
Even a small amount of water can seep between the seams. The protective top layer resists spills, but the edges and the bottom are not sealed. Once the core absorbs water, it swells and can push the plank edges up or apart.
Mold can grow underneath if the moisture stays for long.
Here’s a quick comparison of how different floor types handle water:
| Floor Type | Water Resistance | Typical Reaction to Water |
|---|---|---|
| Laminate Wood | Low | Swelling, warping, seams open |
| Solid Hardwood | Medium | Warping, cupping, stains |
| Vinyl Plank | High | Usually unaffected |
| Ceramic Tile | Very High | No effect |
| Carpet | Very Low | Mold, rot, odor |
The main lesson: laminate is one of the least water-tolerant floors. Acting quickly is critical.
Immediate Actions When Laminate Gets Wet
If water spills or leaks onto your laminate, speed is your best friend. The longer water sits, the more it will soak in and cause damage.
- Stop the Source: Turn off any leaking pipes or appliances right away.
- Remove Surface Water: Use towels, a mop, or a wet/dry vacuum to soak up as much water as possible. Don’t use a regular vacuum—it can shock you or get damaged.
- Move Furniture: Take all furniture off the wet area. Wet furniture legs can leave stains or even push water deeper into the floor.
- Increase Air Circulation: Open windows and doors. Set up fans to blow air across the floor. Air movement helps water evaporate faster.
- Take Photos: For insurance purposes, take clear pictures of the affected area before and after you start drying.
Some people think a quick mop is enough, but with laminate, you need to go deeper. Next, you’ll learn how to check for hidden moisture.
How To Check For Hidden Moisture
Laminate flooring can look dry on top while still being wet underneath. Water often seeps between the planks or under the underlayment (the layer between the floor and the subfloor).
Here’s how to check for hidden moisture:
- Touch Test: Press your hand on the seams and edges. If they feel cool or damp, there’s likely water below.
- Lift a Plank: If you have a floating floor (not glued down), gently remove a baseboard and lift a plank at the edge. Check the bottom and underlayment for wetness.
- Look for Signs: Raised seams, buckling, or a “spongy” feeling underfoot are signs of trapped water.
- Smell Test: A musty odor can mean there’s moisture and possibly mold.
- Use a Moisture Meter: Hardware stores sell inexpensive meters. Insert the pins between seams or under an edge. Readings above 12% mean the floor is still wet.
If you find moisture, do not reinstall the plank or cover the area until it is completely dry.
Step-by-step Guide To Dry Out Laminate Wood Flooring
Drying laminate flooring is a process that requires patience and attention. Here is a detailed step-by-step method:
Step 1: Remove All Standing Water
Start by getting rid of every drop of standing water.
- Use a wet/dry vacuum for large spills. Go slowly to collect as much as possible.
- For smaller areas, use thick towels. Press them into the seams.
- Replace wet towels with dry ones until the area feels dry to the touch.
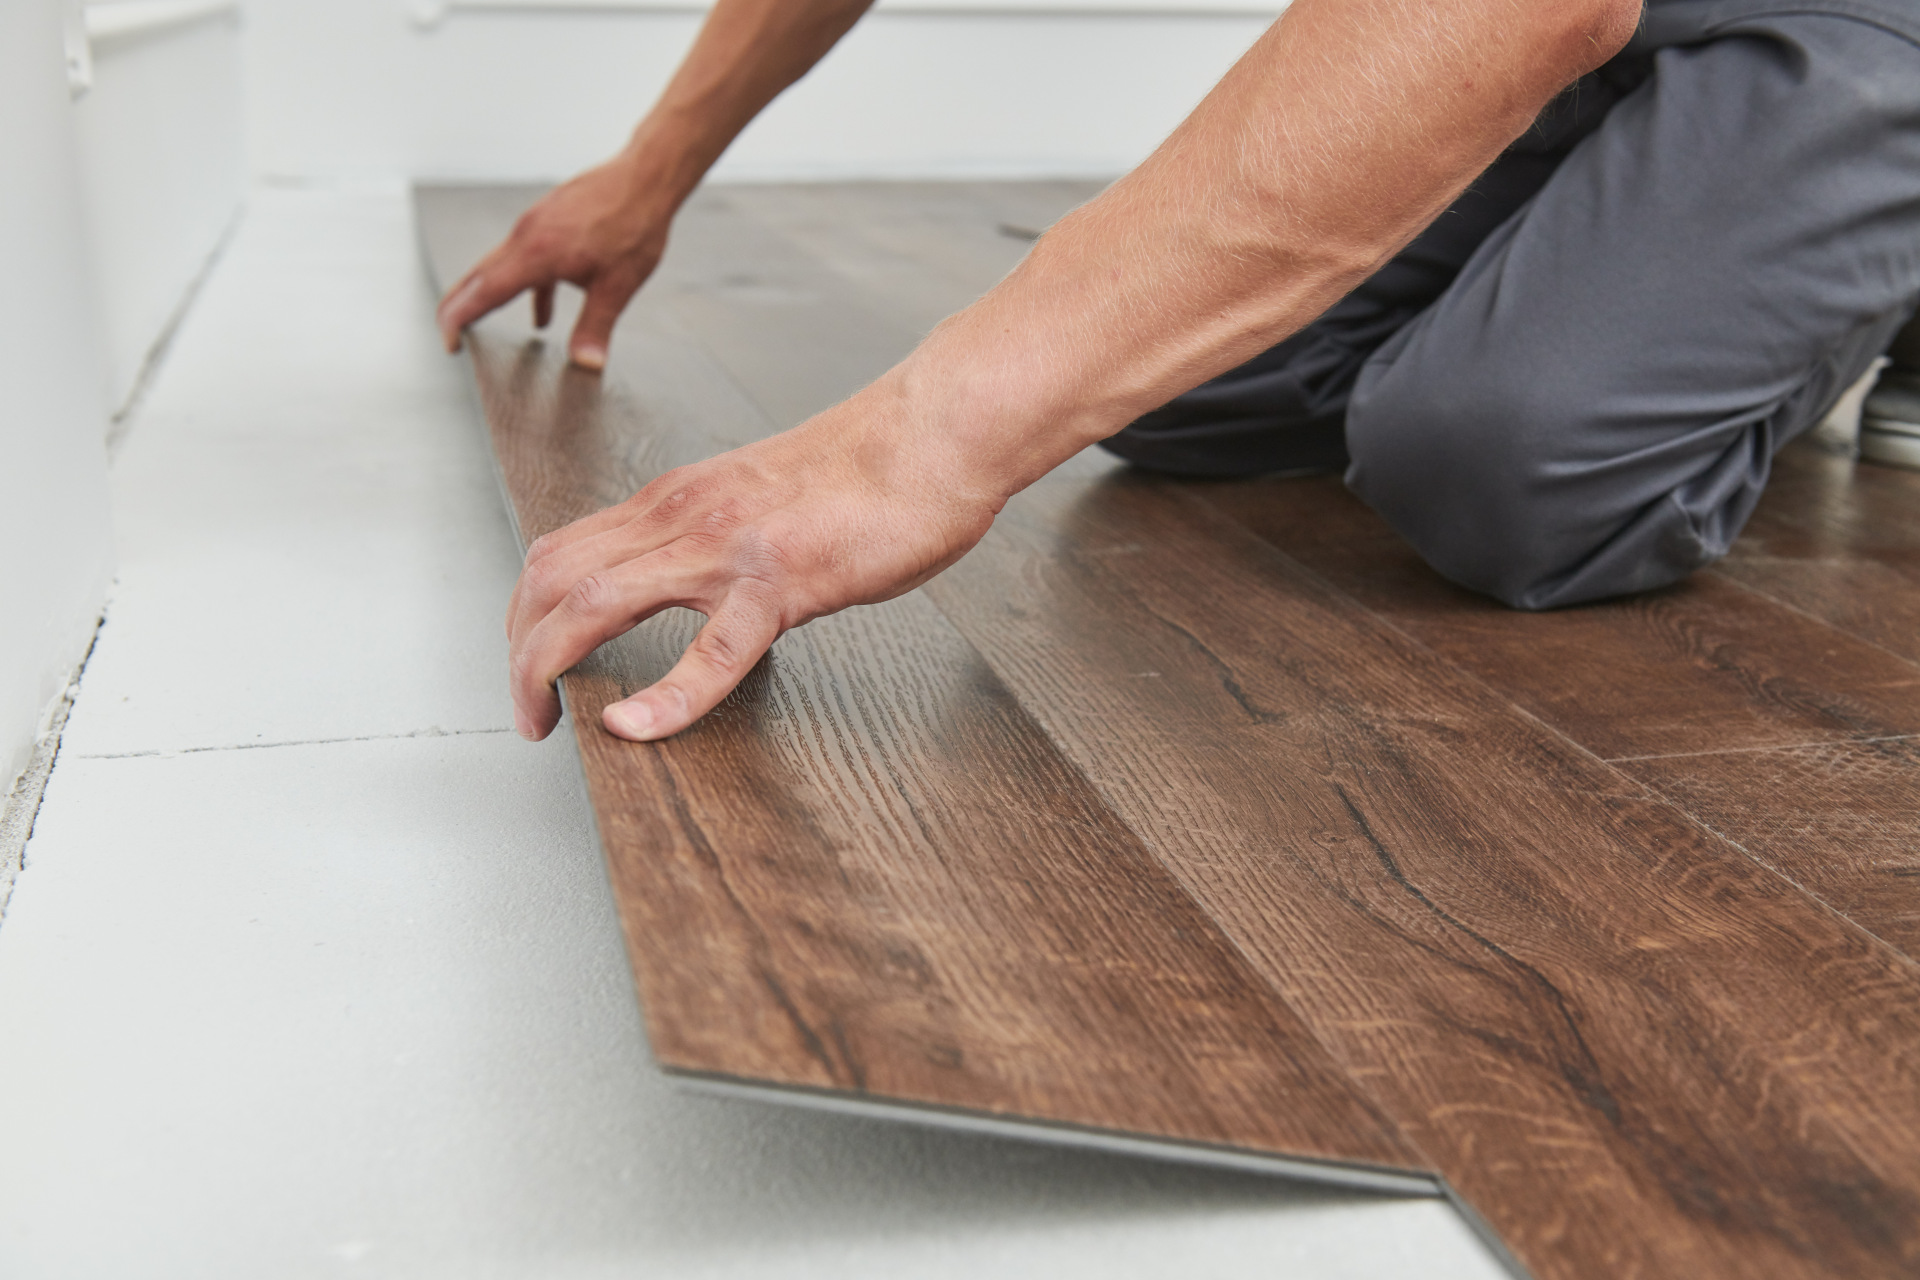
Step 2: Lift The Affected Planks (if Possible)
If the water seeped under the planks, you may need to remove some to access the underlayment and subfloor.
- Remove baseboards gently with a pry bar or flat tool.
- Starting at the wall, lift the first plank. Most floating laminate floors are not glued and can be unlocked.
- Stack the planks in a dry, well-ventilated area. Stand them on their ends for best airflow.
Non-obvious tip: Number each plank with a pencil as you remove them. This makes reinstallation much easier and avoids mistakes.
Step 3: Dry The Subfloor And Underlayment
The underlayment is a thin foam or felt pad. If it gets soaked, it can stay wet for days.
- Use fans to blow air directly onto the exposed subfloor and underlayment.
- If you have a dehumidifier, set it up in the room and let it run continuously.
- In humid weather, keep windows closed and use air conditioning if possible. In dry weather, open windows for cross-ventilation.
If the underlayment is badly soaked or smells musty, it is best to replace it.
Step 4: Dry The Removed Planks
Don’t try to dry laminate planks in direct sunlight or next to a heater. This can warp them or cause cracks.
- Stand planks upright against a wall with air gaps between them.
- Place fans to keep air moving around the planks.
- Avoid stacking planks flat—they will dry unevenly and may bow.
If you see any planks that are swollen, warped, or have separated top layers, set them aside. They may need replacing.
Step 5: Monitor Moisture Levels
Every day, check the area with a moisture meter. If you don’t have one, check for coolness, dampness, and odor.
- Only reinstall the planks when the subfloor and underlayment are fully dry (usually below 12% moisture for wood).
- Rushing this step is a common mistake—hidden moisture can lead to mold or more damage later.
Step 6: Reinstall The Floor
Once everything is dry and clean:
- Lay down new underlayment if the old one was damaged or moldy.
- Follow your numbering system to put each plank back in its original place.
- Snap or lock planks together tightly to avoid gaps.
- Replace baseboards and add a small bead of silicone caulk at the edges if desired (this helps block future spills).
Step 7: Clean And Disinfect
After the floor is back in place, clean it with a damp (not wet) microfiber mop and a gentle floor cleaner. If you are worried about bacteria, use a disinfectant safe for laminate.
Expert tip: Avoid steam mops or soaking the floor with water. Laminate is easily damaged by excess moisture, even after repairs.
Credit: www.easipaycarpets.co.uk
What To Do If The Laminate Is Already Damaged
Sometimes, the damage is already done. You might see warping, bubbling, or permanent discoloration. In these cases, drying alone will not fix the problem.
Here are your options:
- Replace Damaged Planks: Most laminate floors allow you to remove and replace single planks. Buy matching replacements from the manufacturer if possible.
- Replace Underlayment: If mold or a smell remains, take up the underlayment and install new material.
- Call a Professional: For large leaks, mold, or if you’re not comfortable removing planks, a flooring specialist can handle the job.
Non-obvious insight: Some insurance policies cover water damage to laminate floors, but only if you act quickly and document everything. Always check your policy and keep records.
Advanced Drying Techniques For Severe Water Damage
If your laminate floor is soaked by a flood or major leak, basic drying may not be enough. Professional restoration companies use advanced tools:
- Industrial Air Movers: These high-speed fans push more air than normal fans, speeding up evaporation.
- Dehumidifiers: Large units can remove gallons of water from the air per day.
- Injectidry Systems: These machines blow dry air under the flooring without removing every plank.
- Thermal Imaging Cameras: Used to spot hidden wet areas behind walls or under the floor.
You can rent some of these machines from hardware stores. For serious jobs, hiring a water damage specialist is often worth the cost.
Preventing Water Damage To Laminate Floors
Once you’ve fixed a water problem, prevention becomes a top priority. Laminate floors can last 10–30 years if you keep them dry.
Everyday Prevention Tips
- Wipe up spills immediately. Even small amounts can work their way into seams.
- Use area rugs in kitchens, entryways, and near sinks.
- Add felt pads under furniture to avoid scratches that open seams.
- Maintain appliances. Check washing machines, dishwashers, and fridges for leaks.
- Seal gaps. Use silicone caulk around baseboards and under sinks.
- Control humidity. Keep indoor humidity between 35% and 55%. Use a dehumidifier in basements.
Choosing Water-resistant Laminate
Some new laminate floors are designed to be more water-resistant. When replacing old flooring, look for:
- Water-resistant core: Some brands use special resins or coatings.
- Tighter locking systems: Prevents water from entering the seams.
- Pre-sealed edges: Blocks moisture at the weakest points.
Here’s a quick comparison of standard vs. water-resistant laminate features:
| Feature | Standard Laminate | Water-Resistant Laminate |
|---|---|---|
| Core Material | High-density fiberboard | Resin-treated fiberboard |
| Edge Sealing | Unsealed | Factory-sealed |
| Warranty on Water Damage | Usually none | Often 24–72 hours |
| Cost (per sq. ft.) | $1–$3 | $2.50–$6 |
Insight: Even with water-resistant laminate, standing water should always be cleaned up quickly. No laminate is fully waterproof.
Mold And Health Risks After Water Damage
One hidden danger of wet laminate is mold growth. Mold can begin in as little as 24–48 hours if moisture is trapped under the floor.
Signs of mold include:
- A musty smell that doesn’t go away
- Dark or greenish spots on the underlayment or subfloor
- Allergic reactions (sneezing, itchy eyes, headaches)
If you find mold, you must remove the affected flooring and underlayment. Clean the subfloor with a mold-killing cleaner before reinstalling. In severe cases, call a mold remediation professional.
Credit: www.service.com.au
When To Call A Professional
Some water damage jobs are too big for DIY. Call a pro if:
- The water has soaked a large area (more than one room)
- The subfloor is wet or moldy
- You see signs of structural damage (soft spots, sagging)
- You are not comfortable removing and reinstalling the floor
A professional will use moisture meters, infrared cameras, and industrial dryers to get your floor truly dry. They can also help with insurance claims and repairs.
Cost Of Drying Out Laminate Flooring
The cost depends on how much damage has occurred and how much you do yourself.
- DIY Drying: Basic tools and fans may cost $50–$200.
- Replacing Planks: Each plank can cost $2–$8, plus underlayment.
- Professional Drying: For a small room, $500–$1,500. For larger or severe jobs, $2,000–$5,000.
- Mold Remediation: $500–$6,000, depending on area and severity.
Tip: Always save receipts and document the process if you want to file an insurance claim.

Credit: www.reddit.com
Real-life Example: Kitchen Flood Recovery
Let’s look at a real case. A homeowner’s dishwasher leaked overnight, soaking 80 square feet of laminate in the kitchen. The steps taken were:
- Stopped the leak and vacuumed up water.
- Removed baseboards and lifted 16 planks.
- Used three box fans and a rented dehumidifier for 48 hours.
- Checked daily with a moisture meter.
- Threw away the old underlayment (it was smelly).
- Reinstalled planks after four days, replacing three that had warped.
Total cost: about $200 for new materials and equipment rental. The rest was saved by acting fast and doing the work themselves.
Common Mistakes To Avoid
Many people make the same mistakes when drying laminate wood flooring. Here are the most important to avoid:
- Waiting too long before removing water
- Failing to remove planks to check underneath
- Drying only the surface, not the underlayment or subfloor
- Using heaters or direct sunlight to dry planks (can cause warping)
- Ignoring musty smells or visible mold
- Not documenting damage for insurance
Essential Tools And Products For Drying Laminate Floors
Having the right tools can make the process faster and more effective. Consider keeping these on hand:
- Wet/dry vacuum: For fast water removal
- Box fans or air movers: To increase airflow
- Dehumidifier: Reduces humidity in the room
- Moisture meter: Checks for hidden dampness
- Pry bar: For lifting baseboards and planks
- Disinfectant cleaner: Prevents mold and bacteria
Here’s a quick comparison of how these tools help:
| Tool | Purpose | Average Price |
|---|---|---|
| Wet/dry vacuum | Removes standing water | $60–$150 |
| Box fan | Moves air to dry surfaces | $20–$40 |
| Dehumidifier | Lowers room humidity | $100–$250 |
| Moisture meter | Detects hidden water | $15–$50 |
| Pry bar | Lifts baseboards/planks | $10–$25 |
Frequently Asked Questions
What Happens If I Don’t Dry My Laminate Floor Quickly?
If you leave water on laminate, the core material will absorb it and start to swell. This leads to warping, raised seams, and even mold. The longer water sits, the more likely you’ll need to replace the flooring.
Can I Use A Hair Dryer Or Space Heater To Dry Laminate Flooring?
It’s not recommended. High heat can warp or crack the planks. Always use fans and dehumidifiers for gentle, even drying.
Will Insurance Cover Water Damage To Laminate Floors?
Many homeowners’ policies cover sudden and accidental water damage, like from a burst pipe. Damage from slow leaks or neglect is usually not covered. Take photos and contact your insurer as soon as possible.
How Do I Know If My Subfloor Is Wet?
Signs include a spongy feeling underfoot, visible mold, or high readings on a moisture meter. If you’re unsure, lift a plank and check underneath.
Is There A Truly Waterproof Laminate Floor?
No laminate floor is 100% waterproof, but some are highly water-resistant. Look for products with sealed edges and a waterproof warranty. Always clean up spills quickly, even with these floors.
If you need more detailed help or want to see professional drying in action, visit This Old House for expert videos and advice.
Taking fast, smart action can often save your laminate floor after water damage. Learn from common mistakes, invest in good tools, and remember: prevention is always easier than repair. With the right approach, you can keep your floors looking new for years to come.