Chalk painting a dresser is more than just a way to refresh old furniture. It’s a method that transforms a basic piece into a beautiful, unique centerpiece. With its soft, matte finish and vintage feel, chalk paint is loved by beginners and DIY experts alike.
Even if you’ve never held a paintbrush, you can create amazing results with this technique. The process is forgiving and fun, and you don’t need expensive tools or years of experience.
But what does it really take to chalk paint a dresser the right way? Many online guides skip important details, leaving you confused or frustrated halfway through your project. In this article, you’ll get a complete, step-by-step guide that covers everything from choosing the right dresser and paint to applying finishing touches.
You’ll also discover practical tips, common mistakes, and real examples that help you avoid wasted time and money.
Let’s dive in and learn how to chalk paint a dresser like a pro—even if you’re a total beginner.
Why Chalk Paint Is Perfect For Dressers
Chalk paint stands out because of its versatility and ease of use. Unlike regular paint, it sticks to most surfaces with little or no prep work. That means you can skip the hours of sanding and priming that traditional painting requires.
Some key benefits of chalk paint include:
- Minimal prep: No need to strip old paint or sand for hours.
- Beautiful finish: Creates a soft, powdery look that feels vintage and fresh.
- Custom colors: Easy to mix and layer for one-of-a-kind shades.
- Low odor: Water-based formulas are less smelly, perfect for indoor projects.
- Easy distressing: Simple to create worn, antique effects with sanding or wax.
Chalk paint also dries quickly, so you can finish your dresser in a weekend. It’s a great way to save money by updating old furniture instead of buying new pieces.
Choosing The Right Dresser
Not all dressers are ideal for chalk painting. The material, surface condition, and structure matter more than you might think.
What Makes A Good Dresser For Chalk Paint?
- Solid wood: Best for long-lasting results. Chalk paint adheres well to wood and highlights natural details.
- Laminate or veneer: Possible, but you’ll need extra prep. Light sanding helps the paint stick.
- Minimal damage: Avoid pieces with major cracks, missing drawers, or water damage.
- Simple shapes: Flat surfaces and simple lines are easier for beginners.
Inspect Before You Paint
Check for:
- Loose joints: Wobbly legs or frames need gluing or tightening.
- Sticky drawers: Sand or adjust if they don’t slide smoothly.
- Grease or wax: Clean off old polish or grime for better results.
A common beginner mistake is choosing a dresser with hidden problems. For example, a beautiful antique may have a musty smell or woodworm. Always look inside, check the back, and feel for weak spots before starting.
Credit: prettyprovidence.com
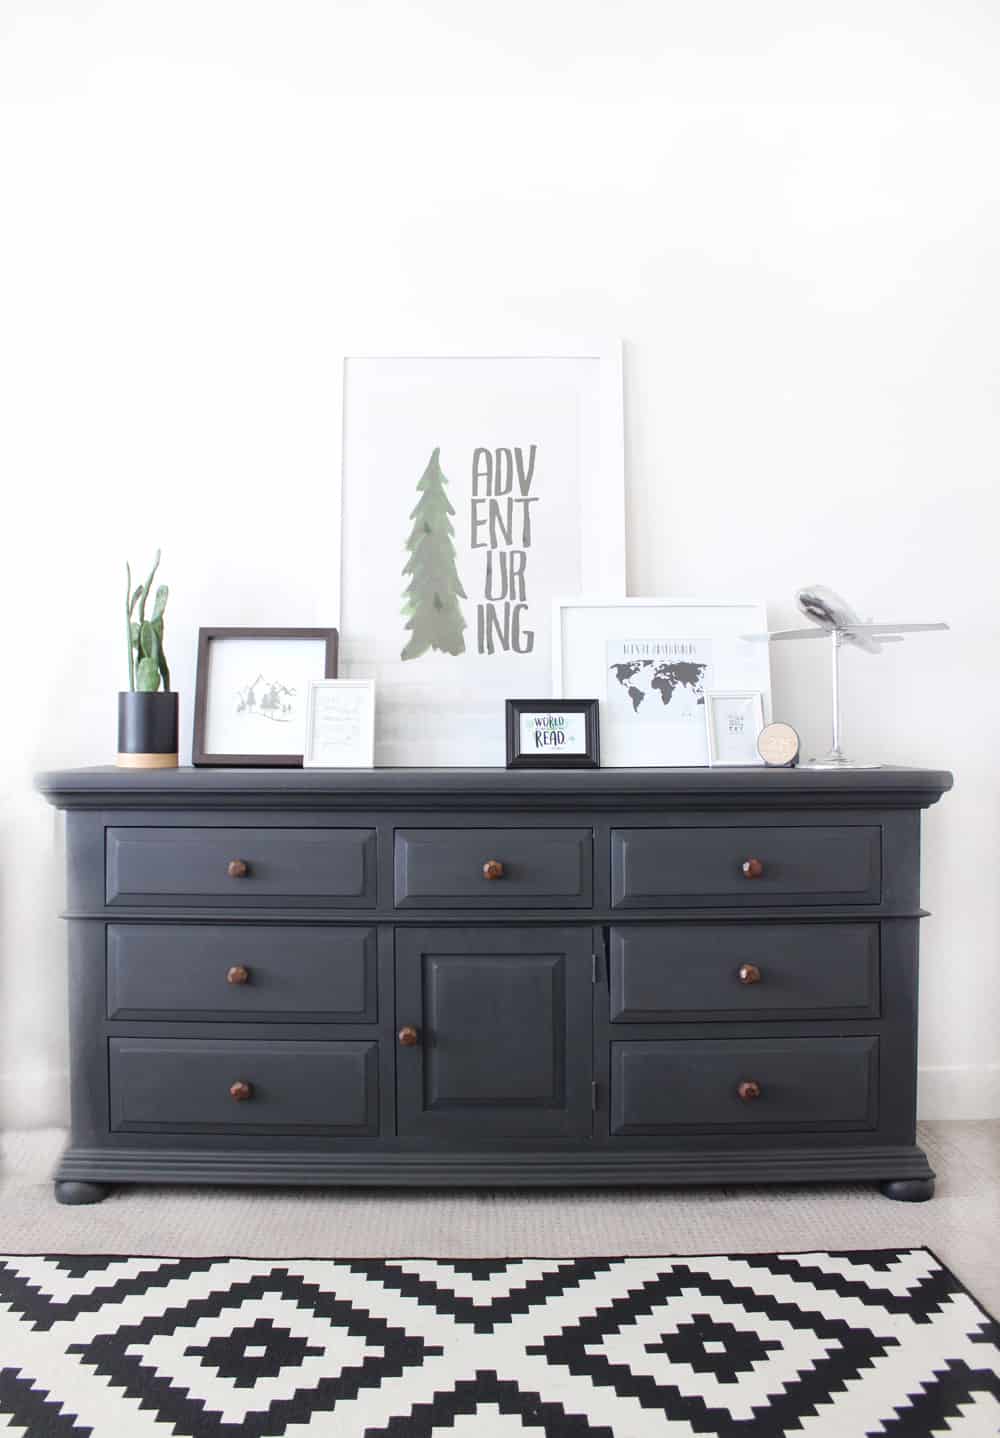
Gathering Materials And Tools
Having the right supplies makes the process smoother and more enjoyable. Here’s a detailed list of what you’ll need.
Essential Materials
- Chalk paint: Choose a trusted brand like Annie Sloan, Rust-Oleum, or Behr. For a medium dresser, one quart is usually enough for two coats.
- Soft wax or topcoat: Protects the paint and adds sheen if desired.
- Cleaner/degreaser: Removes old polish, grease, or dust.
- Sandpaper: 120–220 grit, for light smoothing and distressing.
- Painter’s tape: Keeps edges neat.
- Drop cloth: Protects your floor.
Tools
- Paintbrushes: A round, natural bristle brush works best for chalk paint.
- Foam roller: For large, flat surfaces if you want a smoother finish.
- Cloth or tack cloth: Removes dust after sanding.
- Screwdriver: To remove hardware and drawers.
- Containers: For mixing or thinning paint.
- Stir sticks: To mix paint thoroughly.
Some beginners forget about dust masks or gloves, which protect you during sanding and waxing. Don’t skip these—especially if you have allergies or sensitive skin.
Prepping Your Dresser
Chalk paint is famous for its “no-prep” reputation, but a little preparation gives you much better results. Rushing this part can lead to peeling paint, stains, or uneven finishes.
Step 1: Remove Hardware And Drawers
Take off all knobs, handles, and pulls. Set them aside in a labeled container so you don’t lose any screws. Slide out the drawers and paint them separately for cleaner edges.
Step 2: Clean Thoroughly
Use a degreaser or gentle soap and warm water. Wipe every surface—top, sides, inside drawers, even the feet. Pay extra attention to sticky spots or oily fingerprints. Let the dresser dry completely before moving on.
Step 3: Light Sanding (when Needed)
If your dresser is glossy, laminate, or has uneven patches, lightly sand with 120–220 grit sandpaper. You’re not removing all the old finish—just roughing up the surface so paint sticks better. Wipe away all dust with a tack cloth.
Tip: For heavy stains or knots in the wood, consider a stain-blocking primer on those spots. This prevents dark marks from bleeding through your chalk paint.
Step 4: Tape Off Edges
Use painter’s tape to mask off areas you don’t want to paint, like the inside of drawers or the back of the dresser. This creates a neat, professional look.
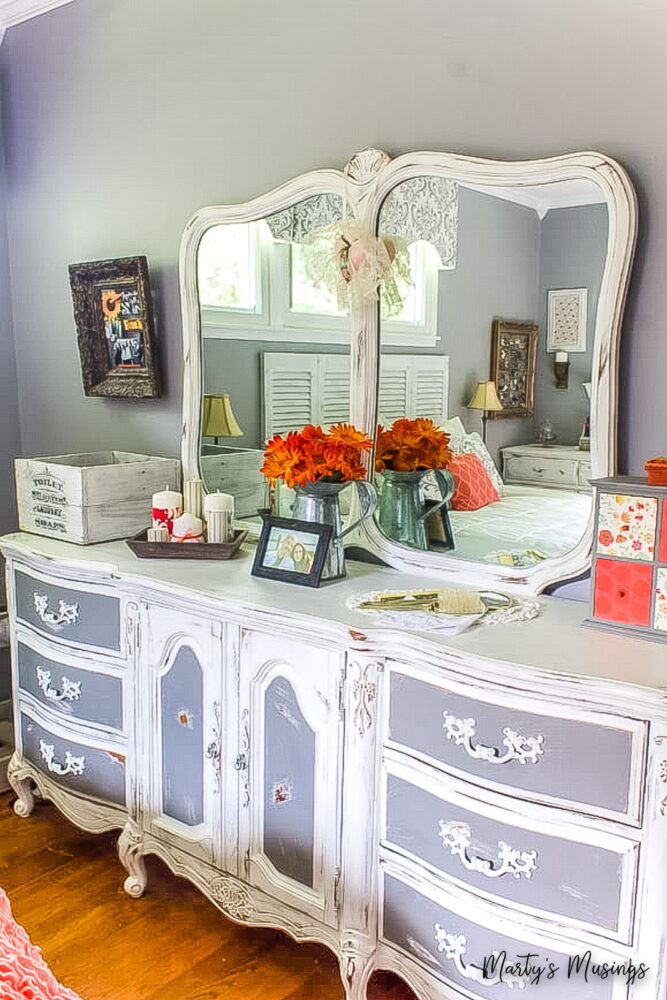
Credit: www.martysmusings.net
Choosing Your Chalk Paint Color And Finish
Color choice can feel overwhelming, but a few guidelines make it easier.
Classic Vs. Modern Looks
- White, cream, or gray: Timeless, fits most rooms.
- Bold colors (navy, teal, emerald): Statement pieces for modern decor.
- Pastels: Soften a space, great for nurseries or bedrooms.
- Two-tone or layered: Combine colors for more dimension.
Matte, Satin, Or Distressed?
- Matte: Classic chalk paint look, feels soft and vintage.
- Satin: Add a topcoat for a bit of shine and easier cleaning.
- Distressed: Sand edges and corners after painting for a worn, antique look.
Insider tip: Test your color on a hidden spot or a sample board. Chalk paint dries lighter than it looks wet, and lighting can change the appearance.
Painting Your Dresser: Step-by-step
Now it’s time for the fun part! Even if you’re a beginner, these steps will help you avoid the most common mistakes.
Step 1: Stir And Thin Your Paint
Chalk paint can thicken over time. Stir well before using. If it feels very thick, add a tablespoon of water and mix until smooth. This helps with coverage and reduces brush marks.
Step 2: Apply The First Coat
Dip your brush into the paint, wiping off any excess on the side of the can. Paint in long, even strokes, following the wood grain if possible. Start with the largest, flattest surfaces, then move to edges and details.
Don’t worry if the first coat looks streaky or patchy. Chalk paint often needs two coats for full coverage. Let the first coat dry for about 30 minutes to 1 hour (check your paint’s instructions).
Step 3: Apply The Second Coat
After the first layer is dry, gently sand any drips or rough spots. Wipe away dust. Apply the second coat the same way as the first, covering any missed areas. This layer should look much smoother and more even.
Step 4: Optional Third Coat Or Touch-ups
For very dark or stained wood, a third coat may be needed. Use a light hand and thin layers to avoid thick, gummy paint.
Step 5: Paint Drawers And Details
Paint drawer fronts separately. For intricate designs or corners, use a smaller brush. If you’re adding a second color or highlights, wait until the first color is fully dry.
Creating Special Effects
Chalk paint is famous for more than just solid colors. You can add character and depth with a few simple techniques.
Distressing For A Vintage Look
Once your paint is dry, use fine sandpaper to gently rub edges, corners, and raised areas. This exposes a bit of the wood or base color, creating a naturally aged effect.
- Focus on spots that would wear naturally (handles, corners).
- Don’t overdo it—less is often more.
Layering Colors
For more dimension, paint the dresser with one color, then lightly brush a second color on top. Sand through the top layer in places to let the base color show through.
Adding Stencils Or Patterns
Use stencils and a small roller or sponge to add designs, like flowers or geometric shapes. Make sure the base coat is completely dry before stenciling.
Pro tip: Always practice special effects on a scrap board first. Chalk paint is forgiving, but mistakes can be hard to fix once waxed.
Sealing And Protecting Your Dresser
Chalk paint is porous and needs protection. Without a sealant, it will absorb stains and water.
Choosing A Topcoat
- Soft wax: Most popular choice for a traditional matte look. Buffs to a soft sheen.
- Polycrylic or water-based polyurethane: Gives a stronger, washable finish. Choose satin or matte for a less shiny look.
- Hemp oil: Natural option, especially for children’s furniture.
How To Apply Wax
- Use a soft, lint-free cloth or a wax brush.
- Work the wax into the paint in small sections, using circular motions.
- Wipe off any extra wax with a clean cloth.
- Let dry for at least 24 hours.
- Buff with a soft cloth for a slight sheen.
Wax takes time to cure—up to 3 weeks for full hardness. Be gentle with your dresser during this time.
How To Apply Polycrylic
- Use a good quality synthetic brush or foam brush.
- Apply in thin, even coats.
- Let each coat dry completely (about 2 hours).
- Lightly sand between coats for smoothness.
- Apply 2–3 coats for strong protection.
Polycrylic is water-based and dries clear, but can yellow if applied too thickly or over white paint. Test on a hidden area first.
Reattaching Hardware And Final Touches
Once your finish is completely dry and cured, it’s time to put everything back together.
- Clean or replace hardware: Soak old knobs in vinegar and water to remove grime, or spray paint them for a new look.
- Line drawers: Add adhesive paper or fabric for a fresh, clean interior.
- Attach felt pads: Protect your floors by sticking pads under the dresser’s feet.
Fun idea: Add new hardware, like crystal knobs or vintage handles, for a completely updated style.
Common Mistakes And How To Avoid Them
Even experienced DIYers make mistakes. Here are some of the most frequent problems—and how you can avoid them.
1. Skipping The Prep
Not cleaning or lightly sanding glossy surfaces leads to peeling or chipping paint. Always take time to prepare.
2. Using Too Much Paint
Thick coats dry slowly and show brush marks. Thin, even layers give the best finish.
3. Not Sealing Properly
Forget to seal? Your paint will stain, scratch, or wear off quickly. Always use wax or polycrylic.
4. Rushing Dry Time
Moving hardware or stacking drawers before the paint or wax is cured can ruin your work. Be patient—let everything dry fully.
5. Ignoring Temperature And Humidity
High humidity or cold can slow drying and cause streaks. Paint in a well-ventilated, dry space for best results.
Comparing Chalk Paint Brands
Choosing the right chalk paint can be confusing with so many brands on the market. Here’s a quick comparison of three popular options:
| Brand | Coverage (sq. ft./quart) | Price Range | Finish Options | Unique Features |
|---|---|---|---|---|
| Annie Sloan | 140 | High | Matte only | Original chalk paint, easy distressing |
| Rust-Oleum | 150 | Medium | Matte, Satin | Wide color range, accessible in stores |
| Behr | 140 | Low-Medium | Matte, Satin | Budget-friendly, smooth finish |
Tip: Brand choice affects price, color range, and how easily you can distress the finish. Annie Sloan is favored by many professionals, but Rust-Oleum and Behr offer great results for less.
Chalk Paint Vs. Regular Paint: Key Differences
If you’re wondering why you can’t just use regular latex paint, here’s a quick comparison:
| Feature | Chalk Paint | Latex Paint |
|---|---|---|
| Prep Work | Minimal (clean, sometimes light sanding) | Often requires sanding and priming |
| Finish | Matte, vintage look | Satin, eggshell, glossy |
| Dry Time | Fast (30 min–1 hr) | Moderate (1–2 hrs) |
| Distressing | Easy to sand for aged look | Harder to distress |
| Sealing | Needs wax or topcoat | Optional, depending on sheen |
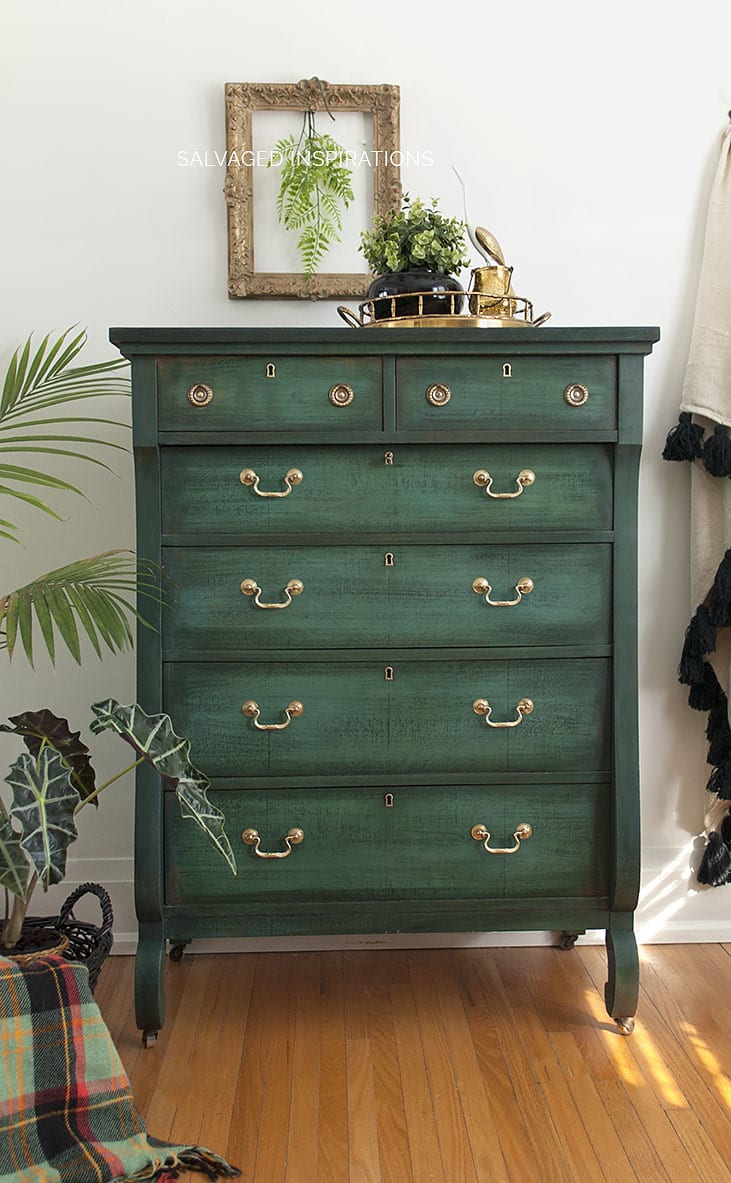
Credit: salvagedinspirations.com
Real-life Example: Transforming A Thrift Store Dresser
Imagine you find a $30 solid wood dresser at a thrift shop. It’s sturdy but looks tired, with some scratches and old hardware.
- First, remove the hardware, clean the entire piece, and lightly sand rough areas.
- Next, choose a soft gray chalk paint and paint two coats, letting each dry completely.
- For a vintage touch, distress the edges and add a layer of white wax.
- Clean and spray paint the knobs black, then reattach them.
- Finish with two coats of wax for protection.
The result is a modern, farmhouse-style dresser that looks high-end but cost under $60—including paint and supplies.
Non-obvious insight: Some thrift store dressers have a wood veneer top with solid wood sides. Always check for peeling or lifting veneer before painting; glue down any loose spots for a smooth finish.
How To Care For Your Chalk Painted Dresser
A chalk painted dresser is durable, but a little care keeps it beautiful for years.
- Wipe up spills quickly with a damp cloth.
- Avoid harsh cleaners—use gentle soap and water.
- Re-wax high-use areas every 1–2 years.
- Use coasters or mats to protect the surface from heavy objects.
If you notice scratches, touch them up with a small brush and leftover paint, then re-wax.
Advanced Tips For Stunning Results
Ready to take your dresser to the next level? Try these advanced techniques:
- Ombre effect: Blend two or three shades from light to dark for a gradient look.
- Gold leaf or metallic wax: Add shimmer to edges or details.
- Decoupage: Glue decorative paper or fabric to drawer fronts, then seal with wax.
- Transfer graphics: Apply printed images with transfer medium for custom designs.
Secret to success: The best results come from patience and creativity. Don’t rush the process, and don’t be afraid to experiment.
Estimated Time And Cost Breakdown
For a medium-sized dresser, here’s what you can expect:
| Step | Time (Approx.) | Cost (USD) |
|---|---|---|
| Cleaning & Prep | 1–2 hours | $5 (cleaner, sandpaper) |
| Painting (2 coats) | 2–3 hours (plus drying time) | $25–$40 (quart of chalk paint) |
| Wax/Topcoat | 1 hour (plus curing time) | $10–$20 |
| New Hardware (optional) | 30 mins | $10–$40 |
Total project cost: $40–$100, depending on the dresser, paint brand, and hardware choices.
Where To Learn More
If you want deep dives or video tutorials, the official Annie Sloan website offers expert tips and inspiration: Annie Sloan.
Frequently Asked Questions
How Long Should I Wait Between Chalk Paint Coats?
Let each coat dry at least 30 minutes to 1 hour. If it feels cool or tacky, wait longer. Humidity and temperature affect drying times.
Can I Use Chalk Paint On Laminate Or Ikea Furniture?
Yes, but you should lightly sand and clean the surface first. For best results, apply a stain-blocking primer to help the paint stick.
Do I Really Need To Seal Chalk Paint?
Yes. Chalk paint is porous and can stain easily. Wax or polycrylic protects your finish and makes cleaning easier.
What Is The Difference Between Wax And Polycrylic Topcoats?
Wax gives a soft, matte finish but needs reapplying every few years. Polycrylic is more durable and washable, but can add a slight sheen.
How Can I Avoid Brush Marks In Chalk Paint?
Use a good quality brush, thin your paint slightly with water, and apply in long, even strokes. Lightly sand between coats for extra smoothness.
Bringing an old dresser back to life with chalk paint is rewarding and creative. With the right prep, patience, and a few expert tips, you’ll have a stunning piece of furniture that stands out in any room. Enjoy the process, and don’t be afraid to make it your own.