Building a dining bench is more than just a woodworking project—it’s a chance to create a piece that brings people together. The right bench can transform your dining area into a warmer, more inviting space. But if you’ve never built furniture before, the process might seem complex.
With careful planning and the right steps, even beginners can build a sturdy, stylish dining bench that lasts for years.
This guide walks you through everything you need to know: choosing the right materials, measuring your space, cutting and assembling the bench, finishing it for durability, and even troubleshooting common mistakes. You’ll find practical tips, expert advice, and a few insights that many first-time builders miss. By the end, you’ll be confident in making a bench that suits your home and your skills.
Why Build Your Own Dining Bench?
Buying a bench can be quick, but building your own has real advantages. First, you get to choose the exact size, shape, and style that fits your room. Many store-bought benches are not the right length for your table or may not match your décor.
Customizing your bench means it fits perfectly and reflects your taste.
Second, a homemade bench can cost less. With smart material choices, you can build a solid bench for a fraction of the store price. Most importantly, building something with your hands gives a sense of pride you can’t buy.
A bench also adds flexibility. More people can fit around a table, and benches tuck under the table to save space. If you’re aiming for a farmhouse or modern look, a bench fits both. Finally, woodworking is a skill you can use for many future projects.
Planning Your Dining Bench
Before you start cutting any wood, you need a plan. Good preparation prevents wasted materials and frustration.
Measuring Your Space
Begin by measuring your dining table and the room. Standard dining tables are 28–30 inches high. The bench height should be around 18 inches so people can sit comfortably. For the length, most benches are the same as the table or slightly shorter (about 4–6 inches less on each side).
The width (front to back) is often 14–16 inches.
Don’t forget to leave enough room for people to walk behind the bench if it’s not against a wall. A simple sketch with measurements helps you stay organized.
Choosing A Style
There are many bench styles. Here are a few popular options:
- Farmhouse bench: Simple, with chunky legs and a rustic top.
- Modern bench: Clean lines, often with straight metal or wood legs.
- Storage bench: Includes a box under the seat for extra storage.
Decide if you want a backrest or just a flat seat. A backless bench fits easily under the table, but a backrest adds comfort.
Tools And Skill Level
Basic woodworking tools are enough for most benches:
- Circular saw or miter saw for straight cuts
- Drill with screwdriver bits
- Measuring tape and pencil
- Clamps for holding pieces together
- Sander or sandpaper
- Square for marking right angles
If you have a pocket hole jig or dowel jig, these make strong, hidden joints. Beginners can use screws and wood glue for most parts.
Choosing The Right Materials
The right wood makes a big difference in strength and appearance. Here’s a look at common options:
Wood Types
| Wood Type | Strength | Cost | Appearance | Finishing Needs |
|---|---|---|---|---|
| Pine | Medium | Low | Light, visible grain | Stains easily, may dent |
| Oak | High | Medium-High | Strong grain, classic look | Stains well, durable |
| Maple | High | Medium | Smooth, light color | Hard, needs pre-stain |
| Poplar | Medium | Low-Medium | Soft, fine grain | Paints well, less for staining |
| Reclaimed wood | Varies | Low (if available) | Unique, rustic | May need extra prep |
For most first-time builders, pine is a good balance of cost and workability. If you want a bench that lasts for decades, consider oak or maple.
Hardware And Fasteners
You’ll need:
- Wood screws (2.5–3 inches long)
- Wood glue
- Pocket hole screws (if using a pocket hole jig)
- Brackets or corner braces (for extra strength, optional)
- Felt pads (to protect floors)
Stainless steel screws resist rust if the bench might be used outdoors.
Finishing Materials
A durable finish protects your bench and makes cleaning easier. Choose from:
- Polyurethane: Strong, shiny or matte
- Furniture wax: Softer, more natural look
- Stain or paint: Changes color, shows grain or covers wood
Plan for sandpaper (80, 120, 220 grit), brushes or rags, and drop cloths.
Cutting The Parts
Once your materials are ready, it’s time to cut the pieces. Here’s a typical parts list for a bench that seats 2–3 people (about 48–54 inches long):
- Seat plank: 1 piece, 1.5” thick x 14” wide x 48” long
- Legs: 4 pieces, 1.5” thick x 3.5” wide x 17” long
- Long aprons: 2 pieces, 1” thick x 3.5” wide x 42” long
- End aprons: 2 pieces, 1” thick x 3.5” wide x 10” long
- Optional stretcher (for strength): 1 piece, 1” thick x 3.5” wide x 36” long
Always measure twice, cut once. Use a square for accurate lines. Clamps help keep boards steady during cutting.
Non-obvious insight: Many beginners forget to check for wood defects before cutting. Look for knots, cracks, or warping. Place these areas where they won’t affect the bench’s strength, or avoid them altogether.
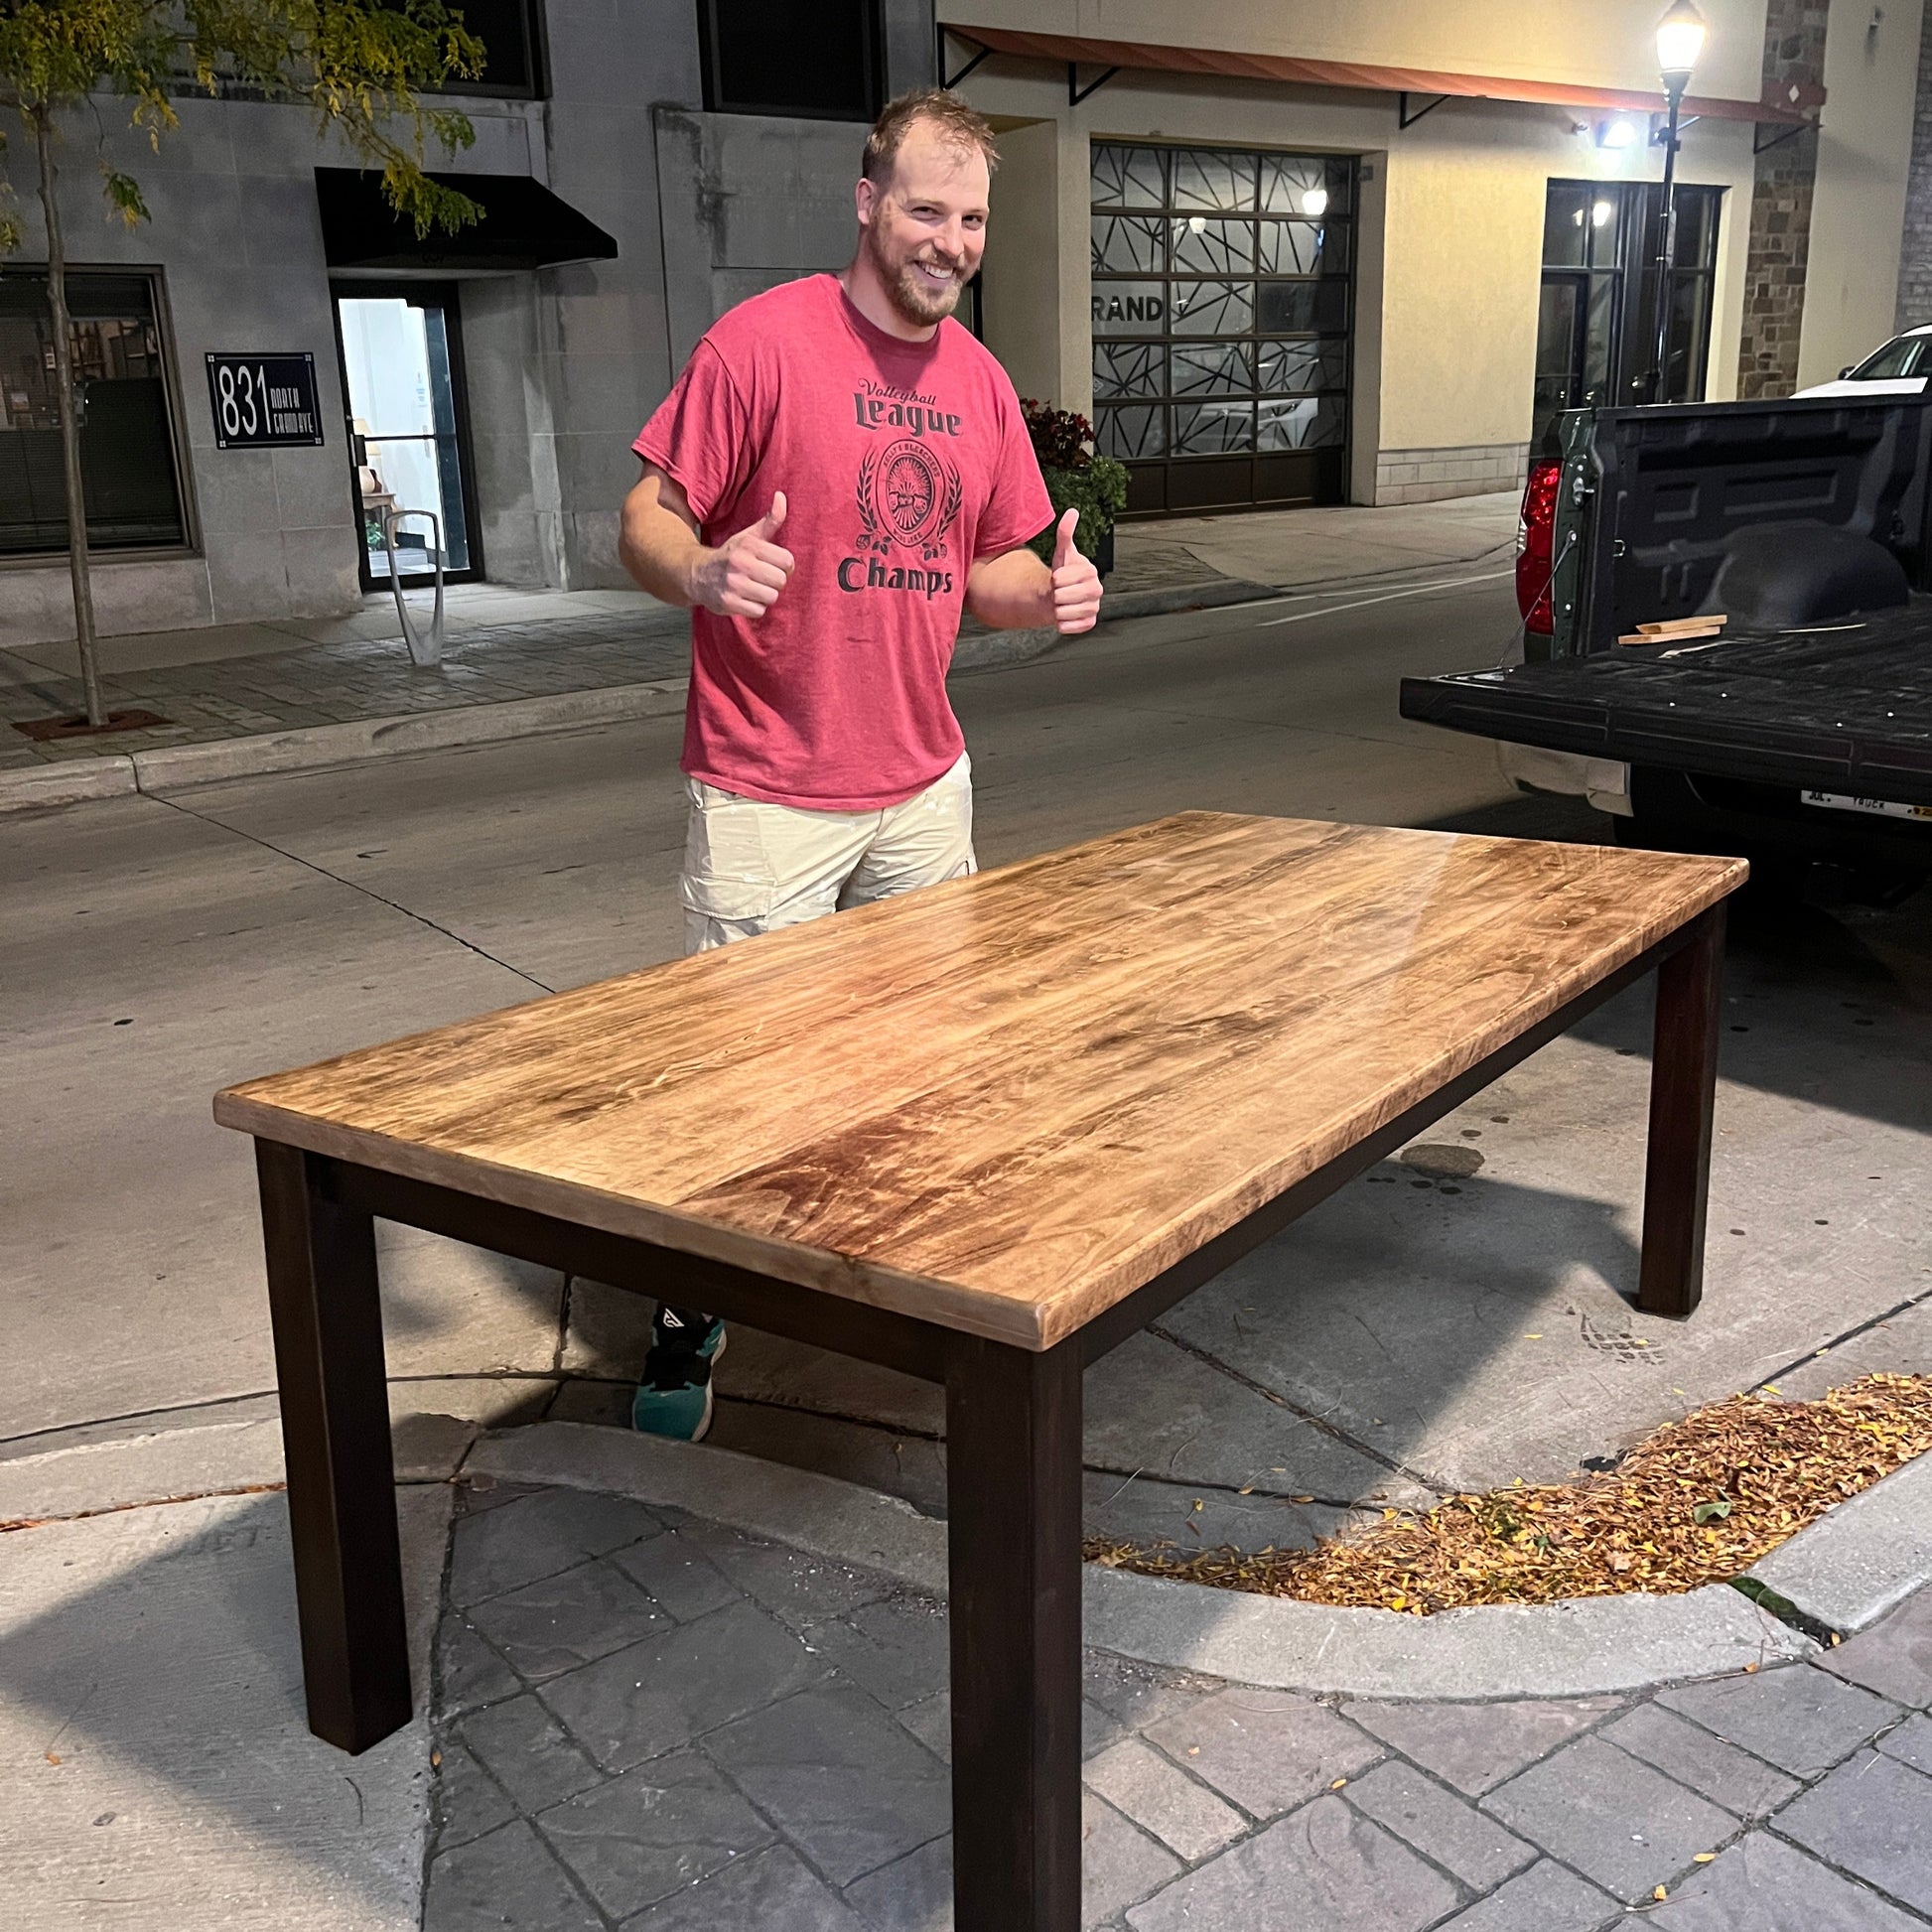
Credit: www.fiskavenue.com
Assembling The Frame
The frame supports the seat and connects all parts. Here’s how to build it step by step:
- Attach the aprons to the legs. Use wood glue and screws or pocket holes. Each long apron should connect two legs, forming a rectangle. The end aprons connect at the short ends.
- Check for squareness. Use your square to make sure all corners are 90 degrees. Tighten clamps and let the glue set for at least 30 minutes.
- Install the stretcher (if using). Attach it under the seat, between the long aprons, for extra strength. This is especially important for longer benches.
Tip: Drill pilot holes before adding screws. This prevents wood from splitting, especially with hardwoods.
Attaching The Seat
Lay the frame upside down on the underside of the seat plank. Center the frame so the overhang is even on all sides (usually 1–2 inches). Mark the positions.
- Apply wood glue to the top edges of the aprons and legs.
- Screw through the aprons into the seat. Use 2–3 screws per apron, spaced evenly.
- Clamp and check alignment. Let the glue dry for one hour before moving the bench.
If you want a removable seat for cleaning, use corner brackets instead of glue.
Non-obvious insight: Don’t make the seat overhang more than 3 inches. A larger overhang can feel wobbly and may break under weight.
Sanding And Smoothing
A smooth finish makes your bench comfortable and safe. Start with 80-grit sandpaper to remove rough spots and sharp edges. Move to 120-grit and then 220-grit for a silky feel.
Focus on:
- All corners and edges (no splinters!)
- The top and sides of the seat
- The legs, especially where people might bump them
Wipe away all dust with a damp rag before finishing.
Applying Finish
Choose your finish based on the look and use of your bench.
Staining
If you want to keep the wood’s natural grain, use a wood stain. Apply with a brush or rag, following the grain. Let it soak in for 5–10 minutes, then wipe off extra. For darker color, add a second coat.
Let the stain dry for at least 24 hours before adding a protective topcoat.
Painting
If you prefer a solid color, use furniture paint. Apply thin, even coats with a brush or roller. Two coats are usually enough.
Let each coat dry fully before adding the next.
Sealing
A clear topcoat protects against spills and scratches. Polyurethane is strong and comes in gloss, semi-gloss, or matte. Apply two or three thin coats, sanding lightly between coats with 220-grit sandpaper.
Practical tip: Water-based polyurethane dries faster and smells less than oil-based, but oil-based gives a warmer tone.
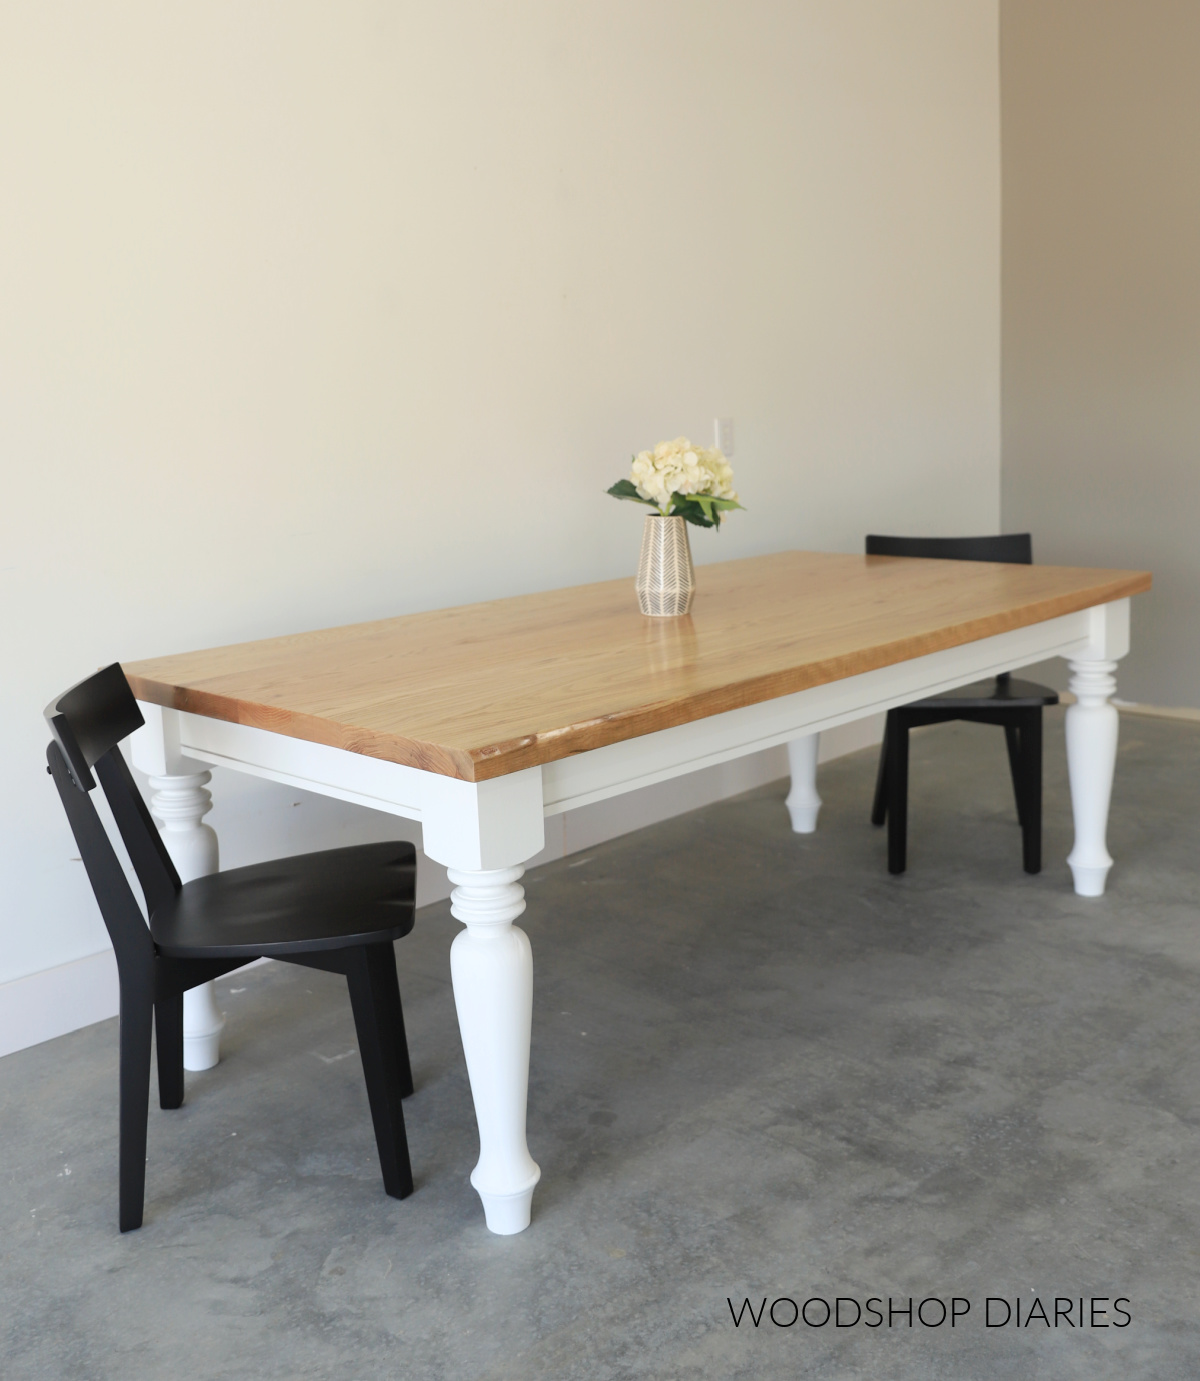
Credit: www.bibliotecaoscura.com
Adding Custom Details
Your bench can be as simple or fancy as you like. Here are some popular add-ons:
- Upholstered seat: Add foam and fabric for extra comfort.
- Decorative trim: Nail on molding or edge pieces for style.
- Metal legs: Swap wood for steel legs for a modern look.
- Painted designs: Use stencils or tape to add patterns.
If adding upholstery, cut foam to size and wrap with fabric. Staple the fabric under the seat before attaching it to the frame.
Placement And Use
Set your new bench next to your dining table. Make sure there’s enough space for knees and movement. Add felt pads to the legs to protect your floor.
A dining bench can also work in an entryway, kitchen nook, or even outdoors (with weatherproof finish).
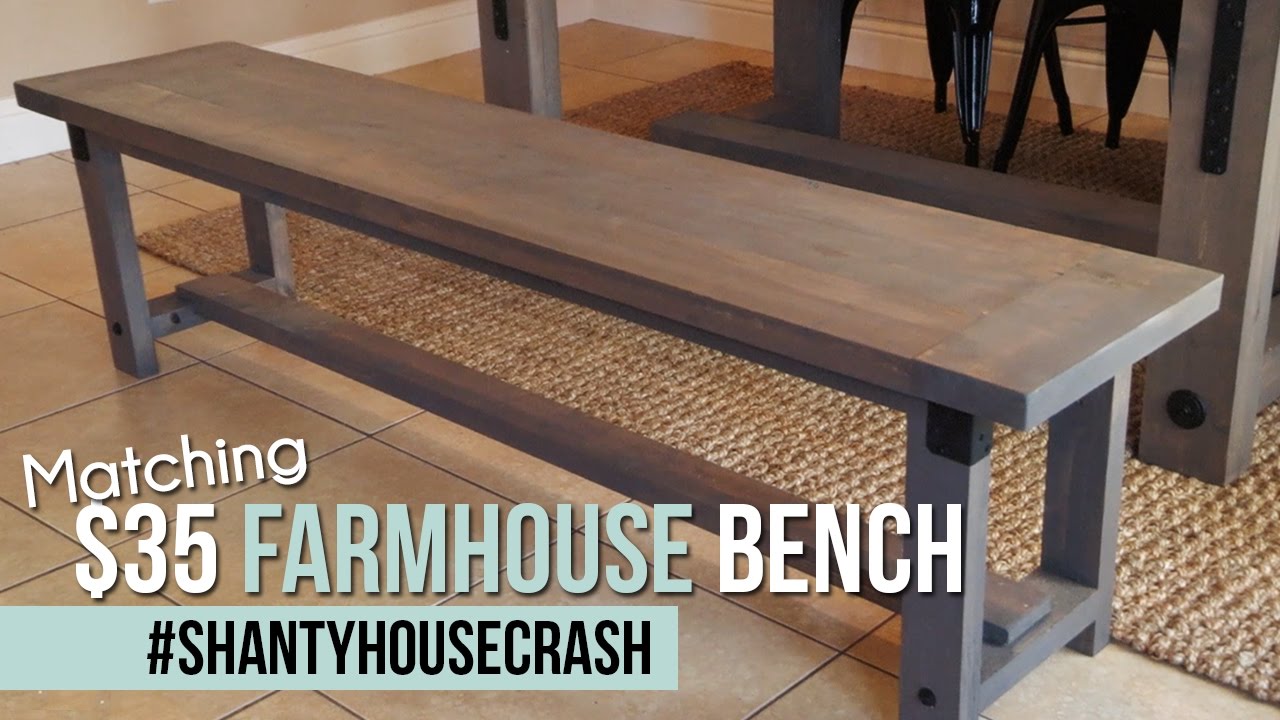
Credit: www.youtube.com
Common Mistakes And How To Avoid Them
Building a bench is straightforward, but a few pitfalls can cause problems. Watch for these:
- Wobbly legs: Usually from unsquared joints or loose screws. Always check for square and tighten all hardware.
- Splitting wood: Drill pilot holes before inserting screws, especially close to edges.
- Uneven finish: Sand thoroughly and remove all dust before applying stain or paint.
- Bench too high or low: Measure carefully. Standard seat height is about 18 inches.
- Bench doesn’t fit under table: Check table apron height and bench width before building.
- Overhanging seat too much: Keep overhang less than 3 inches for strength.
Example: Simple Farmhouse Dining Bench
Let’s walk through a basic build for a 48-inch farmhouse bench.
Materials Needed
- (1) 2×14″ solid pine board, 48″ long (seat)
- (2) 2×4″ boards, 42″ long (long aprons)
- (2) 2×4″ boards, 10″ long (end aprons)
- (4) 2×4″ boards, 17″ long (legs)
- (1) 2×4″ board, 36″ long (stretcher)
- Wood screws (2.5″)
- Wood glue
- Sandpaper (80, 120, 220 grit)
- Stain and polyurethane
Steps
- Cut all boards to size.
- Build the frame by attaching the long aprons to the legs, then add the end aprons.
- Attach the stretcher between the long aprons.
- Place the frame on the underside of the seat, center, and attach with screws and glue.
- Sand all surfaces until smooth.
- Apply stain and let dry overnight.
- Add two coats of polyurethane, sanding lightly between coats.
- Attach felt pads to the bottom of the legs.
This bench fits three people and matches most farmhouse tables. Adjust the length for your needs.
Comparing Bench And Chair Seating
If you’re unsure whether to build a bench or buy chairs, consider this:
| Feature | Dining Bench | Chairs |
|---|---|---|
| Seating capacity | 3–4 people | 1 per chair |
| Space-saving | Fits under table | Takes more room |
| Cost | Lower (per person) | Higher |
| Comfort | Less, unless padded | Usually more |
| Style | Modern, farmhouse | Classic, formal |
A bench is perfect for families and casual meals. Chairs are better for formal dining or long meals.
Troubleshooting And Maintenance
Even well-made benches can develop issues over time. Here’s how to keep yours in top shape:
- Tighten screws every six months, especially if the bench gets heavy use.
- Check for wobble. If legs loosen, add wood glue or brackets.
- Refinish the seat if scratches appear. Lightly sand and add a new topcoat.
- Clean spills immediately to prevent stains. Avoid harsh chemicals.
If your bench gets wet, dry it quickly to prevent warping. For outdoor benches, use a waterproof finish and store indoors in winter.
Advanced Customization Options
When you’re ready to move beyond the basics, try these ideas:
Add A Backrest
A backrest makes the bench more comfortable. Attach upright supports to the back legs and connect with a horizontal board. Secure with screws and glue. Angle the back slightly (10–15 degrees) for better comfort.
Built-in Storage
To add storage, build a box under the seat. Use hinges so the seat lifts. This is handy for napkins, games, or shoes if the bench is in an entryway.
Metal Accents
Use metal brackets, hairpin legs, or corner protectors for an industrial look. Powder-coated steel is strong and stylish.
Unique Finishes
Try distressing the wood for a vintage look, or use two-tone paint and stain for contrast. Apply a stencil for personalized designs.
Expert tip: Custom details often require more precise measurements and extra tools. Practice on scrap wood before modifying your main pieces.
Real-world Example: Cost Breakdown
Here’s a sample budget for a 48-inch pine dining bench (prices as of 2024):
| Item | Quantity | Unit Price | Total |
|---|---|---|---|
| Pine boards | 2 | $15 | $30 |
| Wood screws | 1 box | $6 | $6 |
| Wood glue | 1 bottle | $5 | $5 |
| Stain + polyurethane | 1 can each | $10 | $20 |
| Felt pads | 1 pack | $4 | $4 |
| Total | $65 |
A store-bought bench of similar quality often costs $150–$250. Building your own saves money and allows for personalization.
Safety Tips For Building
Woodworking is safe if you follow a few rules:
- Wear safety glasses when cutting or sanding.
- Use hearing protection with power tools.
- Keep fingers away from saw blades.
- Work in a well-ventilated area when using glue, stain, or finish.
- Clean up sawdust to prevent slipping.
Take your time and double-check each step. Rushing leads to mistakes and injuries.
Sustainability Considerations
If you want a more eco-friendly bench, look for FSC-certified wood or reclaimed lumber. These options reduce environmental impact.
Use water-based finishes, which emit fewer fumes. Reuse leftover scraps for small projects or donate them. A bench built with care can last for generations, reducing waste.
For more on sustainable woodworking, see the Woodworking Network.
Frequently Asked Questions
How Long Does It Take To Build A Dining Bench?
Most beginners can build a simple bench in one or two weekends. Cutting and assembling take about 4–5 hours. Sanding and finishing can take longer because of drying times. If you add details like upholstery or a backrest, plan for extra time.
What Is The Ideal Height For A Dining Bench?
The standard bench height is 18 inches from the floor to the seat. This fits most dining tables, which are usually 28–30 inches high. If your table is higher or lower, adjust the bench height accordingly.
Can I Build A Bench Without Power Tools?
Yes, but it’s slower. You can use a hand saw instead of a circular saw, and a screwdriver instead of a drill. However, power tools make cutting and assembly much faster and neater. If you don’t own tools, many hardware stores offer rentals.
How Much Weight Can A Homemade Dining Bench Hold?
A well-built wooden bench can hold 400–600 pounds spread across the seat. Using strong wood (like oak or maple), solid joinery, and a center stretcher increases strength. Avoid benches longer than 60 inches without extra support.
What Finish Is Best For A Dining Bench?
Polyurethane is the most durable for kitchen and dining furniture. It resists water and stains. For a more natural look, use furniture wax or oil, but these require more frequent reapplication. Always choose a finish safe for food areas.
Building your own dining bench is a rewarding project. With the right tools, materials, and guidance, you’ll create a piece that’s both functional and beautiful. Enjoy your new bench—and the memories made around it.