As an Amazon Associate I earn from qualifying purchases.
A Luxpro thermostat helps control your home’s temperature. It’s simple once you know how.
In this guide, you’ll learn to use a Luxpro thermostat efficiently. We’ll cover the basics, from turning it on to setting the perfect temperature. Whether you’re new to thermostats or just new to this brand, understanding its features can improve your comfort.
With the right settings, you can save money on energy bills and keep your home cozy. Let’s dive in and make your Luxpro thermostat easy to use.
Credit: pro.luxproducts.com
Getting Started
Ready to make your home comfortable with a Luxpro thermostat? Let’s dive in and get started. This guide will help you unbox your thermostat and understand its basic components.
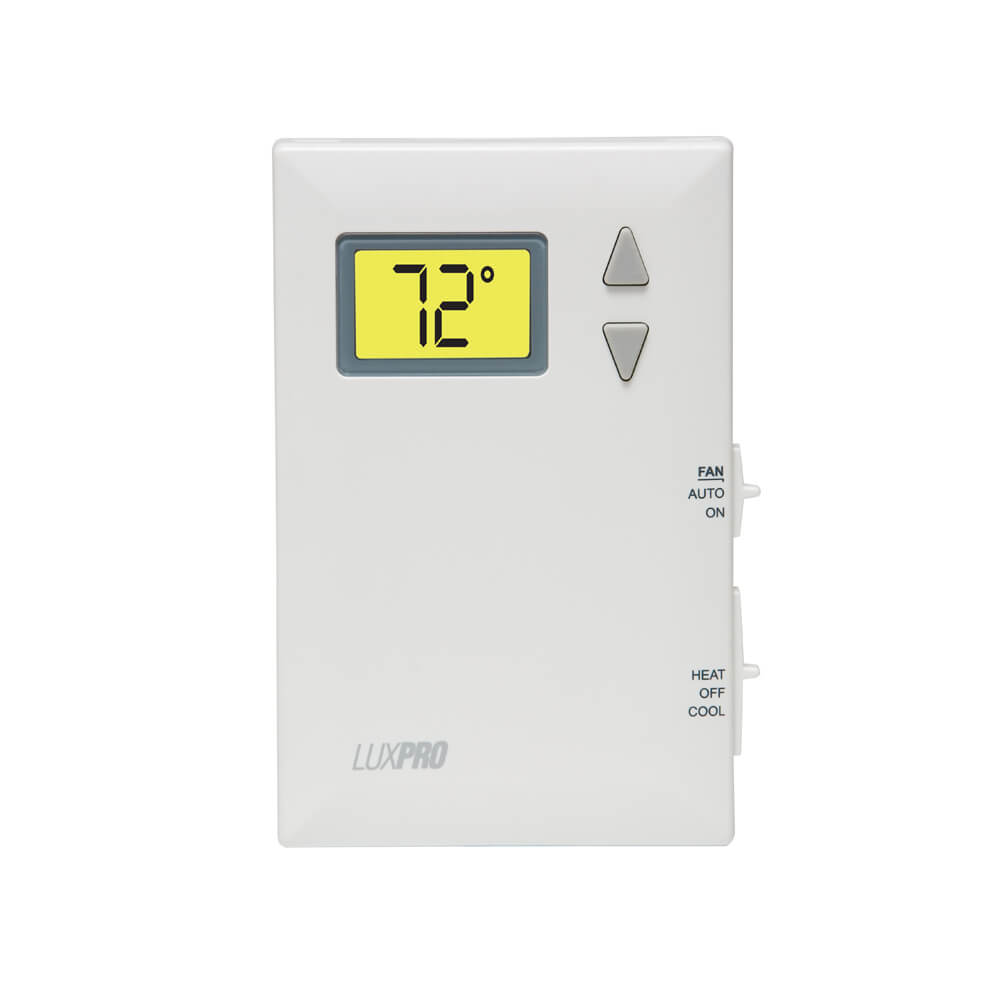
Unboxing The Luxpro Thermostat
First, remove your Luxpro thermostat from its packaging. Ensure all parts are present. Here’s a quick list of what you should find:
- Thermostat unit
- Wall plate
- Screws
- Batteries
- User manual
Having all these components will make the setup process smooth.
Basic Components Overview
Let’s take a look at the basic components of the Luxpro thermostat. Understanding these parts will help you use the device effectively.
| Component | Description |
|---|---|
| Thermostat Unit | The main device that controls your HVAC system. |
| Wall Plate | A plate that mounts the thermostat on the wall. |
| Screws | Used to secure the wall plate and thermostat. |
| Batteries | Provide power to the thermostat. |
| User Manual | Instructions for installation and use. |
With these components, you are ready to install and use your Luxpro thermostat.
Installation Process
Setting up your Luxpro Thermostat is easy. Follow this step-by-step guide to ensure a smooth installation process. Make sure to gather all necessary tools before starting. This guide will walk you through the essential steps, making it simple and stress-free.
Tools Needed
Before you start, gather these tools: a screwdriver, a drill with bits, a level, and a pencil. Having the right tools makes the job easier. Make sure your tools are in good condition.
Mounting The Thermostat
First, turn off the power to your HVAC system. This ensures safety. Remove the old thermostat, if present. Use the level to mark a straight line on the wall. This helps in proper alignment.
Next, use the drill to make holes for the mounting screws. Insert wall anchors if needed. Attach the thermostat’s mounting plate to the wall. Ensure it is level before securing it tightly.
Connect the wires to the corresponding terminals on the thermostat. Follow the wiring diagram in the user manual. Make sure each connection is secure.
Finally, snap the thermostat onto the mounting plate. Turn the power back on to your HVAC system. Check if the thermostat powers up and responds correctly. If everything is set, you have successfully installed your Luxpro Thermostat.
Initial Setup
Setting up your Luxpro thermostat for the first time is easy. This guide will help you through the initial setup steps. You will need to power the device and configure the date and time. Follow these simple instructions to get started.
Powering The Device
Begin by ensuring the thermostat is properly connected. Attach the wires to the appropriate terminals. Check that the power source is working. Once connected, the device should power on automatically. If not, check the connections and power supply again.
Configuring Date And Time
Next, set the date and time on your Luxpro thermostat. This is important for accurate scheduling. Press the menu button on the device. Navigate to the settings option. Select ‘Date and Time’. Use the arrow buttons to adjust the date. Press ‘Enter’ to confirm. Repeat the same steps to set the time. Double-check the settings to ensure accuracy.

Credit: thermostat.guide
Programming Modes
Understanding the programming modes of your Luxpro Thermostat can help you keep your home comfortable and energy-efficient. These modes allow you to set heating and cooling schedules, adjust temperature settings, and much more. Let’s explore the key features.
Setting Heating And Cooling Schedules
Setting up a heating and cooling schedule is simple. First, navigate to the ‘Program’ mode on your thermostat. You will see options for weekdays and weekends. This allows for different schedules based on your routine.
- Weekdays: You can set up to four time periods for each day.
- Weekends: Typically have fewer time slots to set.
Each time period can have different temperature settings. For example, you can have the thermostat lower the temperature while you sleep and raise it before you wake up.
Adjusting Temperature Settings
Adjusting temperature settings is straightforward. In ‘Program’ mode, select a time period. Use the up and down arrows to set the desired temperature for heating and cooling. Confirm your settings by pressing ‘Enter’ or ‘Set’.
Ensure that your daytime and nighttime temperatures are comfortable for you. Consistent temperatures can also help you save energy.
If you need to make quick adjustments, you can use the ‘Hold’ feature. This temporarily overrides your schedule until the next programmed period.
Advanced Features
The Luxpro thermostat offers a range of advanced features to enhance your comfort and efficiency. These features provide more control over your home’s temperature and help save on energy costs. Let’s explore some of these advanced features in detail.
Using The Hold Function
The Hold Function allows you to maintain a specific temperature for an extended period. This feature is useful during vacations or special events. To activate the hold function:
- Press the Hold button on the thermostat.
- Adjust the temperature using the up and down arrows.
- Press Hold again to confirm.
The thermostat will maintain this set temperature until the hold is deactivated. To return to the regular schedule, press the Run button.
Energy-saving Tips
Using the Luxpro thermostat can help reduce your energy bills. Here are some energy-saving tips:
- Set the thermostat to lower temperatures when you are asleep or away from home.
- Use the programming feature to automatically adjust temperatures based on your daily schedule.
- Utilize the fan mode to circulate air without running the heating or cooling system.
Implementing these tips can lead to significant energy savings. The Luxpro thermostat’s advanced features make it easier to manage your home’s temperature efficiently.
Troubleshooting
Dealing with thermostat issues can be frustrating. But knowing how to troubleshoot can save you time and stress. Here, we will cover common problems and resetting your Luxpro thermostat.
Common Issues
One common issue is the thermostat not turning on. Ensure the batteries are fresh. Check if the breaker is off. Another issue is incorrect temperature readings. Place the thermostat away from heat sources. This helps in getting accurate readings.
If the screen is blank, the batteries might be dead. Replace them to see if the screen lights up. Sometimes, the thermostat may not follow the programmed schedule. Double-check the settings. Ensure the time and date are correct.
Resetting The Thermostat
Resetting can fix many issues. To reset your Luxpro thermostat, locate the reset button. It is usually inside the cover. Press and hold the reset button for five seconds. Release the button. The screen should go blank and then restart.
After resetting, reprogram your settings. Set the correct time and date. Enter your desired temperature schedule. Resetting can often solve many common issues. If problems persist, consult the user manual. Or contact Luxpro customer support for further assistance.
Maintenance Tips
Regular maintenance of your Luxpro thermostat ensures it works efficiently. Simple upkeep can extend its life and improve performance. Follow these tips to keep your device in top shape.
Cleaning The Device
Dirt and dust can affect your thermostat’s performance. Clean the device regularly. Start by turning off the power to the thermostat. Use a soft, dry cloth to wipe the exterior. Avoid using water or cleaning sprays. A gentle touch keeps the device safe. Clean the screen with a microfiber cloth. This prevents scratches and removes smudges.
Replacing Batteries
Replace the batteries to avoid interruption in service. Check the battery level often. When the screen dims, it’s time for new batteries. Turn off the thermostat and remove the cover. Take out the old batteries and dispose of them safely. Insert new batteries, ensuring the correct polarity. Replace the cover and turn the device back on. Check the settings to ensure everything works properly.

Credit: www.youtube.com
Frequently Asked Questions
How Do You Set A Luxpro Thermostat?
To set a Luxpro thermostat, press the “Menu” button, then adjust settings with the arrow keys.
How Do You Reset A Luxpro Thermostat?
To reset, press “Reset” or “Menu” and “Backlight” buttons together until the screen resets.
How Do You Change The Battery In A Luxpro Thermostat?
Remove the thermostat from the wall, open the battery compartment, and replace the old batteries with new ones.
How Do You Program A Luxpro Thermostat?
Press “Menu,” select “Program,” and follow the on-screen instructions to set your desired schedule.
Why Is My Luxpro Thermostat Not Working?
Check the batteries, circuit breaker, and ensure the thermostat is properly installed and configured.
Conclusion
Mastering your Luxpro thermostat is easier than you think. Follow the steps mentioned, and you’ll enjoy a comfortable home. Remember to refer to the manual for specific settings. Practice makes perfect; soon, you’ll adjust temperatures effortlessly. Don’t hesitate to explore advanced features when you’re ready.
Keep experimenting to find your ideal climate. Happy adjusting!
